Kategorie: Science
-

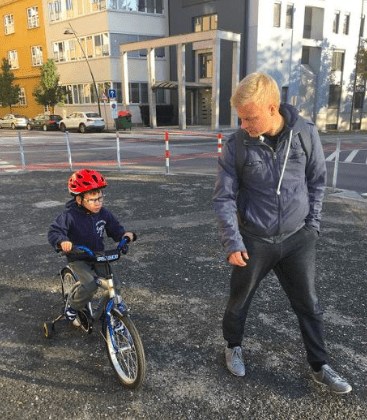
Father 3D Prints Orthoses for his Son, Now Helps Others
Reading Time: 3 minutesWhen Matej Vlašič was told that his son, Nik, who is afflicted with cerebral palsy, may never sit up, he began looking for a way to give him the best life possible regardless. With a little help from 3D printing and physical therapy, Nik cannot only sit up but also walk, cycle and…
-

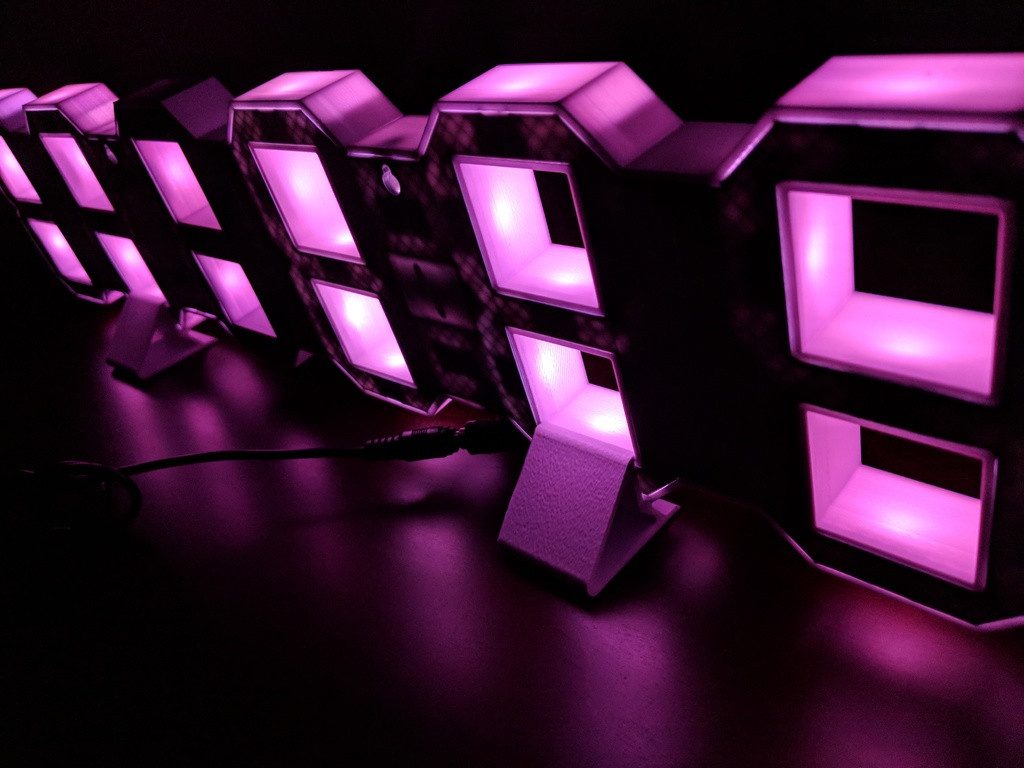
Weekend Project: 3D Print a Sleek 7-Segment LED Clock
Reading Time: 4 minutesCombine function and form with this 7-segment LED clock, designed by Kansas-based maker Leonard Lee. It reliably delivers accurate time — down to the second — while at the same time adding a little light to your life. How many times have you squinted across a room trying to read the time…
-
![[DEAL] Get a Creality Ender 3 for $179.99](data:image/svg+xml;charset=utf-8,%3Csvg xmlns%3D'http%3A%2F%2Fwww.w3.org%2F2000%2Fsvg' viewBox%3D'0 0 1920 1080'%2F%3E)
[DEAL] Get a Creality Ender 3 for $179.99
Reading Time: < 1 minuteGearbest is having something of a summer sale, with one highlight of today being the popular Creality Ender 3 for only $179.99. It’s hard to avoid certain 3D printers. Whether they’re good machines or not, some just sink their hooks into the community like few others. The Ender 3 is currently…
-
[DEAL] Monoprice Cuts Ultimate, Mini V2 Prices Further
Reading Time: < 1 minuteMonoprice’s Maker Ultimate and Select Mini V2 printers see further reductions for this weekend only. Read on for the coupon codes. It was only days ago that we flagged Monoprice’s reductions of its FDM 3D printer line running through to the end of the year, and now for this weekend only…
-

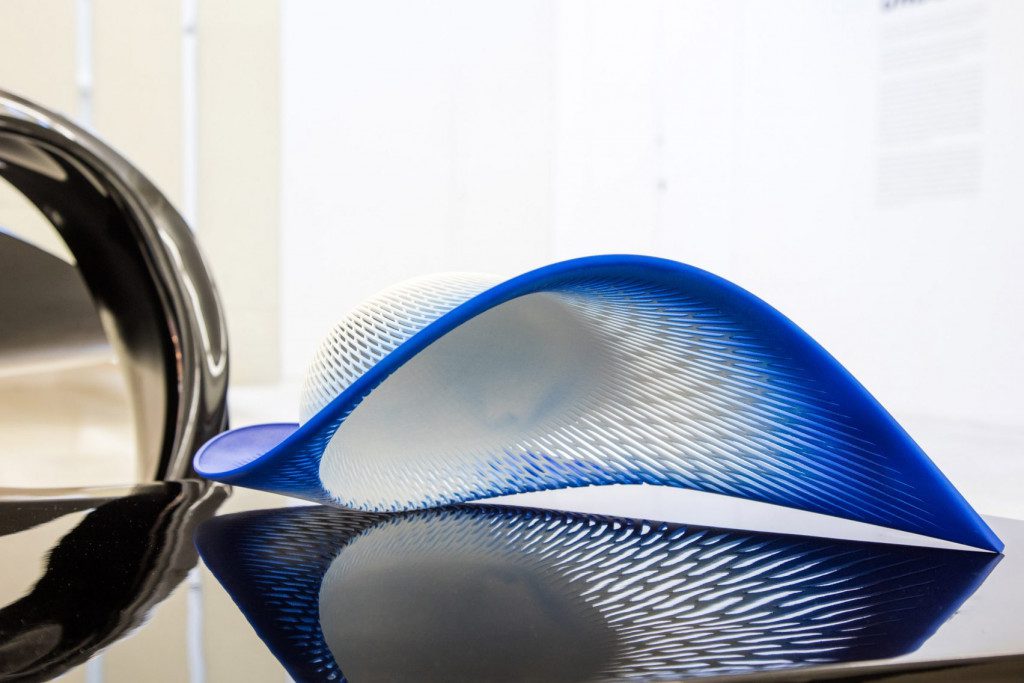
Zaha Hadid Architects H-Line Hat Reflects Artist’s New York Condos
Reading Time: 3 minutesZaha Hadid Architects’ latest work is the H-Line hat, inspired by the firm’s condo at 520 West 28th Street, New York. Designed by boss and collaborator, Patrik Schumacher, the hat was made using 3D printing for a Friends of the High Line fundraiser. Zaha Hadid Architects (ZHA) recently designed a 3D printed hat for…
-

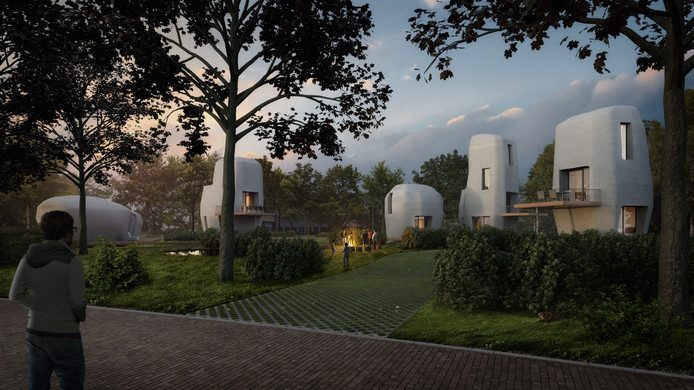
An Entire Community of 3D Printed Homes is Coming to Eindhoven Next Year
Reading Time: 3 minutesThe Eindhoven University is partnering with various companies to 3D print a community of five houses. The concrete structures will be fully habitable, and will be available to residents next year. 3D printed structures are being erected across the world, but a heavy portion of this concrete additive manufacturing innovation seems to…
-

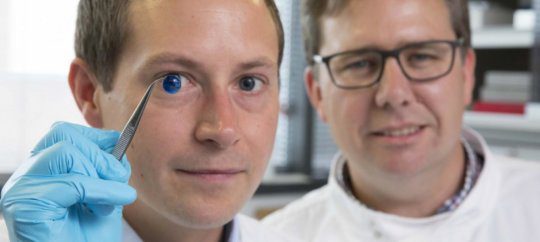
Newcastle University Researchers 3D Print Human Corneas
Reading Time: 3 minutesResearchers from Newcastle University, UK, 3D printed human corneas for the first time. To do this, they mixed stem cells from a healthy donor cornea with a gel and collagen to create a printable bio-ink. The cornea, or the outer-layer of the human eye, plays an important role in focusing vision. Every…
-

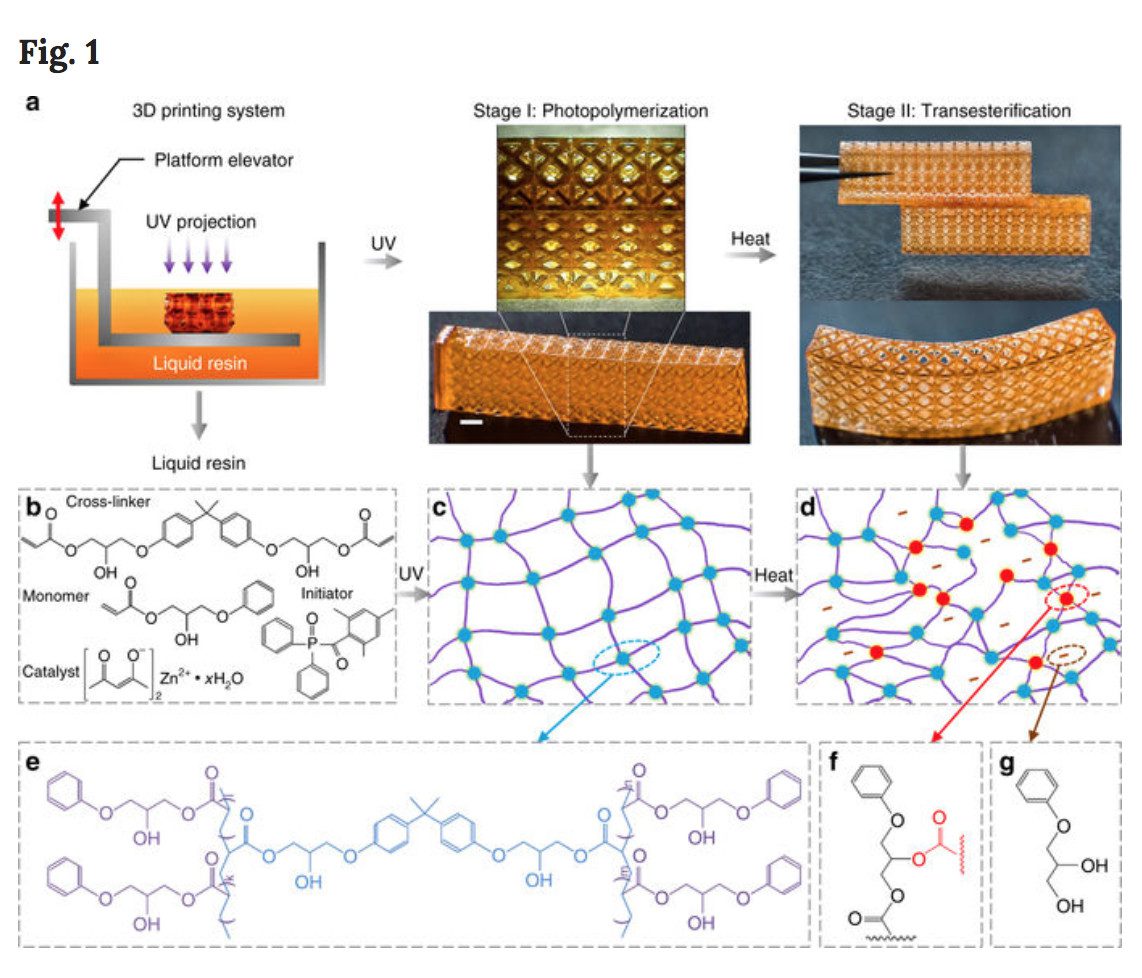
Researchers Develop Polymerization Process to Recycle 3D Printing Materials
Reading Time: 3 minutesResearchers from Singapore University of Technology and Design (SUTD) have developed a two-step polymerization process to fully recycle 3D printed thermosetting photopolymers. Although 3D printing technology has proven to be beneficial to the environment in a number of ways — such as by saving the bees or helping us grow food in urban…
-

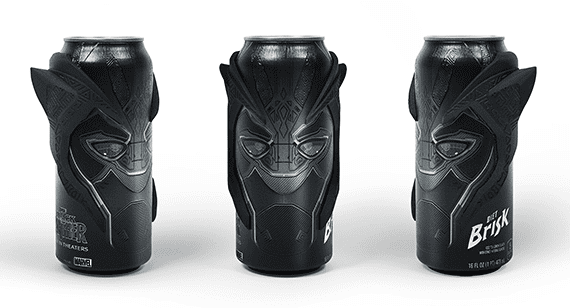
Pepsi and Protolabs 3D Print Black Panther Masks for Collector’s Edition Soda Cans
Reading Time: 3 minutesIn a unique marketing campaign for the superhero movie Black Panther, Pepsi partnered up with the manufacturing service provider Protolabs to create a collectibles kit that featured five special edition soda cans fitted with 3D printed Black Panther masks. Right in the nick of time for the last month’s premier of the…
-

Looking Back on AR and VR at Tribeca Film Festival
Reading Time: 3 minutesThis year’s Tribeca Film Festival in New York City featured over 30 VR and AR experiences. Although the technology isn’t quite mainstream enough for home enjoyment yet, the creativity on show certainly assures us of the future for the medium. Last month, at the 2018 Tribeca Film Festival in New York City, there…
-

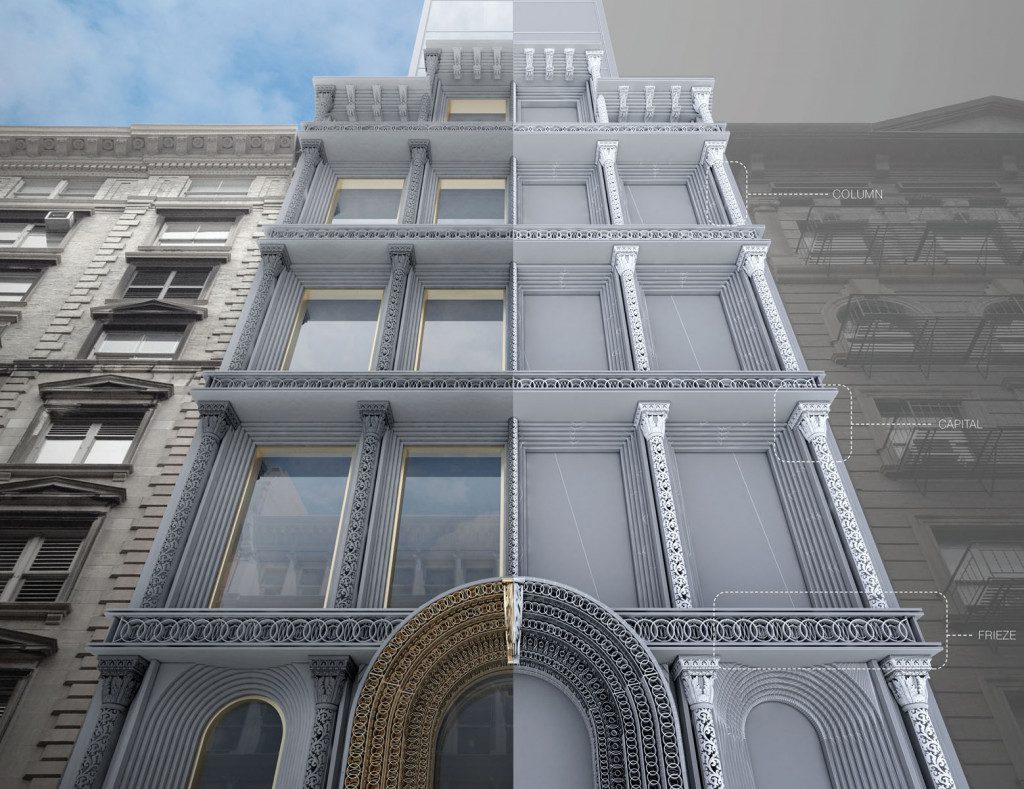
3D Printing Method Creates Concrete Casting Molds to Help Restore New York City Building
Reading Time: 3 minutesEDG NYC is an architecture firm that has developed a new method of digital sculpting, which they call “Modern Ornamental”, to restore a building in New York City. The process utilizes 3D printing to produce complex molds for casting concrete structures. EDG is a New York-based architecture and engineering firm that has…
-

Weekend Project: Take Flight With This 3D Printed V911 Micro Flying Wing
Reading Time: 3 minutesHow’s the local weather forecast looking this weekend? Why not 3D print your own micro flying wing to soar beyond the kites and frisbees at the park. Designed by Thingiverse user drcameron, this RC wing attachment will have you soaring through blue skies with style. With projects like OpenRC taking the 3D…
-

New Kickstarter Initiative Could Lead to More Successful 3D Printing Campaigns
Reading Time: 3 minutesPopular crowdfunding platform Kickstarter has just introduced its Hardware Studio Connection program. Campaigns enrolled in the initiative receive expert support to deliver their hardware targets. If you’ve ever taken a punt on a Kickstarter campaign, there’s always a twinge of anxiety that follows the initial rush of backing. Will the campaign deliver?…
-

Weekend Project: 3D Printed NeoPixel Butterfly Ring That Flutters with Light
Reading Time: 4 minutesWant a 3D printing project that will hone your design and circuitry skills, all while giving you a butterfly ring that flutters with light? Then break out of that cocoon and build yourself this 3D printed NeoPixel butterfly ring. When used as a standalone technology, 3D printing is capable of producing some…
-

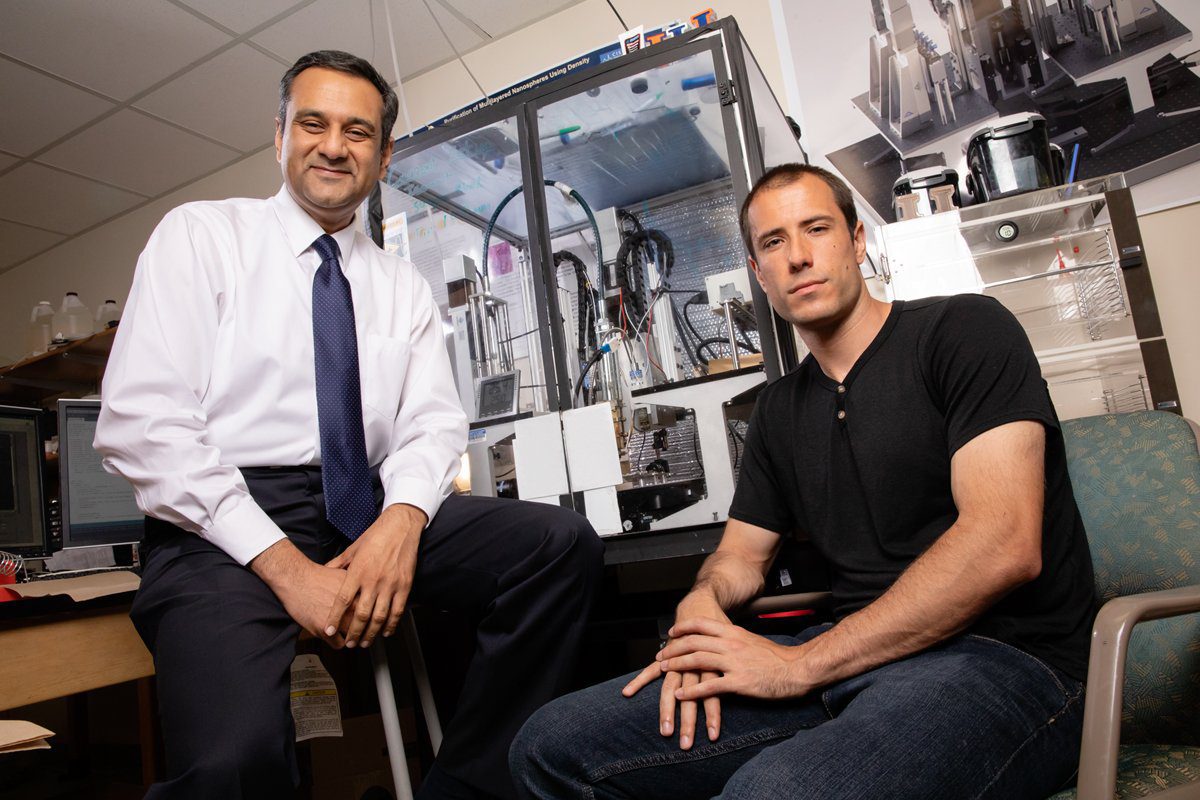
Engineers Develop 3D Printing Method That Produces Tissue Scaffolding From Sugar
Reading Time: 4 minutesA team of engineers from the University of Illinois have developed a free-form isomalt 3D printing technology that produces intricate sugar-based scaffolding, which could potentially be used to grow tissue or study tumors. Slowly but surely, bioprinting is reshaping the medical landscape in multiple ways, from producing custom scaffolding to quite literally…
-

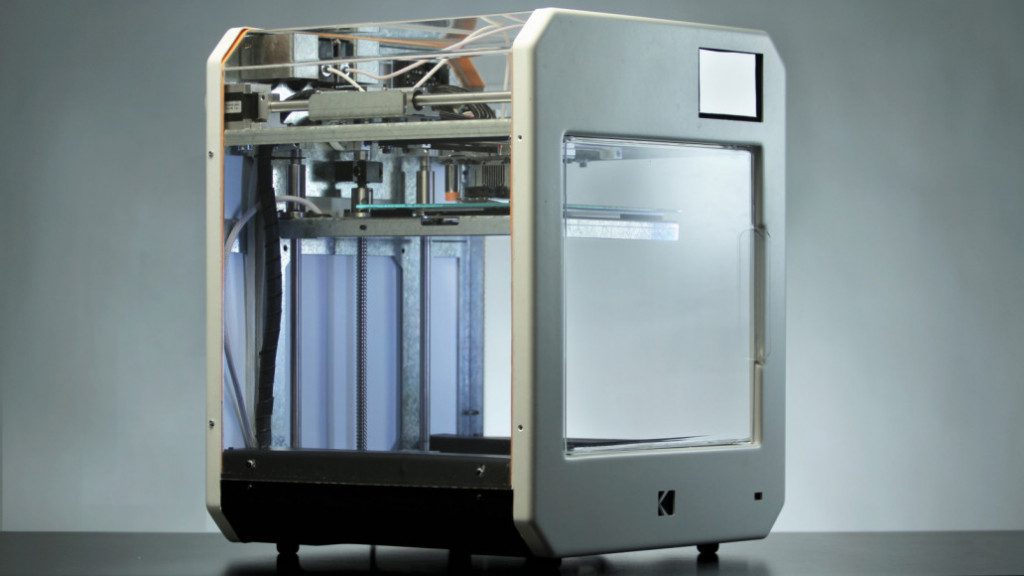
3DPrinterOS Cloud-Based Operating System is Integrated Into KODAK Portrait 3D Printers
Reading Time: 3 minutes3DPrinterOS, the cloud-based 3D printer management company, announced that it will be integrated into the Kodak Portrait 3D printer ecosystem. The partnership will help provide schools and enterprises with a way to manage files, track printers and materials, and enable printing from networked computers. 3DPrinterOS, the company behind the world’s first operating system for desktop…
-

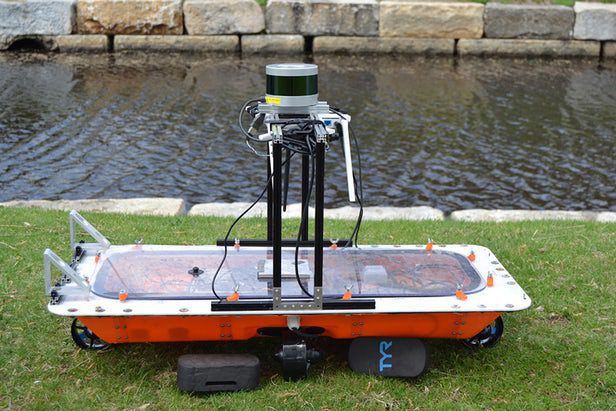
3D Printed Autonomous RoBoats Aim to Reduce Road Traffic in Amsterdam
Reading Time: 3 minutesResearchers from MIT CSAIL and the Amsterdam Institute for Advanced Metropolitan Solutions are working on a project called the RoBoat, an autonomous boat system that can be used as water taxis, or even be joined together to create floating structures and bridges. Imagine being able to start your morning off by hopping on…
-
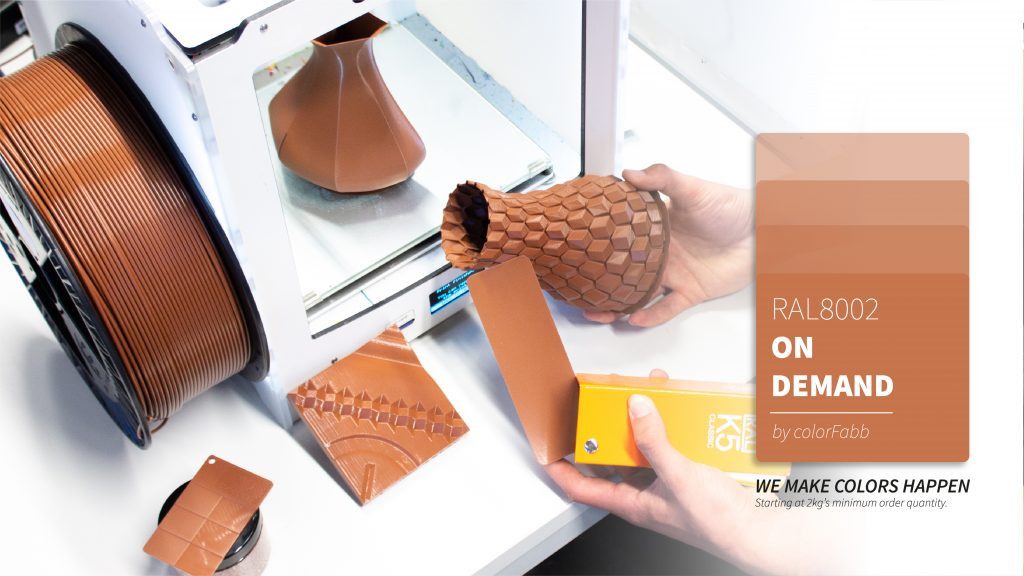
ColorFabb to Launch New Color on Demand Filament Service in June
Reading Time: 3 minutesColor on Demand is a new service coming soon from colorFabb which will enable you to have the color you want matched and produced. With more choice than ever, you can either order from the dozens of RAL colors or create your own. colorFabb will soon be offering a service which works…
-

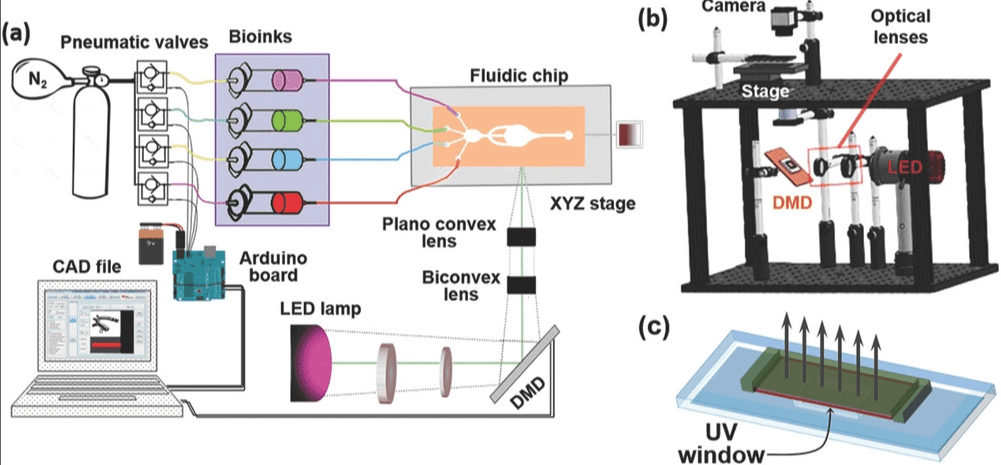
UCLA Bioengineer Develops SLA 3D Printer That Produces Complex Artificial Tissues
Reading Time: 3 minutesResearchers from UCLA have developed a SLA-based bioprinter that is able to create therapeutic biomaterials from multiple materials. This advancement could potentially be used for on-demand printing of complex artificial tissues for use in transplants and other surgeries. Body tissues are highly complex and made of various different cell types, and this makes…
-
![[DEAL] Pay What You Want to Learn the Arts of Cosplay](data:image/svg+xml;charset=utf-8,%3Csvg xmlns%3D'http%3A%2F%2Fwww.w3.org%2F2000%2Fsvg' viewBox%3D'0 0 1280 720'%2F%3E)
[DEAL] Pay What You Want to Learn the Arts of Cosplay
Reading Time: 2 minutesThe ever excellent Humble Book Bundle sets its sights on the skillful world of Cosplay with the Cosplay 2.0 book bundle. Get 19 books covering sewing, foam craft, 3D printing, prop-making and garment assembly — all pay-what-you-want. Followers of All3DP’s deals posts will be familiar with the Humble Book Bundle by now,…
-
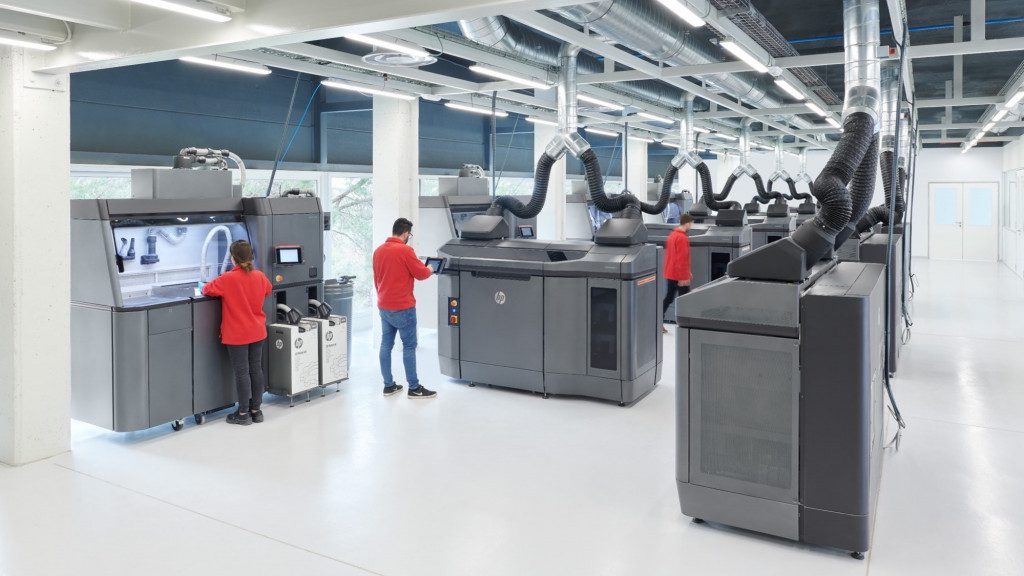
HP Highlights 3D Printing Tech Growth at Global Innovation Summit
Reading Time: 3 minutesAt its Innovation Summit in Barcelona this week, HP showcased its growth and the adoption of its technologies amidst a wider push for 3D printing as an industry. Highlights include multiple companies, including Protolabs, IAM 3D Hub, Materialise and ZiggZagg, upgrading to the company’s Multi Jet Fusion technology. At the HP Innovation…
-
Project of the Week: 3D Printed High-Speed Marblevator Mini Machine
Reading Time: 3 minutesMaker and Instructables regular Greg Zumwalt has created the 3D printed Marblevator Mini, a marble machine with a high speed loop mechanism that can handle over 324,000 marble runs per day. Check out how you can build this jaw-dropping project yourself! Most of us can remember the childhood joy that arose when…
![[DEAL] Get a Creality Ender 3 for $179.99](https://www.blogdot.tv/wp-content/uploads/2018/06/deal-get-a-creality-ender-3-for-179-99.jpg)
![[DEAL] Monoprice Cuts Ultimate, Mini V2 Prices Further](https://www.blogdot.tv/wp-content/uploads/2018/06/deal-monoprice-cuts-ultimate-mini-v2-prices-further.jpg)


![[DEAL] Pay What You Want to Learn the Arts of Cosplay](https://www.blogdot.tv/wp-content/uploads/2018/05/deal-pay-what-you-want-to-learn-the-arts-of-cosplay.jpg)