Weekend Project: 3D Print a Sleek 7-Segment LED Clock
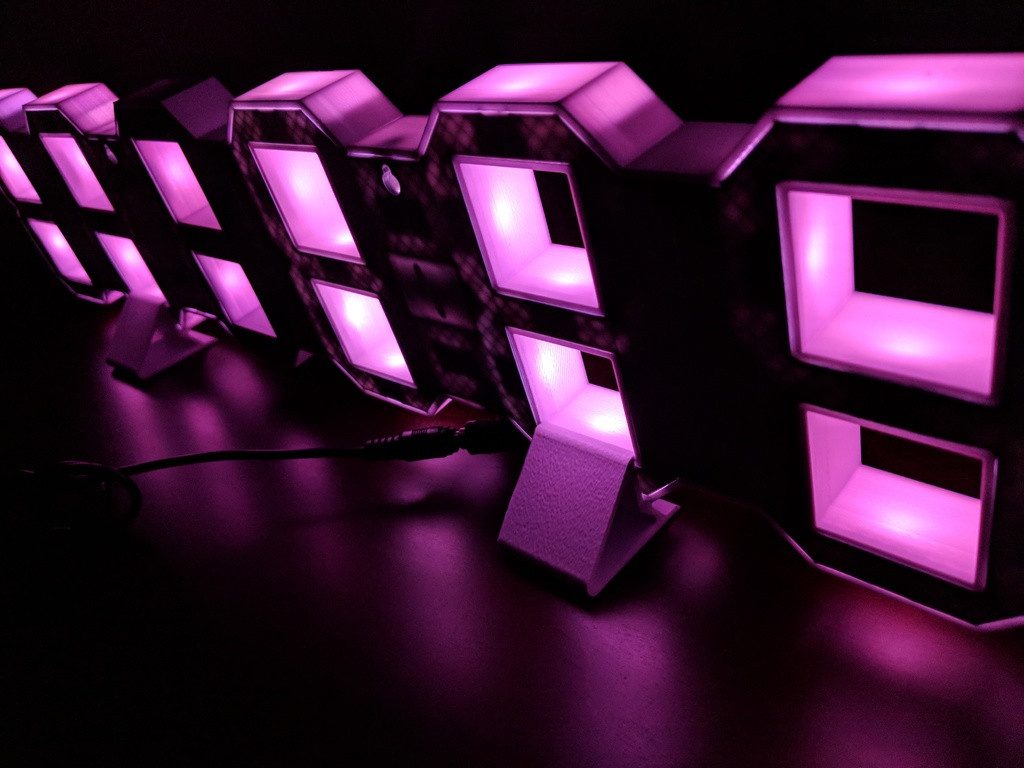
Combine function and form with this 7-segment LED clock, designed by Kansas-based maker Leonard Lee. It reliably delivers accurate time — down to the second — while at the same time adding a little light to your life.
How many times have you squinted across a room trying to read the time off a cheap dollar store clock? Squash that humiliating feeling forever with this stylish 7-segment LED clock from Thingiverse user leonardlee. Apart from the electronics, it’s completely made from easy-to-assemble 3D printed parts. All you need is a little time. (And a little money…)
In addition to looking great, this timeless (timeful?) piece has a number of fascinating features. Its automatic abilities include NTP time syncing, time zone detection, and daylight savings adjustment. It can also be assembled with or without the 7-segment displays for seconds.
You can mount the 7-segment LED clock on the wall using the two holes in the back. Otherwise, if you prefer that it rest on a desk or table, attach the provided 3D printable stands.
7-Segment LED Clock: What You Need
In order to build leonardlee’s clock, you’ll need to 3D print eight parts, plus the stand. All nine STL files are available for download for free on Thingiverse. As whole segments light up by diffusing single-point LED light through thin translucent plastic, it’s probably best to print with the recommended white PLA.
Below are the non-printed components needed for the 7-segment LED clock, which should together cost around $30:
The Arduino Integrated Development Environment (IDE) is needed to upload some code to the D1 Mini. You’ll also need to use some soldering equipment.
7-Segment LED Clock: Putting it Together
The 3D printed pieces fit together intuitively, with only the electronics adding a bit of complexity. Never fear, though: leonardlee provides a thorough set of assembly instructions (in the “Post-Printing” section, below “Supplies”) as well as a handy step-by-step GIF.
The first step is to prepare the software. This involves uploading code to the D1 Mini using the Arduino IDE, which will likely require you to integrate the ESP8266 boards and install the CH340G driver. (Click here for instruction from Wemos Electronics.)
Up next we have some soldering to do. That is, after fastening together the 3D printed back pieces using the aforementioned nuts and screws. Begin by soldering the level shifting chip to the clock shield PCB. Then, solder the included 8-pin female headers of the D1 Mini as well as the power and LED wires to the clock shield PCB.
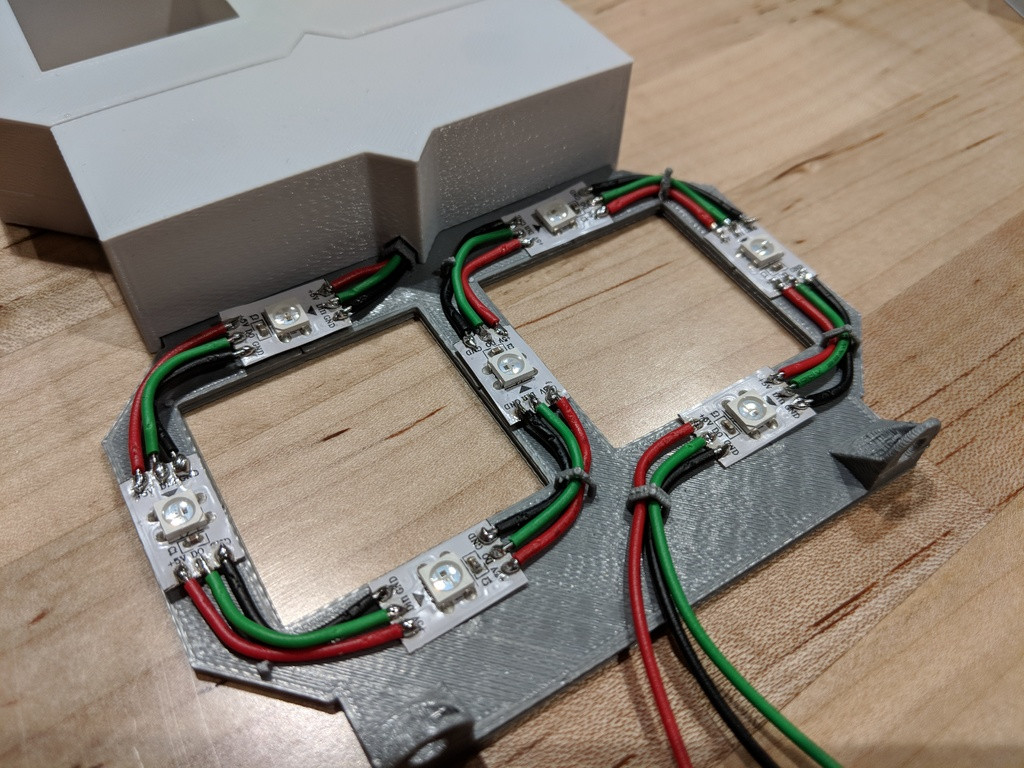
You can now slide the clock shield PCB onto the pegs of 3D printed back_hour_minute piece. And then we’re soldering again! Start with connecting the power barrel connector to the power wires, keeping in mind the polarity of your power supply. Then move on to the LED wires, which need to be soldered to the single LEDs that will be positioned in the colon of the back_hour_minute piece. Make sure the LEDs are properly aligned using the arrows on the strip.
The next step is to attach the D1 Mini to the PCB, sliding its male pins into the PCB’s female header. Periodic testing of the circuit should now be possible.
The remaining soldering involves connecting the LEDs through the wires guides around the digits. This will result in two strips of LEDs, one going to the left of the controller (for the hours), and one going to the right (for the minutes and seconds).
Finally, cover all segments and gaps with the corresponding 3D printed pieces and, unless you’re planning to mount the clock on the wall, attach the stands. Let there be light!

Website: LINK