Schlagwort: UI
-

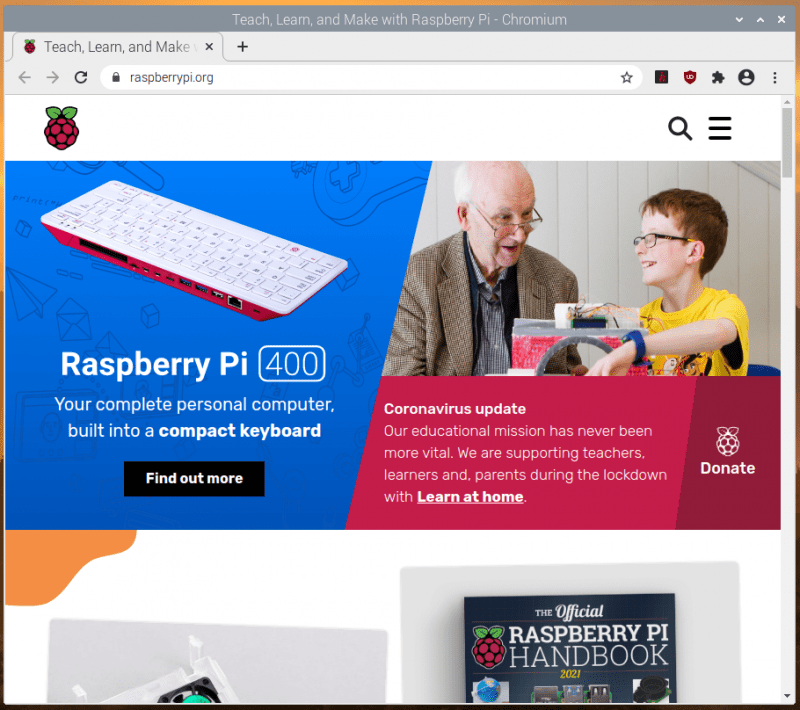
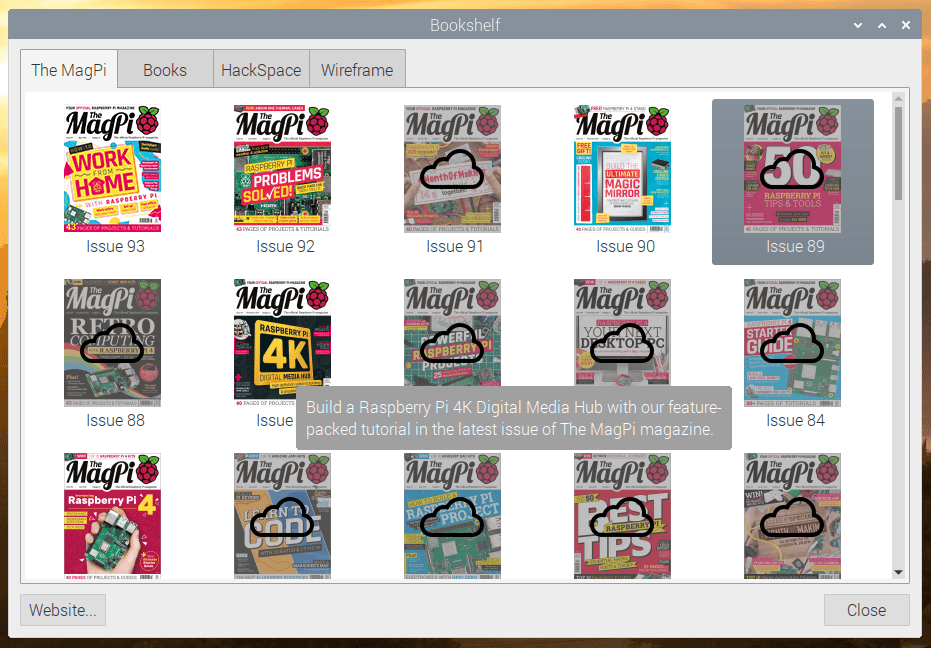
New Raspberry Pi OS release — December 2020
Reading Time: 10 minutesWell, in a year as disrupted and strange as 2020, it’s nice to know that there are some things you can rely on, for example the traditional end-of-year new release of Raspberry Pi OS, which we launch today. Here’s a run-through of the main new features that you’ll find in it. Chromium…
-

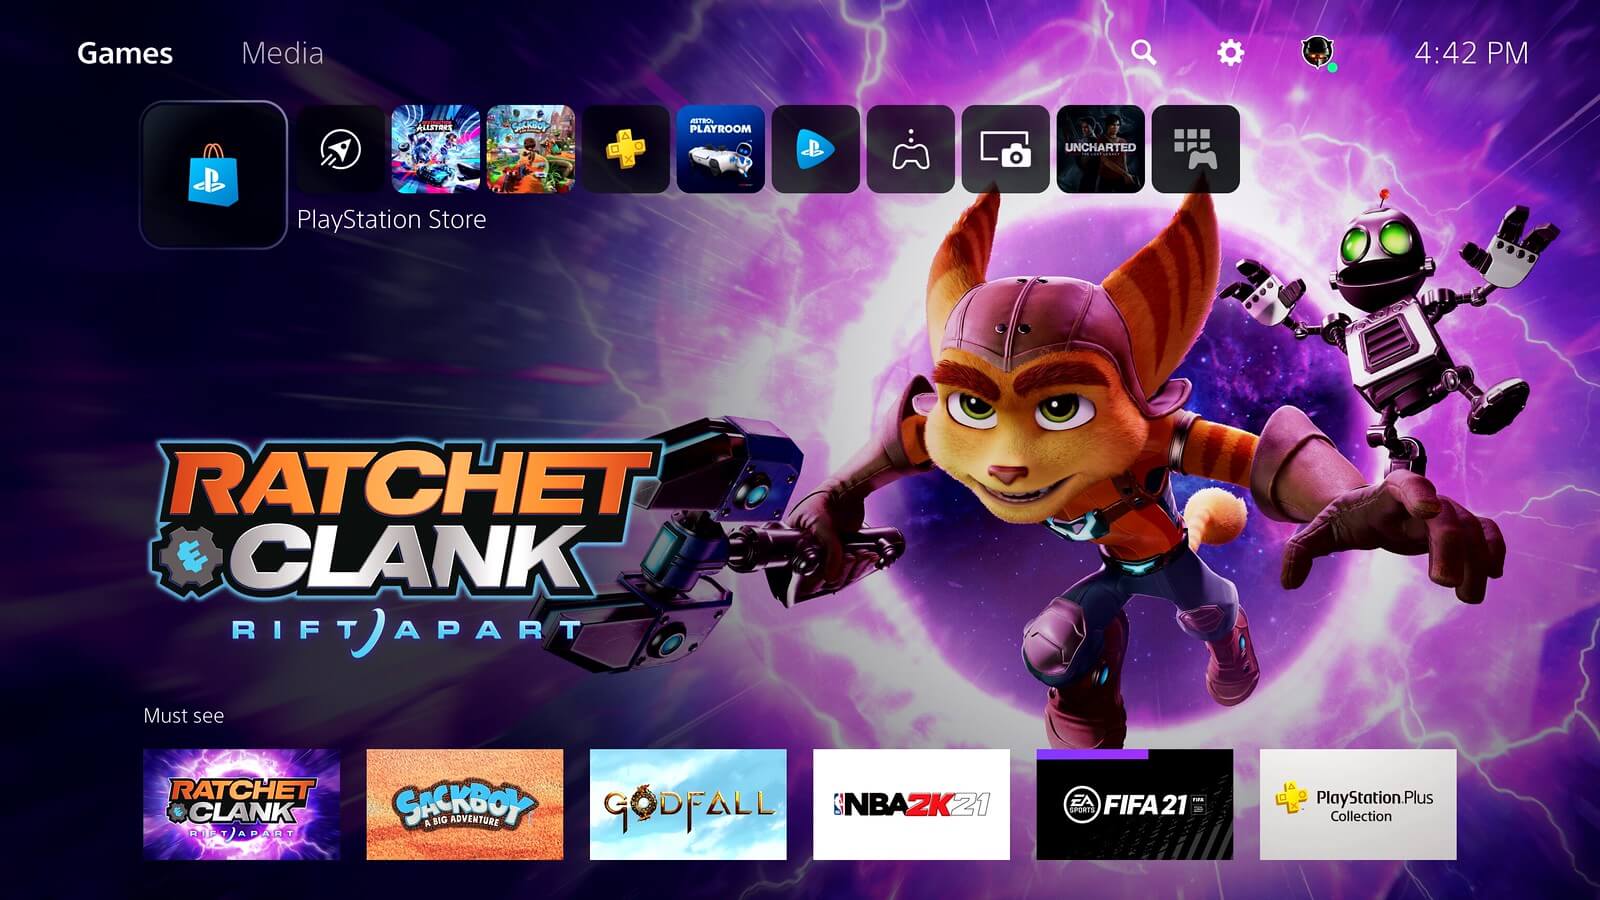
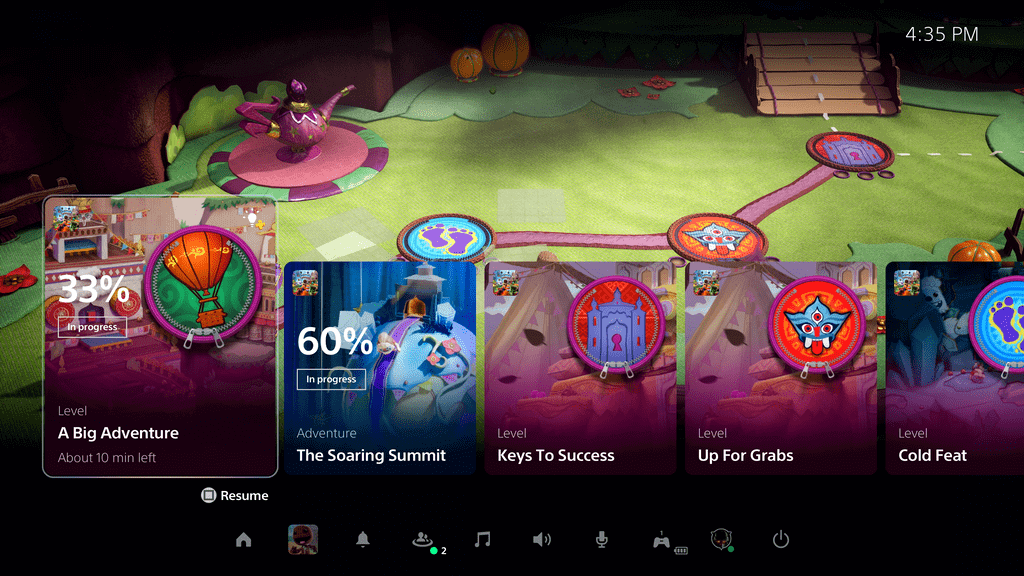
First look: PlayStation 5’s next-generation user experience
Reading Time: 2 minutesWith less than a month until launch, we’re thrilled to share our very first look at the PlayStation 5 console’s user experience (UX). The new UX is completely centered on the player – to provide you a truly next-generation experience with deeper immersion that quickly connects you to great games and a…
-

Erste Einblicke in das Benutzererlebnis der nächsten Generation auf PlayStation 5
Reading Time: 2 minutesIn nicht einmal einem Monat erscheint die PlayStation 5 und wir freuen uns sehr, euch einen ersten Blick auf das Benutzererlebnis der neuen Konsole werfen lassen zu können. Das neue Benutzererlebnis (UX) ist vollständig auf den Spieler ausgerichtet, um euch wahrhaftig ein Erlebnis der nächsten Generation zu bieten, das euch vollkommen in…
-

Latest Raspberry Pi OS update – May 2020
Reading Time: 7 minutesAlong with yesterday’s launch of the new 8GB Raspberry Pi 4, we launched a beta 64-bit ARM version of Debian with the Raspberry Pi Desktop, so you could use all those extra gigabytes. We also updated the 32-bit version of Raspberry Pi OS (the new name for Raspbian), so here’s a quick…
-

A new Raspbian update
Reading Time: 7 minutesThe last major release of Raspbian was the Buster version we launched alongside Raspberry Pi 4 last year. There was a minor release a couple of months later, which was mostly just bug-fixes for the first release (hence no blog post), but today’s release has a few changes that we thought it…
-

Buster – the new version of Raspbian
Reading Time: 7 minutesAmid all the furore about the release of a certain new piece of hardware, some people may have missed that we have also released a new version of Raspbian. While this is required for Raspberry Pi 4, we’ve always tried to maintain software backwards-compatibility with older hardware, and so the standard Raspbian…
-
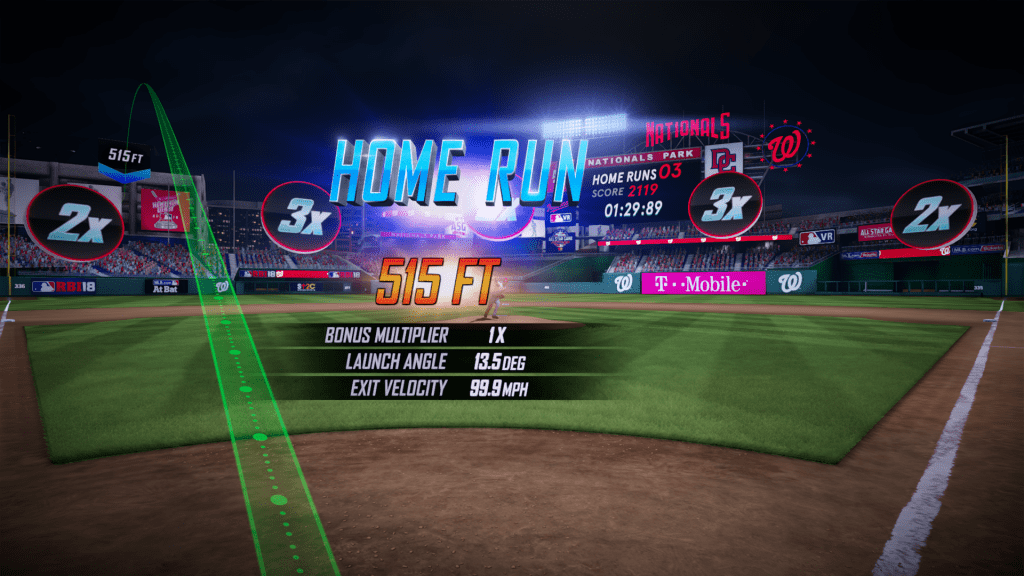
VIVE Pro Eye Simplifies Input & Navigation for MLB Home Run Derby VR
Reading Time: 3 minutesPrecision eye tracking eliminates the need for handheld controllers in VR, creating an incredible access point for first-time users. [youtube https://www.youtube.com/watch?v=Jk70dm3nCfc?feature=oembed&wmode=opaque&w=730&h=411] Sports are all about moments. No one knows that better than Major League Baseball (MLB). The way we, the fans, absorb those moments are changing all the time. We’ve gone from…
-

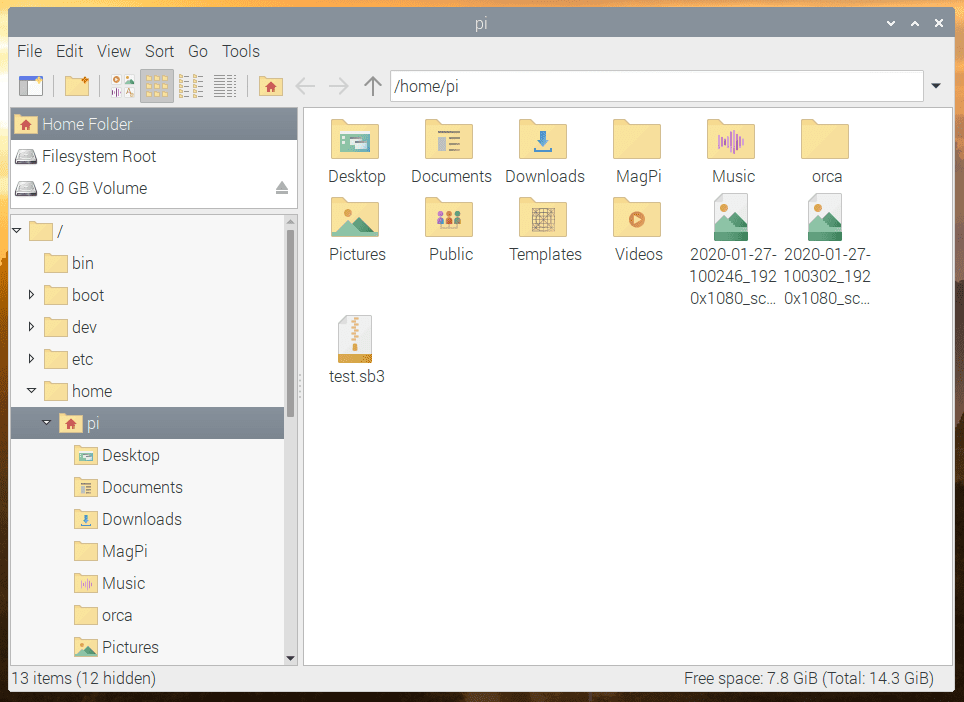
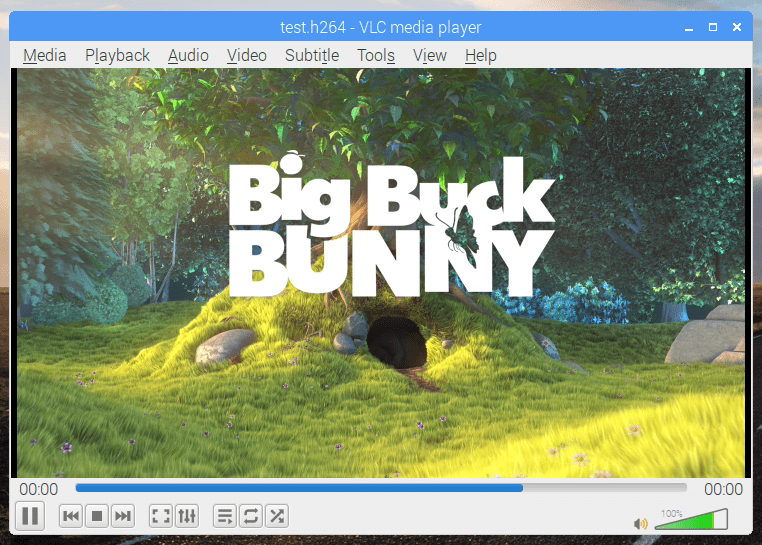
A new Raspbian update: multimedia, Python and more
Reading Time: 7 minutesToday we’re releasing a new update for Raspbian, including a multimedia player, updated Thonny, and more. Here’s Simon with everything you need to know. Updating Raspbian on your Raspberry Pi || Raspberry Pi Foundation How to update to the latest version of Raspbian on your Raspberry Pi. VLC Media Player When I…
-

Raspbian update: first-boot setup wizard and more
Reading Time: 5 minutesAfter a few months of hiding in a dark corner of the office muttering to myself (just ask anyone who sits near me how much of that I do…), it’s time to release another update to the Raspberry Pi desktop with a few new bits and a bunch of bug fixes (hopefully…
-

Raspbian update: supporting different screen sizes
Reading Time: 5 minutesYou may have noticed that we released a updated Raspbian software image yesterday. While the main reason for the new image was to provide support for the new Raspberry Pi 3 Model B+, the image also includes, alongside the usual set of bug fixes and minor tweaks, one significant chunk of new…
-

Stretch for PCs and Macs, and a Raspbian update
Reading Time: 6 minutesToday, we are launching the first Debian Stretch release of the Raspberry Pi Desktop for PCs and Macs, and we’re also releasing the latest version of Raspbian Stretch for your Pi. For PCs and Macs When we released our custom desktop environment on Debian for PCs and Macs last year, we were…