Schlagwort: desktop
-

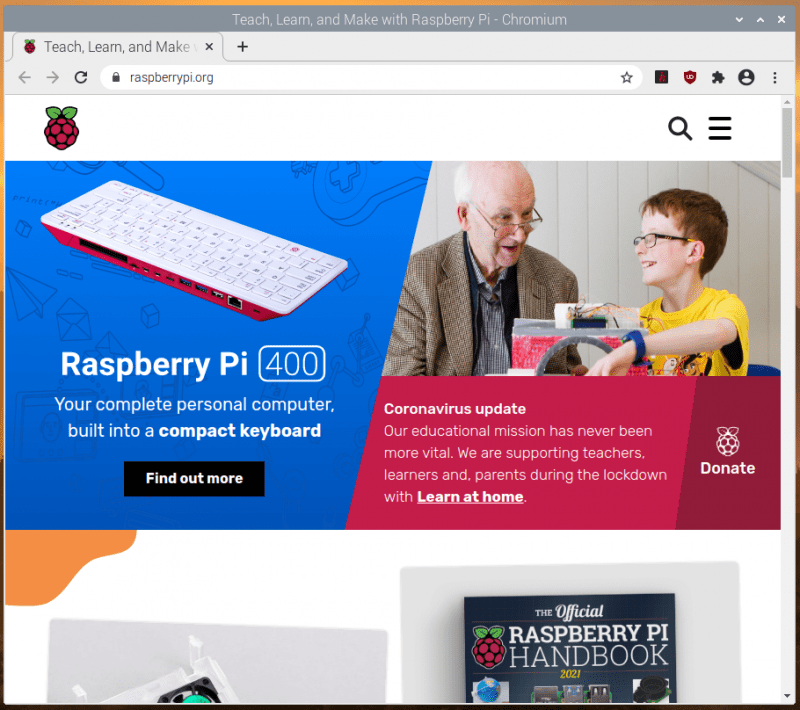
New Raspberry Pi OS release — December 2020
Reading Time: 10 minutesWell, in a year as disrupted and strange as 2020, it’s nice to know that there are some things you can rely on, for example the traditional end-of-year new release of Raspberry Pi OS, which we launch today. Here’s a run-through of the main new features that you’ll find in it. Chromium…
-

Latest Raspberry Pi OS update – May 2020
Reading Time: 7 minutesAlong with yesterday’s launch of the new 8GB Raspberry Pi 4, we launched a beta 64-bit ARM version of Debian with the Raspberry Pi Desktop, so you could use all those extra gigabytes. We also updated the 32-bit version of Raspberry Pi OS (the new name for Raspbian), so here’s a quick…
-

A new Raspbian update
Reading Time: 7 minutesThe last major release of Raspbian was the Buster version we launched alongside Raspberry Pi 4 last year. There was a minor release a couple of months later, which was mostly just bug-fixes for the first release (hence no blog post), but today’s release has a few changes that we thought it…
-

Raspberry Pi 4: a full desktop replacement?
Reading Time: 5 minutesThe MagPi magazine puts Raspberry Pi 4 to the ultimate test as writer and all-round tech tinkerer PJ Evans uses it for a week as his desktop computer. When Raspberry Pi 4 was launched earlier in 2019, the significant improvements in processor speed, data throughput, and graphics handling lead to an interesting…
-

Buster – the new version of Raspbian
Reading Time: 7 minutesAmid all the furore about the release of a certain new piece of hardware, some people may have missed that we have also released a new version of Raspbian. While this is required for Raspberry Pi 4, we’ve always tried to maintain software backwards-compatibility with older hardware, and so the standard Raspbian…
-

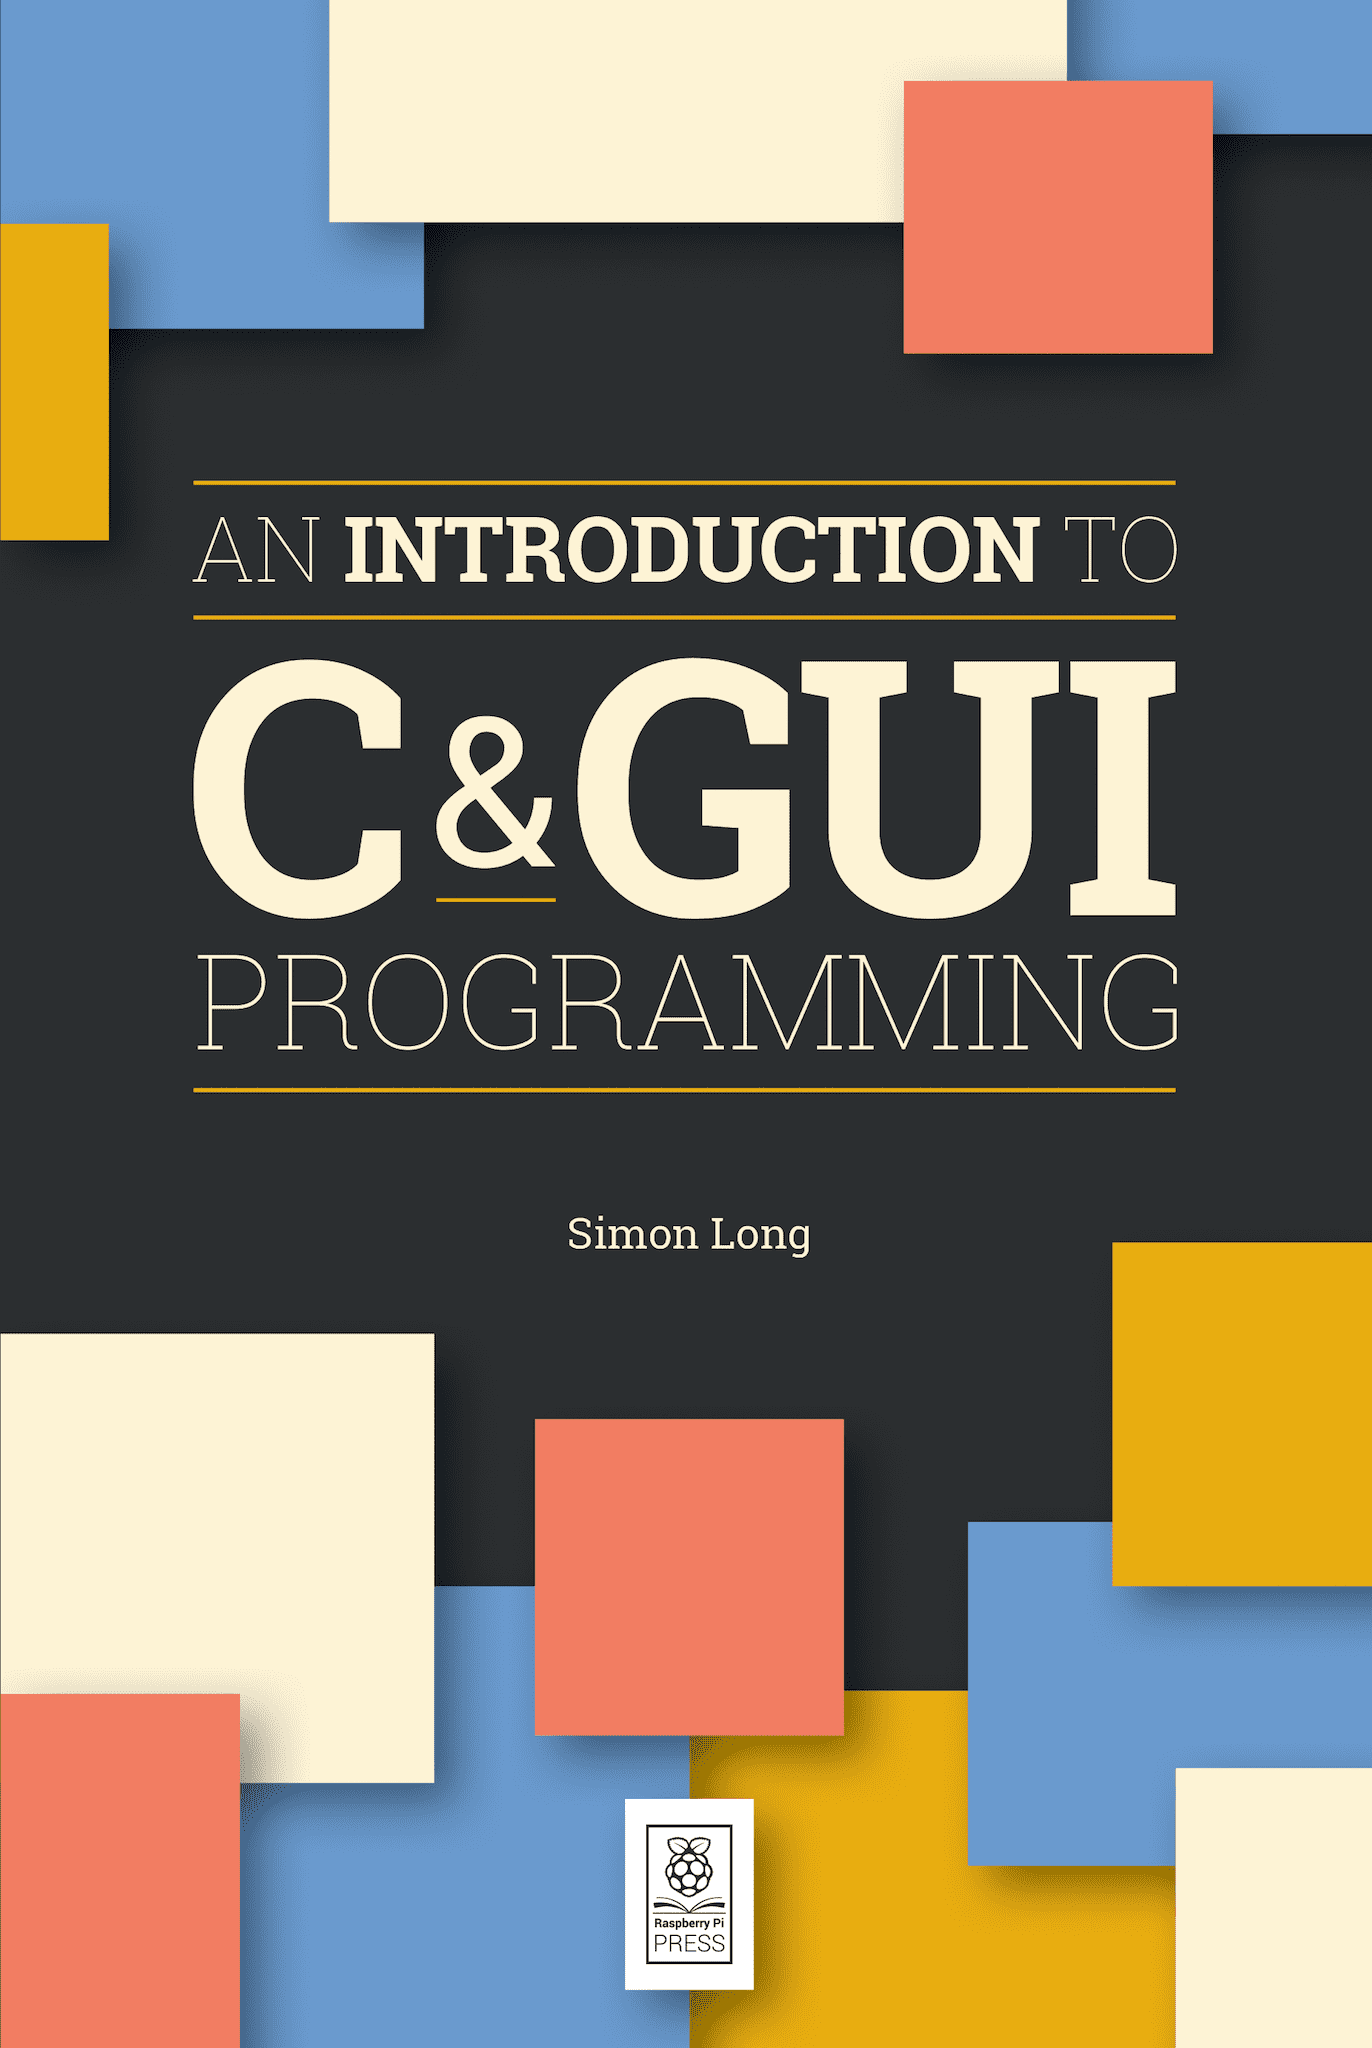
An Introduction to C & GUI Programming – the new book from Raspberry Pi Press
Reading Time: 5 minutesThe latest book from Raspberry Pi Press, An Introduction to C & GUI Programming, is now available. Author Simon Long explains how it came to be written… Learning C I remember my first day in a ‘proper’ job very well. I’d just left university, and was delighted to have been taken on…
-

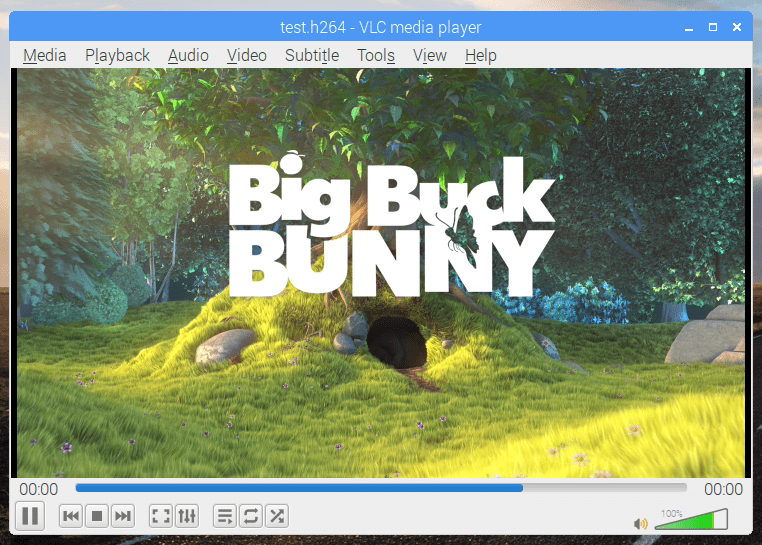
A new Raspbian update: multimedia, Python and more
Reading Time: 7 minutesToday we’re releasing a new update for Raspbian, including a multimedia player, updated Thonny, and more. Here’s Simon with everything you need to know. Updating Raspbian on your Raspberry Pi || Raspberry Pi Foundation How to update to the latest version of Raspbian on your Raspberry Pi. VLC Media Player When I…
-

The last 10%: revamping the Raspberry Pi desktop
Reading Time: 4 minutesSimon Long is a Senior Principal Software Engineer here at Raspberry Pi. He’s responsible for the Raspberry Pi Desktop on both Raspbian and Debian, and his article from The MagPi issue 73 explores the experience of revamping our desktop. Get your copy of The MagPi in stores now, or download it as a…
-

Raspbian update: first-boot setup wizard and more
Reading Time: 5 minutesAfter a few months of hiding in a dark corner of the office muttering to myself (just ask anyone who sits near me how much of that I do…), it’s time to release another update to the Raspberry Pi desktop with a few new bits and a bunch of bug fixes (hopefully…
-

Raspbian update: supporting different screen sizes
Reading Time: 5 minutesYou may have noticed that we released a updated Raspbian software image yesterday. While the main reason for the new image was to provide support for the new Raspberry Pi 3 Model B+, the image also includes, alongside the usual set of bug fixes and minor tweaks, one significant chunk of new…
-

Stretch for PCs and Macs, and a Raspbian update
Reading Time: 6 minutesToday, we are launching the first Debian Stretch release of the Raspberry Pi Desktop for PCs and Macs, and we’re also releasing the latest version of Raspbian Stretch for your Pi. For PCs and Macs When we released our custom desktop environment on Debian for PCs and Macs last year, we were…