Kategorie: Science
-

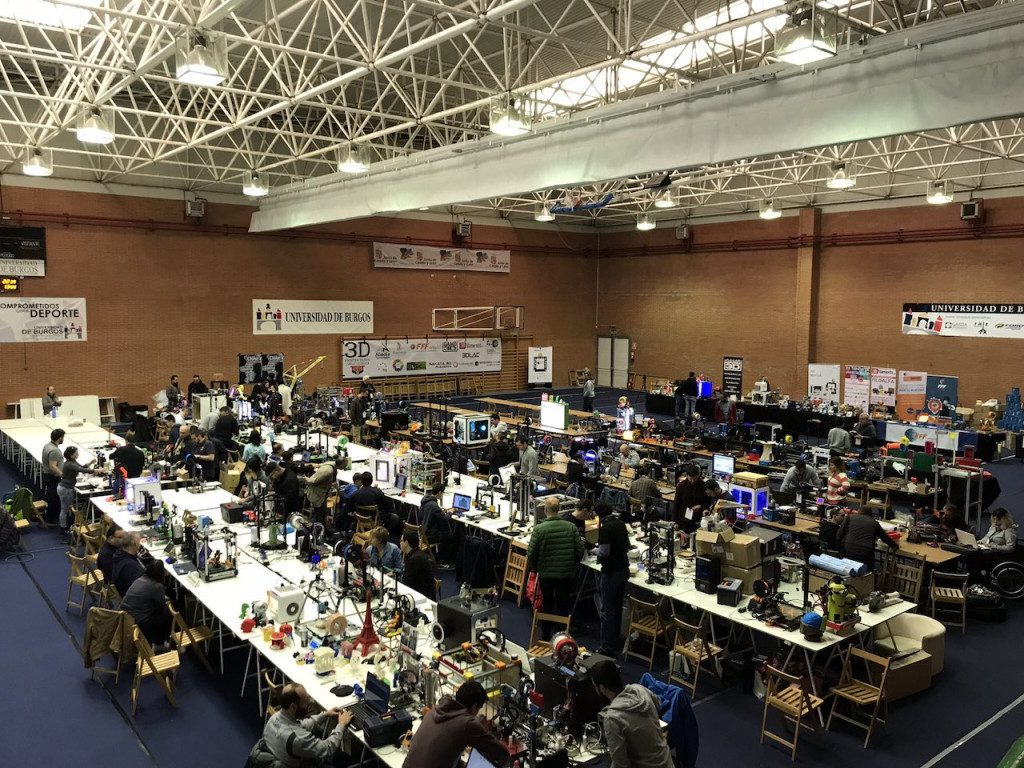
3D Printer Party Breaks Guinness World Record, 3D Prints 4.8 Meters Sword
Reading Time: 3 minutesLast weekend, the 3D Printing Party in Burgos, Spain, broke the record for the most 3D printers printing simultaneously with their owners. However, that may not be the only record broken at the annual event. At the University of Burgos in Spain last weekend, a 3D Printing Party took over from May 4th…
-

3D Printed Intravaginal Ring Helps to Avoid Unwanted Pregancy and HIV Infection
Reading Time: 6 minutesRahima Benhabbour is a woman on an amazing mission. Not only is she a professor at the Eshelman School of Pharmacy University department in Chapel Hill, North Carolina she’s also founder of AnnelleO, a 3D printed intravaginal ring. Benhabbour’s invention could have a major impact in helping women with a multitude of health issues from…
-
![[DEAL] Learn Some 3D Printing Smarts with 3D Printing for Dummies, just $15.58](data:image/svg+xml;charset=utf-8,%3Csvg xmlns%3D'http%3A%2F%2Fwww.w3.org%2F2000%2Fsvg' viewBox%3D'0 0 1280 720'%2F%3E)
[DEAL] Learn Some 3D Printing Smarts with 3D Printing for Dummies, just $15.58
Reading Time: 2 minutesOffering a technological overview of 3D printing and the beats to build your own RepRap, this entry in the “For Dummies” series is almost half-off on Amazon.com. The internet is great and all, but it’ll never quite edge out the printed word as an experiential way to learn. Who doesn’t love the…
-

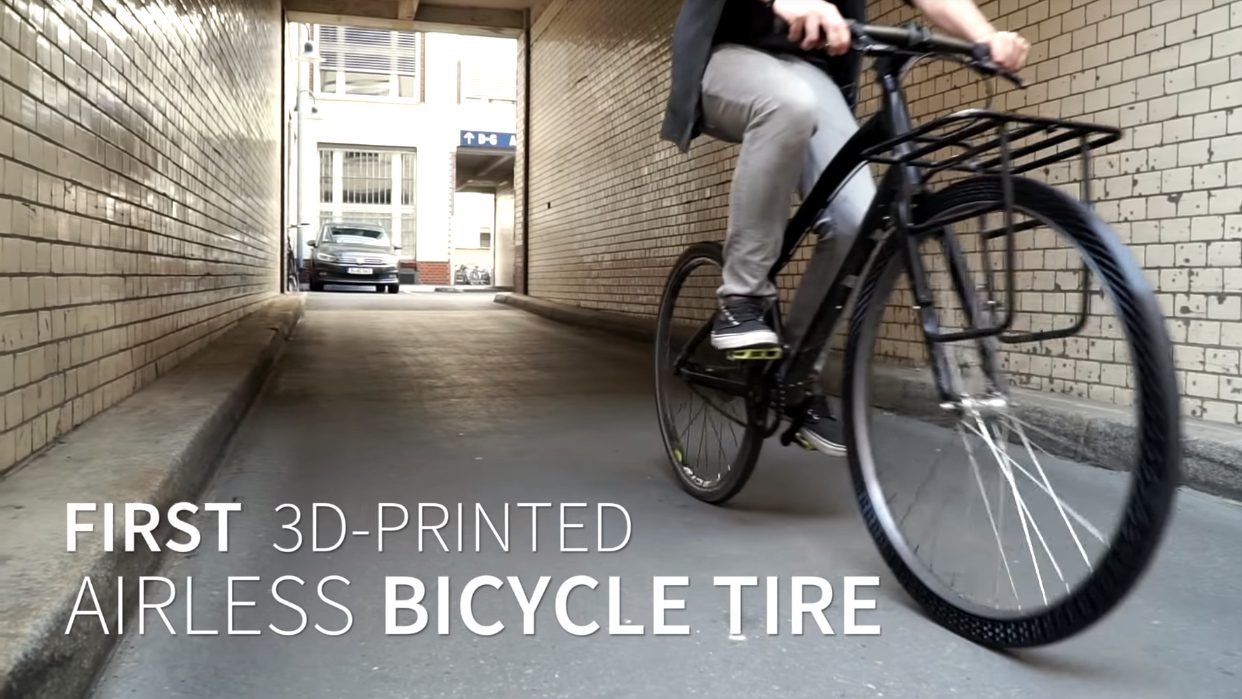
Upgrade Your Ride with a 3D Printed Airless Bicycle Tire?
Reading Time: 3 minutesTo showcase their new flexible filament, 3D printer manufacturer BigRep fabricated a 3D printed airless bicycle tire and took it for a spin on the streets of Berlin. Don’t Miss: BigRep Launches New Pro Flex Filament for 3D Printing Summer’s here! It’s time to dust off your trusty bicycle and take it…
-

BigRep Prototypes Big with a 3D Printed Wheel Rim
Reading Time: 3 minutesProduct Designer Marco Mattia Cristofori from BigRep turned to the custom wheel rim for a development challenge, creating a prototype virtually indistinguishable from the real thing. BigRep, the German mechanical engineering company, is reinventing the wheel, so to speak. Marco Mattia Cristofori, a product designer at the company, wanted to show the…
-

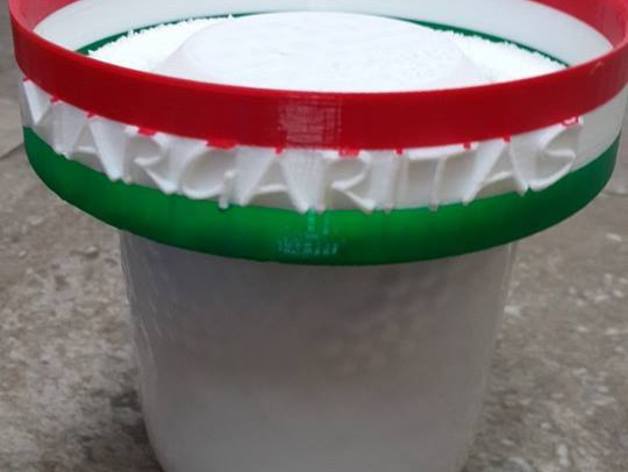
Weekend Project: Five Things to 3D Print for Your Cinco De Mayo Celebrations
Reading Time: 4 minutesAre you getting ready to celebrate the Mexican holiday of Cinco de Mayo this weekend? Prep for the festivities, which usually entail endless margaritas, music, and food, with some of these Cinco de Mayo-themed 3D prints! Today is May 5th, and while that might seem like an ordinary day to a majority…
-

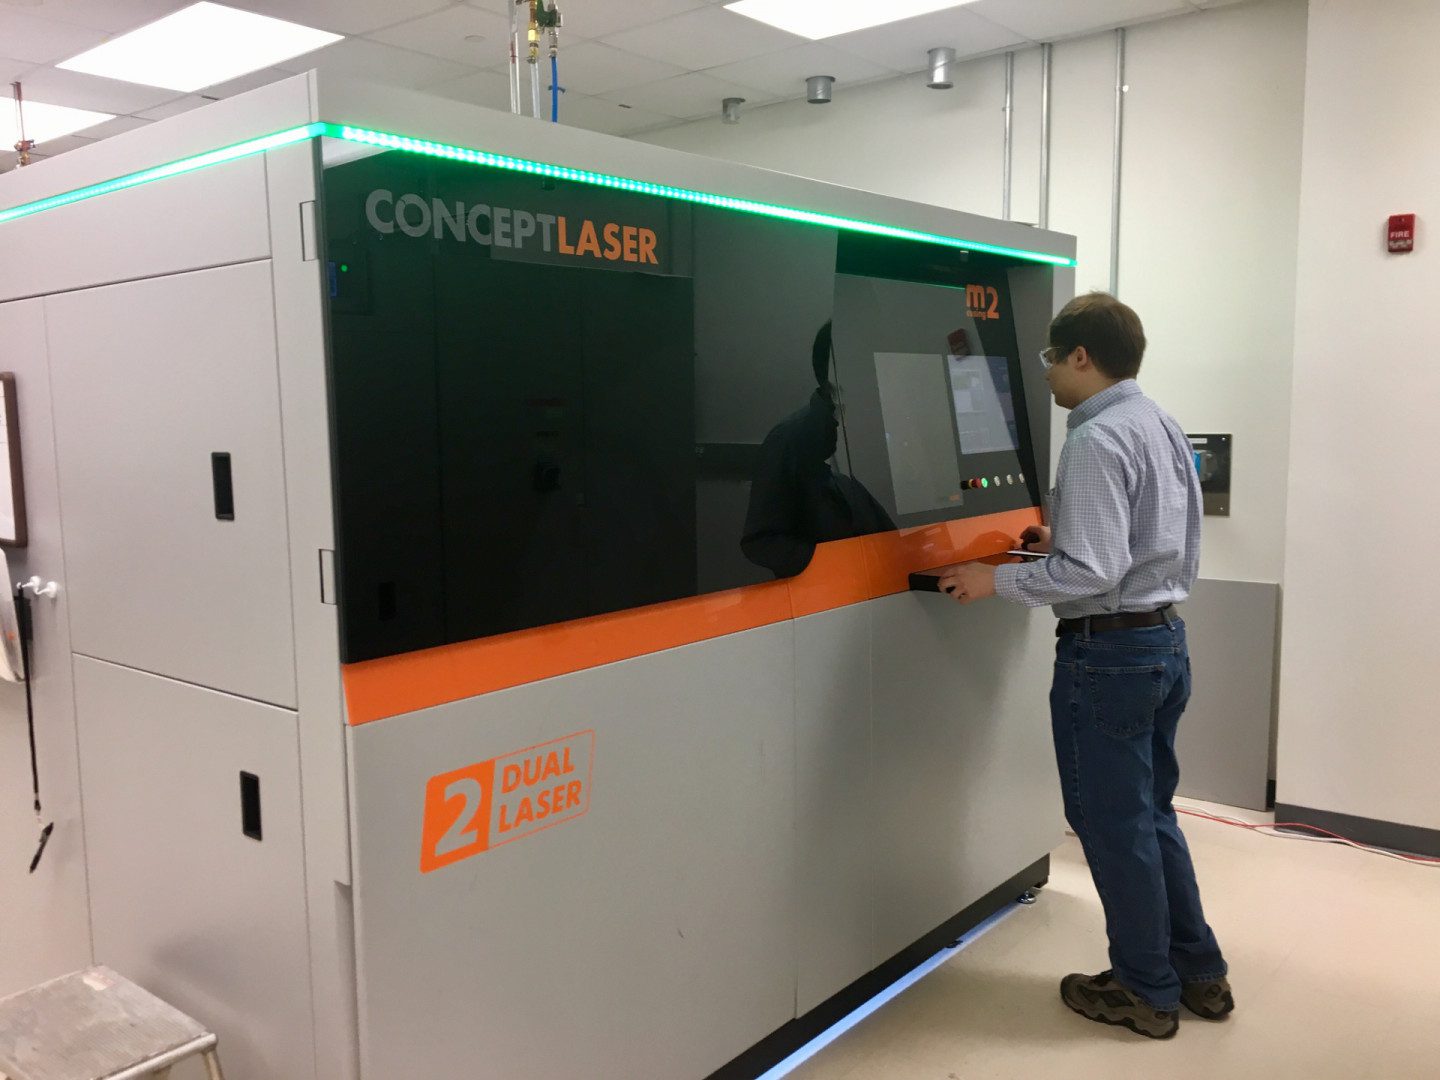
US Navy Awards GE $9 Million Contract for 3D Printing Research
Reading Time: 4 minutesGE awarded $9 million contract by US Navy to develop framework to rapidly 3D print replacement parts for ships, aircraft, and other critical military assets. The focus of the research is 3D printing with metal. A team of scientists at GE Global Research, the technology development arm for General Electric, have been…
-

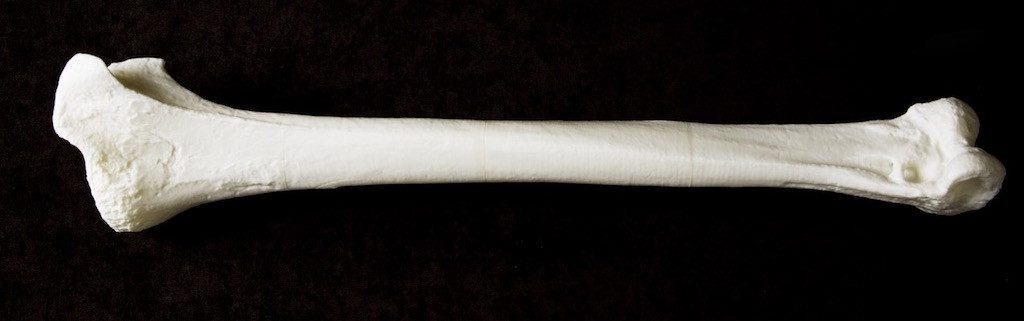
Giant 3D Printed Bones Help Students Learn About Extinct Moa Birds
Reading Time: 3 minutesMindkits is a “family run and kiwi-owned” tech company whose latest project brings extinct New Zealand moa bones to classrooms via 3D scanning. With models of the bones in hand, teachers and students can prep and print them in full size. The extinct New Zealand moa was an interesting bird. Flightless and looking…
-

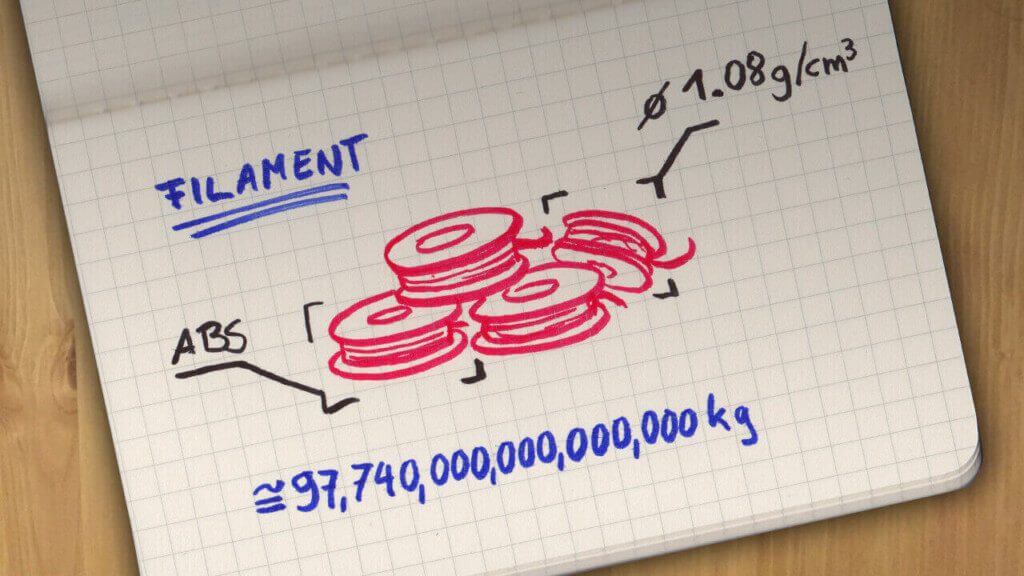
What Would it Take to 3D Print a 1:1 Scale Death Star?
Reading Time: 4 minutesA 3D printed Death Star in its original size and glory – that’s a 3D printing project of galactic proportions. Franklin Houser has crunched the numbers. So, what does it take to 3D print a 1:1 scale Death Star? The question I have asked myself depends on several variables. For simplicity, I will…
-
![[DEAL] Save up to $29 on 2.85mm colorFabb nGen Filament](data:image/svg+xml;charset=utf-8,%3Csvg xmlns%3D'http%3A%2F%2Fwww.w3.org%2F2000%2Fsvg' viewBox%3D'0 0 954 537'%2F%3E)
[DEAL] Save up to $29 on 2.85mm colorFabb nGen Filament
Reading Time: 2 minutesOver on Amazon.com, select colors of 2.85mm colorFabb nGen filament can be had for silly prices compared to their usual premium. A hardy filament billed as an all-rounder for everyday 3D printing use, colorFabb’s nGen is a popular choice for ease of printing and vibrant colors. There’s no denying it’s not your…
-

Take Part in 3D Printing a Massive Rosie the Riveter Sculpture
Reading Time: 3 minutesAn ambitious new collaboration between We the Builders and Adam Savage seeks to crowd-source and 3D print a six foot tall sculpture of Rosie the Riveter for the Nation of Makers Conference in June. The concept of We the Builders is simple to the point of genius. They assemble large sculptures of…
-

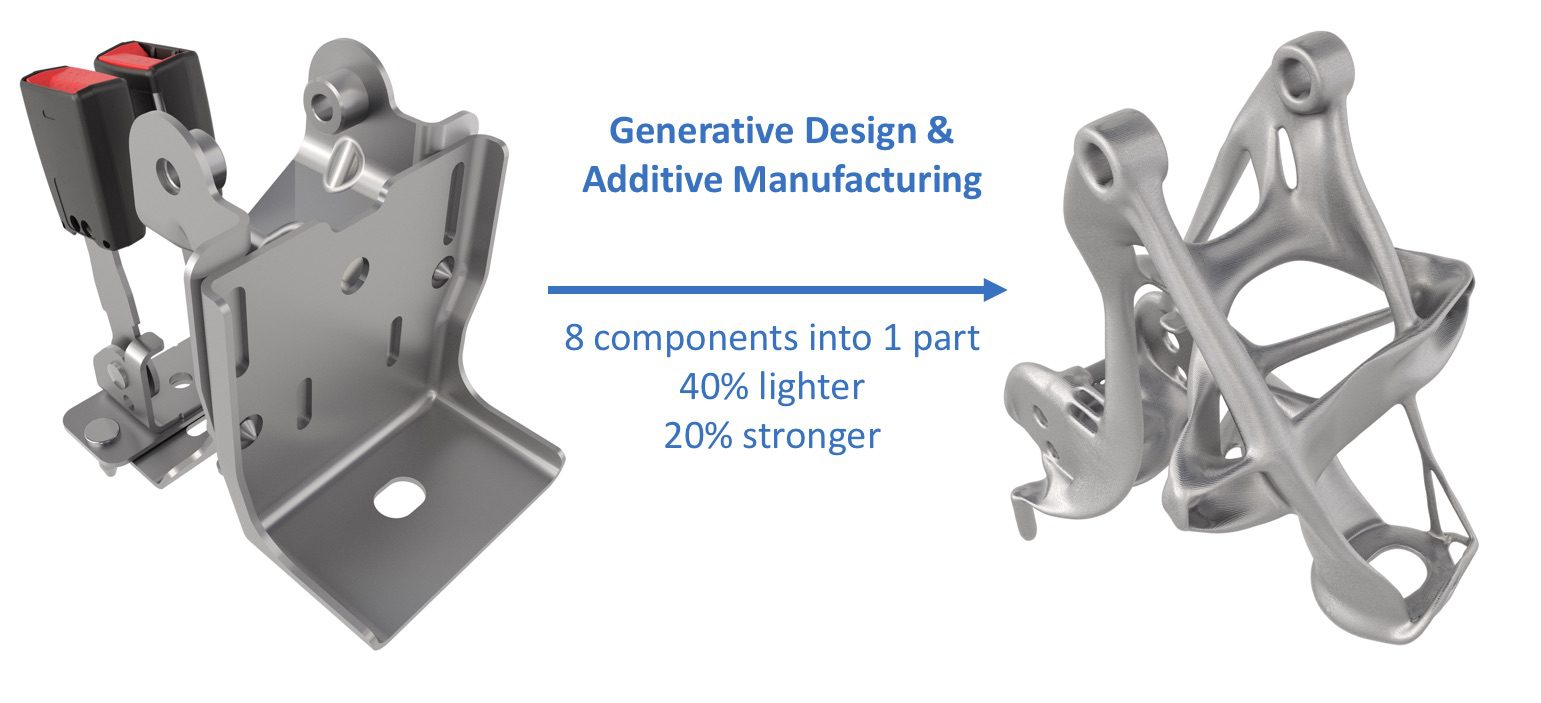
GM and Autodesk Using Additive Manufacturing for Lighter Vehicles
Reading Time: 3 minutesGM is using Autodesk’s generative design technology and additive manufacturing to fabricate lighter automotive parts; this seat bracket is 40% lighter and 20% stronger than its predecessor. General Motors is using generative design software by Autodesk to develop the next generation of lightweight vehicles. According to the automaker, the new technology will…
-

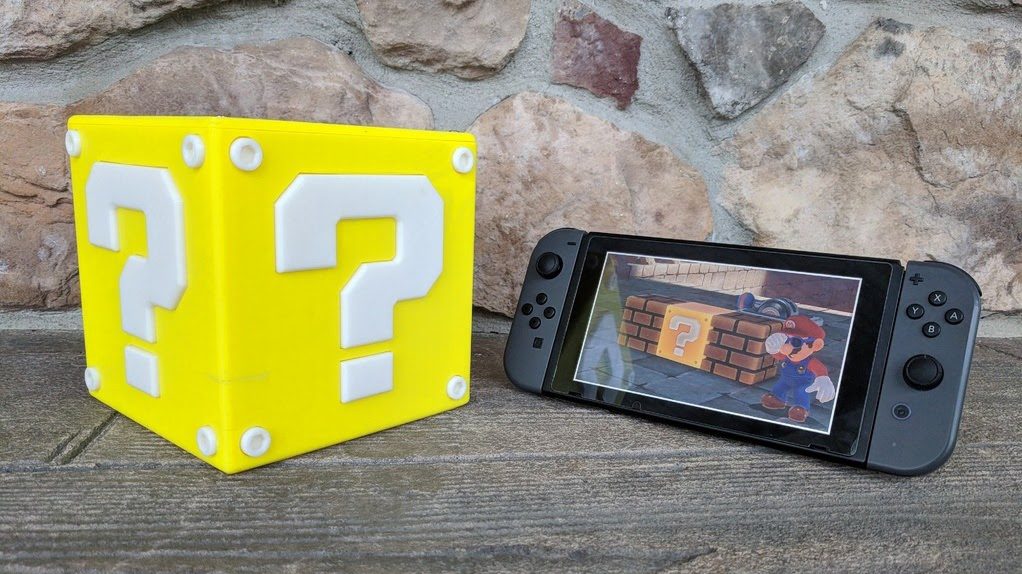
Project of the Week: Make Your Own Coin-Spitting Mario Question Block
Reading Time: 3 minutesFor this week’s Project of the Week, 3D print and Arduino your way to this coin-spitting Question Block from universe of Nintendo favorite, Mario. Loose change, shrapnel… whatever you call it, the blight of small denomination coins deserves better than sitting in a jar on the shelf at home. Which is perhaps…
-

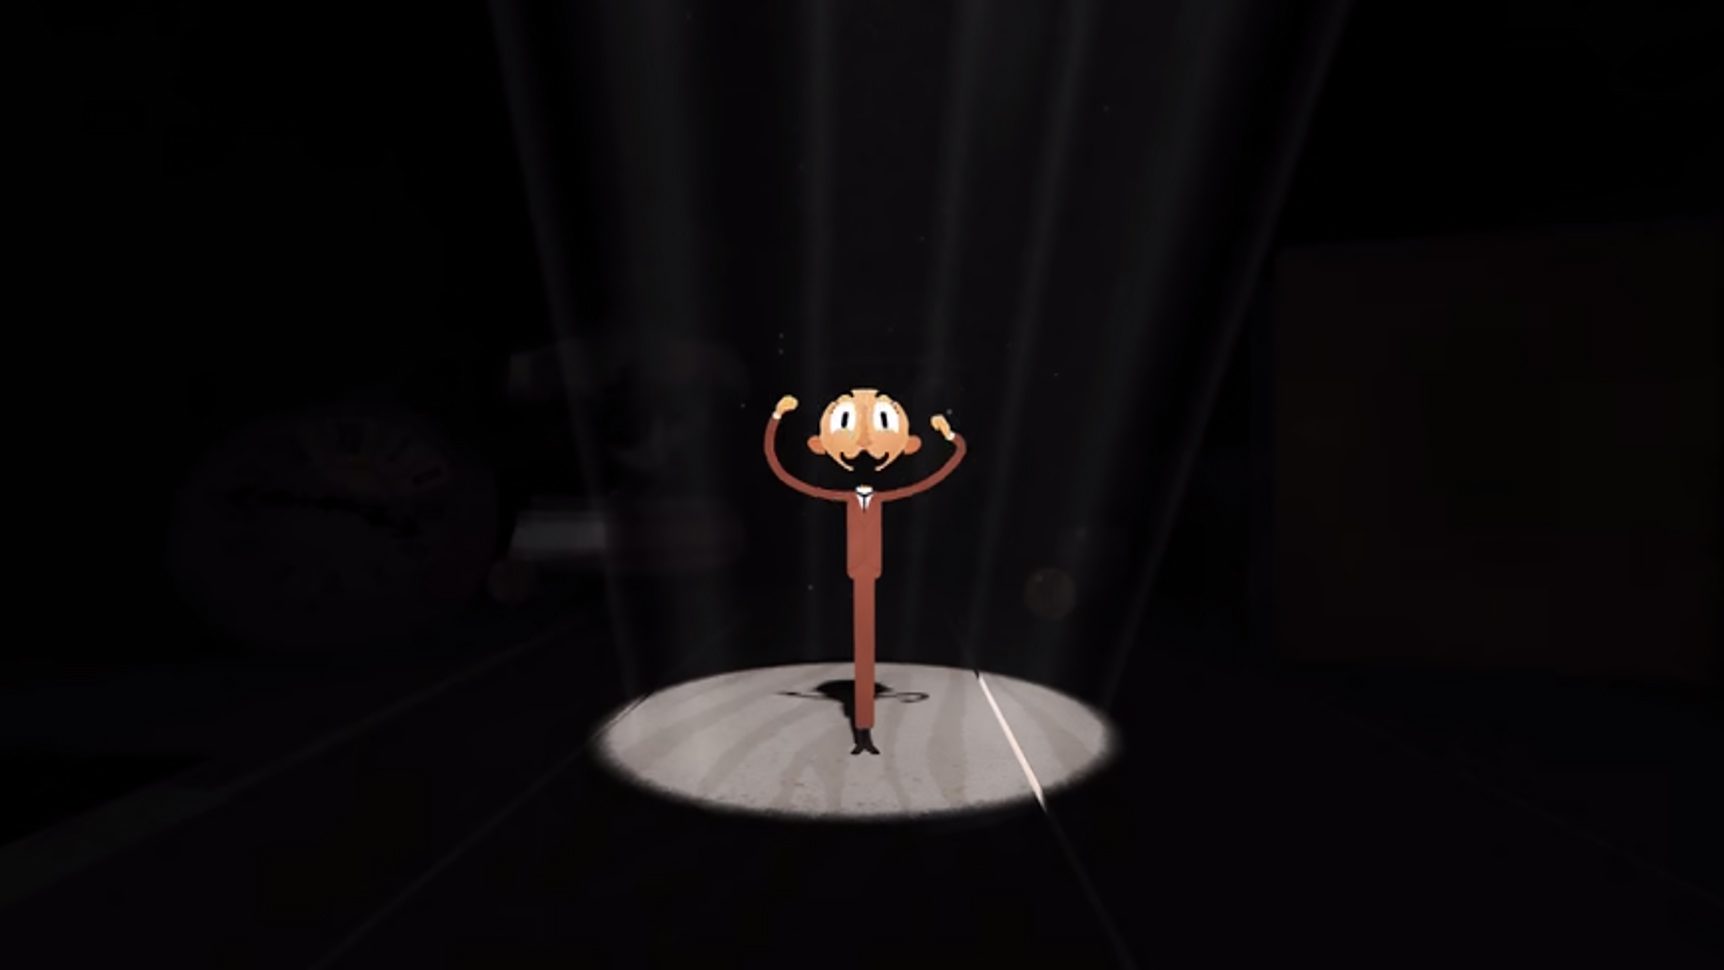
Google Takes Us to the Moon with its First VR Doodle
Reading Time: 2 minutesTo celebrate its first VR Google Doodle, the internet giant dreams big with a charming animation charting illusionist and film director Georges Méliès, creator of early cinema classic Le Voyage dans la Lune. Spicing up the search giant’s homepage since 1998, the Google Doodle has become something of a pop culture mainstay. Be…
-

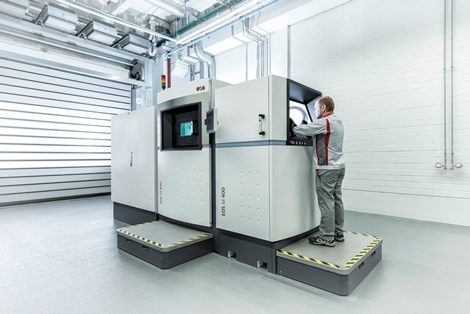
Audi Partners with EOS and SLM Solutions to Implement 3D Printing
Reading Time: 3 minutesAudi is pairing up with EOS who will implement modern 3D printing technology into automobile manufacturing. However, the German car manufacturer is also working with SLM and using their selective laser melting processes. Over the course of 30 years, 3D printing has proven itself as a useful technology in the development of automobiles,…
-
![[DEAL] Save $55 on Anycubic’s i3 Mega Ultrabase 3D Printer](data:image/svg+xml;charset=utf-8,%3Csvg xmlns%3D'http%3A%2F%2Fwww.w3.org%2F2000%2Fsvg' viewBox%3D'0 0 1778 1000'%2F%3E)
[DEAL] Save $55 on Anycubic’s i3 Mega Ultrabase 3D Printer
Reading Time: 2 minutesThe Anycubic i3 Mega is already good value for money, but for a limited time today that goes doubly so as Amazon.com sees a Lightning Deal reduction of $55.50 from this 3D printer’s usual retail price. The Anycubic i3 Mega is a pretty snazzy 3D printer, combining unique looks and novel features…
-

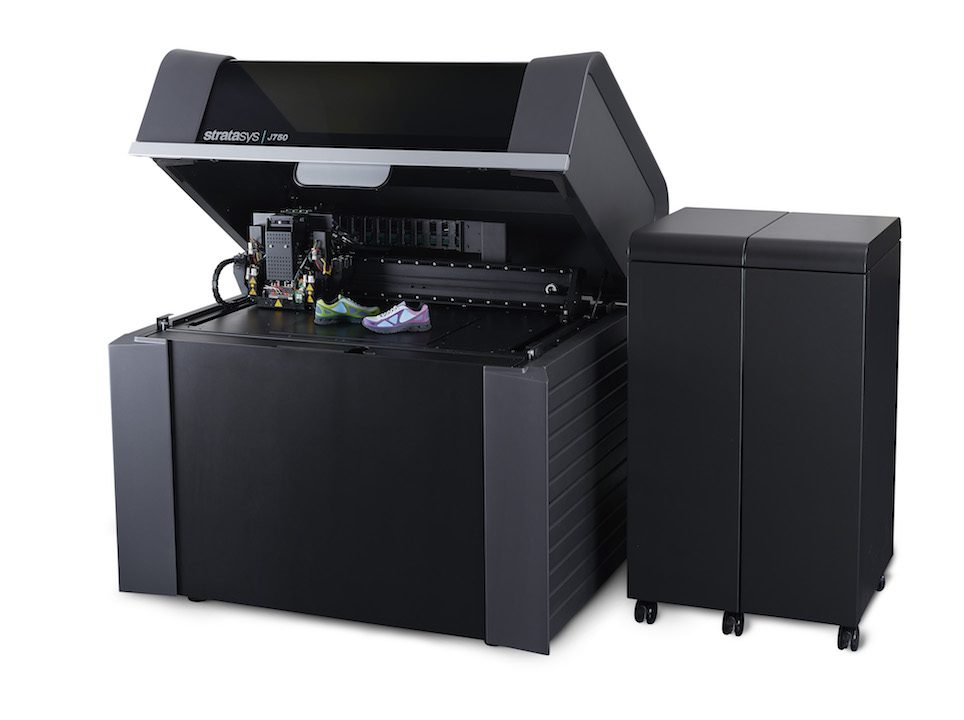
Stratasys Expands Color Capabilities of J750 Printer, Debuts New J735 Machine
Reading Time: 3 minutesAmong the multitude of Rapid + TCT announcements, Stratasys showed off the impressive capabilities of its upgraded J750 PolyJet 3D printer alongside the brand new J735. Both can print over 500,000 color combinations in addition to textures and transparent parts — all in the same print. It’s May now, but we still…
-

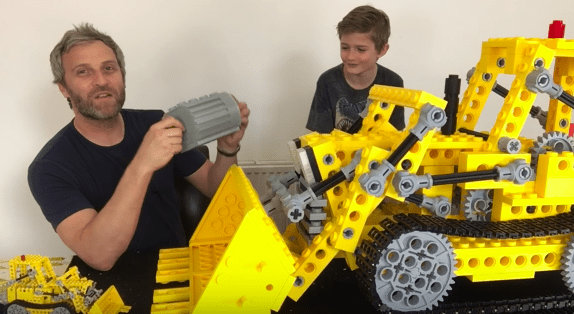
YouTuber Creates a Giant Classic LEGO Bulldozer Kit from 1979
Reading Time: 2 minutesDuring work hours, Matt Denton is director of visual effects company Micromagic Systems – known for stunning Harry Potter and Star Wars effects. In his spare time, he publishes videos on his YouTube channel Mantis Hacks. But, as a maker, he’s not content with leaving it at that – instead, he 3D prints…
-

This Folded Sculpture Captures the Pollution from the Air
Reading Time: 2 minutesHeld together with 3D printed joints and utilizing high-tech The Breath fabric, Japanese architect Kengo Kuma’s “breath/ng” sculpture looks good and does good. Standing at an impressive 6 meters tall, renowned Japanese architect Kengo Kuma‘s breath/ng origami-like sculpture captures the imagination as much as it does pollution in the air. Designed for…
-

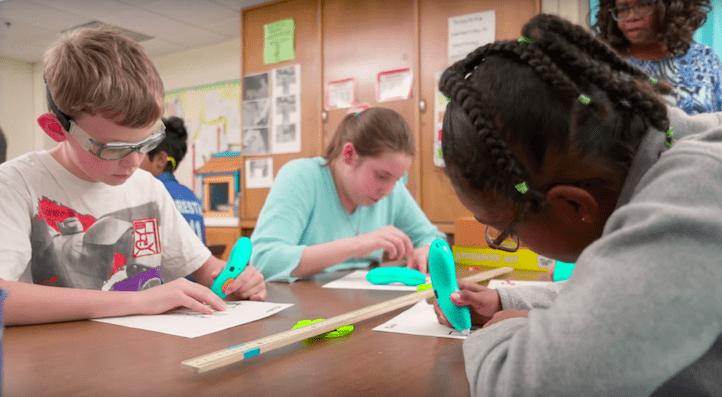
3Doodler Debuts Educational Kits for Schools
Reading Time: 3 minutesDeveloped with and for teachers, 3Doodler has unveiled learning packs for the classroom. Included in the packs are 12 3Doodler 3D pens, 1,200 strands of filament and lesson plans, which the company claims can improve concentration among students. 3Doodler, the company behind what is though to be the world’s first 3D printing pen,…
-

Make a Better Cooling Fan Blower using a 3D Printer and Hard Disk Drive Motor
Reading Time: 3 minutesMark Rehorst is a blogger detailing his technical projects. For his latest post, he worked on creating an easy to produce blower for a remote cooling fan. For this, he turned to a hard disk drive motor and a few 3D printed parts. Blogger Mark Rehorst has spent a long time finding…
-
3D Print With Improved Hemp Filament
Reading Time: 3 minutesSave the planet and print using hemp: 3Dfuel is now offering a new, improved Entwined hemp filament with some “pretty big” changes from their v1 first release of the material. Although we believe 3D printing could save our environment by reducing waste and speeding up manufacturing processes, there is yet some way to…

![[DEAL] Learn Some 3D Printing Smarts with 3D Printing for Dummies, just $15.58](https://www.blogdot.tv/wp-content/uploads/2018/05/deal-learn-some-3d-printing-smarts-with-3d-printing-for-dummies-just-15-58.jpg)

![[DEAL] Save up to $29 on 2.85mm colorFabb nGen Filament](https://www.blogdot.tv/wp-content/uploads/2018/05/deal-save-up-to-29-on-2-85mm-colorfabb-ngen-filament.jpg)

![[DEAL] Save $55 on Anycubic’s i3 Mega Ultrabase 3D Printer](https://www.blogdot.tv/wp-content/uploads/2018/05/deal-save-55-on-anycubics-i3-mega-ultrabase-3d-printer.jpg)