
MIDI Fighter-style controllers (MIDI controllers with grids of arcade buttons) have been a staple of the DIY MIDI controller community for years. This project, featured in the latest issue of HackSpace magazine, continues that tradition with the Raspberry Pi Pico. A grid of 16 arcade buttons lets you play MIDI notes faster than you can yell “Hadouken!”, either live with hardware or with your digital audio workstation (DAW) of choice.
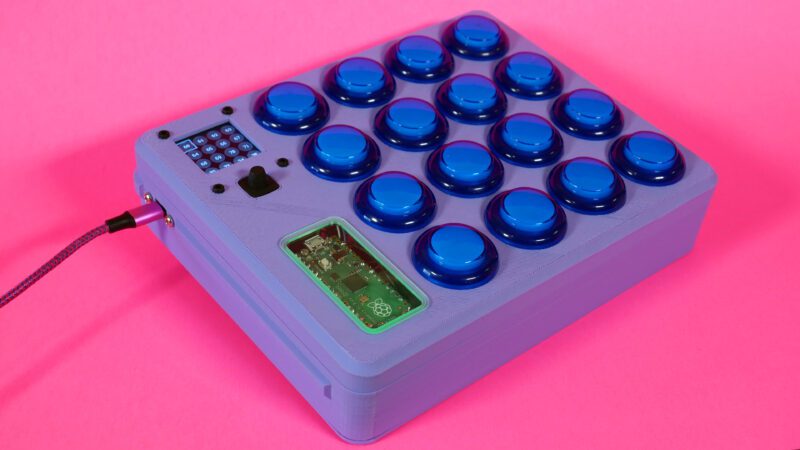
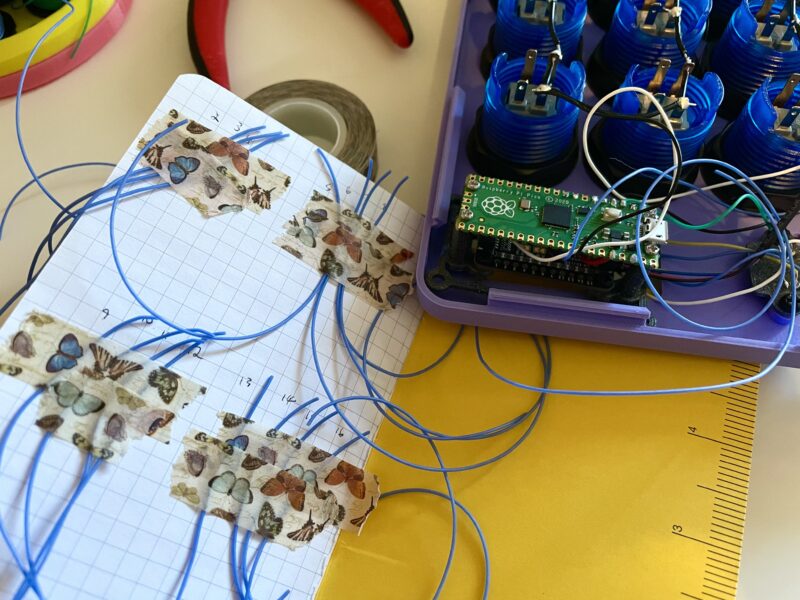
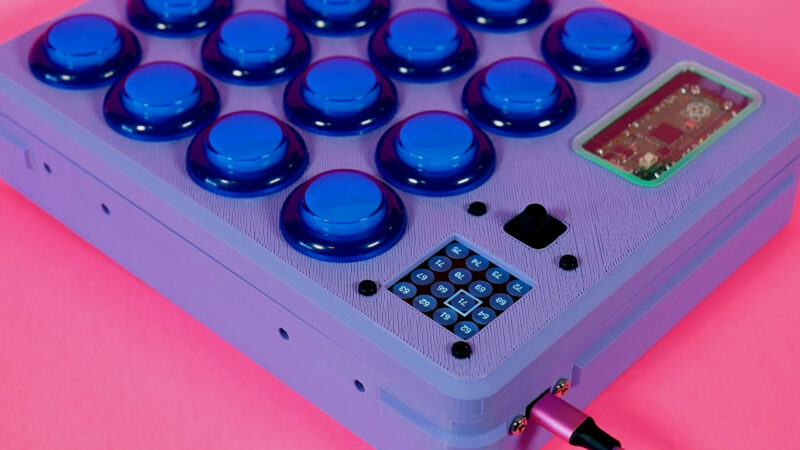
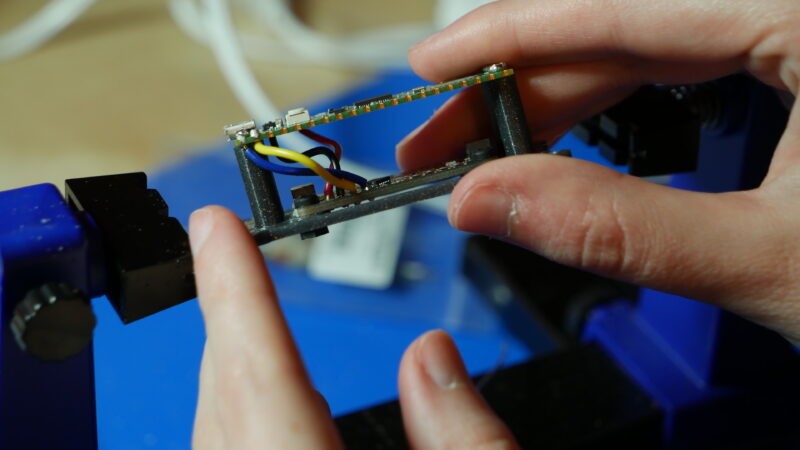
The Pico is the perfect board for a project like this. With all the GPIO pins, you can directly wire your inputs and outputs without issue. The copious GPIO also allows this MIDI controller to have some special features. There is a screen with a GUI representing the 4×4 button grid, along with the assigned MIDI note numbers. Below the screen is a five-way navigation switch that allows you to select the individual buttons and adjust their MIDI note number on the fly rather than having to adjust the code.
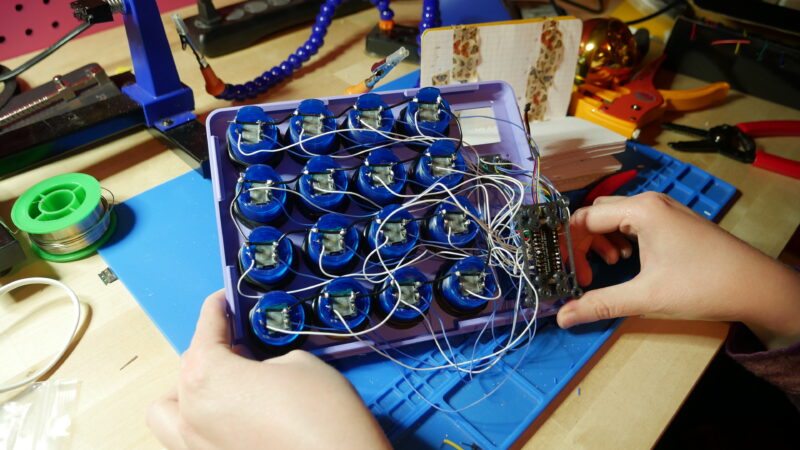
Finally, there is an AW9523 expander board for control over the arcade buttons’ LEDs. Both the screen and AW9523 are Adafruit STEMMA boards, which means they can be chained together to work over I2C.
Of course, there are some parts of this project that are optional, like the buttons’ LEDs and the screen. Feel free to use this build as a jumping-off point for a simpler MIDI controller or change up some of the features to better suit your needs.
Inspiration
Noé Ruiz and I love to collaborate on projects together. We’ve worked on a few MIDI projects in the past, and had discussed wanting to do a MIDI Fighter at some point. The MIDI Fighter-style controller also has a special place in my maker heart, since it was my very first DIY MIDI project that I worked on a few years ago. It had code written with Arduino, and was one of my first big soldering projects as well.
When the Raspberry Pi Pico came out, Noé and I thought it would be perfect for a MIDI Fighter, since it had so many GPIO. Noé also wanted to add another feature: the ability to change MIDI notes on the fly instead of having to edit the code. Noé is an accomplished beat drummer and felt that this feature would streamline his live drumming process when working on a beat with his DAW and software instruments. I was excited for the challenge to implement that feature and code up a user-friendly GUI. I think that it really makes this version of the classic MIDI Fighter-style controller stand out from the crowd.
Usage
The Raspberry Pi Pico MIDI Fighter has features that make it ideal for both playing live and noodling at home working on a track. You can use it with your computer’s DAW over USB and change the assigned MIDI notes on the fly for different settings or to different note input options. The fast and accurate nature of the arcade buttons makes them great candidates for live beat making and performance.
For more on this project’s 3D-printed case, assembly and code, head to page 52 of the latest issue of HackSpace magazine.
And an in-depth, step-by-step tutorial by Liz Clark and Noé Ruiz is available on the Adafruit Learning System.
Issue 43 of HackSpace magazine is on sale NOW!
Each month, HackSpace magazine brings you the best projects, tips, tricks and tutorials from the makersphere. You can get it from the Raspberry Pi Press online store or your local newsagents.
As always, every issue is free to download from the HackSpace magazine website.
Website: LINK