
Trainbot/OnlyTrains
Room with a view
Jonathan first came across Raspberry Pi when he was still an electrical engineering student back in 2014. He promptly put his first Model A Raspberry Pi to good use controlling the door to a co-working space at the ETH Entrepreneur Club where he was a member, using Slack. There isn’t much call for the computer vision skills that were part of his degree course, but Jonathan enjoys creating projects that exploit his technical knowledge.
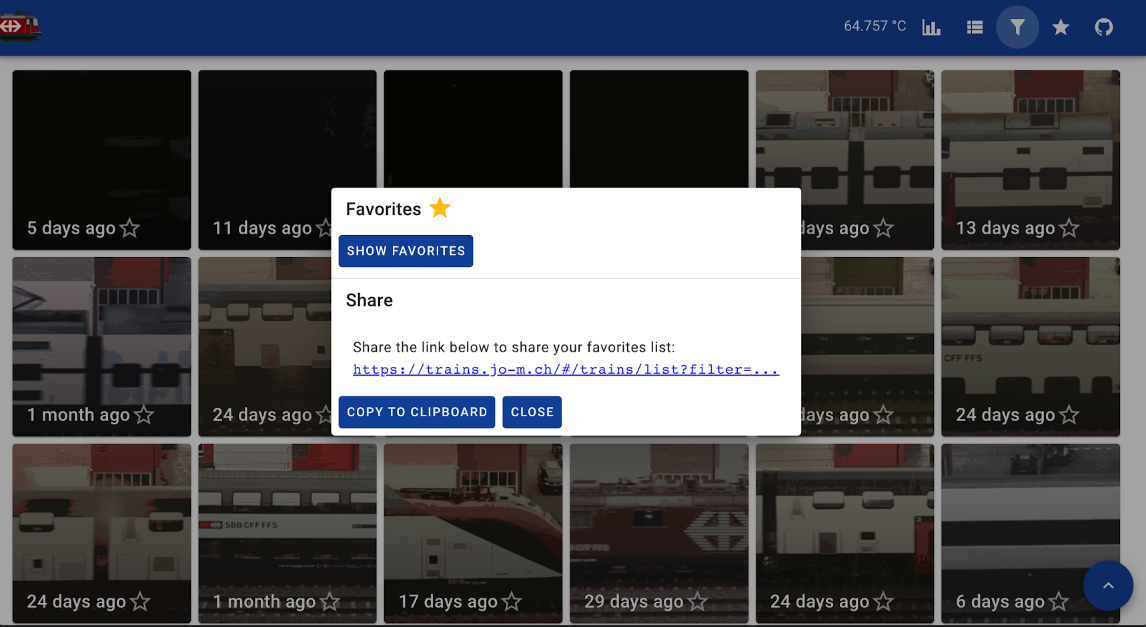
When Jonathan moved into his apartment two years ago, he quickly realised that the unique view it gave him of the trains going by would make for an ideal project subject. “Inspired by the slit-scan finisher photographs from bike races, I then came up with the idea of creating pictures with similar aesthetics – but of trains instead of bikes, and a cheap camera instead of specialist hardware,” he explains. Slit-scan photography creates an animation from a series of still shots. For his train version, Jonathan was keen to use the Go programming language’s computer vision and cross-compilation tools, and see how well it worked alongside older tech such as SQLite and FTP.
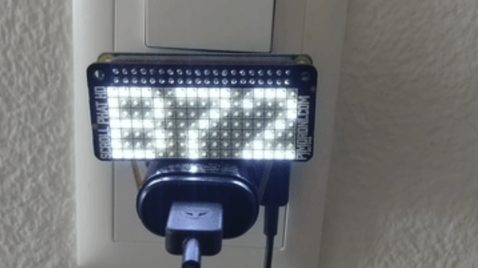
Jonathan chose Raspberry Pi 4 to run Trainbot, as “it offers all that is needed for such a project: quite a lot of compute power, cheap, good ergonomics and docs, and good software support.” It is also powerful enough to handle the graphical computations required, while being less expensive than a board with a dedicated graphics processor. He notes that “the computer vision used in Trainbot is fairly naïve and simple. There is no camera calibration, image stabilisation, undistortion, perspective mapping, or ‘real’ object tracking.”

Name that train!
With plenty of Raspberry Pi and Linux experience under his belt, Jonathan’s challenges for the Trainbot included creating mounting plates and other small parts to fit inside the waterproof case he bought, so the AI camera setup could live outdoors on his balcony, as well as developing and testing the computer vision algorithm. He needed data with which to train the algorithm and spent “quite some time” recording video with his phone first, before “semi-manually chopping up the recordings and setting a test harness with them”.

There was also a lot of “testing and tuning” involved in ensuring the computer vision setup was able to recognise most trains. “I soon figured out that patch-matching alone is not robust enough to estimate train velocity.” Jonathan notes that this led to missed frames, or wrongly estimated ones, which led to chopped-up images. To address this, he added a step after the initial image gathering which applied an estimation and smoothing process using RANSAC and “ a simple s = v0 + a*t model” to estimate start velocity and acceleration. RANSAC is a classical computer vision approach used to estimate a model when there are lots of outliers. He wrote much of the code himself, including instructions for patch-matching and the low-level computer vision, to keep things as light as possible.

With half of the coding and cross-compilation done in Go, Jonathan tried out Trainbot on his Raspberry Pi. At first, the project used a webcam but, as soon as Jonathan realised Raspberry Pi also makes camera modules, he switched over to HQ Camera Module 3, resulting in “much higher image quality (and very good software support via libcamera) than a cheap webcam, at a low price point.” Next, he intends to develop the machine learning element to recognise and highlight ‘atypical’ trains, something that will be aided by him also adding details from the GTFS+/GTFS real-time timetables available in machine readable format from Swiss public transport companies.