Schlagwort: tech

  • Building interactive plant lamps with Arduino

    Building interactive plant lamps with Arduino

    Reading Time: 2 minutes

    Building interactive plant lamps with Arduino

    Arduino TeamMarch 15th, 2018

    As part of a physical interaction and realization course at KTH Royal Institute of Technology, a team of students decided to build an interactive installation called “Alone Together

    Their setup consists of sensor-equipped, networking artificial plants. The leafy plant model, dubbed “Thorulf,” uses flex sensors to detect leaf movement, while “Svamp” mushrooms employ circular force sensors for interaction.

    Arduino Uno boards, along with Bluetooth modules and a computer running an openFrameworks server, allow the plants to communicate. When one plant is bent, it signals its partner to light up with a fun LED pattern as seen in the video below.

    We imagine a series of plants all around the Library, assigned to one another to communicate. Our concept could even be applied over the web, so that the plants could be long distances apart, and used to communicate from one country to another, similar to the “friendship lamp” concept. In this case, the light interaction could be changed, so that the plant stays lit up when touched.

    More details on the project can be found here.

    [youtube https://www.youtube.com/watch?v=LcF-5bZ3rXw?feature=oembed&w=500&h=281]


    Website: LINK

  • Antique Coke machine enhanced with Arduino can counter

    Antique Coke machine enhanced with Arduino can counter

    Reading Time: < 1 minute

    Antique Coke machine enhanced with Arduino can counter

    Arduino TeamMarch 15th, 2018

    “ChrisN219” is the proud owner of an antique Coke machine that he uses to store his favorite beverages. While a very cool decoration, it doesn’t have a way to reveal how many cans are left.

    To add this functionality, he turned to an Arduino Nano along with an ultrasonic sensor that he embedded inside the machine to sense how high the cans are stacked. This allows the user to know when it’s time to stock up again, and after inserting another ultrasonic sensor to the display unit on top, an OLED screen automatically shows the sodas (or beers) available as someone approaches it.

    If you’d like to build your own, you can find more details, code, and 3D printing files in ChrisN219’s write-up.


    Website: LINK

  • We went all the way to the pyramids and found Arduinos!

    We went all the way to the pyramids and found Arduinos!

    Reading Time: 5 minutes

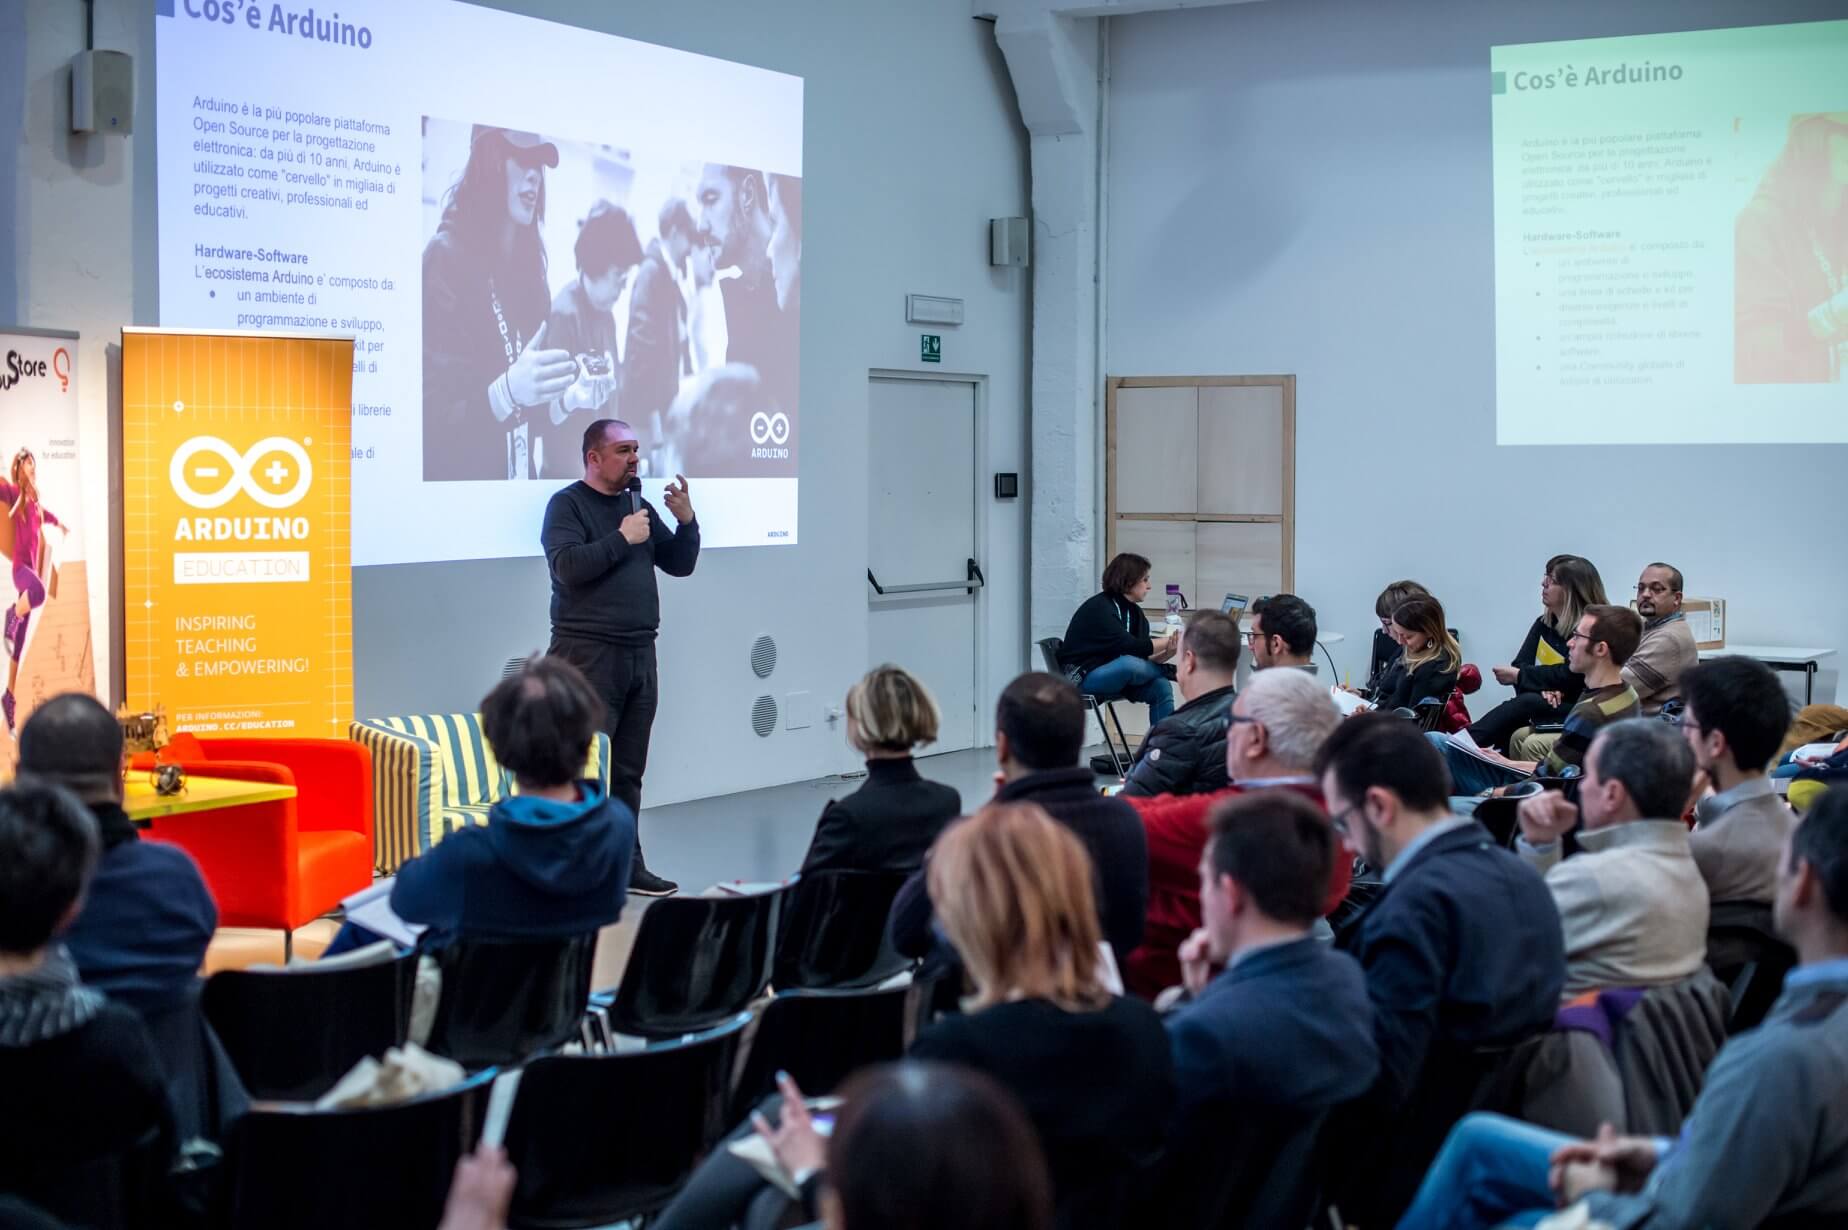
    On March 10th, I was a guest speaker at Maker Faire Cairo 2018 as a representative of Arduino. I took the opportunity as I had never been to Egypt and was really curious about the maker culture there. You can imagine that different cultures are always going to adopt ideas in various ways and Maker Faire is a great example for this. If you’ve ever been to Maker Faire Bay Area, where the event is arranged inside some old hangars and known for its steampunk character, then you would realize how very different it is from Maker Faires throughout Europe.

    Take for example, Rome, which we help organize every year (and that my partner, Massimo Banzi, curates) whose location changed for several years in a row until finding its place at the Fiumicino exhibition center and features a number of Italian universities and institutions that come and exhibit (in fact, there was a full CSI lab from the Carabinieri, the national police force, at last year’s event); but also from smaller ones like the one in Bilbao, Spain, held at an old cookie factory and that has the compromise to remain small as a way to allow makers to meet and talk to each other.

    You’ll ask yourself: what kind of Faire was Cairo then? The truth of the matter is that Maker Faire Cairo is still a small event that gathers about 10,000 people at the gardens of Smart Village, a complex inhabited by tech companies ranging from multinationals to local startups. Thanks to the support of both local and international institutions (namely the U.S. embassy), the crew behind the event put together a remarkable show that is clearly going to grow over the next couple of years.

    To start, the two days before the Faire, all the international guests and makers were invited to a tour to see the FabLabs, the city, the pyramids, the national museum with the national mummies (hundreds of them), and to get to know one another a little better. Even if I could only join for the second day, I could value the importance of this trip. It also happened in parallel with the Egyptian Maker Week, which was arranged prior to the event in an effort to raise awareness around the Maker Movement and its importance for STEAM education.

    But back to the Faire. The whole event happened outdoors; in Cairo it barely rains, so they were running no risk when they decided to book a garden to bring in some open tents and build the booths. Not to mention, the gardens were located by a fountain that kept the air fresh, despite the heat of over 30 degrees Celsius during the day. People are used to the temperature, because nobody seemed to be concerned about it. Besides, it’s all about wearing a cap, sunglasses, and drinking plenty of water. 🙂

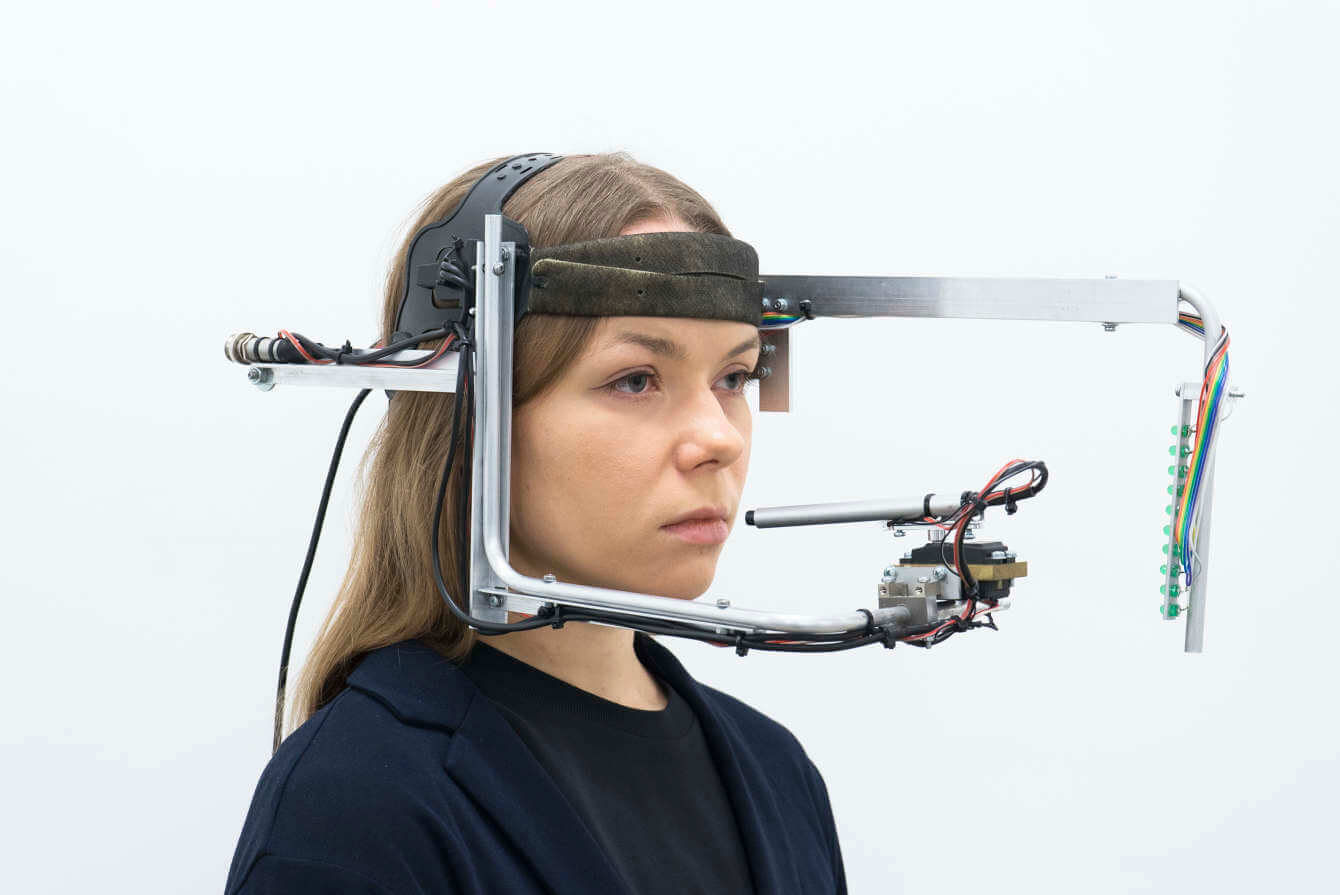
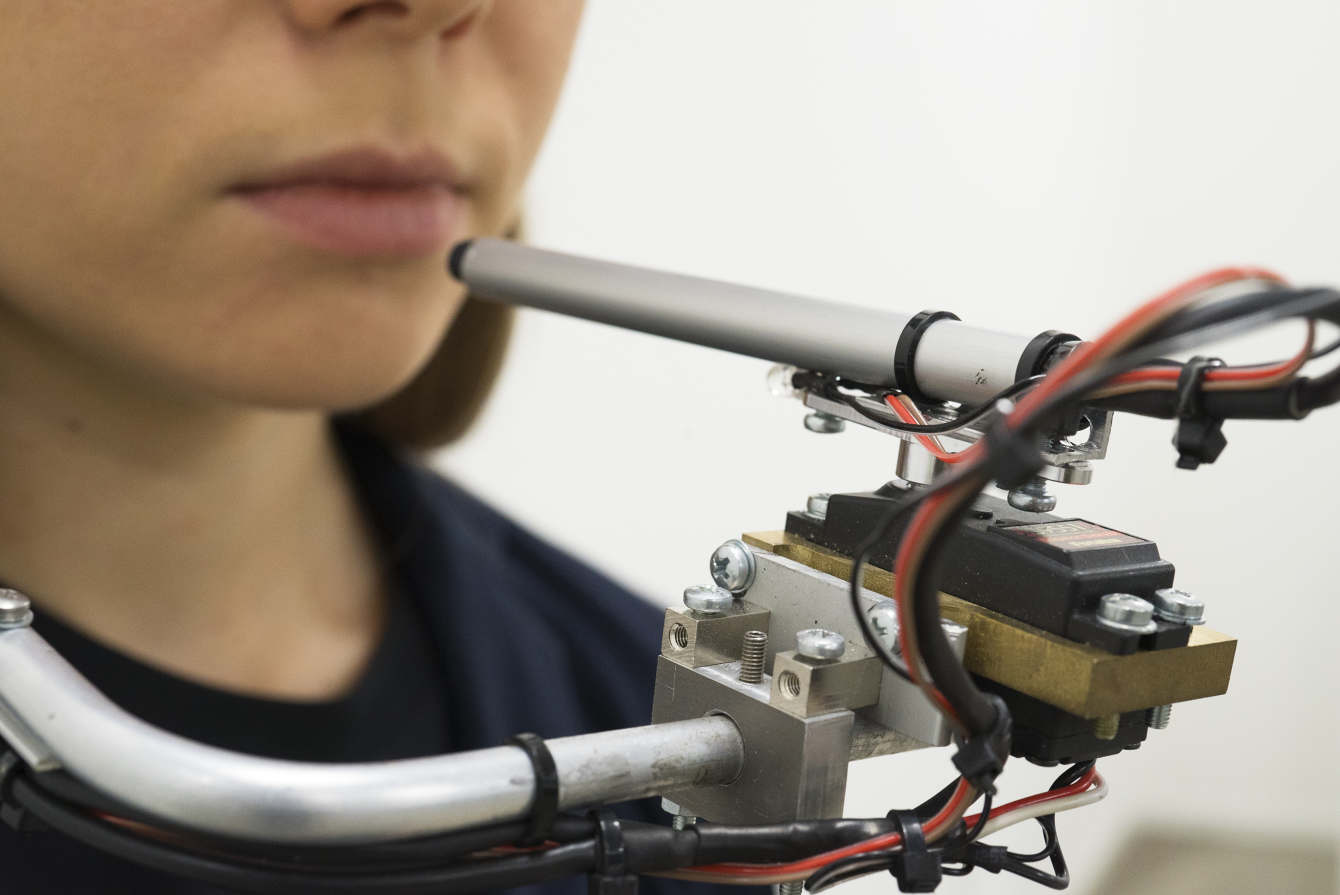
    Engineering could be considered the main theme of the Faire. Most of the projects on display, from older and younger makers alike, were exploring different topics within the field of engineering: robots looking for mines, robots making cotton candy, fighting robots, drones, a “formula student” car, a wheelchair that could go up and down stairs, the FabLab Egypt experience, underwater robots, and so on. During my talk, when I asked to the audience about their field of interest, 99% of the people were or wanted to be engineers.

    While engineering seemed to be the signature of the Faire, something that should–in my opinion– make the organizers proud about such an achievement is that there were other things going on. There was a decent amount of cosplayers that came to celebrate their geekness. I had the chance to listen to some of the international cosplay guests about how much work goes into creating certain elements of the costumes, particularly the gadgets are the problem, and specially if they have any kind of interactive technology. Yet again, cosplayers weren’t afraid of the heat either, even if their hours-long make-up work could easily be washed away by it.

    The FabLab network in Egypt had a great presence with both separate booths for some of the most permanent labs, as well as with their collective booths to show the work they do in promoting the Maker Movement. Some of their initiatives are remarkable, like the “FabLab on wheels:” a van with a mini fabrication laboratory that has been traveling across the country for an entire year and that will continue to do so in the forthcoming future.

    Small independent designers presented their work in the field of upcycling; I liked the work from a group that looked at glass, car tires, and wood as basic construction pieces. But I was also nicely surprised by a painter that created his own version of  “projection mapping” using cardboard boxes as a canvas.

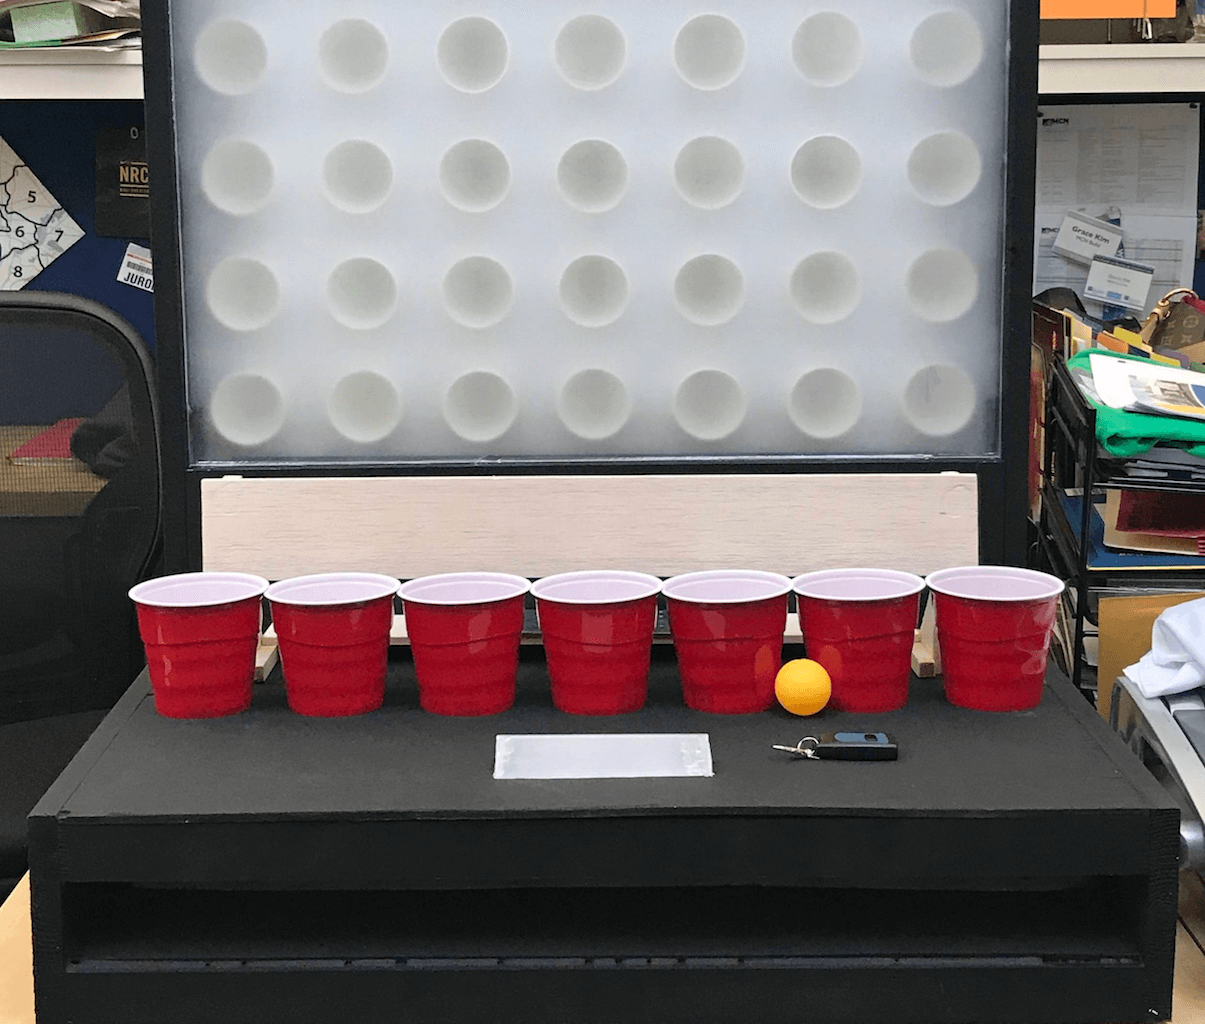
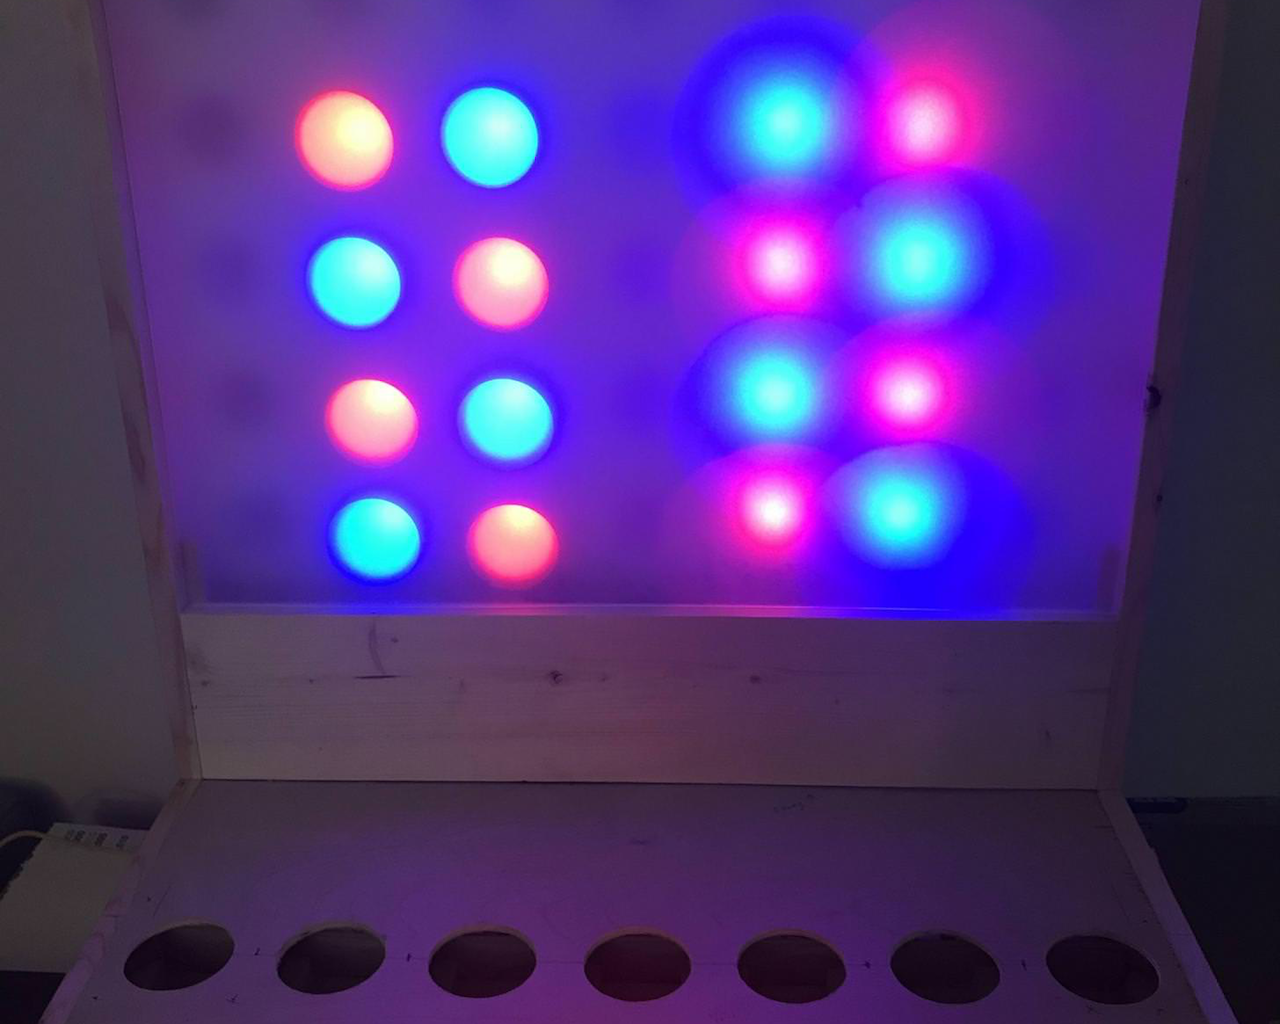
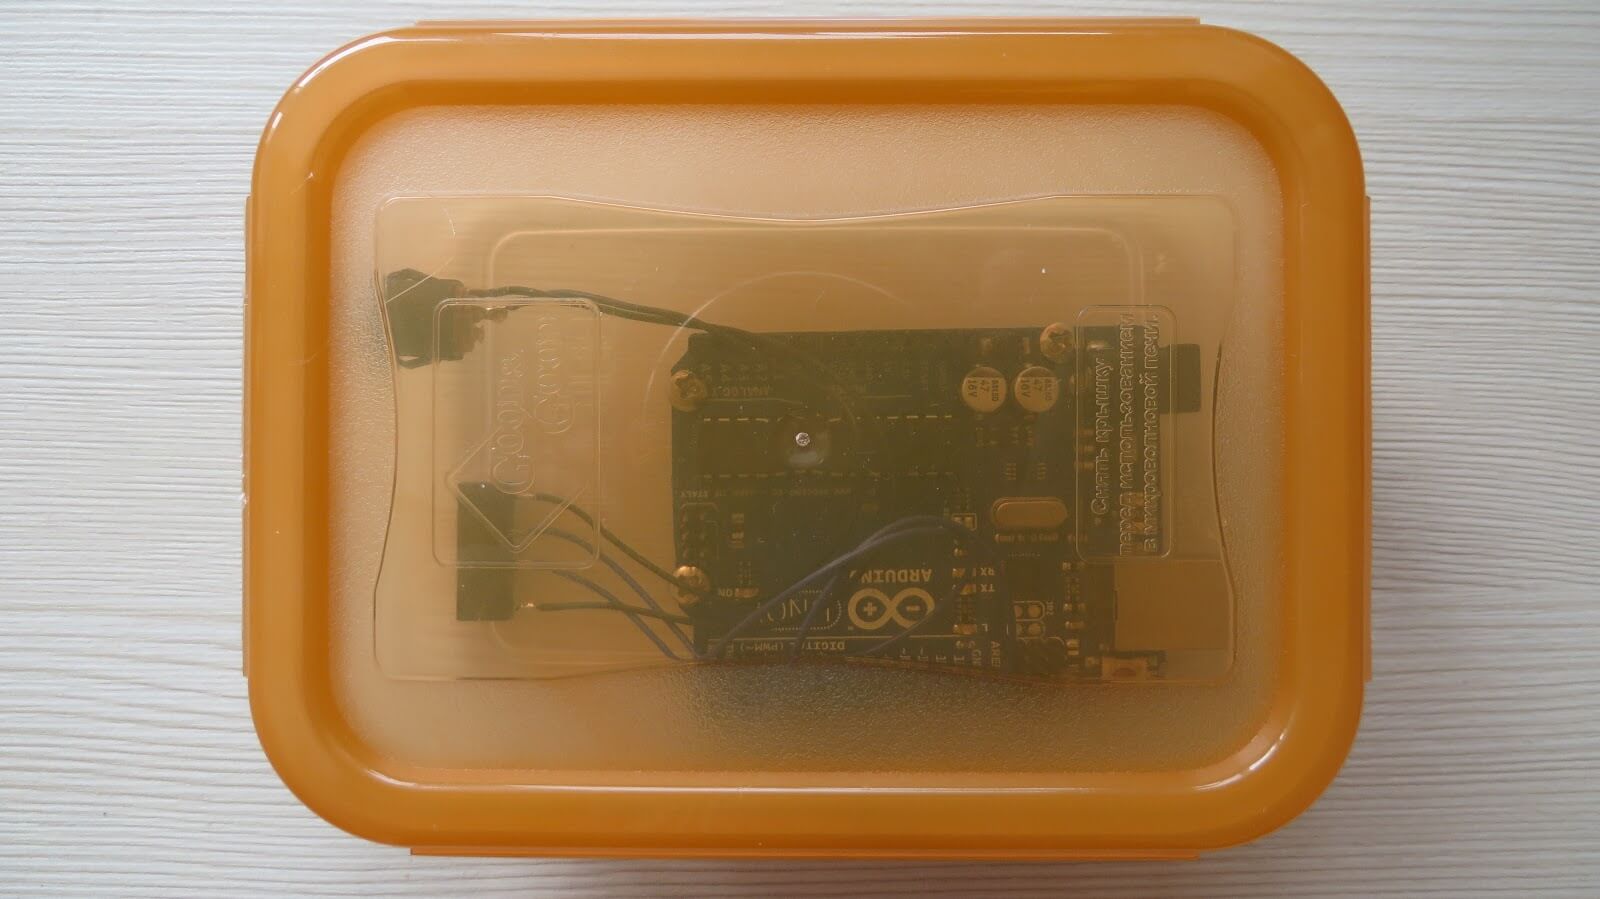
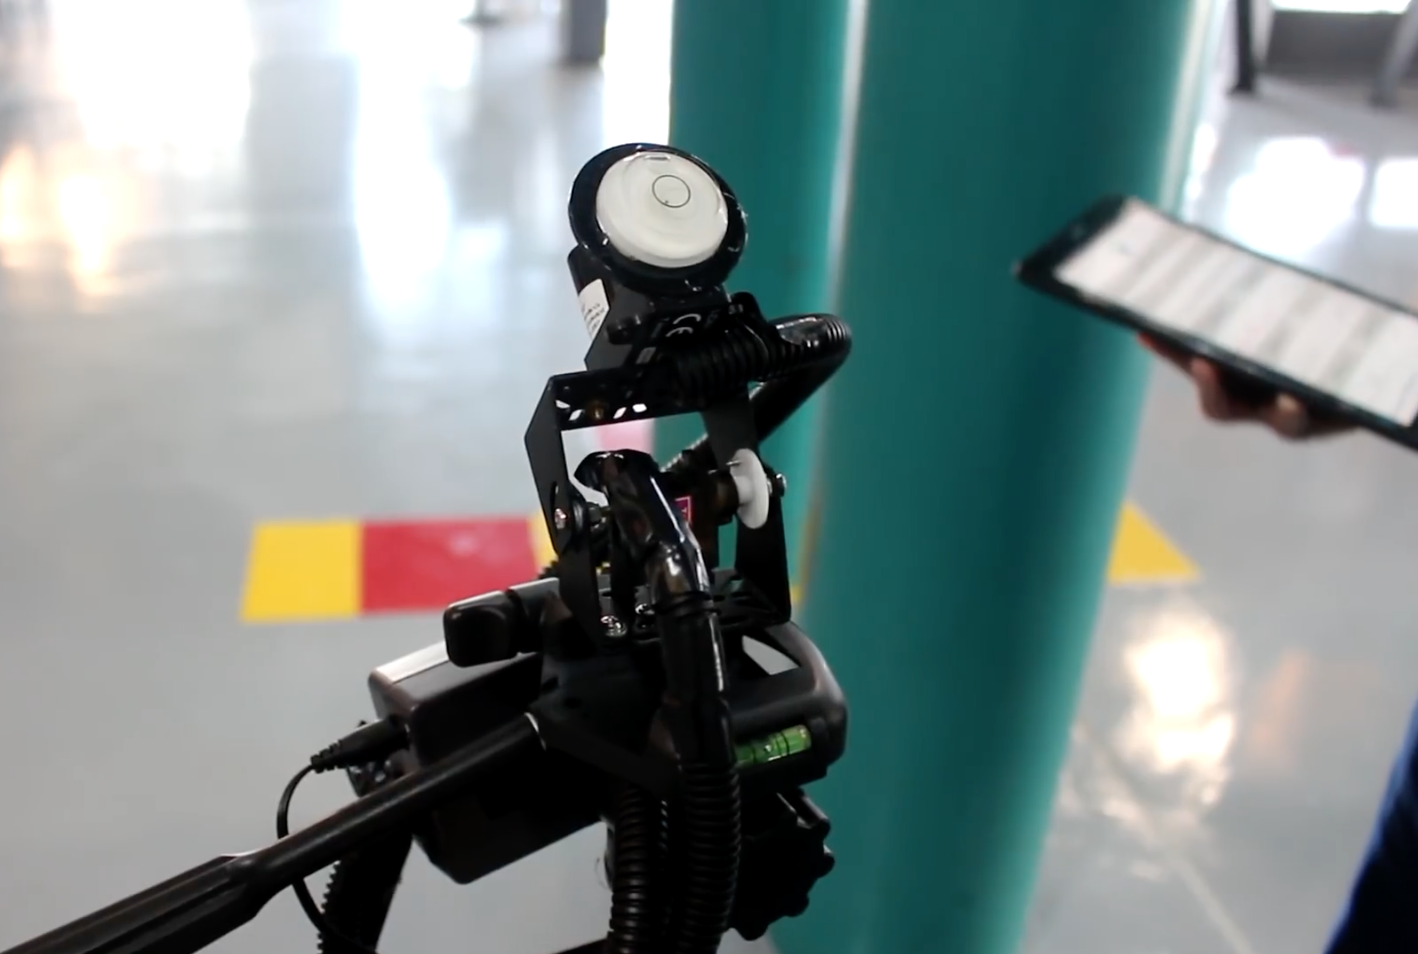
    The presence of Arduino at the Faire was simply astonishing. Most robots had something Arduino inside. The aforementioned electric wheelchair was controlled by Arduino Uno boards. There was even a vending machine that accepts cryptocurrency payments thanks to its arducrypto library! I was seriously impressed by the quality of some of the projects I saw.

    The Faire closed with a concert with hip-hop artists MTM, an Egyptian band that made their comeback at the Maker Faire Cairo. The stage was equipped with the latest LED technologies, huge DMX lights, fireworks… That’s what I call ending in style! The party took place directly on-site, at the main stage. All the makers, cosplayers, and visitors came together to dance and celebrate an outstanding event.

    But one cannot talk about something like a Maker Faire and not talk about the people behind it. The speakers, who came from all across the Middle East and beyond–had the best hosts possible: Omar, Ahmed, Madonna (sorry for not mentioning everyone, there were so many volunteers)… To all of you: thanks for a great time and for showing us around!


    Website: LINK

  • You can now use Arduino to program Linux IoT devices

    You can now use Arduino to program Linux IoT devices

    Reading Time: 2 minutes

    You can now use Arduino to program Linux IoT devices

    Arduino TeamMarch 13th, 2018

    Today, at Embedded Linux Conference 2018, Arduino announced the expansion of the number of architectures supported by its Arduino Create platform for the development of IoT applications. With this new release, Arduino Create users can manage and program a wide range of popular Linux® single-board computers like the AAEON® UP² board, Raspberry Pi® and BeagleBone® as if they were regular Arduino boards. Multiple Arduino programs can run simultaneously on a Linux-based board and interact and communicate with each other, leveraging the capabilities provided by the new Arduino Connector. Moreover, IoT devices can be managed and updated remotely, independently from where they are located.

    To further simplify the user journey, Arduino has also developed a novel out-of-the-box experience for Raspberry Pi and BeagleBone boards, in addition to Intel®  SBCs, which enables anyone to set up a new device from scratch via the cloud without any previous knowledge by following an intuitive web-based wizard. Arduino plans to continue enriching and expanding the set of features of Arduino Create in the coming months.

    “With this release, Arduino extends its reach into edge computing, enabling anybody with Arduino programming experience to manage and develop complex multi-architecture IoT applications on gateways,” said Massimo Banzi, Arduino CTO. “This is an important step forward in democratizing access to the professional Internet of Things.”

    “At Arduino we want to empower anyone to be an active player in the digital world. Being able to run Arduino code and manage connected Linux devices is an important step in this direction, especially for IoT applications that need more computing power, like AI and computer vision,” added Fabio Violante, Arduino CEO.


    Website: LINK

  • Access doors with a color card locking system!

    Access doors with a color card locking system!

    Reading Time: 2 minutes

    Access doors with a color card locking system!

    Arduino TeamMarch 12th, 2018

    When you swipe a card through a reader, you expect it to read a magnetic stripe on one end. In other circumstances cards might contain an RFID chip, but what if the card only had a pattern of colors on it?

    That’s the idea behind the Color Lock system by Rudec Technologies. The cards have a pattern of four colors printed on one side, which are read by an array of LEDs and a TCS230 color sensor when pulled through a slot. An Arduino Uno then takes this information and lights up an LED if the correct sequence is recognized.

    This is a door locking system that uses a card with a preset color sequence printed on it to unlock the door. The system is still in the prototyping stage, i’m waiting for the actual lock part to arrive in mail to continue developing this. The idea behind this system is to avoid using RFID authentication, as it can be ‘stolen’ without contact, and this system offers a simple physical object that you use to authenticate yourself – think of it as an updated physical key. The system can offer much more than the conventional keys: if you lose your key, you simply print a new one, you can use a number of different keys for the same lock (or just one if you choose), the system logs all entries with timestamps (useful for tracking access), you can use your regular printer to print new keys, you can unlock it via Wi-Fi when paired with your phone or another device, the system can be used to authenticate in various situations (doors, cabinets, computers, entry points etc.

    It’s an interesting concept that could be taken in a variety of directions depending on security needs. A clip of the prototype can be seen below!


    Website: LINK

  • Spirotrope combines a Stirling engine, a Spirograph, and an Arduino

    Spirotrope combines a Stirling engine, a Spirograph, and an Arduino

    Reading Time: 2 minutes

    Spirotrope combines a Stirling engine, a Spirograph, and an Arduino

    Arduino TeamMarch 12th, 2018

    Witaya Junma decided to combine creations from three different time periods: a Spirograph (1965), Stirling engine (1816), and an Arduino board developed in the 2000s to form a unique art piece.

    What he came up with is the Spirotrope, which invites users to draw a pattern using a Spirograph, then place it in a special holder that spins it with a Stirling engine. This engine also provides electrical power for the Arduino, allowing it to blink a light on the moving pattern at various rates.

    These flashes make the drawings appear to rotate at different speeds, and several patterns can even appear to move independently, forming a unique layered effect.

    Hardware used includes a Stirling engine, Arduino, Spirograph, motor 12 DC, LED 3V, B10K, Capacitor 470uf 16v, diode 1N4001, TIP 31 and round belts. Software: Arduino

    Stirling engine is a heat engine that operates by expansion of hot air, which is created by an alcohol burner in this work. The engine does two jobs: it turns the wheel by giving power to the belt and generate AC currents by spinning the generators. The currents are then converted to DC by a 1N4001 diode and fed into a set of capacitors, which stabilize the currents before powering up the Arduino board. The board controls the frequency of LEDs, which can be controlled by turning the B10K potentiometer.

    The blinking LED creates the illusion of moving patterns from a rapid succession of static images.

    Be sure to check it out in the video below. More project details are available in his write-up and on Creative Applications.


    Website: LINK

  • Ready Player One LIVE at SXSW, powered by Twitch and IMDb

    Ready Player One LIVE at SXSW, powered by Twitch and IMDb

    Reading Time: < 1 minute

    Are you attending SXSW? If so, you don’t miss out on the immersive Ready Player One experience. And if you couldn’t make it to the show, we’ve got you covered too.

    This Sunday, 3/11 at 1PM CT, Twitch and IMDb are teaming up with Aisha Tyler and Alex Corea to bring you cast and creator interviews, game play, 80’s trivia, and VR experiences. Make sure to tune into Twitch.tv/twitch. The full Sunday schedule is below.

    • 1:00 pm — Show opening
    • 1:10 pm — A tour of the Ready Player One SXSW venue
    • 1:15 pm — Man on the Street — Ready Player One Trivia
    • 1:20 pm: Morph3D — Makers of the RPO VR experience
    • 1:40 pm: The Ready Player One VR experience
    • 1:45 pm: Achievement Hunter plays the Dobotone
    • 2:00 pm: Haptx VR Gloves
    • 2:20 pm: How well does SXSW know 80’s trivia
    • 2:30 pm: Ernest Cline and Zak Penn interview
    • 3:00 pm: Live Q&A with Ben Mendelsohn
    • 3:20 pm: Live Q&A with High Five cast, Tye, Olivia, Lena, Win, and Phillip
    • 4:00 pm: Show Close

    Website: LINK

  • Pong embedded in a vintage Sony Watchman with Arduino

    Pong embedded in a vintage Sony Watchman with Arduino

    Reading Time: < 1 minute

    Pong embedded in a vintage Sony Watchman with Arduino

    Arduino TeamMarch 8th, 2018

    There’s perhaps no other game more classic than Pong, and likely none that require fewer control inputs, making it perfect for “porting” to a Sony Watchman. While an amazing piece of tech when introduced in the early ’80s, the current lack of analog TV signals means they only receive static.

    As seen here, hacker “sideburn” decided to do something about it, and removed the tuner and decoder chip, making space for an Arduino Nano in the device’s housing. To complete the build, he hooked up the Arduino outputs to TV inputs, along with the tuner as a paddle controller and built-in switch as a start/pause button, and was able to seal the unit up again.

    The result is a retro gaming system that looks completely stock, playing Pong as if it was there the whole time. Be sure to check out the video to see it in action!


    Website: LINK

  • Automate a rubber strip door with Arduino

    Automate a rubber strip door with Arduino

    Reading Time: < 1 minute

    Automate a rubber strip door with Arduino

    Arduino TeamMarch 7th, 2018

    In order to separate their office and shop areas, NYC CNC installed a rubber strip assembly that had to be pushed out of the way every time someone wanted to walk through. Although functional, it was also quite annoying, so they devised a system that uses a pneumatic cylinder to automatically move the rubber strips out of the way.

    The device includes an Arduino Nano for control and VL53L0X  time-of-flight sensors for presence detection. In addition, it features a clever gear and belt assembly to mirror one side of the door with the other.

    You can find more details of the build in the video below and check out the project’s components, Fusion 360 design files, and Arduino code here.


    Website: LINK

  • CTC 101: Giro d’Italia + CTC Faire in Barcelona

    CTC 101: Giro d’Italia + CTC Faire in Barcelona

    Reading Time: 3 minutes

    The last couple of weeks have kept the Arduino Education team extremely busy. While some of us were presenting CTC 101 to teachers all across Italy, others were in Barcelona for the CTC 101 Faire with more than 4,000 upper secondary students showcasing the projects they created as a result of the CTC 101 2017-18 academic year.

    The one thing that really amazes us at Arduino EDU is how the CTC program has scaled since its inception five years ago. Back then, we prototyped our first full-year academic program and conducted a test with 25 schools. Our first faire garnered 400 participants, about 10% the size of one of our latest events. The earliest edition of CTC ran on Arduino Uno, consisted of 20 projects, was made in black and white, and included a mascot that we commissioned to the well-known Mexican artist “Grand Chamaco.” From that experiment on, almost 18,000 students have gone through the program. CTC has been implemented by 800 schools, mainly in Spain, Sweden, Ecuador, and Mexico, while more than 1,600 teachers have had the opportunity to learn under the guidance of the Arduino EDU team both on and offline.

    In 2018, CTC 101 will expand to several countries including Italy, where my partner and Arduino co-founder Massimo Banzi together with Valentina Chinnici (Arduino EDU Product Marketing) led the EDU team through a custom-made “Giro d’Italia” visiting Turin, Bologna, Roma, Bari, and Naples to hold special events and workshops to Italian high school teachers, together with CampuStore, one of our Italian partners.

    In the words of Massimo, “The Arduino Education tour was created to confirm and strengthen Arduino’s efforts and attention towards Italian school. The hundreds of teachers who signed in to all the dates are a great encouragement for Arduino to continue the path towards research, innovation, and dissemination of the values of open source.”

    Not only did Massimo present CTC 101 to 400 teachers in person, he also hosted a webinar for over 900 educators. In case you missed it, we have posted the webinar video to the Arduino YouTube channel. (Please note that it is in Italian.)

    While Massimo was touring Italy, I travelled to Barcelona with Nerea Iriepa, CTC’s project manager, to participate in the 2018’s edition of the CTC Catalunya Faire at the renowned CosmoCaixa science museum.

    The EduCaixa Foundation has been sponsoring this project for the last four years in the regions of Catalunya, Andalucía, and Valencia, with a great degree of satisfaction from both teachers and students alike. In particular, a total of 200 schools in Catalunya (one-third of all of the public schools in the region) have been sponsored by EduCaixa, providing access to the program that has helped teachers enter the world of STEAM via Arduino Education.

    This year’s faire brought together nearly 500 projects from 100 schools. It is worth mentioning how much effort all of the participants put in building their projects. It has been a tremendous journey for students and teachers that kicked off in September 2017 and culminated at this exhibition.

    We are truly grateful for CESIRE (big hugs to Rossana and Jordi for their work), the regional ministry of education, as well as Ultralab, our local partner, in organizing this faire.


    Website: LINK

  • Connect Pour!

    Connect Pour!

    Reading Time: 2 minutes

    Connect Pour!

    Arduino TeamMarch 6th, 2018

    What do you get when you combine Connect Four with beer pong? Connect Pour, of course! After inspiration from a much larger basketball version, this hacker decided to make a game that allows you to throw ping pong balls into Solo cup targets. When one is hit, a vertical board stacks a light to represent a stacked checker above the cup in question.

    An Arduino Uno powers the device, and lighting is provided by an RGB LED strip. Scores are tracked using an IR break beam sensor, and a button or RF remote can alternate player turns if you don’t hit anything.

    I wrote the code of the game myself  and works basically as follows:

    — the Arduino checks infrared beam break sensors under the plastic cups and a “pass button”

    — if the state of the sensors/button changes from no beams being broken or buttons being pushed to a beam being broke or  a button being pushed

    — the Arduino updates the game state updates the LEDs including the bar in the front (which indicates which player’s turn it is)

    — repeat

    Connect Pour looks like a lot of fun, though you may need some extra cups, as those on the machine no longer have bottoms! You can find more details on the build here.


    Website: LINK

  • A DIY hardware watchdog for your mining rig

    A DIY hardware watchdog for your mining rig

    Reading Time: 2 minutes

    A DIY hardware watchdog for your mining rig

    Arduino TeamMarch 2nd, 2018

    Vadim Panov wanted a way to automatically restart a PC that was simple and cheap to make.

    For this task, he turned to an Uno due to its wide availability; however, any Arduino board with at least one digital I/O pin and a USB-enabled serial port will work.

    The device sends a “hello” string to the PC, to which it expects a “HELLO” back from the PC—running its own corresponding Java program—within 10 seconds. If it doesn’t receive this string, it assumes that the computer is frozen, and uses a reed relay to trigger the motherboard reset pin.

    Panov’s idea could be used to monitor and reset cryptocurrency rigs, but could be adapted to other PC setups as needed.

    Here’s how it works: the PC-side program tries to connect to every single serial port in your system within a period of 30 seconds (including the ports that appear during this process). To each port it’ll send the handshake string “hello” and monitor the input, expecting to receive uppercase “HELLO” back. When the handshake is finished, it’ll send ping strings once each five seconds.

    The watchdog program on Arduino scans the input for “ping” strings. If no such string has been received within 10 second period, the watchdog will forcibly restart your PC.

    Therefore, this scenario where you manually run it will be “one-off”, i.e. once the PC has been restarted, the watchdog will be stuck in the pre-handshake state. To make it work all the time, add the Java program to the startup list of your operating system of choice.

    You can read more here and check it out in action below!


    Website: LINK

  • Test your aim in this carnival-style IR target game

    Test your aim in this carnival-style IR target game

    Reading Time: < 1 minute

    Test your aim in this carnival-style IR target game

    Arduino TeamMarch 2nd, 2018

    For a class assignment, Matt Robb along with teammates Kara and Andrew needed to make a project using an Arduino and various other components. What they came up with was a carnival-style game that uses a stepper motor to rotate three targets containing IR sensors out of a nicely-painted cardboard box.

    An Arduino Uno provides control for the game. When hit with a signal from an IR remote, an LED on the target goes out, a buzzer beeps, and it momentarily stops spinning.

    It looks like it was a lot of fun to build and play, so be sure to check it out in the video seen here!


    Website: LINK

  • Measure RPM with an IR sensor and Arduino

    Measure RPM with an IR sensor and Arduino

    Reading Time: 2 minutes

    Measure RPM with an IR sensor and Arduino

    Arduino TeamFebruary 27th, 2018

    When dealing with robotics and other electronics projects, it can be important to know how many revolutions a motor is making. From here, you can infer the distance that your device has traveled, or any number of other important variables.

    If you’d like to get started with this type of sensing, this electronoobs tutorial will show you how to get things hooked up using an Arduino and a computer, along with an oscilloscope to verify measurements up to 10,000 RPM.

    In his setup, an IR emitter/receiver bounces light off a spinning object. When light reflects back, it opens the circuit, causing the output to be grounded via a pulldown resistor, telling you that a revolution has been made. The 3D-printed device also features an OLED screen.

    To emit infrared light we need a IR LED and to detect it a IR sensible transistor. Usually you could find those as a one unique module. To amplify the signal I’ve used the LM324 amplifier. You will also need a 100 ohm resistor and a 4.7k ohm one. To supply the system we will need a basic 9V battery and connector, an Arduino Nano, and an OLED screen. The case is 3D printed…

    You can find more details on the build process here, as well as a demo of the tachometer below!


    Website: LINK

  • Make your own 3D-printed robotic vacuum with Arduino

    Make your own 3D-printed robotic vacuum with Arduino

    Reading Time: < 1 minute

    Make your own 3D-printed robotic vacuum with Arduino

    Arduino TeamFebruary 26th, 2018

    Tired of cleaning your house? A robotic vacuum may be the logical solution, but if you’re “theking3737” something off-the-shelf just isn’t quite cool enough. Created as part of a school project, he was responsible for the hardware design, while a fellow classmate took care of the programming.

    The DIY device uses an array of what appear to be ultrasonic sensors for navigation, and an Arduino Mega as the brains. It also features an HC-05 Bluetooth module that enables it to be controlled via an Android phone or smartwatch. All the electronics are housed inside a 3D-printed closure.

    Impressively, the team had “never done anything like this before,” and the results look great—encouragement for anyone hesitant to start on a project because of inexperience!


    Website: LINK

  • Let an Arduino notify you when the coffee is ready

    Let an Arduino notify you when the coffee is ready

    Reading Time: 2 minutes

    Let an Arduino notify you when the coffee is ready

    Arduino TeamFebruary 23rd, 2018

    Hacker “wesgood,” apparently not satisfied with randomly checking the office coffee pot to see if a fresh brew was available, decided to make his own notification system.

    His device uses a current sensor to monitor power usage of the coffee pot, and after some observation, he was able to pick out its brewing pattern—7A at 10 minutes, then quick cycling to keep the pot warm.

    The system features an Arduino Yún for brew tracking and sends an alert via his office communication tool to let everyone know that a fresh pot is ready. As with many projects, the first iteration started life on a breadboard, but now exists on a manufactured PCB as a shield. It even has a second channel that is slated for use with the office kettle.

    Once the Arduino side of the Yún detects the brew cycle is complete, it triggers a shell script under Linux that sends a notification to our office communication tool Hipchat. It also records the data about date and cycle stage so that Hipchat can query the database (on a webserver) and request things like what stage the brew cycle is on and when it brewed last.

    You can find additional build details on Imgur.


    Website: LINK

  • Strange vocal interactions with ‘you, me and all these machines’

    Strange vocal interactions with ‘you, me and all these machines’

    Reading Time: 2 minutes

    Strange vocal interactions with ‘you, me and all these machines’

    Arduino TeamFebruary 22nd, 2018

    Moscow-based artist ::vtol:: is back again with an interesting interactive exhibit entitled “you, me and all these machines.” His latest work, a collaboration with Lovozero, allows two participants to produce otherworldly vocals together.

    One participant wears the device, which points a directional microphone under the control of the other participant at her mouth using a servo motor. An array of LEDs signal the vocalist in a manner agreed upon before the performance.

    The head-mounted system is controlled by an Arduino Uno, and is meant to display the subtle interaction between two participating artists, as they must work together to produce the desired output.

    “You, me and all these machines” is a performance for voice and electronic devices. The vocalist puts on his or her head a specially designed wearable interface tool to interact with the voice and display a visual score. Technically, the device consists of several elements: a narrowly directional microphone driven by a motor; an LED strip that shows the vocalist score; remote control with a joystick used by the second participant to control the interface.

    Shifting the microphone against the mouth makes it possible to achieve interesting sound effects, and makes it easier to manipulate the vocalist’s voice. The LED line consisting of 10 diodes is a very primitive, but effective and convenient way of interacting with the vocalist, and the way of interpreting the values is predetermined before each performance. During the performance, a sound canvas is formed, thereby changing the dynamics, consisting of a set of looped fragments created within voice and interface processing elements, without using other methods to generate sounds.

    Check out “you, me and all these machines” in the video below!


    Website: LINK

  • Designing an Arduino-powered split-flap display

    Designing an Arduino-powered split-flap display

    Reading Time: 2 minutes

    Designing an Arduino-powered split-flap display

    Arduino TeamFebruary 22nd, 2018

    If you’d like a split-flap display with numbers and letters, options tend to be quite expensive. This though was no problem for hacker “scottbez1” who reports that after “only” two-plus years of work, he has produced a split-flap assembly that plugs into an Arduino Uno as a sort of external shield.

    The device employs inexpensive stepper motors to click through letters, numbers, and even some punctuation, using cutout PVC ID display stock to show the characters. Cleverly, the PCB he designed for it can function as a motor driver or be split in two to function as a sensor board.

    I’ve always loved these electro-mechanical displays, but you can’t buy them for a reasonable price, so I figured I’d try making them myself (plus it’s more fun that way!). Ultimately I wanted to design a split-flap display that can be built at home in small/single quantities and can be customized and put together by an intermediate hobbyist for not too much money.

    The design I settled on uses PVC ID badge cards for the flaps, store-bought vinyl stickers for the letters, and is driven by a cheap 28BYJ-48 stepper motor. The enclosure and moving parts are all made from laser-cut MDF, which can be easily ordered online. To control them, I designed a driver board that can be hand-soldered and plugs into an Arduino like a shield.

    The entire build story can be found here and more details including Arduino code are available on GitHub. If you’d just like to see and hear it flapping away, check out the video below!


    Website: LINK

  • Lunar landing conspiracy put to rest(?) with LIDAR

    Lunar landing conspiracy put to rest(?) with LIDAR

    Reading Time: 2 minutes

    Lunar landing conspiracy put to rest(?) with LIDAR

    Arduino TeamFebruary 20th, 2018

    On July 20th, 1969 man first set foot on the moon with the Apollo 11 mission, or so they say. If it was faked, or so the theory goes, one would think that there were a few details that don’t quite add up. One such theory is that the hatch on the lunar module isn’t actually large enough to allow a fully-suited up astronaut to enter and exit the module.

    Rather than make assumptions, astrophotographer and hacker “AstronomyLive” took matters into his own hands and used a homemade LIDAR unit to measure the hatch of Lunar Module #9 at the Kennedy Space Center, as well as an Apollo spacesuit.

    The Arduino-powered device aims the laser, and transmits this information to a tablet that also provides a convenient user interface. This data was then arranged as a point cloud, proving that… You can take a guess, or watch the video below to see his conclusion!

    I used the Garmin LIDAR-Lite V3 along with a couple of metal geared servo motors to build a simple pan/tilt scanner, which pairs via Bluetooth to an Android app I built using MIT App Inventor 2 to control and receive data from the Arduino. It’s simple but effective. Although every tutorial I read suggested I couldn’t safely pull the voltage off the board for the motors, but I found that the vin pin gave me no problems, as long as I used a 5V 1.5A linear voltage regulator between the pin and the motors. I supplied 9V using AA batteries to the power jack on the Arduino. In the future I may upgrade the scanner by adding a small camera to grab RGB data for each point as it samples, and ideally I would change the whole thing to use a stepper motor for continuous spinning and scanning to generate a denser cloud.


    Website: LINK

  • Levitate water drops with RGB LEDs and Arduino

    Levitate water drops with RGB LEDs and Arduino

    Reading Time: 2 minutes

    Levitate water drops with RGB LEDs and Arduino

    Arduino TeamFebruary 19th, 2018

    Water normally falls from the sky to the ground, the time fountain from hacker isaac879 appears to work much differently. As shown in the video below, water droplets somehow levitate from a circular orange apparatus to a blue one on top.

    The trick here is that the water isn’t actually falling up, but appears that way by carefully controlling the flashing of RGB lights using an Arduino Uno. If the lights flash at the same rate as the water drops, they appear to stand still, while if the light is flashed more slowly, they appear to rise.

    This is the prototype RGB LED Time Fountain I designed and built. It uses RGB LED strip lights to strobe a stream of water drops to make them appear as if they are levitating. By strobing the different colors out of phase with each other some incredible effects can be created.

    An Arduino Uno controls the timing of the RGB strobe and the PWM of the pump. Bluetooth communication was achieved using an HC-05 Bluetooth module and the “Arduino bluetooth controller” app by “Giumig Apps.”

    Be sure to check out the video to see it in action, especially the bit around 3:40 where drops appear to rise out of a cup while it’s getting filled with water.


    Website: LINK

  • Play Striker Air Hockey on a capacitive touch surface

    Play Striker Air Hockey on a capacitive touch surface

    Reading Time: 1 minute

    Play Striker Air Hockey on a capacitive touch surface

    Arduino TeamFebruary 19th, 2018

    After discovering capacitive touch interactions with a Makey Makey device and an Arduino Leonardo, Jason Eldred realized it could also be used to control the Unity game engine. After a night of hacking, he had a basic interface that could change the scale of a virtual circle. From there, he teamed up with Alex L. Bennett to produce an art installation called Bee that invited users to interact with it by physically touching a panel to change graphics on the panel itself and a screen in front of them.

    While not meant as a game per se, after more experimentation including work by Gabe Miller and Dustin Williams, this interactive display method was finally turned into a virtual air hockey table via a giant crisscrossing grid of copper tape and wires.

    In the game, two players push a virtual puck projected onto a horizontal surface for colorful AR interactions at a very low cost. You can see it in action below, and read more about the project on DigiPen’s website and in Gamasutra’s recent article.


    Website: LINK

  • Water speakers enhanced with an Arduino Mega

    Water speakers enhanced with an Arduino Mega

    Reading Time: 2 minutes

    Water speakers enhanced with an Arduino Mega

    Arduino TeamFebruary 14th, 2018

    Maker “cool austin” is a fan of water speakers, which pulse jets of water inside plastic enclosures to the beat of your music, but thought they could be improved.

    What he came up with is a multi-tower setup that not only dances with light and water to the beat of the music playing, but splits up the pulses into frequencies a la a VU meter.

    The project uses an Arduino Mega—chosen because it has sufficient PWM outputs to control the water and lights in five of these enclosures via MOSFETs—to output signals to the water units for an excellent audio-visual display.

    Water speakers from the store are great to watch, but I felt they could do more. So many years ago I had modified a set to show the frequency of music playing. At the time I used the Color Organ Triple Deluxe II, combined with a set of photocells potentiometers and transistors I was able to get a set of 3 speakers to function.

    I then a few years ago had heard about the IC MSGEQ7 which has the ability to separate audio into 7 data values for an Arduino to read. I utilize an Arduino mega 2560 in this project because it has the required number of PWM pins to drive five water towers.

    You can find more details on the water speaker equalizer here, and see it in action below!


    Website: LINK