A new Raspbian update: multimedia, Python and more
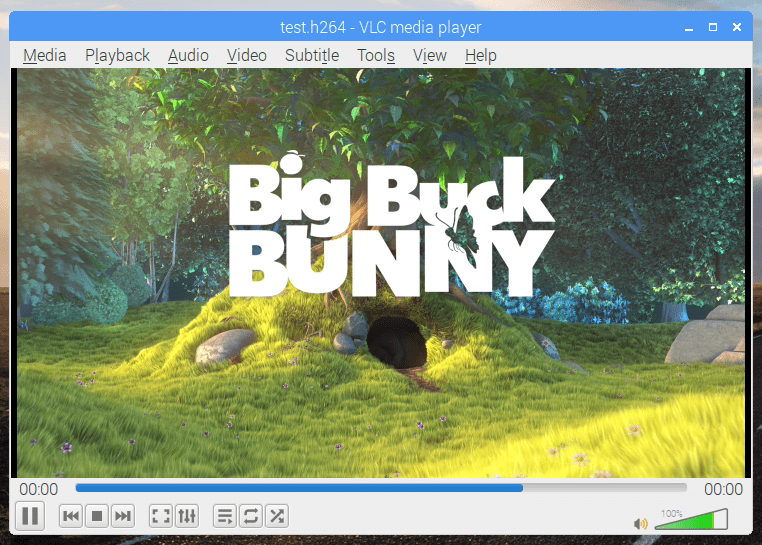
Reading Time: 7 minutesToday we’re releasing a new update for Raspbian, including a multimedia player, updated Thonny, and more. Here’s Simon with everything you need to know. Updating Raspbian on your Raspberry Pi || Raspberry Pi Foundation How to update to the latest version of Raspbian on your Raspberry Pi. VLC Media Player When I first joined Raspberry […]