Shot on a Raspberry Pi Camera Module, this stop-motion sequence is made up of 180 photos that took two hours to shoot and another hour to process.
The trick lies in the Camera Module enabling you to change the alpha transparency of the overlay image, which is the previous frame. It’s all explained in the official documentation, but basically, the Camera Module’s preview permits multiple layers to be rendered simultaneously: text, image, etc. Being able to change the transparency from the command line means this maker could see how the next frame (or the object) should be aligned. In 2D animation, this process is called ‘onion skinning’.
So why the Raspberry Pi Camera Module? Redditor /DIY_Maxwell aka Yuksel Temiz explains: “I make stop-motion animations as a hobby, using either my SLR or phone with a remote shutter. In most cases I didn’t need precision, but some animations like this are very challenging because I need to know the exact position of my object (the boat in this case) in each frame. The Raspberry Pi camera was great because I could overlay the previously captured frame into the live preview, and I could quickly change the transparency of the overlay to see how precise the location and how smooth the motion.”
Stringing!!! 🙂 … these are actual prints, Ender 3 Pro’s horse-to-horse reproducibility is pretty good. from r/3Dprinting
- Werbung -
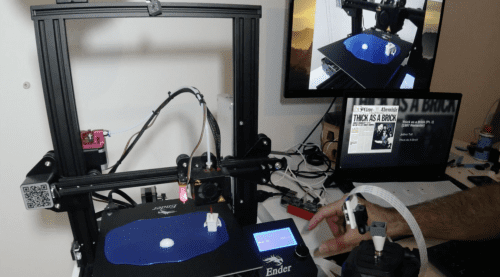
You can easily make simple, linear stop-motion videos by just capturing your 3D printer while it’s doing its thing. Yuksel created a bolting horse (above) in that way. The boat sequence was more complicated though, because it rotates, and because pieces had to be added and removed.
The official docs are really comprehensive and span basic to advanced skill levels. Yuksel even walks you through getting started with the installation of Raspberry Pi OS.

We’ve seen Yuksel’s handiwork before, and this new project was made in part by modifying the code from the open-source microscope (above) they made using Raspberry Pi and LEGO. They’re now planning to make a nice GUI and share the project as an open-source stop-motion animation tool.
Website: LINK