Schlagwort: tech articles
-

CDP Studio: Control a robot arm
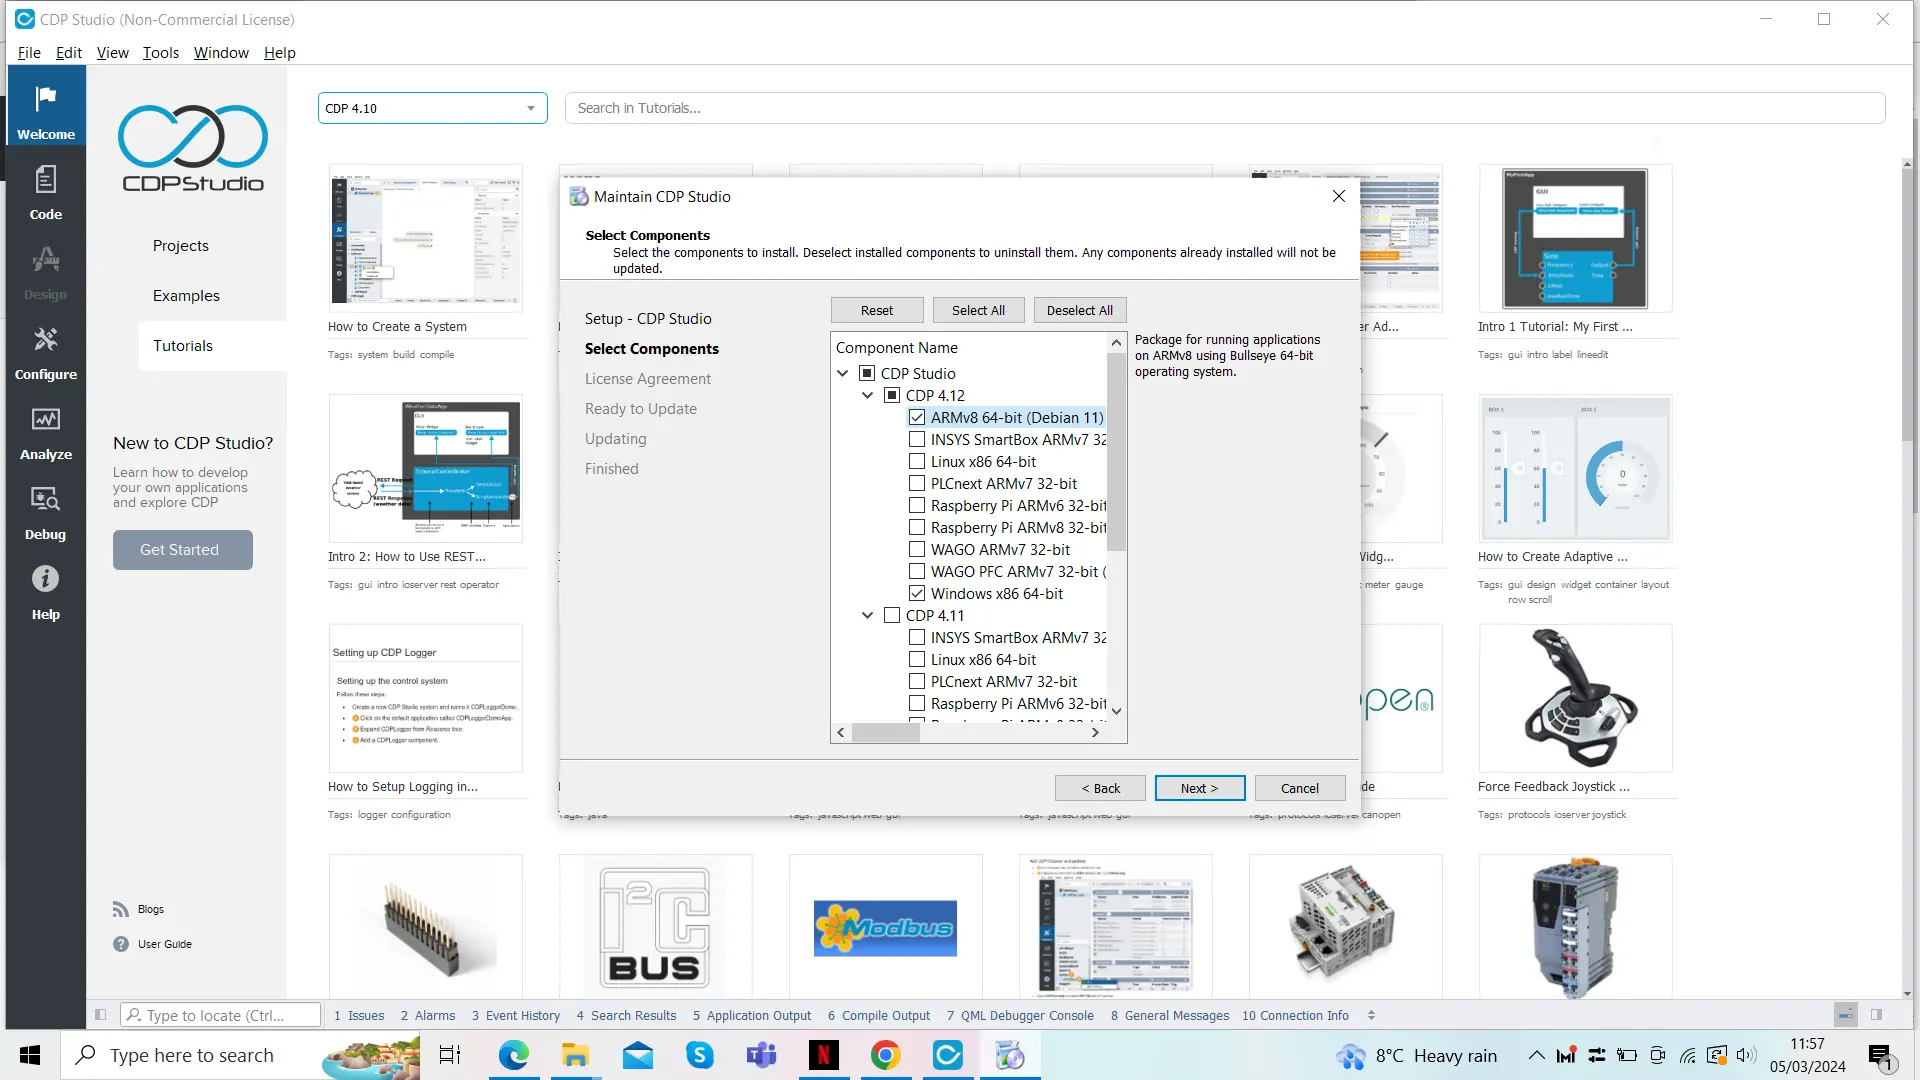
Reading Time: 6 minutes01 Install the software On your PC, visit cdpstudio.com/getstarted and download the free non-commercial version for Windows or Linux. During installation, select the ‘ARMv8 64-bit (Debian 11)’ component under CDP Studio 4.12, along with the one already ticked for your host PC. You will then be able to deploy projects to the…
-

Raspberry Pi 5 Cases – Group Test
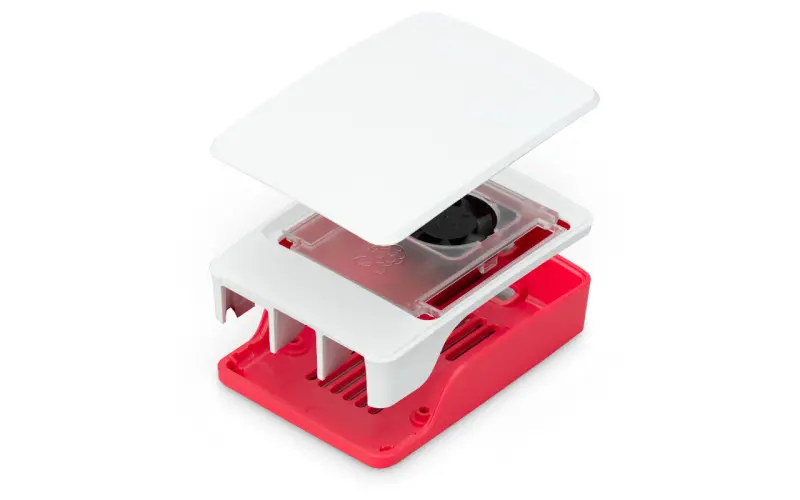
Reading Time: 6 minutesOfficial Raspberry Pi 5 Case Raspberry Pi £10 / $10 Coming in red/white or black, the official case comprises three plastic sections that snap-fit together, so assembly is a cinch. The middle section includes a clear insert with a fan that connects to Raspberry Pi 5’s Fan port. A small SoC heatsink…
-

Transcription and speech synthesis
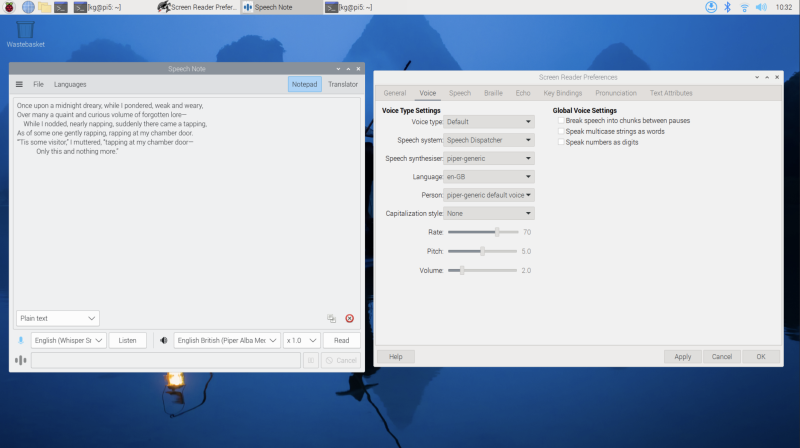
Reading Time: 3 minutesSpeech Note transcription $ sudo apt install flatpak $ flatpak remote-add –if-not-exists flathub https://flathub.org/repo/flathub.flatpakrepo Now reboot Raspberry Pi, then open a terminal and type: $ flatpak install speechnote Say “yes” to confirm that you wish to use the suggested ref, that you wish to install it, and that you wish to proceed…
-

AI projects spotlight
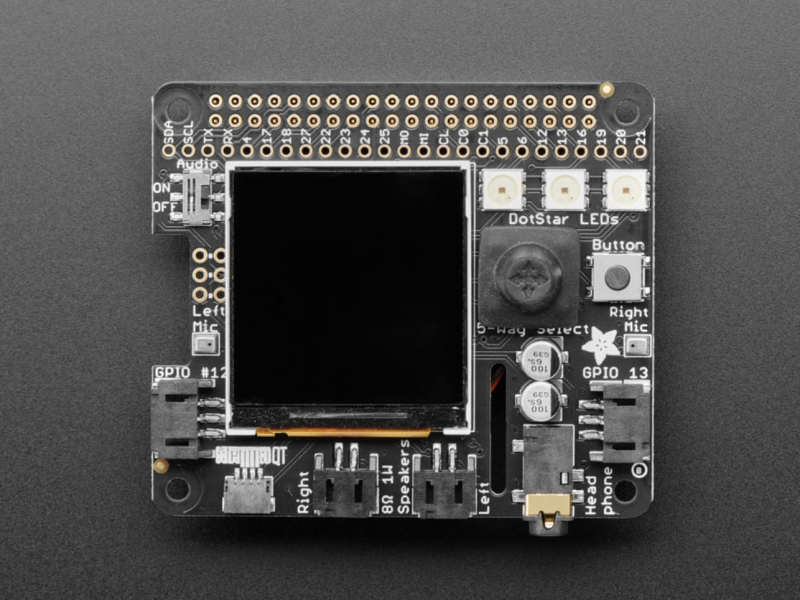
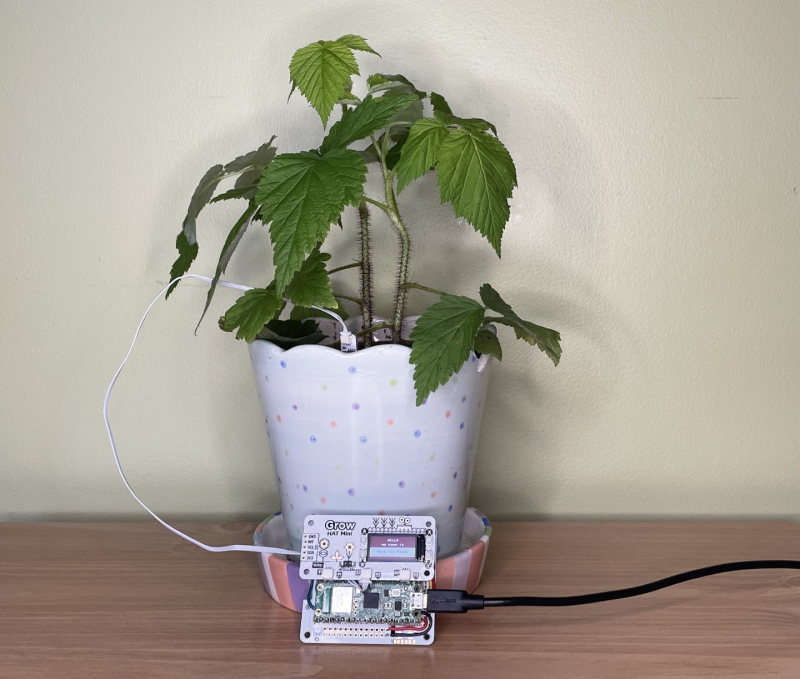
Reading Time: 3 minutesAdafruit Braincraft HAT Built for Raspberry Pi 4, Adafruit’s Braincraft HAT is a pretty comprehensive kit for machine learning. It includes a 1.54-inch 240×240 TFT screen as a display, a joystick to navigate options you might wish to display on it, a cooling fan, three controllable LEDs, plus speaker, headphone and microphone…
-

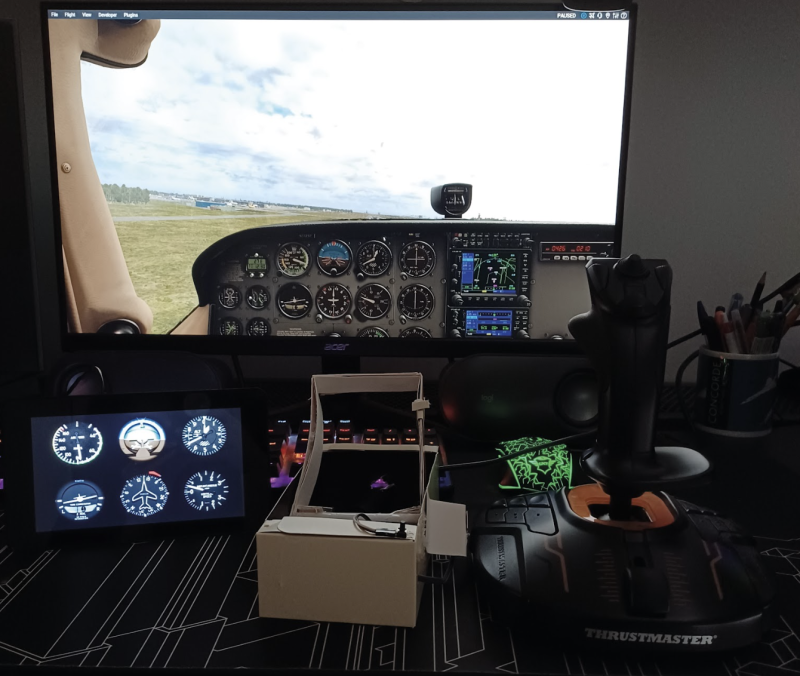
Pico Throttle
Reading Time: < 1 minute“I’ve often had the occasional flight on my grandad’s copy of Flight Simulator X when I visit him, but I purchased X-Plane 12 after Christmas, so I’ve been using it regularly for about three months.” Leo tells us about what inspired him. “[The throttle is] reasonably rigid. There’s some flex in…
-

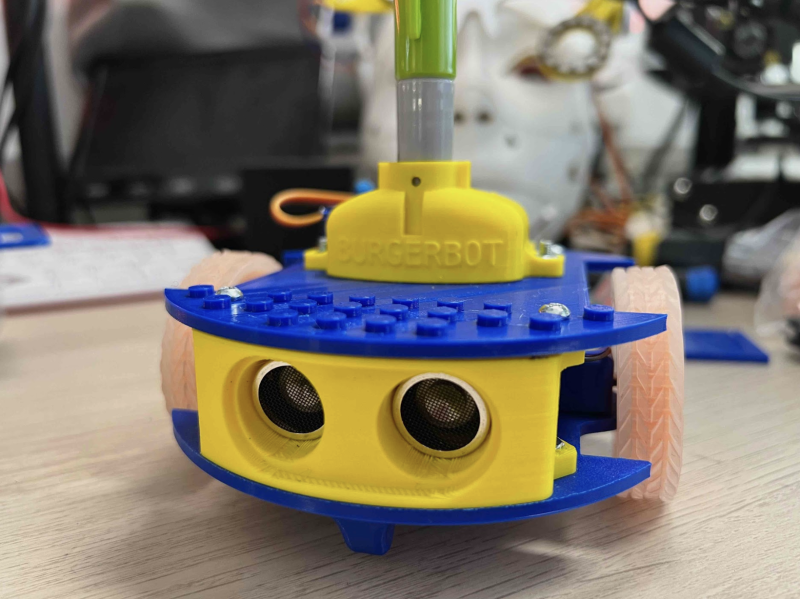
10 amazing: robot projects
Reading Time: 3 minutesBurgerBot Inedible round robot This Pico-powered robot is small and compact, and a great base for expanding and building bigger and more complex robots magpi.cc/burgerbot PicoTico Tic-tac-toe-bot Would you like to play a game of tic-tac-toe? This robot will play with you, but unlike WOPR (from 1983’s WarGames) it’s a bit more…
-

Office space
Reading Time: 2 minutesThis has caused me a little bit of a quandary though. My desk in the office is my home away from home and I want to make it feel comfy and welcoming when I visit. However, I’m not there that often, so I can’t bring in stuff I need at home, where…
-

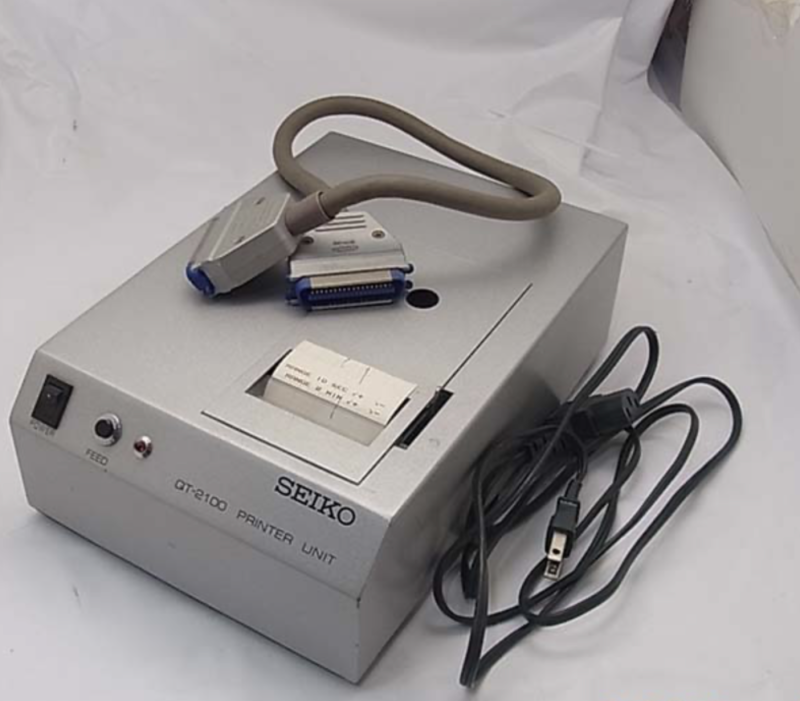
Retro printer
Reading Time: 4 minutes“I was working at Heathrow Airport developing controls software for a baggage handling line in 1999 when we decided it would be useful to attach a dot matrix printer to keep track of errors and how the code was treating each piece of luggage passing through the system,” he explains. “The choices…
-

Meet André Costa: the brains behind rpilocator
Reading Time: 3 minutesThe service we now know as rpilocator started off as cm4locator, with André coding it during a couple of days off. Initially it was private, and within a couple of days it had helped him locate – and buy – a Raspberry Pi Zero 2 W. Surprised at how easy it was,…
-

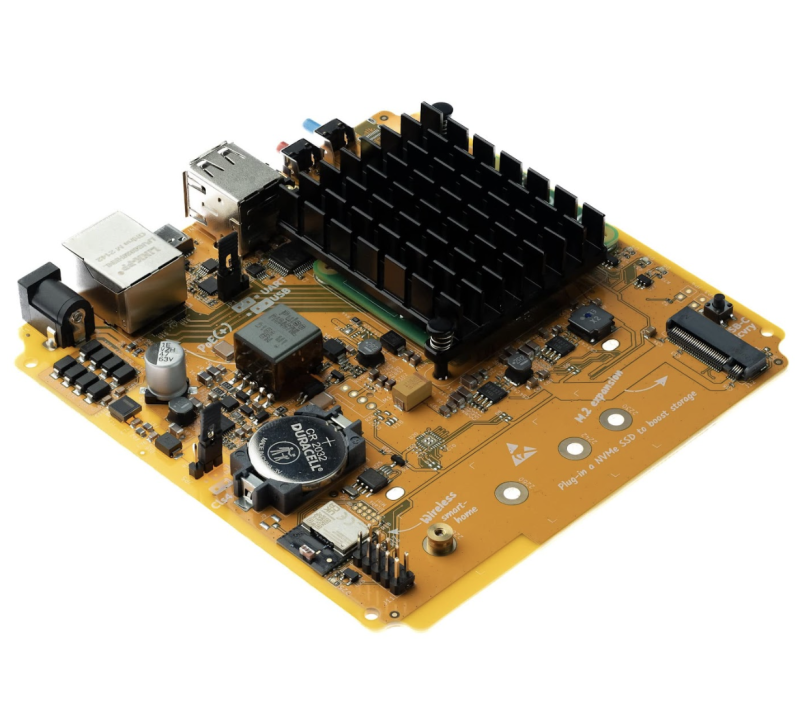
Home Assistant Yellow review
Reading Time: 2 minutesSetting up the device is very simple, although depends slightly on the version you get. The kit that comes with a Compute Module 4 already installed is basically ready to go, just requiring you to get it set up for your network and IoT add-ons. If you’re adding the Compute Module, you…
-

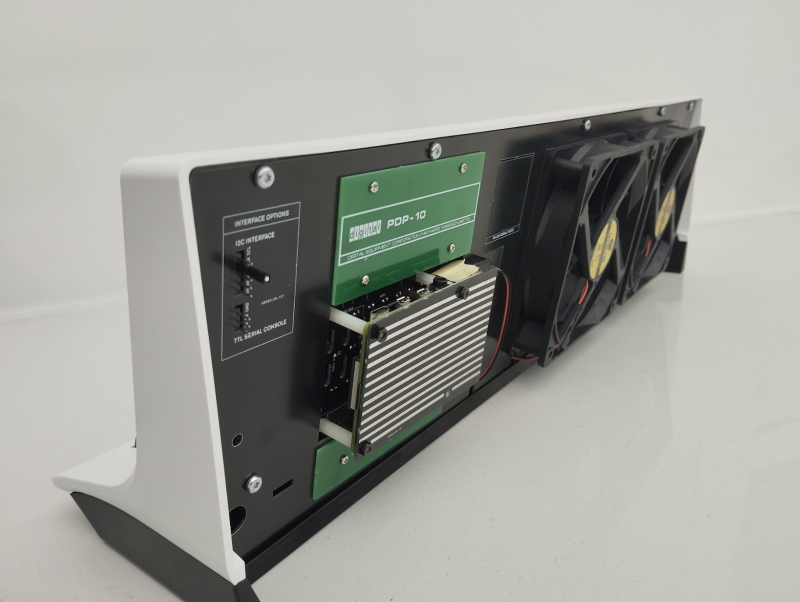
PiDP-10
Reading Time: 4 minutesMainframes were actually quite boring machines to work with. You created punch-cards, fed them in, waited, then a response was printed out. DEC’s PDP-10 was the first to be truly interactive. It was DEC’s decision in 1968 to provide a unit to MIT that really sealed its place in history. For the…
-

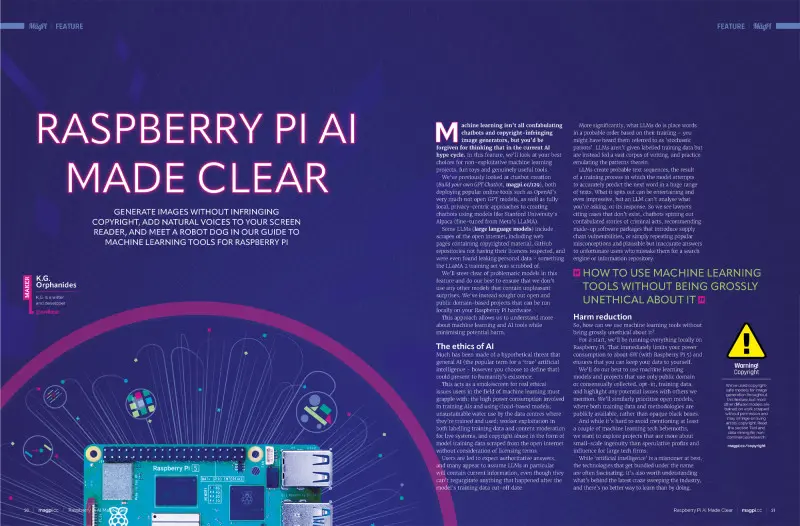
Understand artificial intelligence in The MagPi magazine issue #141
Reading Time: 2 minutesRaspberry Pi AI Made Clear Our Raspberry Pi AI Made Clear feature demystifies artificial intelligence by showing you how to develop generative technologies using Raspberry Pi and open-source software. Create personal image diffusers, generate large language models, and assemble intelligent-acting robots, cameras, and speech assistants. All while keeping one eye on the…
-
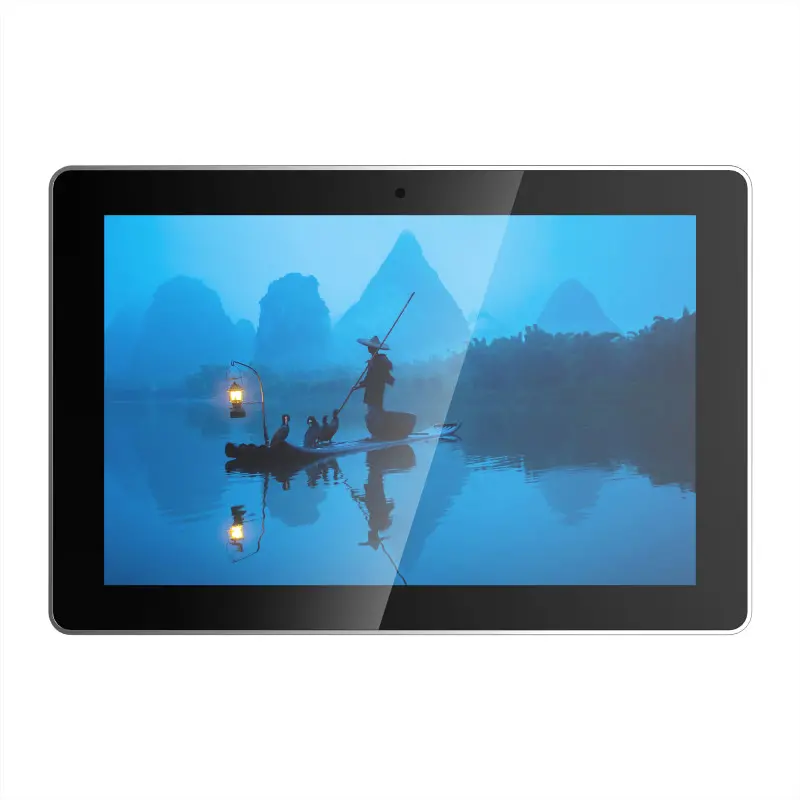
Win an ED-HMI3020 Touchscreen
Reading Time: < 1 minuteSave 35% off the cover price with a subscription to The MagPi magazine. UK subscribers get three issues for just £10 and a FREE Raspberry Pi Pico W, then pay £30 every six issues. You’ll save money and get a regular supply of in-depth reviews, features, guides and other Raspberry Pi…
-
Raspberry Pi 5 and Raspberry Pi Pico
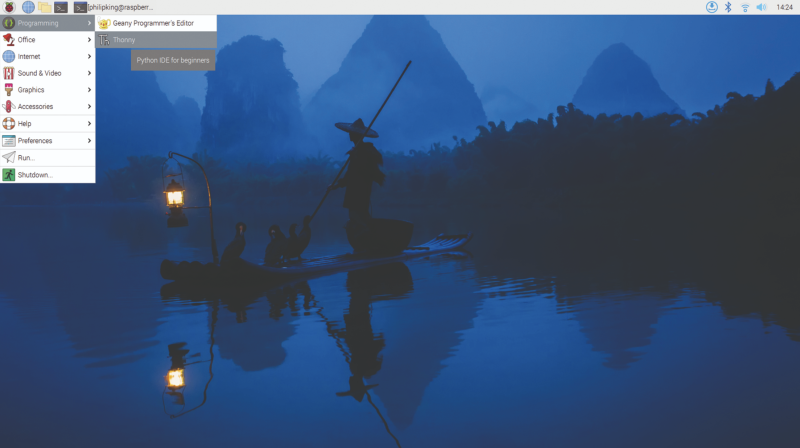
Reading Time: 3 minutesRaspberry Pi 5 and Thonny IDE The easiest way to program Raspberry Pi Pico is with MicroPython, a Python-compatible programming language developed to run on microcontrollers. With Pico connected to Raspberry Pi 5 via USB, you can use the Thonny IDE (integrated development environment) application to write MicroPython programs and run them…
-

Sandeep Mistry profile
Reading Time: 2 minutesAfter working for various companies as a software engineer in Ottawa, and also working remotely with Arduino, he started looking for a new way to use his expertise with embedded and mobile devices. There’s not much better place than Arm for that, and when an acquaintance of his mentioned a position coming…
-

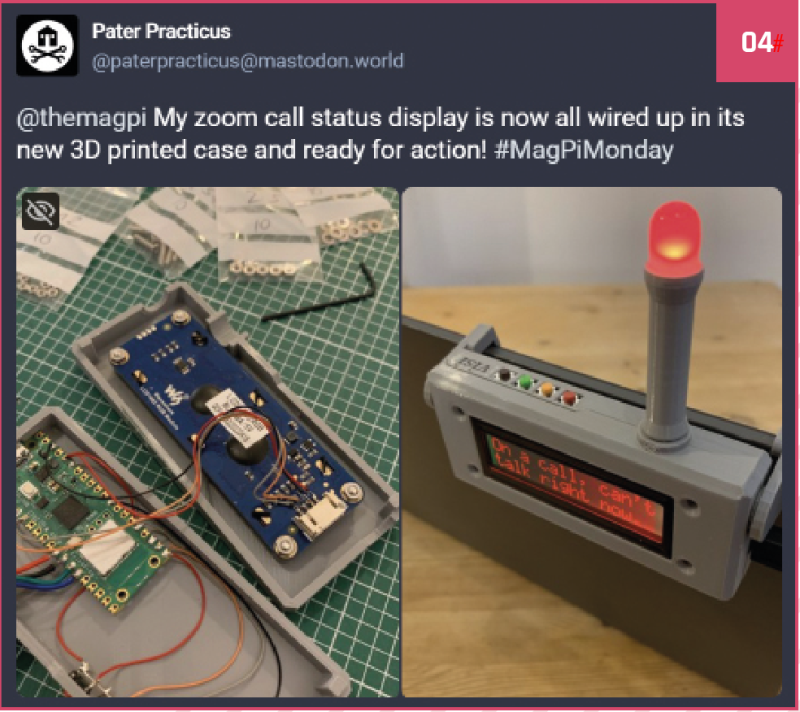
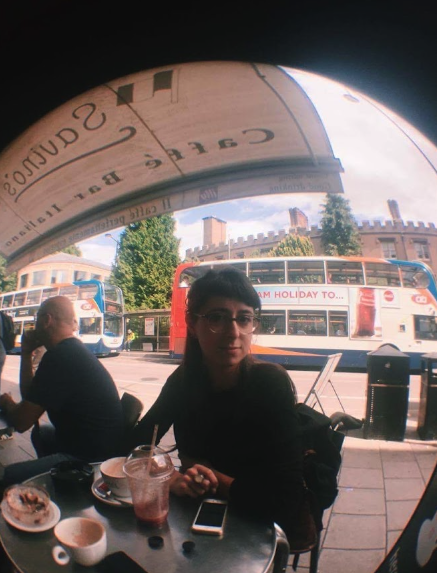
#MagPiMonday
Reading Time: < 1 minuteEvery Monday we ask the question: have you made something with a Raspberry Pi over the weekend? Every Monday, our followers send us amazing photos and videos of the things they’ve made. Here’s a selection of some of the awesome things we got sent this month. Remember to follow along at…
-

Mini Observatory
Reading Time: 3 minutesA familiar tale Matt began with a series of traditional telescopes, but found them “a little frustrating to use in practice”. It was hard to locate objects in the sky and most of what he could see was “often just a grey smudge”. Digital telescopes were not that common and were expensive,…
-

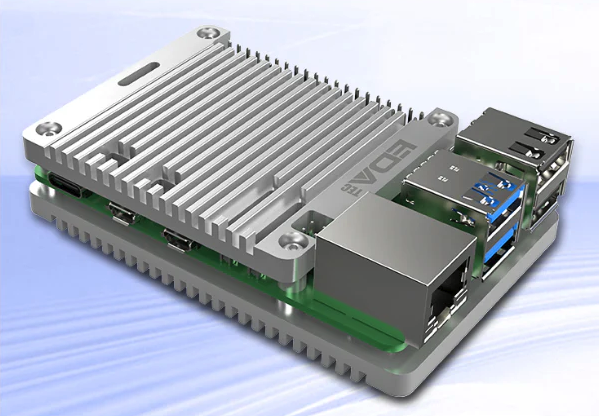
Passive Cooling Open CNC case review
Reading Time: < 1 minuteOn the smooth opposite side of the two parts are thermal pads; for the top piece, there are three that stick to the SoC, power management IC, and Wi-Fi and Bluetooth module. The base section is almost totally covered by a single thermal pad that sticks to the underside of Raspberry…
-

Coding in an AI age
Reading Time: 2 minutesArtists are understandably less than thrilled that AI is producing facsimiles of their work without giving them credit, or payment. For coders: AI changes everything. It can help you write, explain, understand, and improve the quality of code, and increase productivity by enhancing performance. It’s versatile in all programming languages and can…
-

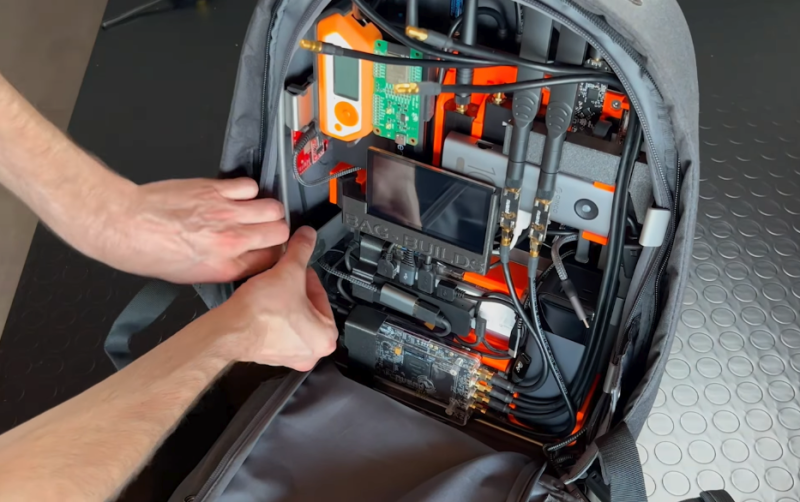
Backpack Cyberdeck
Reading Time: 3 minutesA great framework The Backpack Cyberdeck was inspired by Davide’s need to move his experiments easily without setup breakdowns – he works in the metalworking industry, and reasoned that a custom-designed frame that fits inside a commercially available backpack would come in mighty useful for other people as well as himself. He…
-

Meet Sara Parodi: The MagPi’s new designer
Reading Time: 3 minutes“Growing up, I went to art school in Italy,” Sara says. “It felt like the right path for me to undertake, and through the years I pushed myself to try different things; I would find myself at events drawing on walls or floors, other times I would be at home testing lino…
-
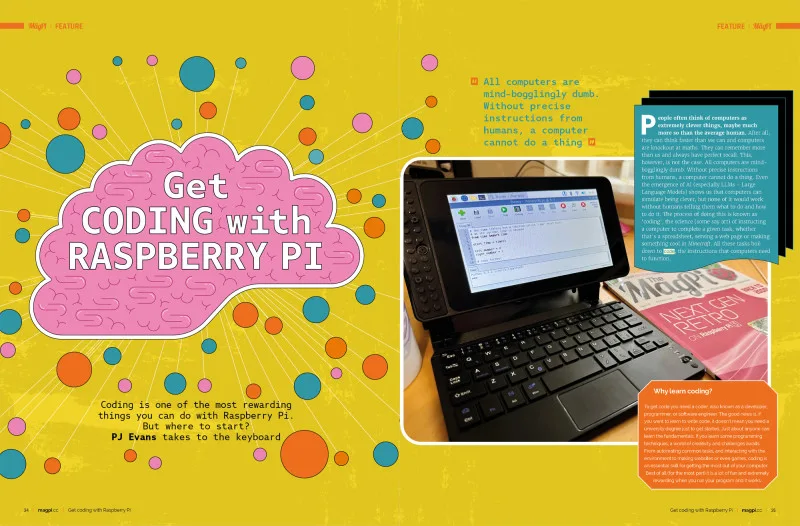
Get coding with Raspberry Pi in The MagPi magazine #140
Reading Time: 2 minutesGet coding with Raspberry Pi In this month’s edition of The MagPi we look at your coding options with Raspberry Pi: should you learn Python, Node.JS, or Go? And which IDE is best? PJ Evans has you covered with this in-depth guide to coding. Raspberry Pi 5 & Pico Raspberry Pi 5…