Schlagwort: Sense HAT
-

Nearly 15,000 young people ran their code on the ISS for Astro Pi 2020/21!
Reading Time: 4 minutesOur team here at the Raspberry Pi Foundation, in collaboration with ESA Education, is excited to announce the successful deployment of young people’s programs aboard the International Space Station (ISS) for the European Astro Pi Challenge 2020/21! Across both Astro Pi missions — Mission Zero and Mission Space Lab — 14,993 participants…
-

Let’s make it colourful with Digital Making at Home
Reading Time: < 1 minute[youtube https://www.youtube.com/watch?v=OOFlKcCEOvk?feature=oembed&w=500&h=281] Join us for Digital Making at Home: this week, young people can learn about using the Sense HAT — or its emulator — with us! With Digital Making at Home, we invite kids all over the world to code along with us and our new videos every week. So…
-

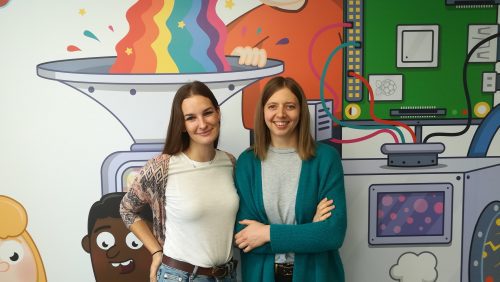
Pulling Raspberry Pi translation data from GitHub
Reading Time: 5 minutesWhat happens when you give two linguists jobs at Raspberry Pi? They start thinking they can do digital making, even though they have zero coding skills! Because if you don’t feel inspired to step out of your comfort zone here — surrounded by all the creativity, making, and technology — then there…
-

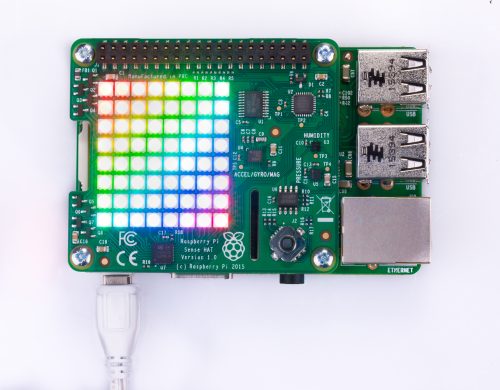
Raspberry Pi Sense HAT impact recorder for your car
Reading Time: 2 minutesLet the accelerometer and gyroscope of your Raspberry Pi Sense HAT measure and record impact sustained in a car collision. Raspberry Pi Sense HAT The Raspberry Pi Sense HAT was originally designed for the European Astro Pi Challenge, inviting schoolchildren to code their own experiments for two Raspberry Pi units currently orbiting…
-

Playing Snake on a Raspberry Pi word clock
Reading Time: < 1 minuteI have a soft spot for Raspberry Pi word clocks. True, they may not be as helpful as your standard clock face if you need to tell the time super quickly, but at least they’re easier to read than this binary clock built by engineerish. “But Alex,” I hear you cry, “word clocks…
-

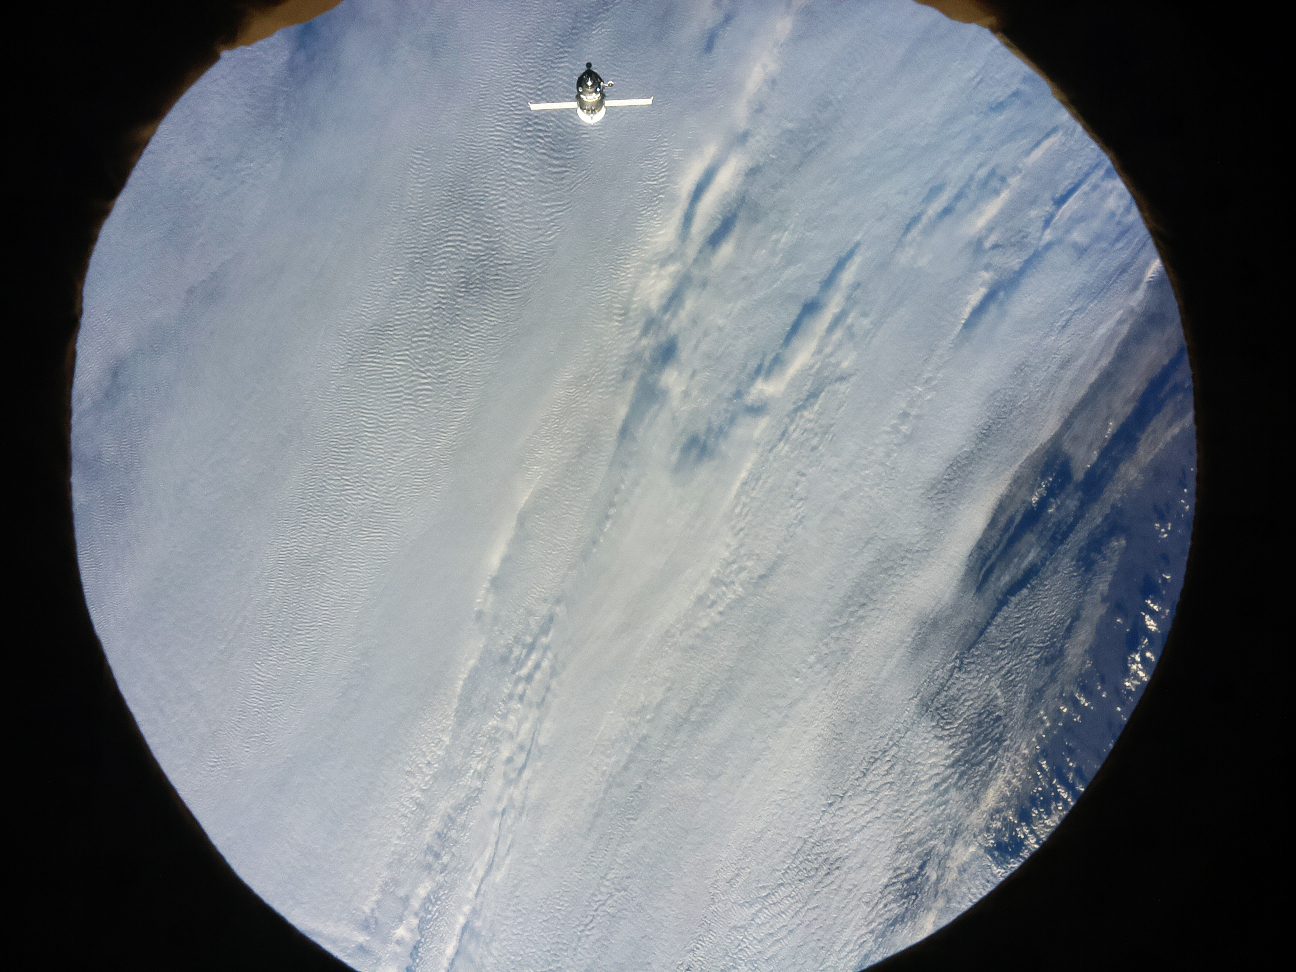
Raspberry Pi captures a Soyuz in space!
Reading Time: 2 minutesSo this happened. And we are buzzing! You’re most likely aware of the Astro Pi Challenge. In case you’re not, it’s a wonderfully exciting programme organised by the European Space Agency (ESA) and us at Raspberry Pi. Astro Pi challenges European young people to write scientific experiments in code, and the best…
-

IBM Q System One quantum computing on a Raspberry Pi?
Reading Time: 2 minutesIBM Q System One: the world’s first commercial, integrated, universal, approximate quantum computing system… …on a Raspberry Pi? What is a quantum computing system? An excellent question and, while some of you may know the answer, here is Kurzgesagt‘s ‘in a nutshell’ explanation of quantum computing for the rest of us: Quantum Computers…
-

Simulate sand with Adafruit’s newest project
Reading Time: 3 minutesThe Ruiz brothers at Adafruit have used Phillip Burgess’s PixieDust code to turn a 64×64 LED Matrix and a Raspberry Pi Zero into an awesome sand toy that refuses to defy the laws of gravity. Here’s how to make your own. BIG LED Sand Toy – Raspberry Pi RGB LED Matrix Simulated…
-

Create SLUG! It’s just like Snake, but with a slug
Reading Time: 3 minutesRecreate Snake, the favourite mobile phone game from the late nineties, using a slug*, a Raspberry Pi, a Sense HAT, and our free resource! *A virtual slug. Not a real slug. Please leave the real slugs out in nature. Snake SLUG! Move aside, Angry Birds! On your bike, Pokémon Go! When it…