Schlagwort: robotics

  • Arduino #Include Teams Up With Ghanaian “Lab on Wheels” Education Project

    Arduino #Include Teams Up With Ghanaian “Lab on Wheels” Education Project

    Reading Time: 3 minutes
    Brenda Mboya Arduino #Include

    The Arduino #Include program was first announced as part of the 2021 Arduino Day event. Since then, the team has been refining exactly how #Include will help members of the Arduino community to spread our love of electronics around the world.

    One of the pilot programs has just taken delivery of equipment provided through #Include. This marks an exciting milestone for Arduino, its users, and a whole community of brand new Arduino lovers in Accra, Ghana.

    Jenga Labs in Ghana gets #Include gear

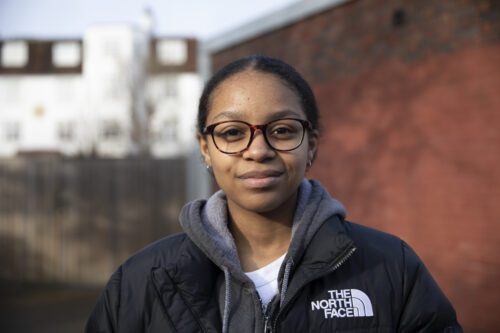
    Brenda Mboya is well known at Arduino. She was a guest speaker at Maker Faire Rome in 2019. She’s done a huge amount of work in Africa, bringing electronics, robotics and educational technology to students and teachers across Ghana. In 2018, she was listed among the top 25 women in the world to have made a significant contribution to robotics.

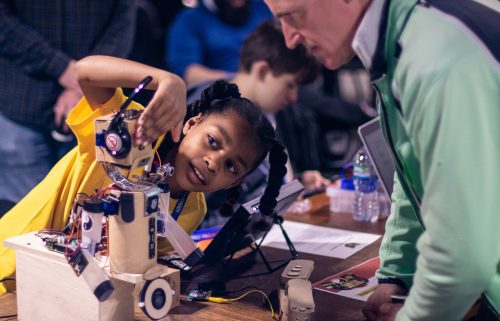
    Her latest project is Jenga Labs, which she describes as being a “lab on wheels”. The objective is to bring coding and robotics to some of the most remote areas of the region. She’ll be running courses for 7- to 14-year-olds, and Brenda primarily works to encourage young people into robotics. She’s also very active in supporting teachers, and helping them bring, use and understand tech in the classroom.

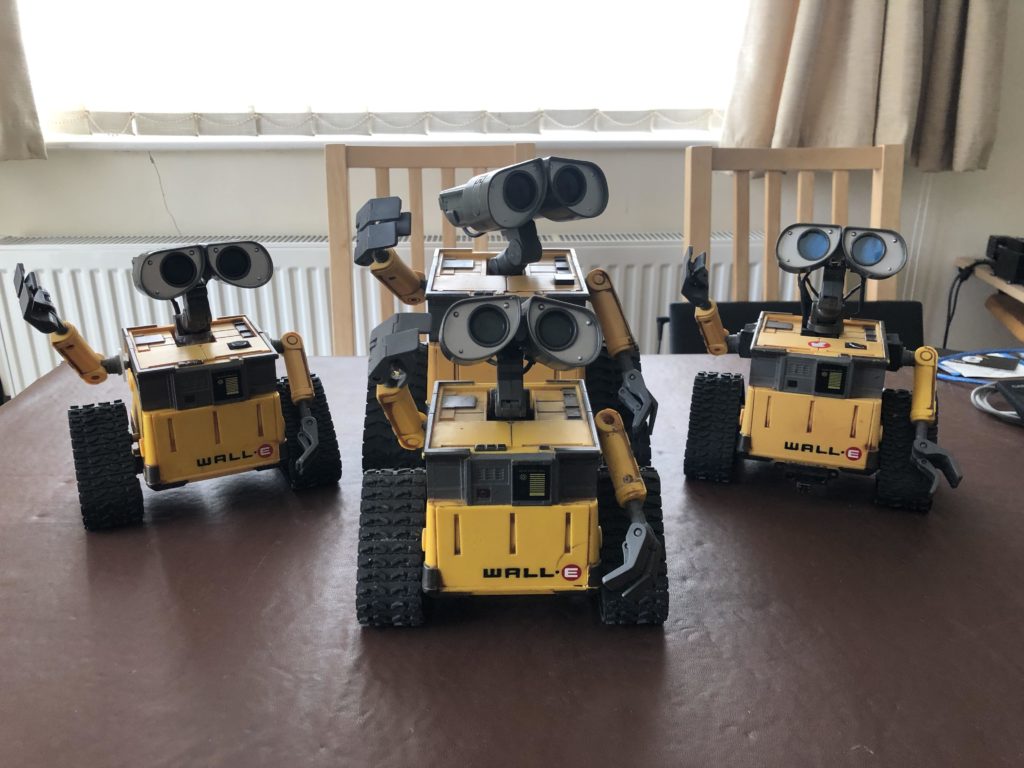
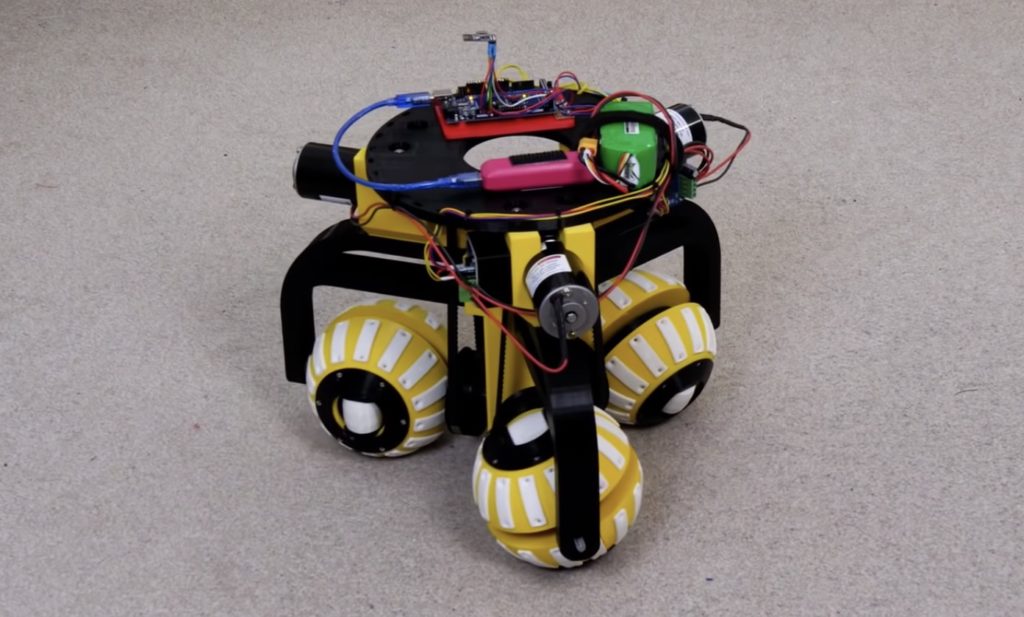
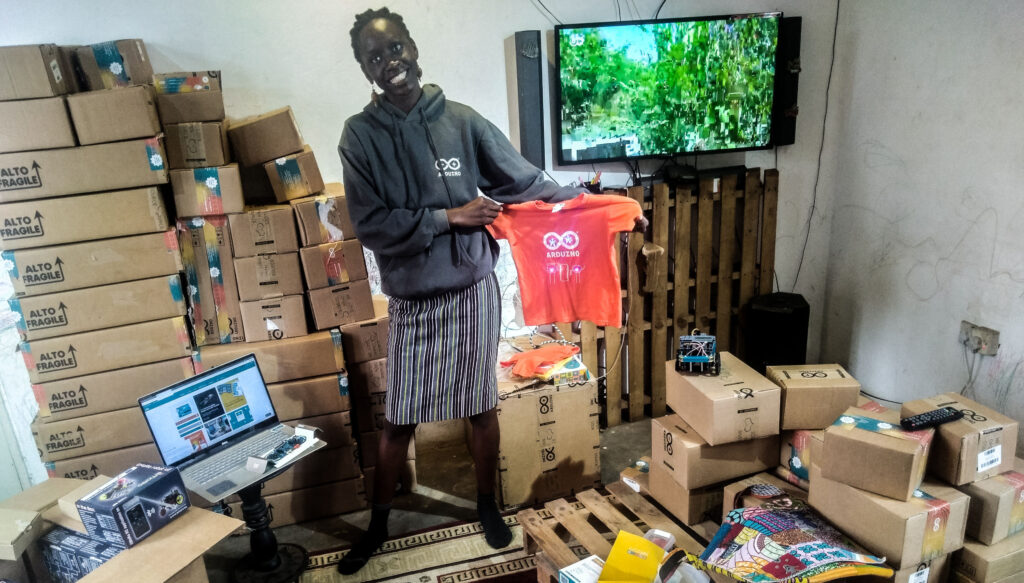
    We’re thrilled that Brenda’s now taken delivery of the Arduino kits and electronic components we sent her as part of the pilot program for #Include.

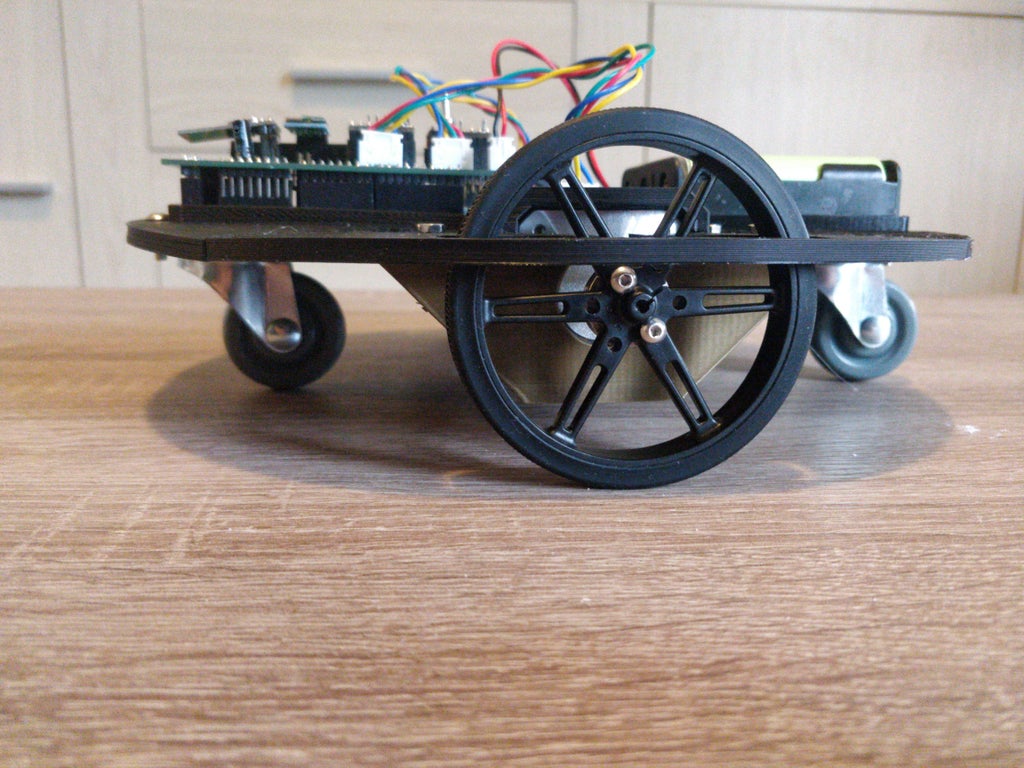
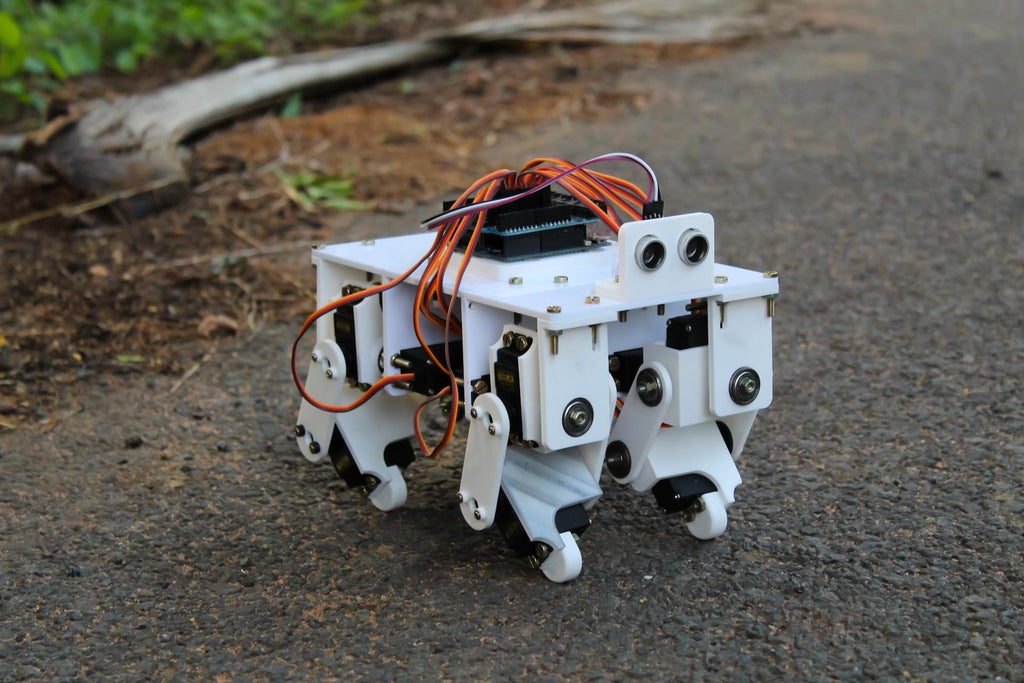
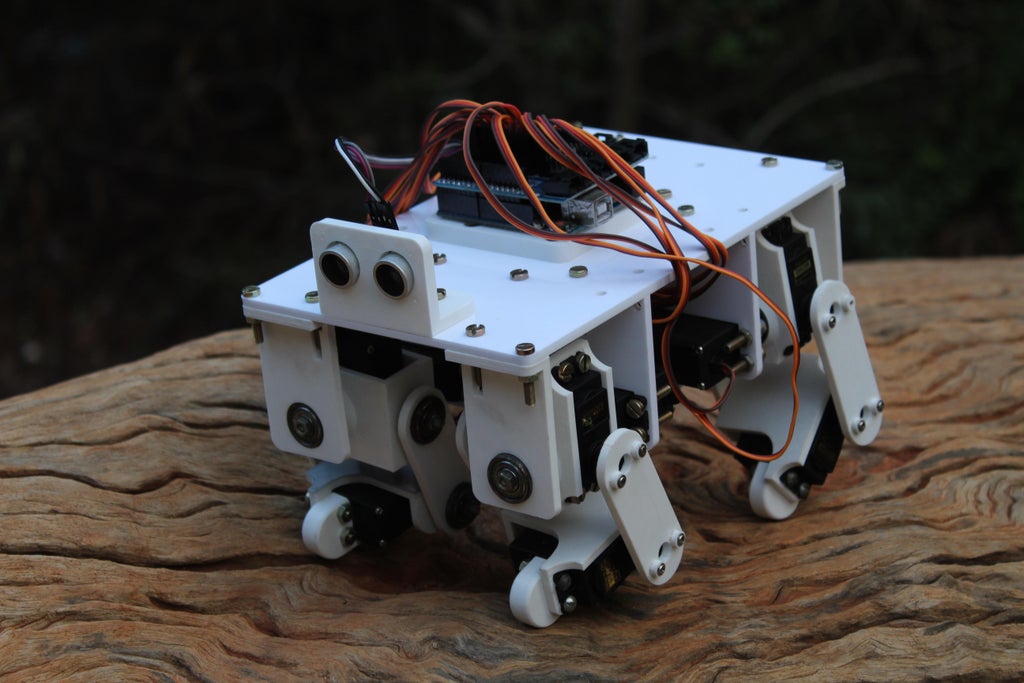
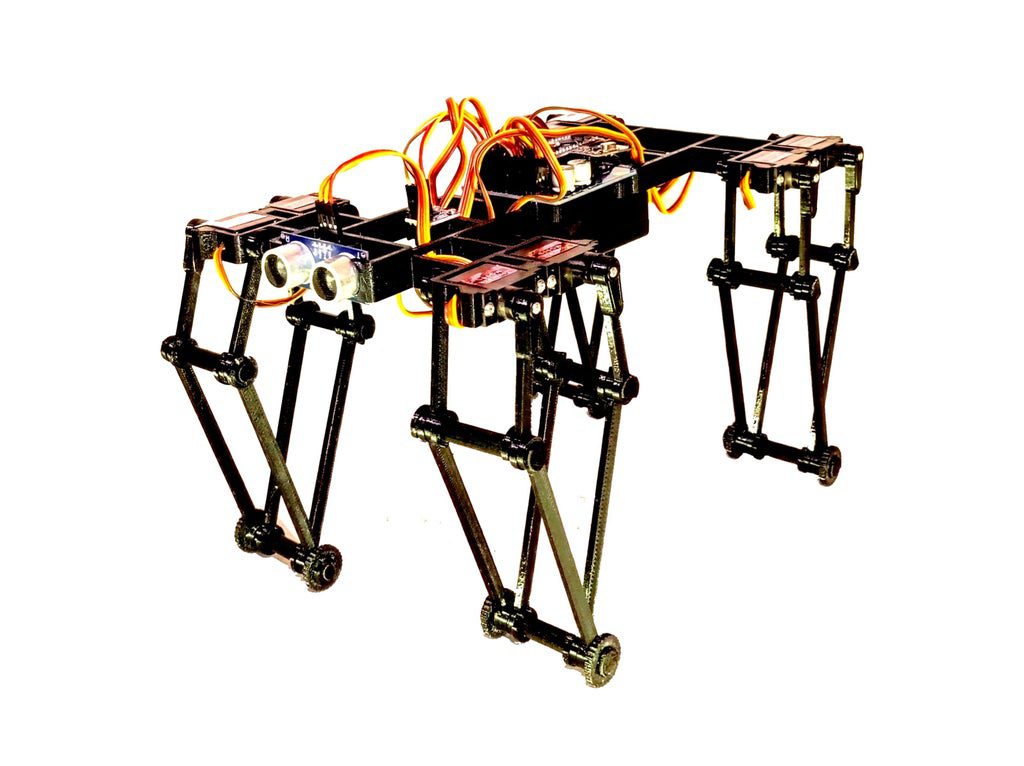
    We can’t wait to see what Brenda’s students create with the tools they now have. It’s exciting on all kinds of levels. Bringing accessible technology to new people and places, for example. Or finding out how we can begin to expand on this early test case for the Arduino #Include initiative.

    More about Arduino #Include

    The history of Arduino has been one of inclusivity. Everything here is designed to make electronics accessible to as many people as possible. That’s an ongoing challenge that we both relish, and take seriously.

    In an effort to bring that philosophy to the forefront of the ongoing business, we’ve developed the Arduino #Include program. We’ll build on our efforts of expanding the understanding of electronics and technology. This will have a strong focus on the diversity values that Arduino also holds dear.

    This means making a special effort to bring visibility to people who use Arduino as a tool for inclusivity, equality, social justice and accessibility. We see this very much as an opportunity. It’s a long term program that we hope will help to create positive role models across the tech communities.

    Ultimately the #Include initiative will see Arduino help to establish “ambassadors”. It’ll donate hardware and software services, and give visibility to diverse people and groups across the spectrum.

    Which brings us to wishing Brenda all the best with her Jenga Labs robotics project as part of the Arduino #Include program.

    We’ll keep you posted on Jenga Labs, and about how you can get involved in #Include as the program expands.

    Watch this space for more news, and make sure you visit Brenda and Jenga Labs to give them your support!

    Website: LINK

  • This Arduino-powered robotic fish swims like the real thing

    This Arduino-powered robotic fish swims like the real thing

    Reading Time: 2 minutes

    Arduino TeamJuly 23rd, 2021

    Biomimicry is often used to take the designs that nature has perfected over a period of millions of years and incorporate them into our own technology. One maker who goes by mcp on YouTube took this idea one step further and created a fish that can swim in the water like the actual creature. By carefully analyzing and studying the patterns a fish makes while it scurries through a lake, he was able to reduce these motions down to just a few joints. 

    The body of this DIY robotic fish was constructed from a series of four joints that each contain a single mini servo motor to control their movements. Next, an Arduino Nano was selected as the microcontroller board due to its small size and ample amounts of GPIO pins. In order for the fish to sense if there is an obstacle in the way and avoid it, the device also features “eyes” that utilize IR emitter/receiver pairs.

    Once the spine of servo motors was combined with the Arduino and a set of LiPo batteries, mcp slipped over a skin made from a waterproof latex-like material that aids in moving throughout the water. In his video below, the DIY robotic fish can be seen oscillating freely through a bathtub full of water, along with a pool. His device works very well as it generates plenty of forward force to swim wherever it wants while avoiding obstacles. 

    [youtube https://www.youtube.com/watch?v=gemf0floD98?feature=oembed&w=500&h=281]

    Website: LINK

  • An Arduino-powered micro quadruped that fits in the palm of your hand

    An Arduino-powered micro quadruped that fits in the palm of your hand

    Reading Time: 2 minutes

    Arduino TeamJuly 20th, 2021

    Arduino-powered quadruped robots are quite common projects for hobbyists to build once they are a bit more comfortable with embedded systems. One problem with many of the pre-designed quadruped platforms is that they require a lot of time to assemble owing to their large size. This is what inspired Technovation to come up with their own micro quadruped robot, which requires only a fraction of the normal amount of material and hours to construct.

    The robot is based around a central chassis that houses the Arduino Uno and sensor shield components, which provide power and signaling to the motors. Underneath this hardware stack are four servos that can rotate to the side and act as hip joints. Lastly, each leg is comprised of two servos to allow for forward motion. 

    In order for the Arduino to translate a desired direction into discrete positions for the servo motors, Technovation had to implement a few kinematic equations within the robot’s firmware. These consist of movement functions, which create gaits by specifying where and when each leg should move. Several parameters, including speed, leg length, and even the motion paths themselves, have the ability to be fine-tuned or expanded to add more capabilities.

    You can see how this micro quadruped works in its demonstration video here or you can read more about the project in Technovation’s Instructables write-up.

    [youtube https://www.youtube.com/watch?v=Gz9LlvCPZIA?feature=oembed&w=500&h=281]

    Website: LINK

  • Celebrating the community: Avye

    Celebrating the community: Avye

    Reading Time: 2 minutes

    We’re excited to share another incredible story from the community — the second in our new series of inspirational short films that celebrate young tech creators across the world.

    A young teenager with glasses smiles
    Avye discovered robotics at her local CoderDojo and is on a mission to get more girls like her into tech.

    These stories showcase some of the wonderful things that young people are empowered to do when they learn how to create with technology. We hope that they will inspire many more young people to get creative with technology too!

    Meet Avye

    This time, you will meet an accomplished, young community member who is on a quest to encourage more girls to join her and get into digital making.

    [youtube https://www.youtube.com/watch?v=PfaXHin_eLw?feature=oembed&w=500&h=281]

    Help us celebrate Avye by liking and sharing her story on Twitter, Linkedin, or Facebook!

    For as long as she can remember, Avye (13) has enjoyed creating things. It was at her local CoderDojo that seven-year-old Avye was introduced to the world of robotics. Avye’s second-ever robot, the Raspberry Pi–powered Voice O’Tronik Bot, went on to win the Hardware category at our Coolest Projects UK event in 2018.

    A girl shows off a robot she has built
    Avye showcased her Raspberry Pi–powered Voice O’Tronik Bot at Coolest Projects UK in 2018.

    Coding and digital making have become an integral part of Avye’s life, and she wants to help other girls discover these skills too. She says, I believe that it’s important for girls and women to see and be aware of ordinary girls and women doing cool things in the STEM world.” Avye started running her own workshops for girls in their community and in 2018 founded Girls Into Coding. She has now teamed up with her mum Helene, who is committed to helping to drive the Girls Into Coding mission forwards.

    I want to get other girls like me interested in tech.

    Avye

    Avye has received multiple awards to celebrate her achievements, including the Princess Diana Award and Legacy Award in 2019. Most recently, in 2020, Avye won the TechWomen100 Award, the Women in Tech’s Aspiring Teen Award, and the FDM Everywoman in Tech Award!

    We cannot wait to see what the future has in store for her. Help us celebrate Avye and inspire others by liking and sharing her story on Twitter, Linkedin, or Facebook!

    Website: LINK

  • Build your own adorable, talking WALL-E robot

    Build your own adorable, talking WALL-E robot

    Reading Time: 2 minutes

    Arduino TeamJuly 3rd, 2021

    Film history is full of cute robots, but for our money, none are more charming than WALL-E. His vocabulary may be limited, but that doesn’t stop him from showing the full range of emotions through body language. Like Baby Yoda, WALL-E was an instant fan-favorite and a plethora of toys were made in his honor. If you can get your hands on one, Kevr102 has an Instructables tutorial that will walk you through how to bring that toy to life with the help of an Arduino.

    To complete this project exactly as Kevr102 describes, you will need a specific 7″ tall plastic WALL-E toy. That toy has motors for the tracks, arm movement, and head movement. Starting with that will save you the trouble of mechanical design and 3D printing work. But you will replace all of the motors to make them easier to control. In total, you will need two 360 degree servo motors, three heavy duty servo motors, and two micro servo motors.

    You will control those motors with an Arduino Nano through a servo shield. The exciting part of the build, which enables your WALL-E robot to respond to voice commands, works thanks to an EasyVR3 voice recognition module. That module also lets you play sounds, so WALL-E can emit his signature sound effects and modulated voice. Kevr102 explains how you can setup custom voice commands and sound effects, so you can tailor them to suit your tastes.

    [youtube https://www.youtube.com/watch?v=7lZXOYiSeek?start=1&feature=oembed&w=500&h=281]

    [youtube https://www.youtube.com/watch?v=ukP5Eq2CP5M?feature=oembed&w=500&h=281]

    Website: LINK

  • James Bruton’s robot uses three ball-shaped wheels to move in any direction

    James Bruton’s robot uses three ball-shaped wheels to move in any direction

    Reading Time: 2 minutes

    James Bruton’s robot uses three ball-shaped wheels to move in any direction

    Arduino TeamJune 5th, 2021

    Wheeled robots normally have wheels that move in a single axis and steer by using either differential speeds or by pivoting some kind of guide wheel. However, this leads to some drawbacks, the most obvious being an inability to move in really tight spaces. When presented with this challenge, YouTuber James Bruton came up with a great design for a highly mobile robot platform that employs a novel setup to move in any direction. Inspired by the work of researchers at Osaka University in Japan, the omni wheel uses a single drive shaft to spin, yet nearly every surface has a way to move along the ground. 

    After designing his robot in Fusion 360 and 3D printing each part, Bruton assembled the wheels and added a pulley to each drive shaft which could be spun by a motor sitting directly above. An Arduino Mega is tasked with controlling each of the three BTS7960 motor drivers and it receives commands via an nRF24L01 radio module. All of the drive components are powered by a single 3-cell LiPo battery pack, while the main board is supplied current by a USB battery bank. 

    By spinning certain wheels at the correct speed, straight line motion can be produced, as shown in the video below. Bruton tested his robot by driving over carpet, tile, aluminum extrusions, and even a plastic lid, which did very well across everything except the lid. This robot has countless potential uses, such as a garbage collection device for around the house. 

    [youtube https://www.youtube.com/watch?v=zKLMCO0-How?feature=oembed&w=500&h=281]

    Code and design files for the project are available on GitHub.

    Website: LINK

  • 3D-printed mobile robot platform based on the Arduino Due

    3D-printed mobile robot platform based on the Arduino Due

    Reading Time: 2 minutes

    3D-printed mobile robot platform based on the Arduino Due

    Arduino TeamJanuary 19th, 2021

    Although an Arduino can be a great way to provide computing power for a mobile robot platform, you’ll need a variety of other electronics and mechanical components to get it going. In his write-up, computer science student Niels Post outlines how he constructed a robot that travels via two stepper motors, along with casters to keep it upright. The round chassis is 3D-printed and runs on three rechargeable 18650 batteries.

    The platform is based on an Arduino Due, with stepper drivers and a custom PCB to take care of the wiring. The robot has no sensors or navigation aids onboard, but instead relies on an nRF24L01+ module to communicate with a Raspberry Pi that hosts the web interface for control and livestream viewing. This setup employs a webcam to sense and direct the robot through its environment using printed markers.

    More details on Post’s project can be found in his Instructables tutorial.

    Website: LINK

  • Transform a pile of clothing into the robot of your nightmares

    Transform a pile of clothing into the robot of your nightmares

    Reading Time: 2 minutes

    Transform a pile of clothing into the robot of your nightmares

    Arduino TeamOctober 26th, 2020

    While whatever you heard bump in the night was probably nothing to be concerned about, if you see a suspicious blob of clothing on the floor, you might give it another look. Although not particularly dangerous, YouTuber “Sciencish” has come up with a robot that causes a pile of clothes to turn and face, then travel towards the light source you used to check it out.

    The device features four photoresistors, along with an Arduino Uno and two steppers on a robotic chassis for movement. It also accommodates a filament or wire frame on which clothing can rest. When a light is shined at it, the LDRs pick up this “signal” through the clothes. The robot then waits until the lights are off, pauses a bit more, and then rotates to face the person and incrementally advances.

    It’s a terrifying idea, and something that could be implemented in many forms, such as the Minecraft spider disguise Sciencish made for it out of cardboard — perfect for some Halloween fun!

    [youtube https://www.youtube.com/watch?v=HtD9XxNFDxI?feature=oembed&w=500&h=281]

    Website: LINK

  • DIY quadruped robot brought to life for under $60

    DIY quadruped robot brought to life for under $60

    Reading Time: 2 minutes

    DIY quadruped robot brought to life for under $60

    Arduino TeamOctober 10th, 2020

    Animals like dogs, cats, raccoons, rhinoceroses, and many more get around on four legs. To help imitate this natural phenomenon, maker “Technovation” decided to create a low-cost quadruped robot using 12 servo motors and a variety of 3D-printed and laser-cut parts.

    Each leg features two servos that move inline with the body, as well as one arranged with its rotation axis at 90 degrees. This enables it to walk forward, scoot side-to-side, and perform a variety of twisting motions.

    The robot is powered by an Arduino Uno, along with a sensor shield for easy motor connections. Inverse kinematics can be used to properly calculate servo moves, which is integrated into the device’s control sketch.

    Check it out in action in the video below, and specifics are available in Technovation’s write-up.

    [youtube https://www.youtube.com/watch?v=AoXK8bL9ubc?feature=oembed&w=500&h=281]

    Website: LINK

  • This Arduino-controlled soft robot gets around like an earthworm

    This Arduino-controlled soft robot gets around like an earthworm

    Reading Time: < 1 minute

    This Arduino-controlled soft robot gets around like an earthworm

    Arduino TeamSeptember 28th, 2020

    After studying the way a worm wiggles, Nicholas Lauer decided to create his own soft robotic version. What he came up with uses an Arduino Uno for control, inflating six 3D-printed segments sequentially to order to generate peristaltic motion for forward movement.

    The robotic worm uses a 12V mini diaphragm pump to provide inflation air, while a series of transistors and solenoid valves directly regulate the airflow into the chambers.

    The build looks pretty wild in the video below, and per Lauer’s write-up, you’re encouraged to experiment to see what kind of timing produces the most expedient motion. Code, STLs, and a detailed BOM are available on GitHub.

    [youtube https://www.youtube.com/watch?v=-dSjeaOMtiQ?feature=oembed&w=500&h=281]

    Website: LINK

  • Say hi to Sourino, a robotic mouse for kitties (and kiddos)

    Say hi to Sourino, a robotic mouse for kitties (and kiddos)

    Reading Time: < 1 minute

    Say hi to Sourino, a robotic mouse for kitties (and kiddos)

    Arduino TeamSeptember 2nd, 2020

    Sourino — which comes from the French word for mouse, “souris,” plus Arduino — is a small robot by 11-year-old maker Electrocat, meant to entertain kitties and kids alike.

    The device features a 3D-printed body roughly shaped like a mouse, controlled by a Nano along with three HC-SR04 ultrasonic sensors poking out for autonomous navigation. An IR sensor is implemented for remote operation, and two small gearmotors with a driver board enable it to move around on the floor.

    As seen in the video below, Sourino is able to travel a path made out of books and interact with (more like drive crazy!) the house cat. Full build instructions are found here, including a parts list, Arduino code, and CAD files.

    [youtube https://www.youtube.com/watch?v=rkD5clHDkn4?feature=oembed&w=500&h=281]

    Website: LINK

  • GorillaBot, an eight-servo racing quadruped

    GorillaBot, an eight-servo racing quadruped

    Reading Time: < 1 minute

    GorillaBot, an eight-servo racing quadruped

    Arduino TeamSeptember 1st, 2020

    La Toulouse Robot Race is an annual racing event held in Toulouse, France, which includes a 10-meter autonomous sprint for multi-legged robots. The current record for quadrupeds is 42 seconds, so Sebastian Coddington decided to construct a robot in hopes of taking the category at the next race in January 2021.

    His “GorillaBot” quadruped features limbs made from two-servo five-bar linkage systems, controlled using an Arduino Nano. In autonomous mode, the robot stays on course thanks to a magnetometer; however, if it does lose its way, an on-board ultrasonic sensor helps to keep it from crashing.

    Apart from electronics and fasteners, the inexpensive build is completely 3D-printable, and assembly directions with some videos are available in the project write-up. From the demo clip below, the GorillaBot looks like it will be quite a competitor, and perhaps Coddington will even be able to enhance the design before the event!

    [youtube https://www.youtube.com/watch?v=nMdAFCHdepk?feature=oembed&w=500&h=281]

    Website: LINK

  • Boston Dynamics’ Handle robot recreated with Raspberry Pi

    Boston Dynamics’ Handle robot recreated with Raspberry Pi

    Reading Time: 3 minutes

    You in the community seemed so impressed with this recent Boston Dynamics–inspired build that we decided to feature another. This time, maker Harry was inspired by Boston Dynamics’ research robot Handle, which stands 6.5 ft tall, travels at 9 mph and jumps 4​ ​feet vertically. Here’s how Harry made his miniature version, MABEL (Multi Axis Balancer Electronically Levelled).

    MABEL has individually articulated legs to enhance off-road stability, prevent it from tipping, and even make it jump (if you use some really fast servos). Harry is certain that anyone with a 3D printer and a “few bits” can build one.

    MABEL builds on the open-source YABR project for its PID controller, and it’s got added servos and a Raspberry Pi that helps interface them and control everything.

    [youtube https://www.youtube.com/watch?v=DS-QJv-ae3s?feature=oembed&w=500&h=281]

    Installing MABEL’s Raspberry Pi brain and wiring the servos

    Thanks to a program based on the open-source YABR firmware, an Arduino handles all of the PID calculations using data from an MPU-6050 accelerometer/gyro. Raspberry Pi, using Python code, manages Bluetooth and servo control, running an inverse kinematics algorithm to translate the robot legs perfectly in two axes.

    Kit list

    If you want to attempt this project yourself, the files for all the hard 3D-printed bits are on Thingiverse, and all the soft insides are on GitHub.

    IKSolve is the class that handles the inverse kinematics functionality for MABEL (IKSolve.py) and allows for the legs to be translated using (x, y) coordinates. It’s really simple to use: all that you need to specify are the home values of each servo (these are the angles that, when passed over to your servos, make the legs point directly and straight downwards at 90 degrees).

    When MABEL was just a twinkle in Harry’s eye

    MABEL is designed to work by listening to commands on the Arduino (PID contoller) end that are sent to it by Raspberry Pi over serial using pySerial. Joystick data is sent to Raspberry Pi using the Input Python library. Harry first tried to get the joystick data from an old PlayStation 3 controller, but went with the PiHut’s Raspberry Pi Compatible Wireless Gamepad in the end for ease.

    Keep up with Harry’s blog or give Raspibotics a follow on Twitter, as part 3 of his build write-up should be dropping imminently, featuring updates that will hopefully get MABEL jumping!

    Website: LINK

  • Raspberry Pi Off-World Bartender

    Raspberry Pi Off-World Bartender

    Reading Time: 4 minutes

    Three things we like: Blade Runner, robots, and cocktails. That’s why we LOVE Donald Bell‘s Raspberry Pi–packed ‘VK-01 Off-World Bartender‘ cocktail making machine.

    [youtube https://www.youtube.com/watch?v=qc9lcwPjyWk?feature=oembed&w=500&h=281]

    This machine was due to be Donald’s entry into the Cocktail Robotics Grand Challenge, an annual event in San Francisco. By the time the event was cancelled, he was too deep into his awesome build to give up, so he decided to share it with the Instructables community instead.

    Donald wanted users to get as much interaction and feedback as possible, rather than simply pressing a button and receiving a random drink. So with this machine, the interaction comes in four ways: instructions provided on the screen, using a key card to bypass security, placing and removing a cup on the tray, and entering an order number on the keypad.

    In addition to that, feedback is provided by way of lighting changes, music, video dialogue, pump motors whirring, and even the clicks of relays at each stage of the cocktail making process.

    Ordering on the keypad

    close up of the black keypad

    The keypad allows people to punch in a number to trigger their order, like on a vending machine. The drink order is sent to the Hello Drinkbot software running on the Raspberry Pi 3B that controls the pumps.

    Getting your cup filled

    Inside the cup dispenser sensor showing the switch and LEDs
    The switch under the lid and ring of LEDs on the base

    In order for the machine to be able to tell when a vessel is placed under the dispenser spout, and when it’s removed, Donald built in a switch under a 3D-printed tray. Provided the vessel has at least one ice cube in it, even the lightest plastic up is heavy enough to trigger the switch.

    The RFID card reader

    Cocktail machine customers are asked to scan a special ID card to start. To make this work, Donald adapted a sample script that blinks the card reader’s internal LED when any RFID card is detected.

    Interactive video screen

    close up of the interactive screen on the machine showing Japanese style script

    This bit is made possible by MP4Museum, a “bare-bones” kiosk video player software that the second Raspberry Pi inside the machine runs on boot. By connecting a switch to the Raspberry Pi’s GPIO, Donald enabled customers to advance through the videos one by one. And yes, that’s an official Raspberry Pi Touch Display.

    Behind the scenes of the interactive screen with the Raspberry Pi wired up
    Behind the scenes of the screen with the Raspberry Pi A+ running the show

    The Hello Drinkbot ‘bartender’

    screen grab of the hello drinkbot web interface

    Donald used the Python-based Hello Drinkbot software as the brains of the machine. With it, you can configure which liquors or juices are connected to which pumps, and send instructions on exactly how much to pour of each ingredient. Everything is configured via a web interface.

    Via a bank of relays, microcontrollers connect all the signals from the Touch Display, keypad, RFID card reader, and switch under the spout.

    Here’s the Fritzing diagram for this beast

    Supplies

    Donald shared an exhaustive kit list on his original post, but basically, what you’re looking at is…

    Pencil sketches of the machine from different angles
    Donald’s friend Jim Burke‘s beautiful concept sketches

    And finally, check out the Raspberry Pi–based Hello Drinkbot project by Rich Gibson, which inspired Donald’s build.

    Website: LINK

  • Mini Raspberry Pi Boston Dynamics–inspired robot

    Mini Raspberry Pi Boston Dynamics–inspired robot

    Reading Time: 2 minutes

    This is a ‘Spot Micro’ walking quadruped robot running on Raspberry Pi 3B. By building this project, redditor /thetrueonion (aka Mike) wanted to teach themself robotic software development in C++ and Python, get the robot walking, and master velocity and directional control.

    [youtube https://www.youtube.com/watch?v=S-uzWG9Z-5E?feature=oembed&w=500&h=281]

    Mike was inspired by Spot, one of Boston Dynamics’ robots developed for industry to perform remote operation and autonomous sensing.

    What’s it made of?

    • Raspberry Pi 3B
    • Servo control board: PCA9685, controlled via I2C
    • Servos: 12 × PDI-HV5523MG
    • LCD Panel: 16×2 I2C LCD panel
    • Battery: 2s 4000 mAh LiPo, direct connection to power servos
    • UBEC: HKU5 5V/5A ubec, used as 5V voltage regulator to power Raspberry Pi, LCD panel, PCA9685 control board
    • Thingiverse 3D-printed Spot Micro frame

    How does it walk?

    The mini ‘Spot Micro’ bot rocks a three-axis angle command/body pose control mode via keyboard and can achieve ‘trot gait’ or ‘walk gait’. The former is a four-phase gait with symmetric motion of two legs at a time (like a horse trotting). The latter is an eight-phase gait with one leg swinging at a time and a body shift in between for balance (like humans walking).

    Mike breaks down how they got the robot walking, right down to the order the servos need to be connected to the PCA9685 control board, in this extensive walkthrough.

    Here’s the code

    And yes, this is one of those magical projects with all the code you need stored on GitHub. The software is implemented on a Raspberry Pi 3B running Ubuntu 16.04. It’s composed on C++ and Python nodes in a ROS framework.

    What’s next?

    Mike isn’t finished yet: they are looking to improve their yellow beast by incorporating a lidar to achieve simple 2D mapping of a room. Also on the list is developing an autonomous motion-planning module to guide the robot to execute a simple task around a sensed 2D environment. And finally, adding a camera or webcam to conduct basic image classification would finesse their creation.

    Website: LINK

  • mOLOID is a pet like no other

    mOLOID is a pet like no other

    Reading Time: 2 minutes

    mOLOID is a pet like no other

    Arduino TeamAugust 4th, 2020

    As a part of their masters program at the University of Stuttgart, Jan Ingo Haller and Lorin Samija created a robotic pet that moves in a manner that may not be immediately evident. With the internals obscured by a cloth covering, the moving OLOID, or mOLOID, seems to roll from one vague lobe section to another like some sort of claymation creature.

    The mOLOID’s unique locomotion is due to an internal “oloid” structure, an arrangement of two circles at 90°. Two servos move weights around the perimeter of each circle to vary its center of gravity, causing it to flop back and forth.

    An Arduino Uno controls the mOLOID, which features a passive infrared sensor that allows it to react to the environment and an HC-05 Bluetooth module for user interface. A small speaker also provides audible feedback.

    [youtube https://www.youtube.com/watch?v=5sccJcgrcis?feature=oembed&w=500&h=281]

    Corona has changed our lives: it requires us to physicially distance, which in turn leads to social distancing. So what could be a solution? Maybe a pet? But no, Corona comes from animals. Let’s save ourselves from another Corona 2.0. But if we have to keep away from humans (to not infect and not be infected) and animals but remain the social beings we are, what should we do?

    Have no despair! We have found a solution: the moving OLOID a.k.a. mOLOID. It combines interesting geometry (a bit nerdy but nerdy is trendy!) with many aspects of pets: it can make you smile, moves on its own, makes cute sounds and listens to you — at least most of the time.

    Website: LINK

  • Recreating Rosie the Robot with a MKR ZERO

    Recreating Rosie the Robot with a MKR ZERO

    Reading Time: < 1 minute

    Recreating Rosie the Robot with a MKR ZERO

    Arduino TeamAugust 3rd, 2020

    While 2020 may seem like a very futuristic year, we still don’t have robotic maids like the Jetsons’ Rosie the Robot. For his latest element14 Presents project, DJ Harrigan decided to create such a bot as a sort of animatronic character, using an ESP8266 board for interface and overall control, and a MKR ZERO to play stored audio effects.

    The device features a moveable head, arms and eyes, and even has a very clever single-servo gear setup to open and close its mouth.

    UI is via smartphone running a Blynk app, and Rosie’s antennas can light up along with a “beep beep” sound to let you know it needs your attention!

    More details can be found in Harrigan’s post here.

    [youtube https://www.youtube.com/watch?v=8CH7B6zuqAk?feature=oembed&w=500&h=281]

    Website: LINK

  • Painting robot with ‘twin’ control scheme

    Painting robot with ‘twin’ control scheme

    Reading Time: 2 minutes

    Painting robot with ‘twin’ control scheme

    Arduino TeamJuly 16th, 2020

    For a class project, University of Stuttgart students Ekin Sila Sahin, Lior Skoury, and Simon Treml came up with a unique painting robot named the Physical Twin.

    The Physical Twin travels on a three-wheeled chassis and mounts a four-axis arm with a brush. An operator controls the arm to dip the brush into an onboard paint container, and can then manipulate it for application.

    The controller consists of a joystick for movement as well as a mini version of the arm. Four potentiometers measure arm input angles, which are duplicated on four corresponding servos on the robot. A pair of Arduino Mega boards are used for the setup — one on the mobile robot and another in the remote unit.

    You can see the device in action in the videos below, showing off direct operation and the ability to play back prerecorded movements.

    [youtube https://www.youtube.com/watch?v=RLETS29gzqc?feature=oembed&w=500&h=281]

    [youtube https://www.youtube.com/watch?v=SBcUb7kpBWo?feature=oembed&w=500&h=281]

    Website: LINK

  • Meet MrK_Blockvader, a little mobile robot that’s lots of fun

    Meet MrK_Blockvader, a little mobile robot that’s lots of fun

    Reading Time: < 1 minute

    One of the simplest ways to make a mobile robot involves differential steering, where two wheels move at different speeds as needed to turn and a ball caster keeps it from tipping over. The MrK_Blockvader is an excellent take on this type of bot — demonstrated in the first clip below — featuring a nice blocky body comprised out of 3D-printed parts, RC truck wheels driven by tiny gear motors, and an integrated roller on its back.

    The MrK_Blockvader is controlled via an Arduino Nano, along with an nRF24 breakout that allows it to receive signals from a radio transmitter unit. The build includes LED lighting as well as a piezo buzzer for all the beeps and boops. It can also take advantage of various sensors if necessary.

    The eventual goal is to use the MrK_Blockvader in a network of robots, hinted at in the second video with a worker at its side.

    [youtube https://www.youtube.com/watch?v=5P2HXFupO84?feature=oembed&w=500&h=281]
    [youtube https://www.youtube.com/watch?v=ZDzrl0xTYac?feature=oembed&w=500&h=281]

    Website: LINK

  • This puck-slapping robot will beat you in table hockey

    This puck-slapping robot will beat you in table hockey

    Reading Time: 2 minutes

    This puck-slapping robot will beat you in table hockey

    Arduino TeamJuly 3rd, 2020

    Mechanical table hockey games, where players are moved back and forth and swing their sticks with a series of knobs, can be a lot of fun; however, could one be automated? As Andrew Khorkin’s robotic build demonstrates, the answer is a definite yes — using an Arduino Mega and a dozen stepper motors to score goals on a human opponent.

    The project utilizes an overhead webcam to track the position of the players and puck on the rink, with a computer used for object detection and gameplay. Each player is moved with two steppers, one of which pushes the control rod in and out, while the other twists the player to take shots.

    Training the game took six months of work, which really shows in the impressive gameplay seen below.

    [youtube https://www.youtube.com/watch?v=ryq2LKFTg3Q?feature=oembed&w=500&h=281]

    Website: LINK

  • This robo-dog sprays poison ivy with weed killer

    This robo-dog sprays poison ivy with weed killer

    Reading Time: < 1 minute

    This robo-dog sprays poison ivy with weed killer

    Arduino TeamJuly 1st, 2020

    Poisonous plants, like poison ivy, can really ruin your day. In an effort to combat this “green menace,” YouTuber Sciencish decided to create his own quadruped robot.

    The robotic dog is equipped with two servos per leg, for a total eight, which enable it to move its shoulders and elbows back and forth.

    An Arduino Uno controller determines leg positions via trigonometric calculation, and when in position, it dispenses weed killer via a relay and aquarium pump setup. The reservoir can also be used to hold other liquids, whether for watering duties or even to provide extra fuel to a fire.

    [youtube https://www.youtube.com/watch?v=gm-EslOemfE?feature=oembed&w=500&h=281]

    Website: LINK

  • Building an Arduino-based bipedal bot

    Building an Arduino-based bipedal bot

    Reading Time: < 1 minute

    Building an Arduino-based bipedal bot

    Arduino TeamJune 21st, 2020

    If you’d like to build a walking biped robot, this 3D-printed design by Technovation looks like a fantastic place to start. Each leg features three servos that actuate it at the hip, knee, and ankle for a total of six degrees of freedom.

    Control is handled by an Arduino Uno board that rides on top of the legs, along with a perfboard to connect to the servos directly.

    Movements are calculated via inverse kinematics, meaning one simply has to input the x and z positions, and the Arduino calculates the proper servo angles. The bot is even able to take steps between two and 10 centimeters without falling over.

    [youtube https://www.youtube.com/watch?v=CxociTjzR4Q?feature=oembed&w=500&h=281]

    Website: LINK