Schlagwort: new
-

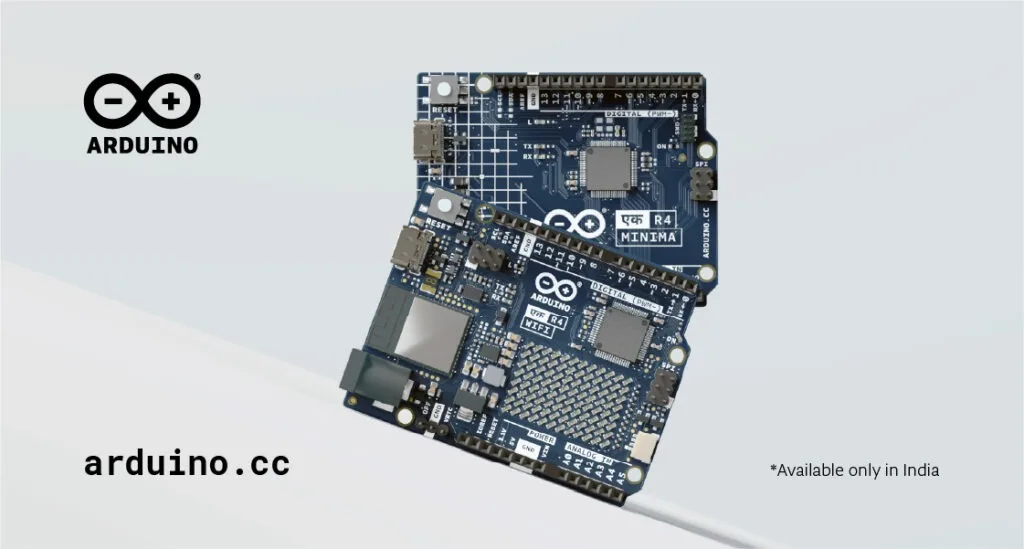
The future of making, Made in India: Introducing the Arduino UNO Ek R4
Reading Time: 4 minutesWe are proud to announce the Made-in-India UNO Ek R4! Available exclusively in India in both WiFi and Minima variants, it is born to meet the needs of the country’s growing maker and innovation ecosystem, by combining all the powerful features of the UNO R4 with the benefits of local manufacturing, enhanced…
-

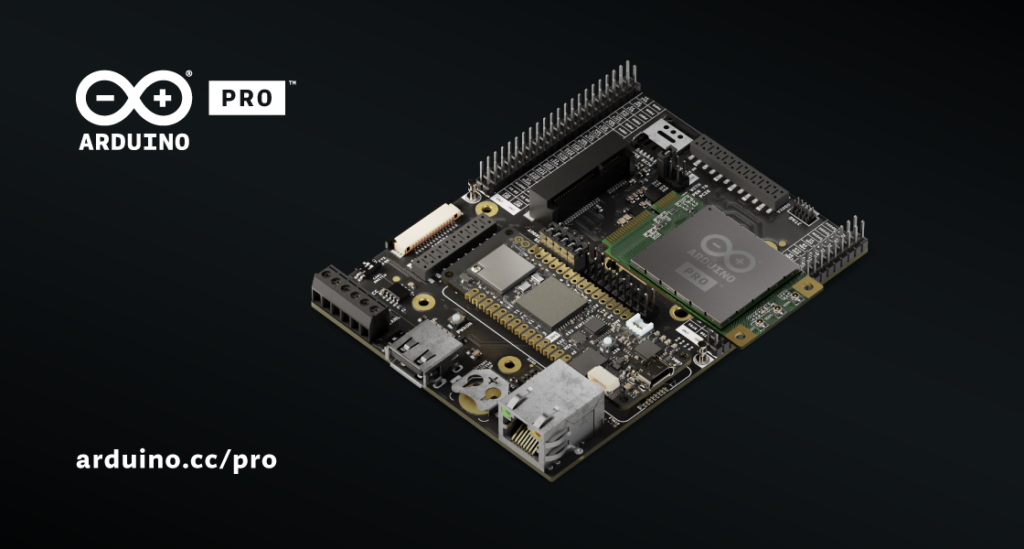
Prototype faster and smarter in 2025: Meet the Arduino Pro Portenta Proto Kit
Reading Time: 3 minutesLaunching today at CES 2025, the Arduino Pro Portenta Proto Kit is here to revolutionize how professionals approach prototyping. Designed to empower engineers, designers, and innovators from all walks of life, this kit provides everything you need to turn your ideas into functional prototypes quickly, efficiently, and without conventional limitations. Available in…
-
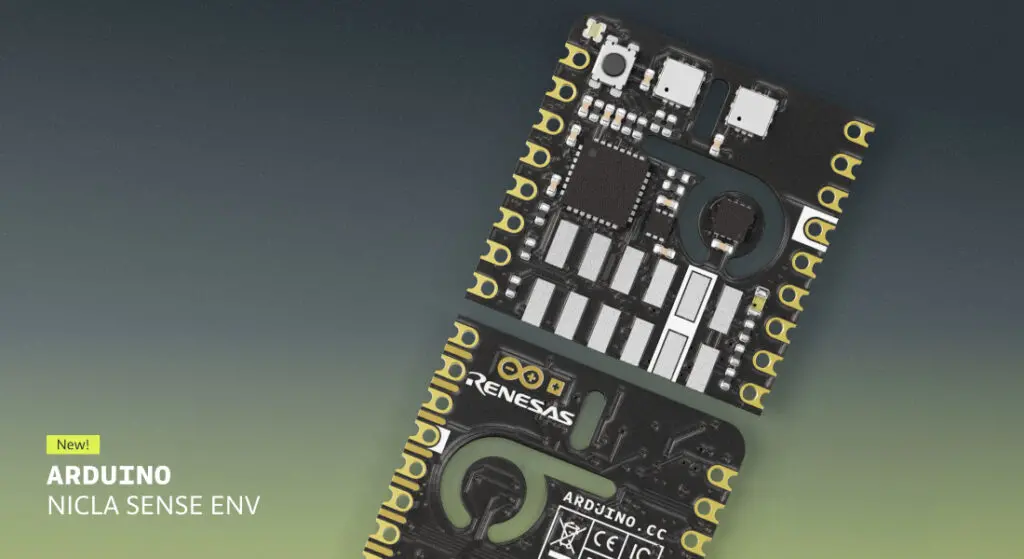
Arduino Nicla Sense Env: adding advanced environmental sensing to a broad range of applications
Reading Time: 4 minutesWe’re thrilled to announce the launch of Nicla Sense Env: the latest addition to our portfolio of system-on-modules and sensor nodes, empowering innovators with the tools to unlock new possibilities. This tiny yet powerful sensor node is designed to elevate your environmental sensing projects to new heights. Whether you’re a seasoned professional…
-
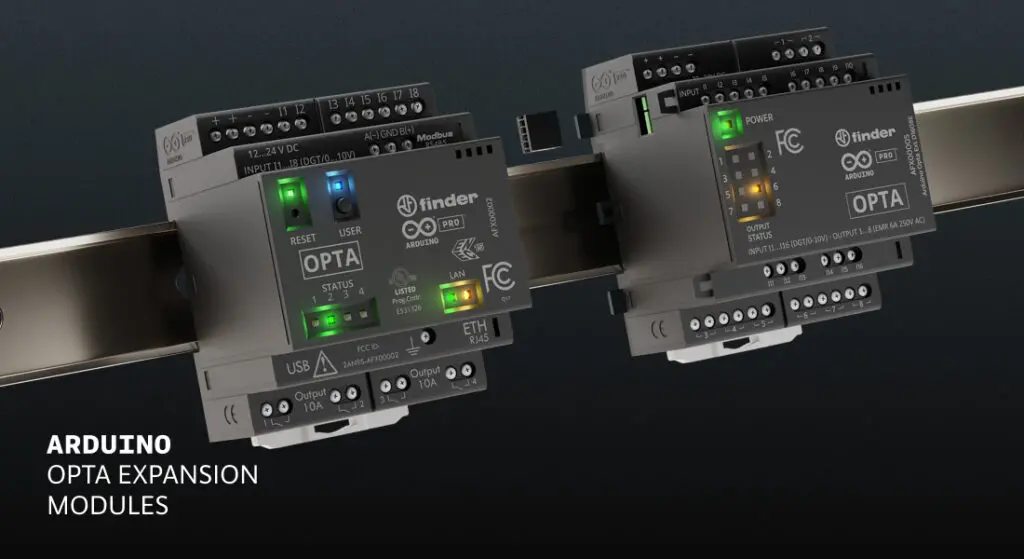
Introducing Opta Expansions: scalable simplicity!
Reading Time: 2 minutesLast year, we launched the Arduino Pro Opta: it was an instant success with our community, and allowed us to reach PLC engineers with a new solution specifically designed for their needs. To further expand Opta’s capabilities, today the Arduino ecosystem welcomes various expansions that allow you to add new I/Os in…
-
The new Arduino Pro 4G Module and Portenta Mid Carrier expand our ecosystem, and your options!
Reading Time: 2 minutesOur team at Embedded World (April 9th-11th in Nuremberg) has announced not one, but two groundbreaking additions to the Arduino Pro range that are ready to elevate your prototyping and connectivity experiences. Say hello to the Arduino Portenta Mid Carrier and the Arduino Pro 4G Module! Portenta Mid Carrier: maximizing prototyping potential…
-

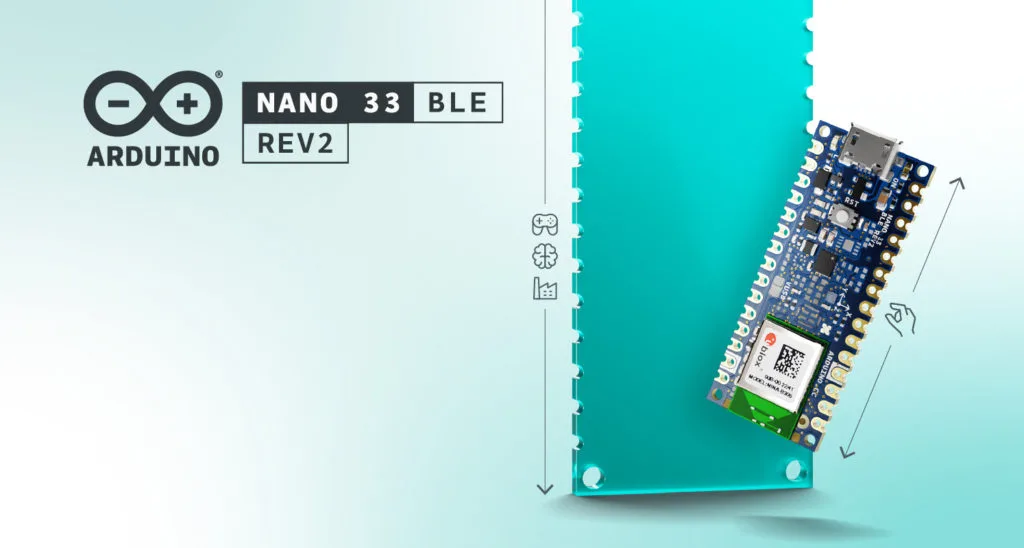
Not bigger, just better: Introducing the Nano 33 BLE Rev2
Reading Time: 2 minutesThe Nano 33 BLE is one of our most popular boards, and for good reason. It’s small and 3.3-V-compatible; it comes with an embedded nine-axis IMU featuring accelerometer, gyroscope and magnetometer; it has a powerful processor; it offers a powerful Bluetooth® Low Energy module with an internal antenna that can be used…
-
Elasticsearch and Arduino: better together!
Reading Time: 8 minutesNamed Visionary by Gartner for the third year in a row, Elastic is the world’s leading platform for search-powered solutions – and a company we are proud to partner with. Recently, we collaborated with this data powerhouse on a Portenta H7-based R&D project to provide a simple Elasticsearch client library (written in…
-
Introducing the new Value Selector and Dropdown Widgets for Arduino IoT Cloud dashboards
Reading Time: 4 minutesWe’re excited to announce the release of two new widgets to the Arduino IoT Cloud: the Value Selector and Value Dropdown Widgets. In this blog post, we’ll be exploring the benefits of the new widgets, how to use them, and how you can take advantage of this latest feature. The Arduino IoT…
-

Get more out of your phone: Integrate it with your Arduino Cloud projects
Reading Time: 5 minutesRemote monitoring with a mobile app is a must for all the IoT device management platforms. In general, having a mobile app offers a more complete and convenient user experience for IoT device management platform users, which can improve their satisfaction and loyalty. So expanding the mobile app capabilities in order to…
-
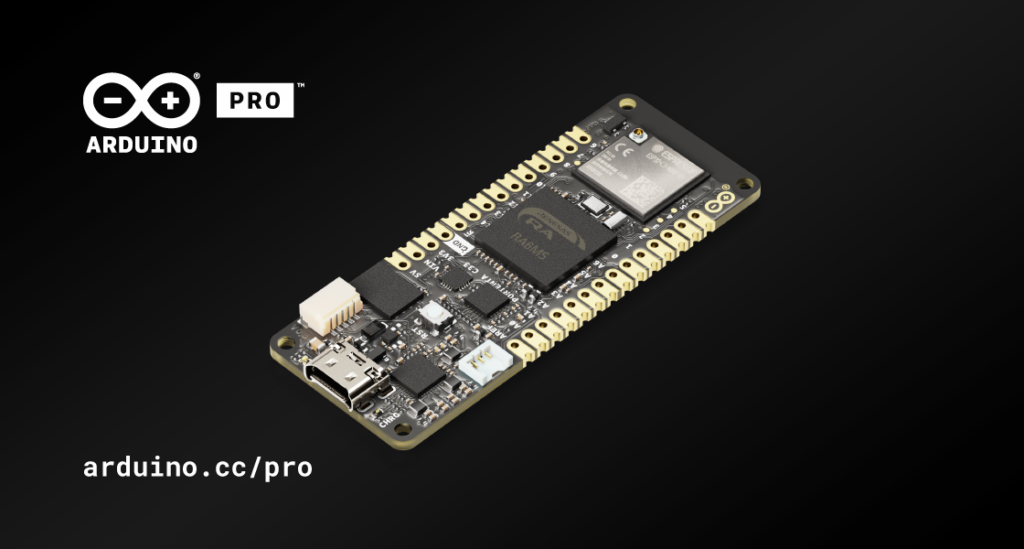
Portenta C33: The high-performance, low-price oxymoron
Reading Time: 2 minutesWhile democratizing professional solutions may seem like an oxymoron, that’s exactly what Arduino Pro is out to achieve. Our business-oriented unit stands at industrial clients’ side with a growing ecosystem of high-performance, reliable, secure products that aim to provide the right solution for every need big and small companies may have, in…
-

Introducing Arduino’s IoT Bundle and what it means for you
Reading Time: 4 minutesWe’re excited to announce the launch of the new Arduino IoT Bundle. This is built to help you dive into the complex and fascinating world of the Internet of Things with even more confidence and possibility — giving you the hardware, software, and components you need to create your own connected IoT…
-

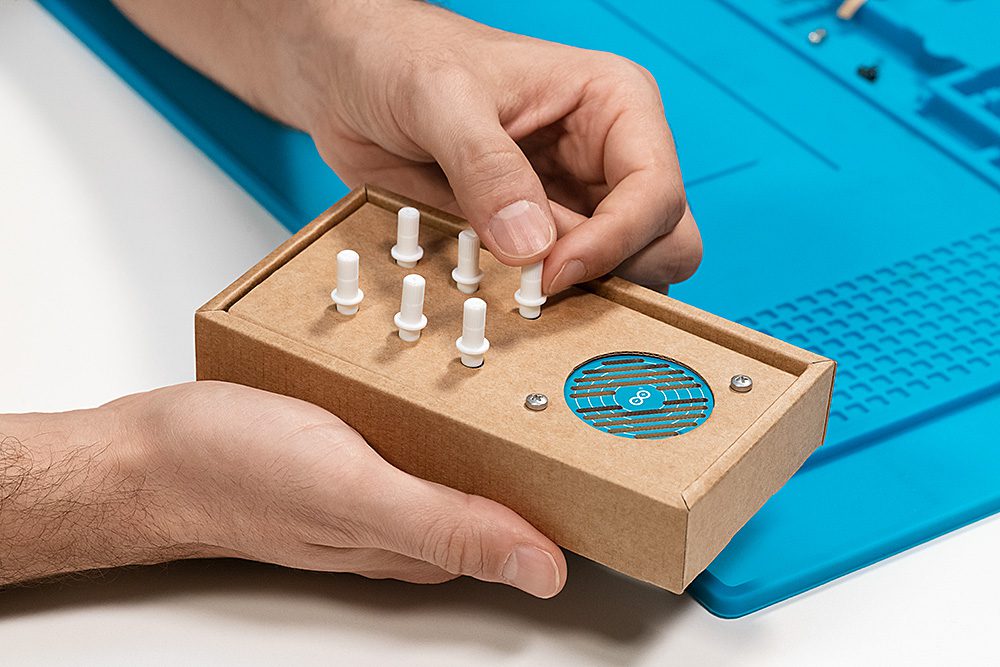
Are you ready to go back to the future?
Reading Time: 3 minutesArduino Make Your UNO Kit is finally here The first Arduino UNO was launched back in 2005, with a clear purpose to allow everyone who had an idea to make it possible through a simple and open interface. Many years have passed, technology has evolved, but we never forgot that initial thrill…
-
It’s here: please welcome Arduino IDE 2.0
Reading Time: 4 minutesWe’re pleased to announce that as of today Arduino IDE 2.0 has moved to Stable and is available for download. Since the launch of the Beta version back in Spring 2021, the feedback received from the active Arduino community has enabled us to focus on what’s meaningful to the widest user-base. It…
-

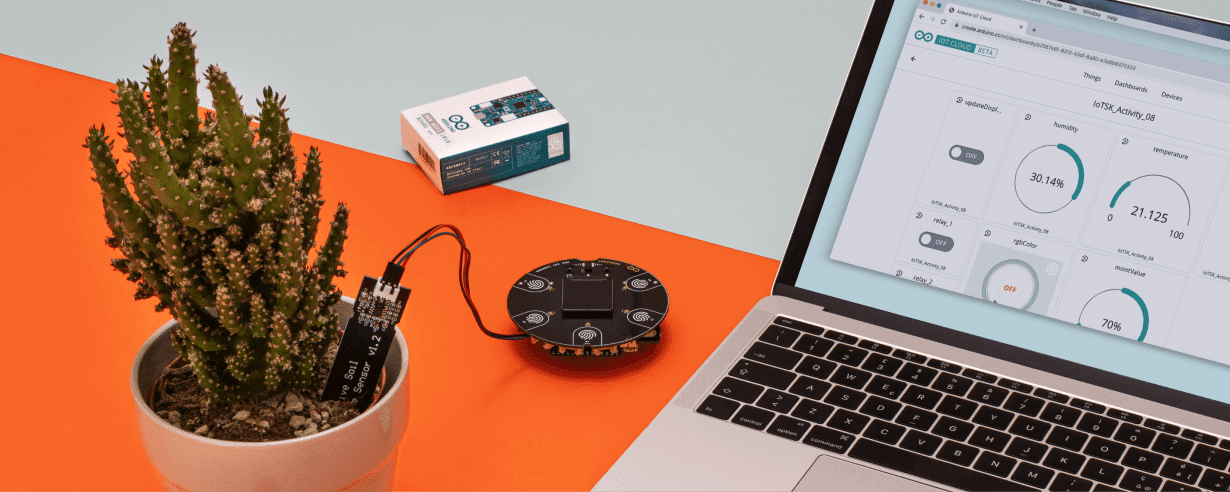
Get ready to Explore IoT with Arduino Education
Reading Time: 4 minutesThis week we are launching our Arduino Explore IoT Kit, which allows high school and college students to take their first steps in building connected devices. Educators can make a complex subject simple — explore the Internet of Things right now with Arduino Education. Aimed at the beginner, there is a complete set…
-
Arduino SIM, the new cellular connectivity service for the Arduino IoT Cloud
Reading Time: 2 minutesArduino SIM, the new cellular connectivity service for the Arduino IoT Cloud Arduino Team — May 21st, 2019 Arduino SIM: 10MB Free Data for Up to 90 Days! The new Arduino SIM offers the simplest path to cellular IoT device development in an environment familiar to millions. The cellular service, provided by…
-

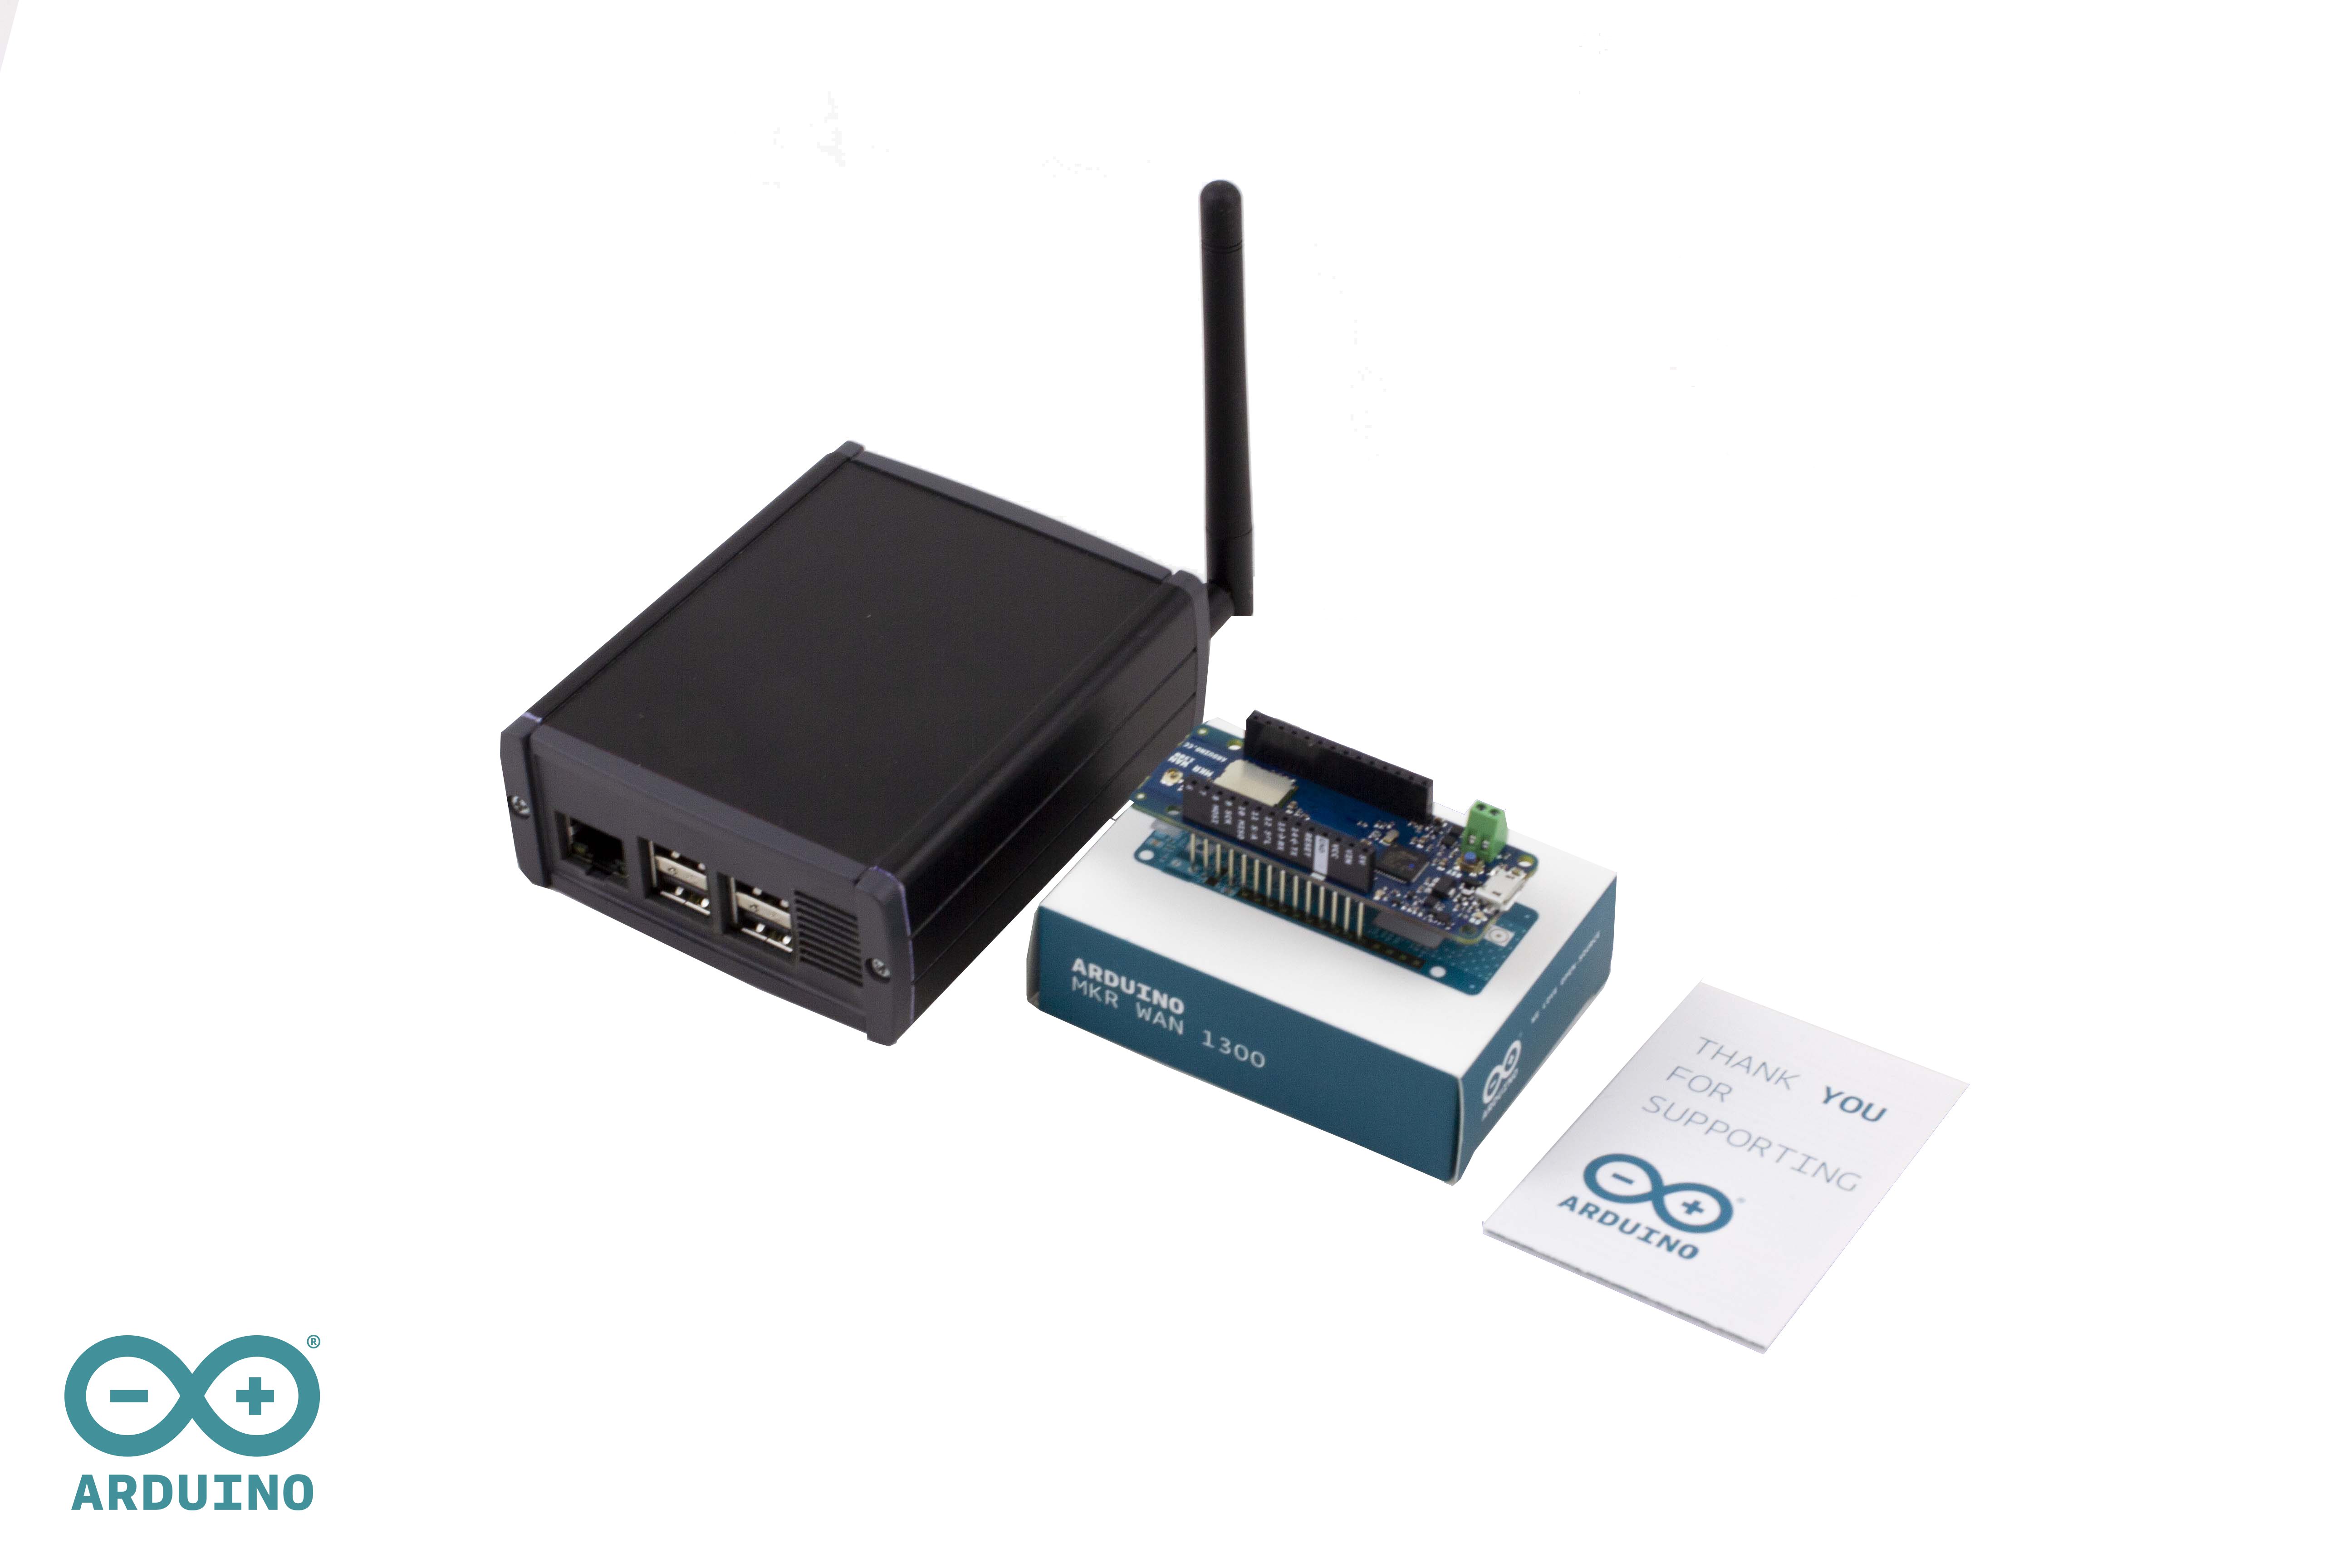
Arduino PRO Gateway for LoRa now available for pre-order
Reading Time: 2 minutesArduino PRO Gateway for LoRa now available for pre-order Arduino Team — November 14th, 2018 We are very happy to announce the Arduino PRO Gateway for LoRa! Combined with Arduino MKR WAN 1300 IoT nodes, it makes an ideal solution for a wide range of applications, like smart agriculture, smart cities and building…
-

Watch 100.000 EURO Hack Film – Best Campaign about Cybercrime ever seen!
Reading Time: < 1 minuteThose 2 Videos blow our mind when we saw them, the first seems to be a new commercial against cyber crime in the netherlands: And here are are also the making of and explanation: Official Source: http://www.youtube.com/watch?v=XauIMWz9Z9g http://www.liveleak.com/view?i=807_1383224319 http://www.digibewust.nl/hacker-ontmaskerd/
-

PS4 System Software Update 1.50 Details
Reading Time: 4 minutesPS4 just like XB1 will need a Day ONE update! If you unboxing your PlayStation 4 during the holiday season, make sure you going to do it nearby where you have nice fast stable Internet connection, as your shiny new black box by Sony will need to load up v1.50 of its…
-

Futuristic Skully Motorcycle Helmet Has Built-in Heads Up Display with Weather, GPS
Reading Time: < 1 minuteGadget fans who ride motorcycles / scooters rejoice! Introducing Skully, a futuristic helmet that combines smartphone-pairing and voice controls with an integrated Heads Up Display that shows both turn-by-turn directions as well as provides full 180° view of what’s behind The Skully Synapse HUD is integrated into the helmet visor and…
-

College Students Successfully Create and Fire 3D-Printed Rocket Engine
Reading Time: < 1 minuteUCSD (Uiversity of California, San Diego) have created a 3D-printed metal rocket engine using techniques previously only known to NASA, and successfully fired it at the Friends of Amateur Rocketry launch site in California’s Mojave Desert. Gizmag says that it is the „first such test of a printed liquid-fueled, metal rocket…
-

Samsung Galaxy Note 3 and Galaxy Gear first TV ad released
Reading Time: < 1 minute‚In my restless dreams, i see that town, Silent Hill‘. This is one of the most famous quotes from Konami’s survival horror, you just change the words ‚Silent Hill‘ for Galaxy Gear or Galaxy Note 3 and you’ll get the perfect definition of the new TV ad the Korean company has…
-

Asia Girls Now Wear This Strange Mask Instead of Getting Plastic Surgery
Reading Time: < 1 minuteNot everyone who wants plastic surgery can afford it, but now some of those people are able to slip on a Uniface Mask by Chinese designer Zhuoying Li. Simply put, „the science team behind this unique beauty product has developed ‚bionic-skin‘ technology to produce a human-skin-like mask, which is extremely thin…