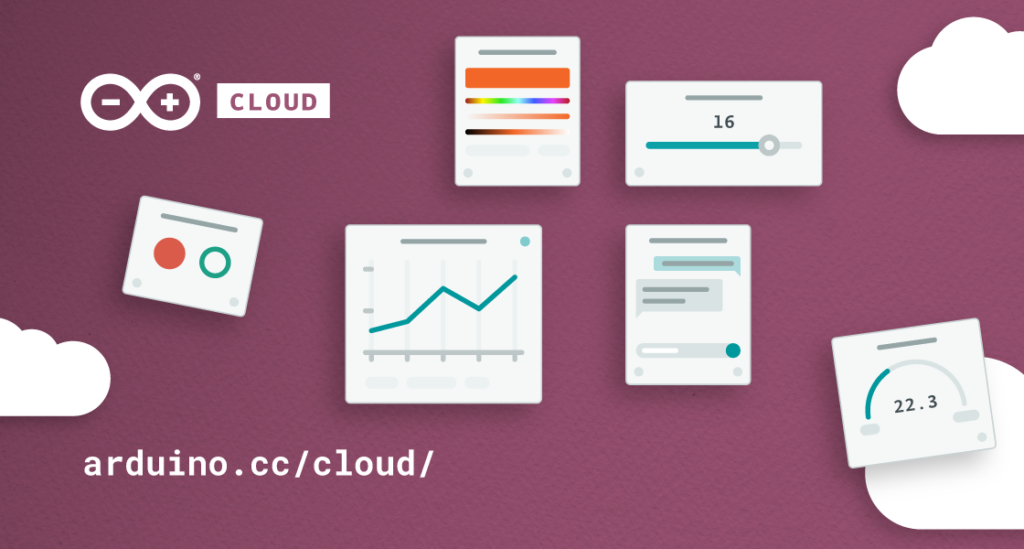
Receive an alert when your device goes offline in Arduino Cloud
Reading Time: 3 minutesYou’re managing a network of IoT sensors that monitor air quality across multiple locations. Suddenly, one of the sensors goes offline, but you don’t notice until hours later. The result? A gap in your data and a missed opportunity to take corrective action. This is a common challenge when working with IoT devices: staying informed […]