Schlagwort: amazon alexa
-

Raspberry Pi + Furby = ‘Furlexa’ voice assistant
Reading Time: 3 minutesHow can you turn a redundant, furry, slightly annoying tech pet into a useful home assistant? Zach took to howchoo to show you how to combine a Raspberry Pi Zero W with Amazon’s Alexa Voice Service software and a Furby to create Furlexa. [youtube https://www.youtube.com/watch?v=aCOsM-4NEKs?feature=oembed&w=500&h=281] Furby was pretty impressive technology, considering that…
-

Full control of your TV using Alexa and Arduino IoT Cloud
Reading Time: 2 minutesFull control of your TV using Alexa and Arduino IoT Cloud Arduino Team — December 23rd, 2019 We’re excited to announce that the official Arduino Amazon Alexa skill now supports television control. You can now securely connect your TV set to Alexa using Arduino IoT Cloud and a few lines of code.…
-

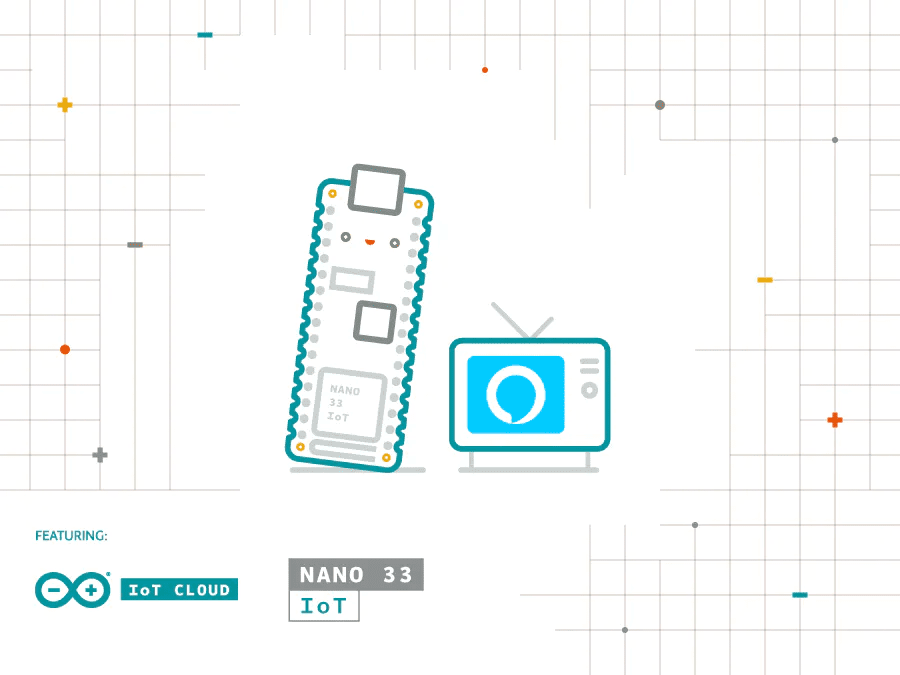
Create a voice-controlled device with Alexa and Arduino IoT Cloud in 7 minutes
Reading Time: 4 minutesWe’re excited to announce the launch of the official Arduino Amazon Alexa Skill. [youtube https://www.youtube.com/watch?v=Yt0OrmzBmMk?feature=oembed&w=500&h=375] You can now securely connect Alexa to your Arduino IoT Cloud projects with no additional coding required. You could use Alexa to turn on the lights in the living room, check the temperature in the bedroom, start…
-

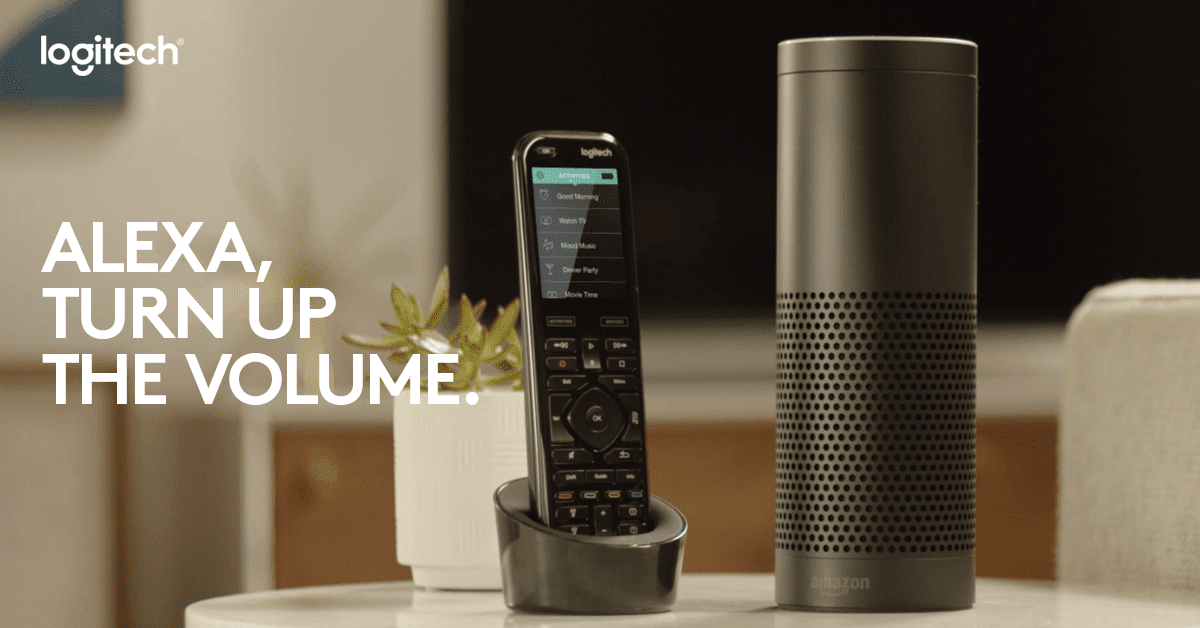
Logitech Harmony: Einfachere Sprachbefehle für Amazon Alexa
Reading Time: 2 minutesDurch ein Softwareupdate werden die Sprachbefehle für Amazon Alexa über die Logitech Harmony-Fernbedienung intuitiver und natürlicher Dank eines Softwareupdates des Logitech Harmony Skills für Amazon Alexa werden Sprachbefehle künftig noch einfacher. Nutzer müssen beispielsweise nicht mehr „Alexa, schalte den Fernseher ein mit Harmony“ sagen, wenn sie eine Logitech Harmony Hub-basierte Fernbedienung zur…
-

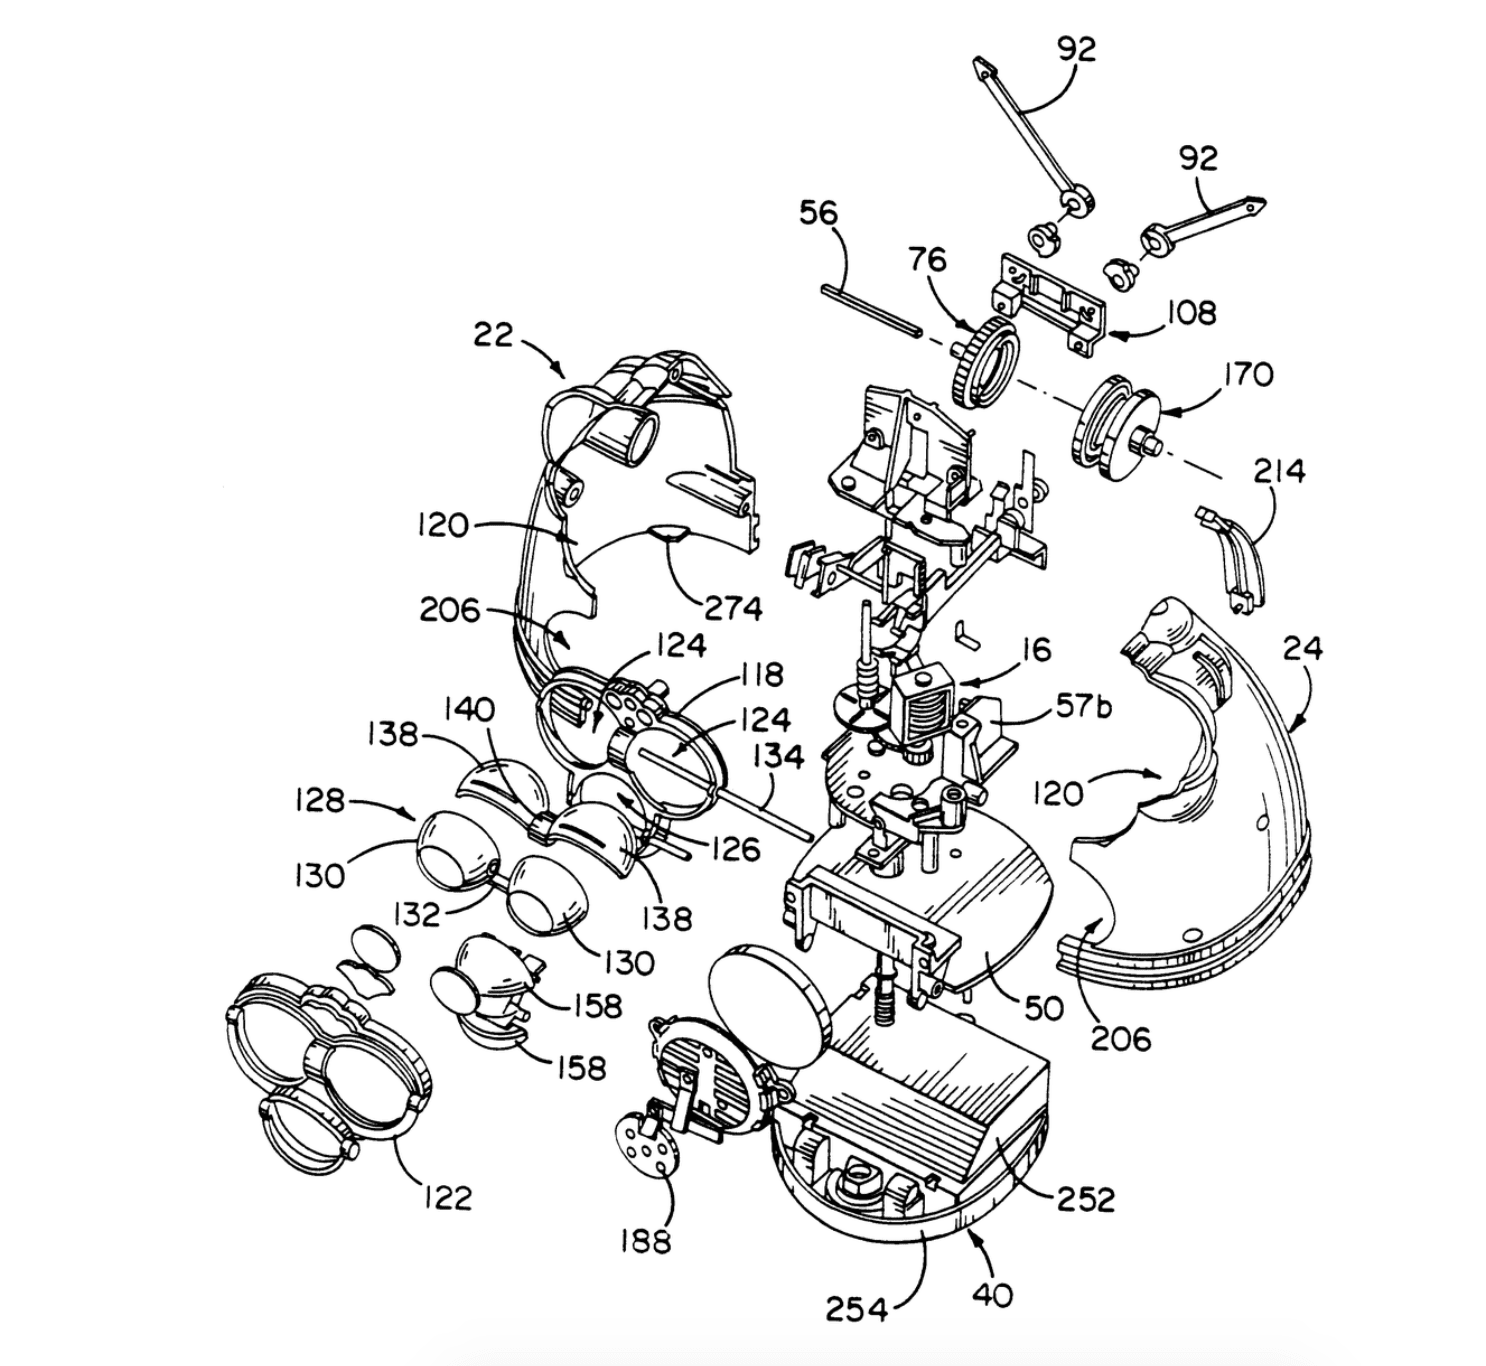
Build your own Star Wars droid
Reading Time: 3 minutesIt is a truth universally acknowledged…that everyone wants their own Star Wars droid. If you’re now thinking “No, not me!”, then you obviously haven’t met the right droid yet. But Patrick ‘PatchBOTS‘ Stefanski has, and that droid is L3-37 from the newly released Solo: A Star Wars Story. Release the droids Visit your…
-

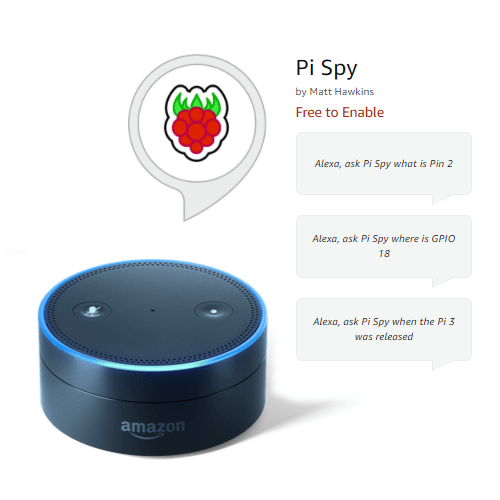
Raspberry Pi Spy’s Alexa Skill
Reading Time: 4 minutesWith Raspberry Pi projects using home assistant services such as Amazon Alexa and Google Home becoming more and more popular, we invited Raspberry Pi maker Matt ‘Raspberry Pi Spy‘ Hawkins to write a guest post about his latest project, the Pi Spy Alexa Skill. Pi Spy Skill The Alexa system uses Skills…
-

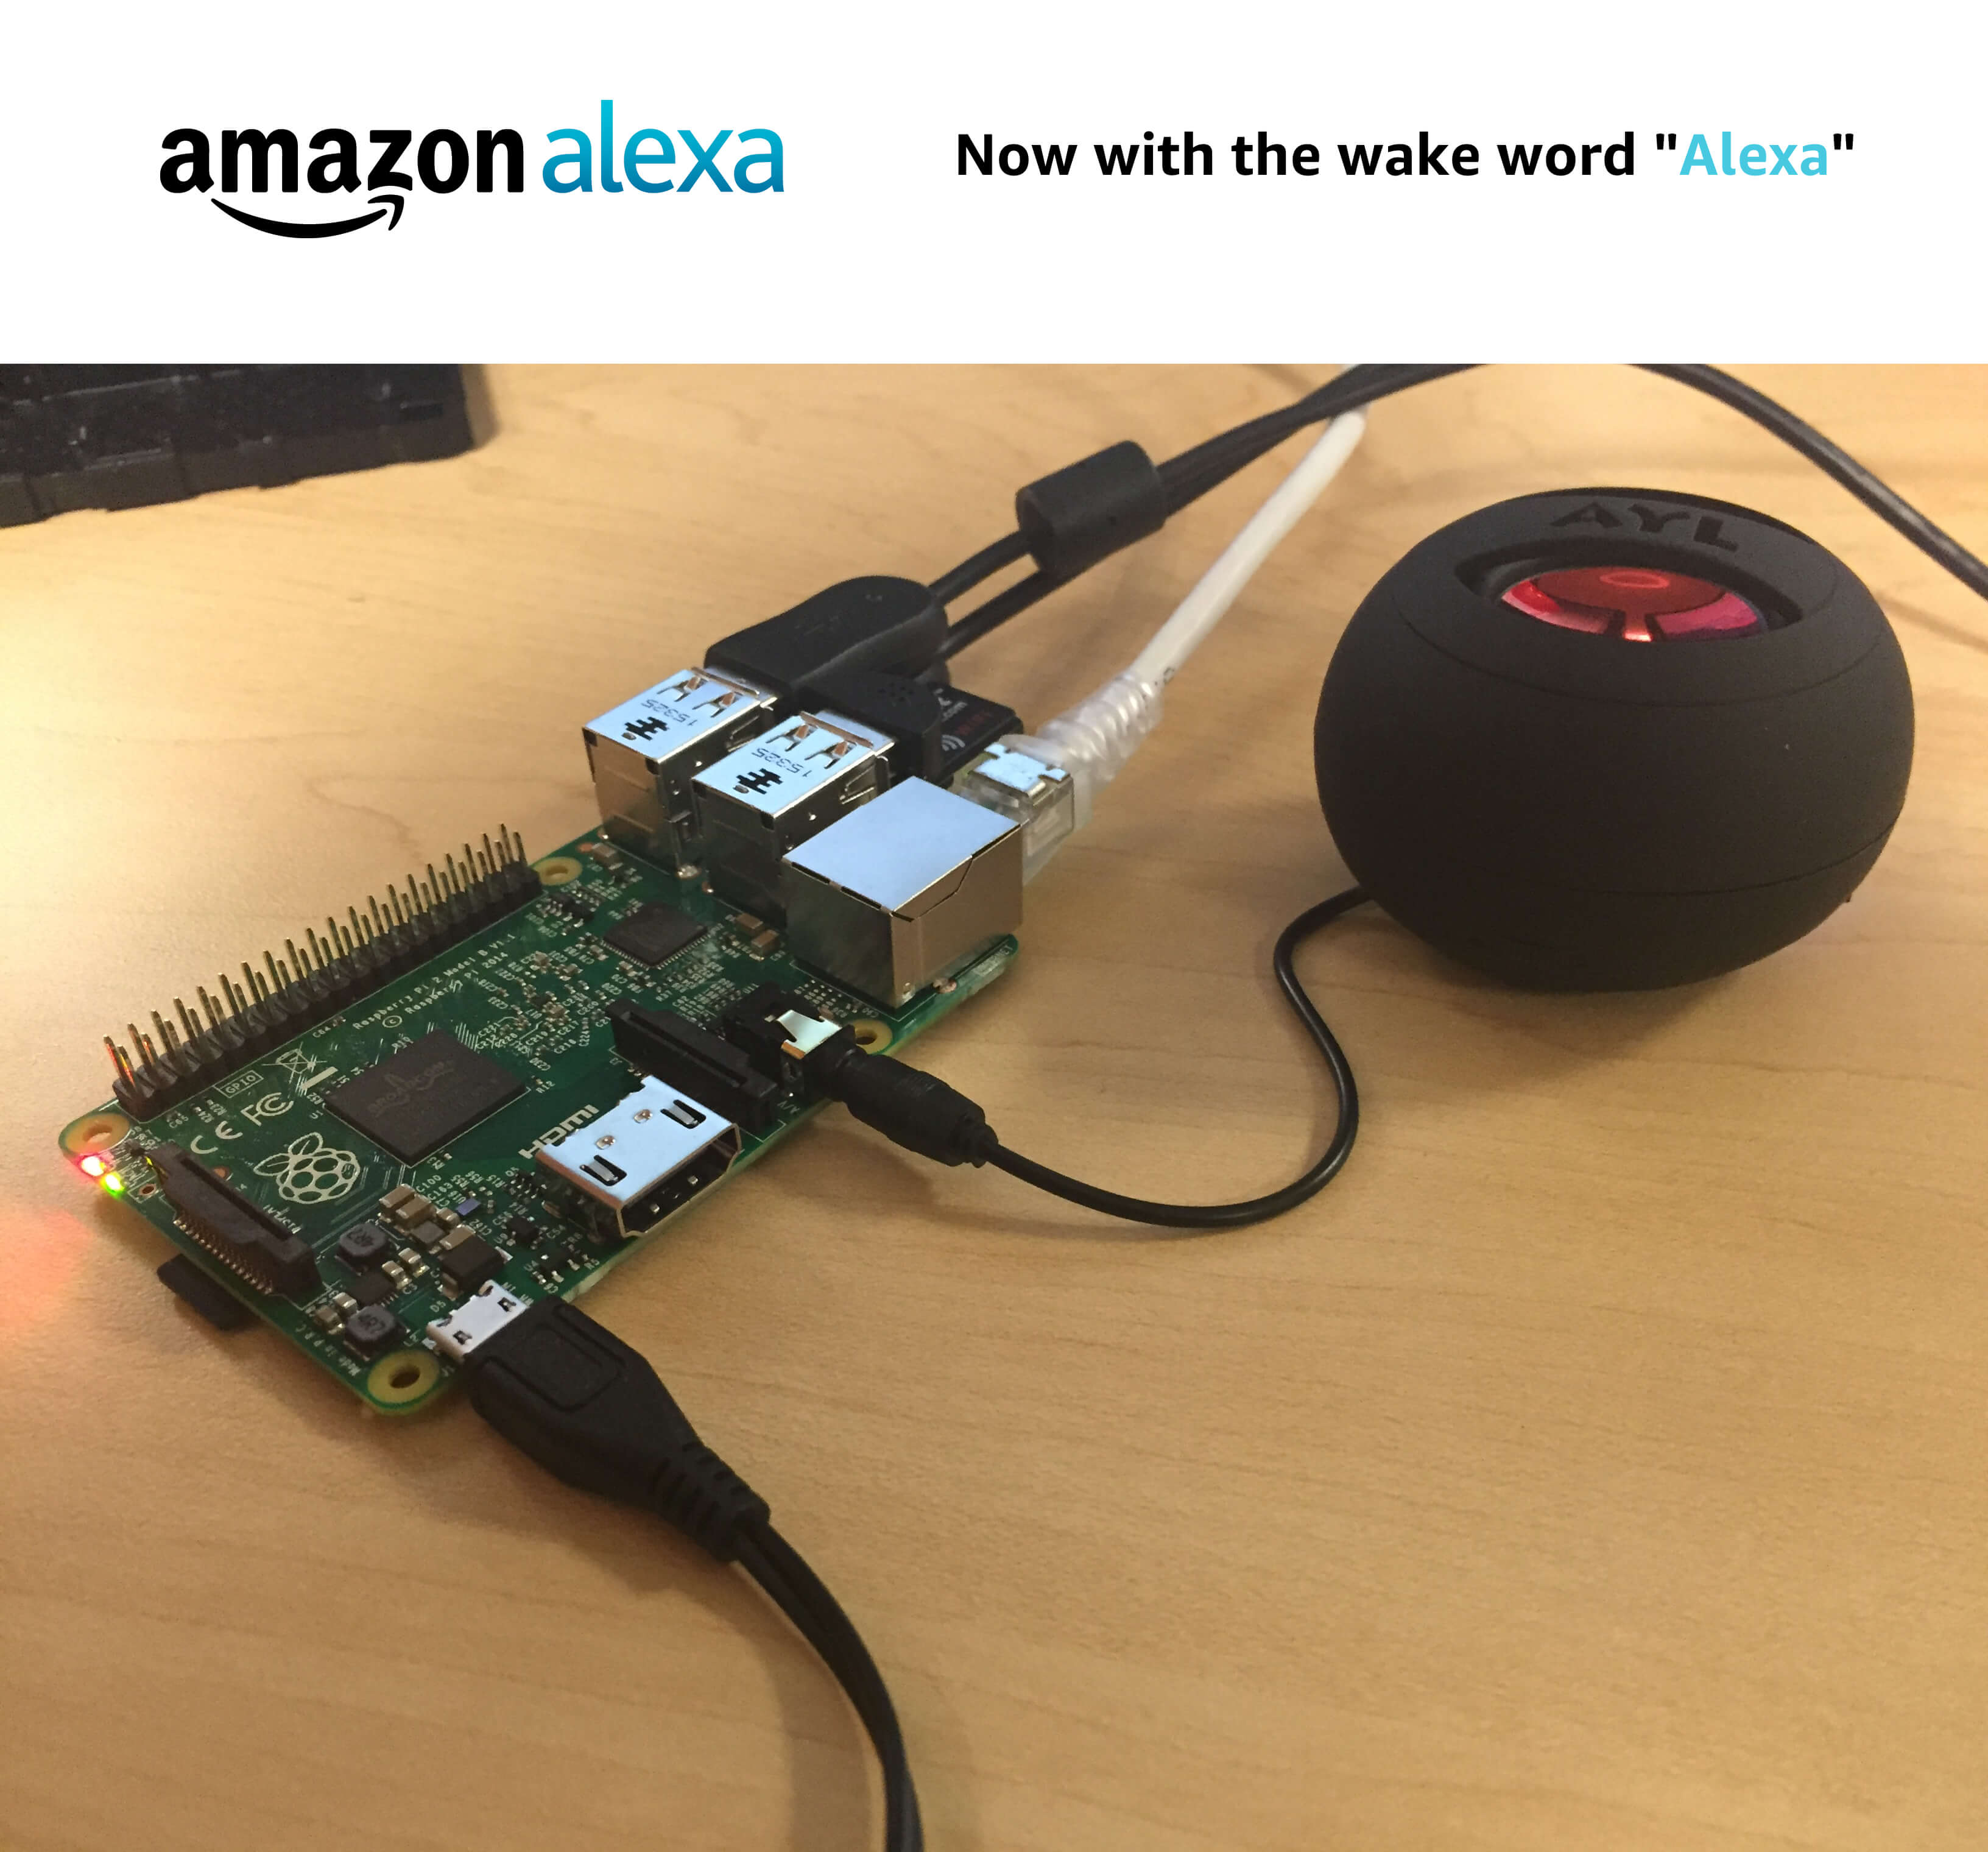
Raspberry Pi 3 Alexa DIY Project
Reading Time: 7 minutesRequired hardware Before you get started, let’s review what you’ll need. Raspberry Pi 3 (Recommended) or Pi 2 Model B (Supported) – Buy at Amazon – Pi 3 or Pi 2. Micro-USB power cable for Raspberry Pi. Micro SD Card (Minimum 8 GB) – You need an operating system to get started.…