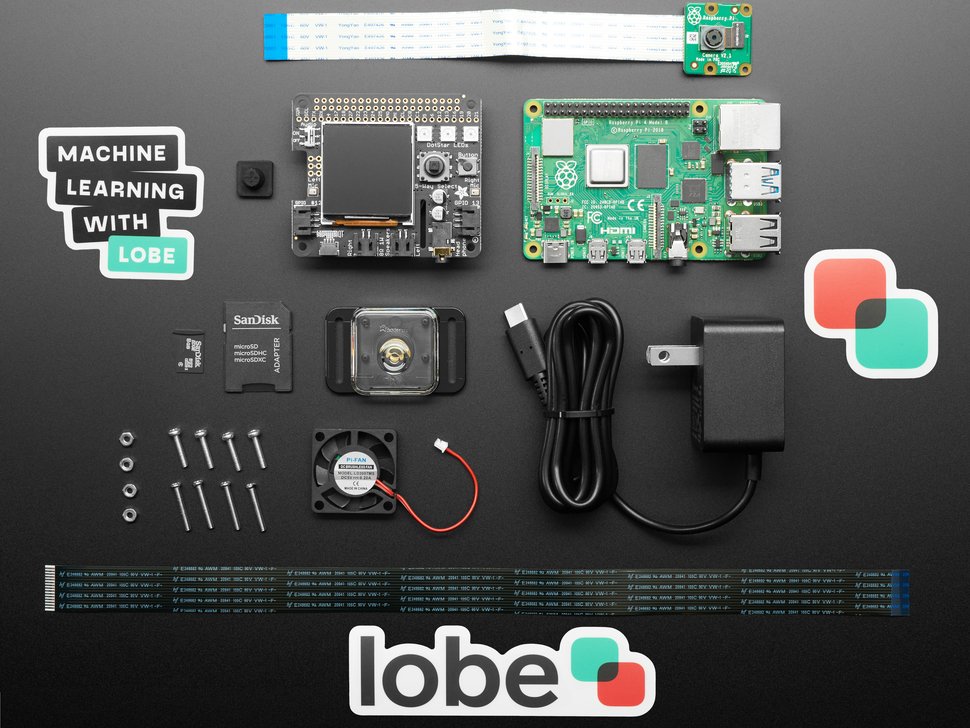
Machine learning can sound daunting even for experienced Raspberry Pi hobbyists, but Microsoft and Adafruit Industries are determined to make it easier for everyone to have a go. Microsoft’s Lobe tool takes the stress out of training machine learning models, and Adafruit have developed an entire kit around their BrainCraft HAT, featuring Raspberry Pi 4 and a Raspberry Pi Camera, to get your own machine learning project off to a flying start.
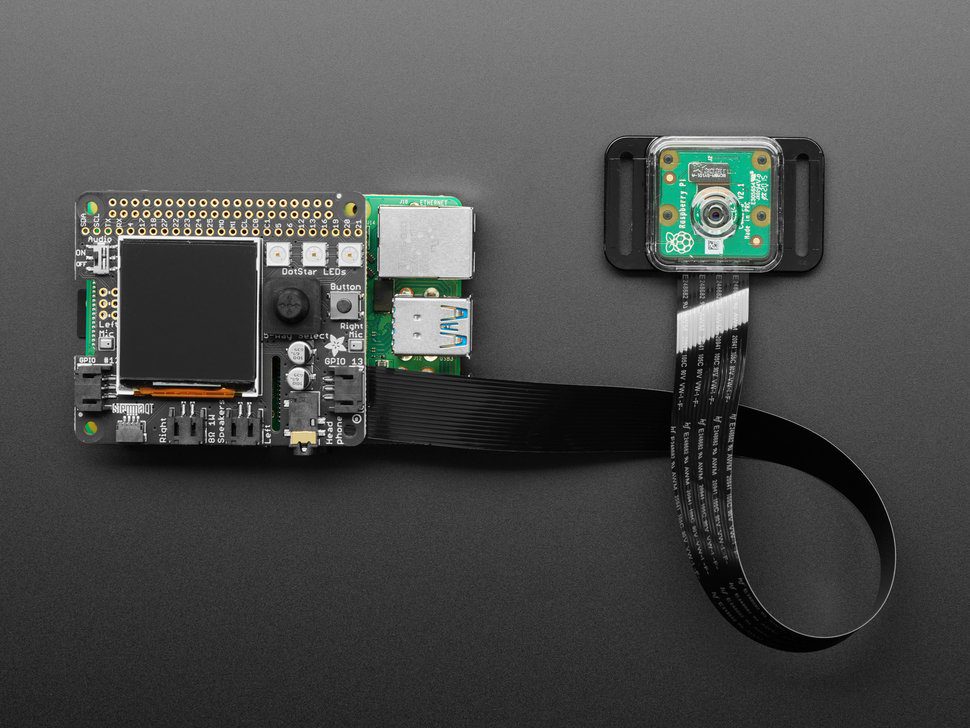
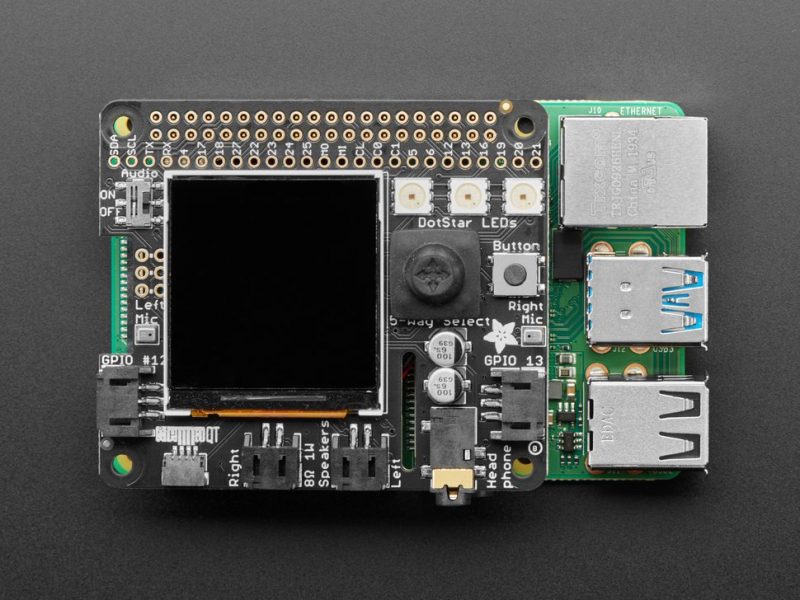
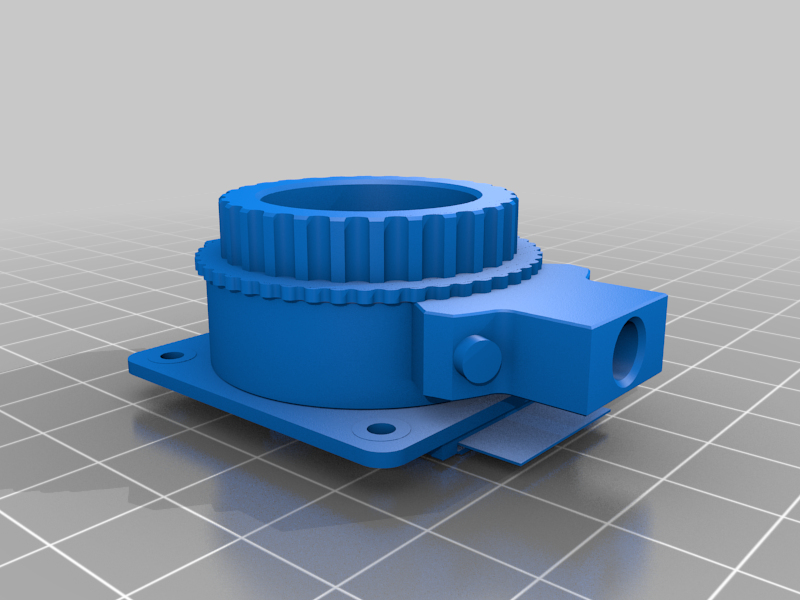
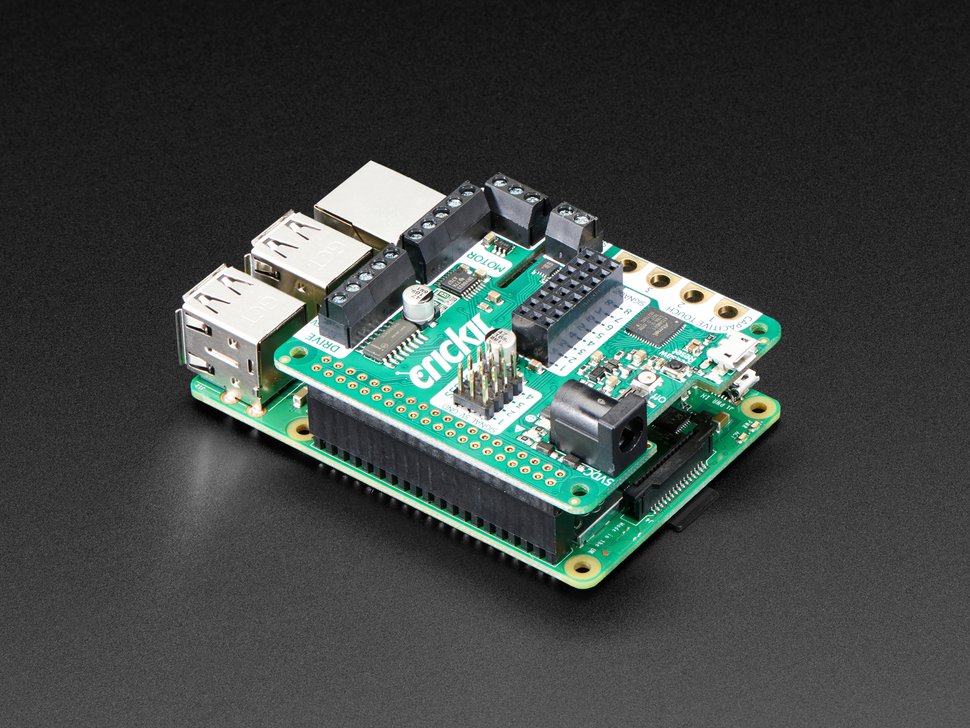
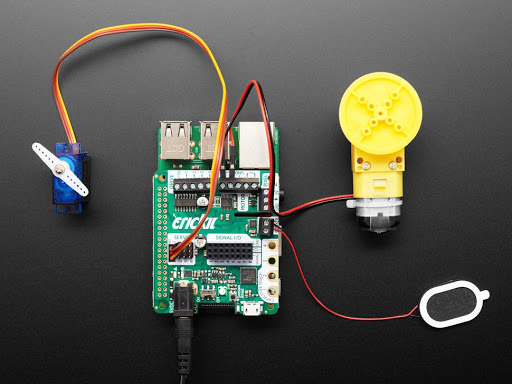
Adafruit’s BrainCraft HAT
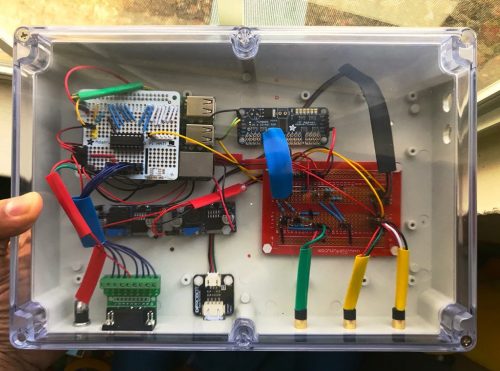
Adafruit’s BrainCraft HAT fits on top of Raspberry Pi 4 and makes it really easy to connect hardware and debug machine learning projects. The 240 x 240 colour display screen also lets you see what the camera sees. Two microphones allow for audio input, and access to the GPIO means you can connect things likes relays and servos, depending on your project.
Microsoft Lobe
Microsoft Lobe is a free tool for creating and training machine learning models that you can deploy almost anywhere. The hardest part of machine learning is arguably creating and training a new model, so this tool is a great way for newbies to get stuck in, as well as being a fantastic time-saver for people who have more experience.
Get started with one of three easy, medium, and hard tutorials featured on the lobe-adafruit-kit GitHub.
Look how quickly the tool takes enough photos to train a machine learning model
‘Bakery’ identifies and prices different pastries
Lady Ada demonstrated Bakery: a machine learning model that uses an Adafruit BrainCraft HAT, a Raspberry Pi camera, and Microsoft Lobe. Watch how easy it is to train a new machine learning model in Microsoft Lobe from this point in the Microsoft Build Keynote video.
[youtube https://www.youtube.com/watch?v=O6KdTTdioTY?feature=oembed&w=500&h=281]
Bakery identifies different baked goods based on images taken by the Raspberry Pi camera, then automatically identifies and prices them, in the absence of barcodes or price tags. You can’t stick a price tag on a croissant. There’d be flakes everywhere.
Extra functionality
Running this project on Raspberry Pi means that Lady Ada was able to hook up lots of other useful tools. In addition to the Raspberry Pi camera and the HAT, she is using:
- Three LEDs that glow green when an object is detected
- A speaker and some text-to-speech code that announces which object is detected
- A receipt printer that prints out the product name and the price
All of this running on Raspberry Pi, and made super easy with Microsoft Lobe and Adafruit’s BrainCraft HAT. Adafruit’s Microsoft Machine Learning Kit for Lobe contains everything you need to get started.
Watch the Microsoft Build keynote
And finally, watch Microsoft CTO Kevin Scott introduce Limor Fried, aka Lady Ada, owner of Adafruit Industries. Lady Ada joins remotely from the Adafruit factory in Manhattan, NY, to show how the BrainCraft HAT and Lobe work to make machine learning accessible.
[youtube https://www.youtube.com/watch?v=ML0s-T55VPA?feature=oembed&w=500&h=281]
 Website: LINK