
GitHub’s Martin Woodward has created a spooky pumpkin that warns you about the thing programmers find scariest of all — broken builds. Here’s his guest post describing the project:

“When you are browsing code looking for open source projects, seeing a nice green passing build badge in the ReadMe file lets you know everything is working with the latest version of that project. As a programmer you really don’t want to accidentally commit bad code, which is why we often set up continuous integration builds that constantly check the latest code in our project.”
“I decided to create a 3D-printed pumpkin that would hold a Raspberry Pi Zero with an RGB LED pHat on top to show me the status of my build for Halloween. All the code is available on GitHub alongside the 3D printing models which are also available on Thingiverse.”
Components
- Raspberry Pi Zero (I went for the WH version to save me soldering on the header pins)
- Unicorn pHat from Pimoroni
- Panel mount micro-USB extension
- M2.5 hardware for mounting (screws, male PCB standoffs, and threaded inserts)
“For the 3D prints, I used a glow-in-the-dark PLA filament for the main body and Pi holder, along with a dark green PLA filament for the top plug.”

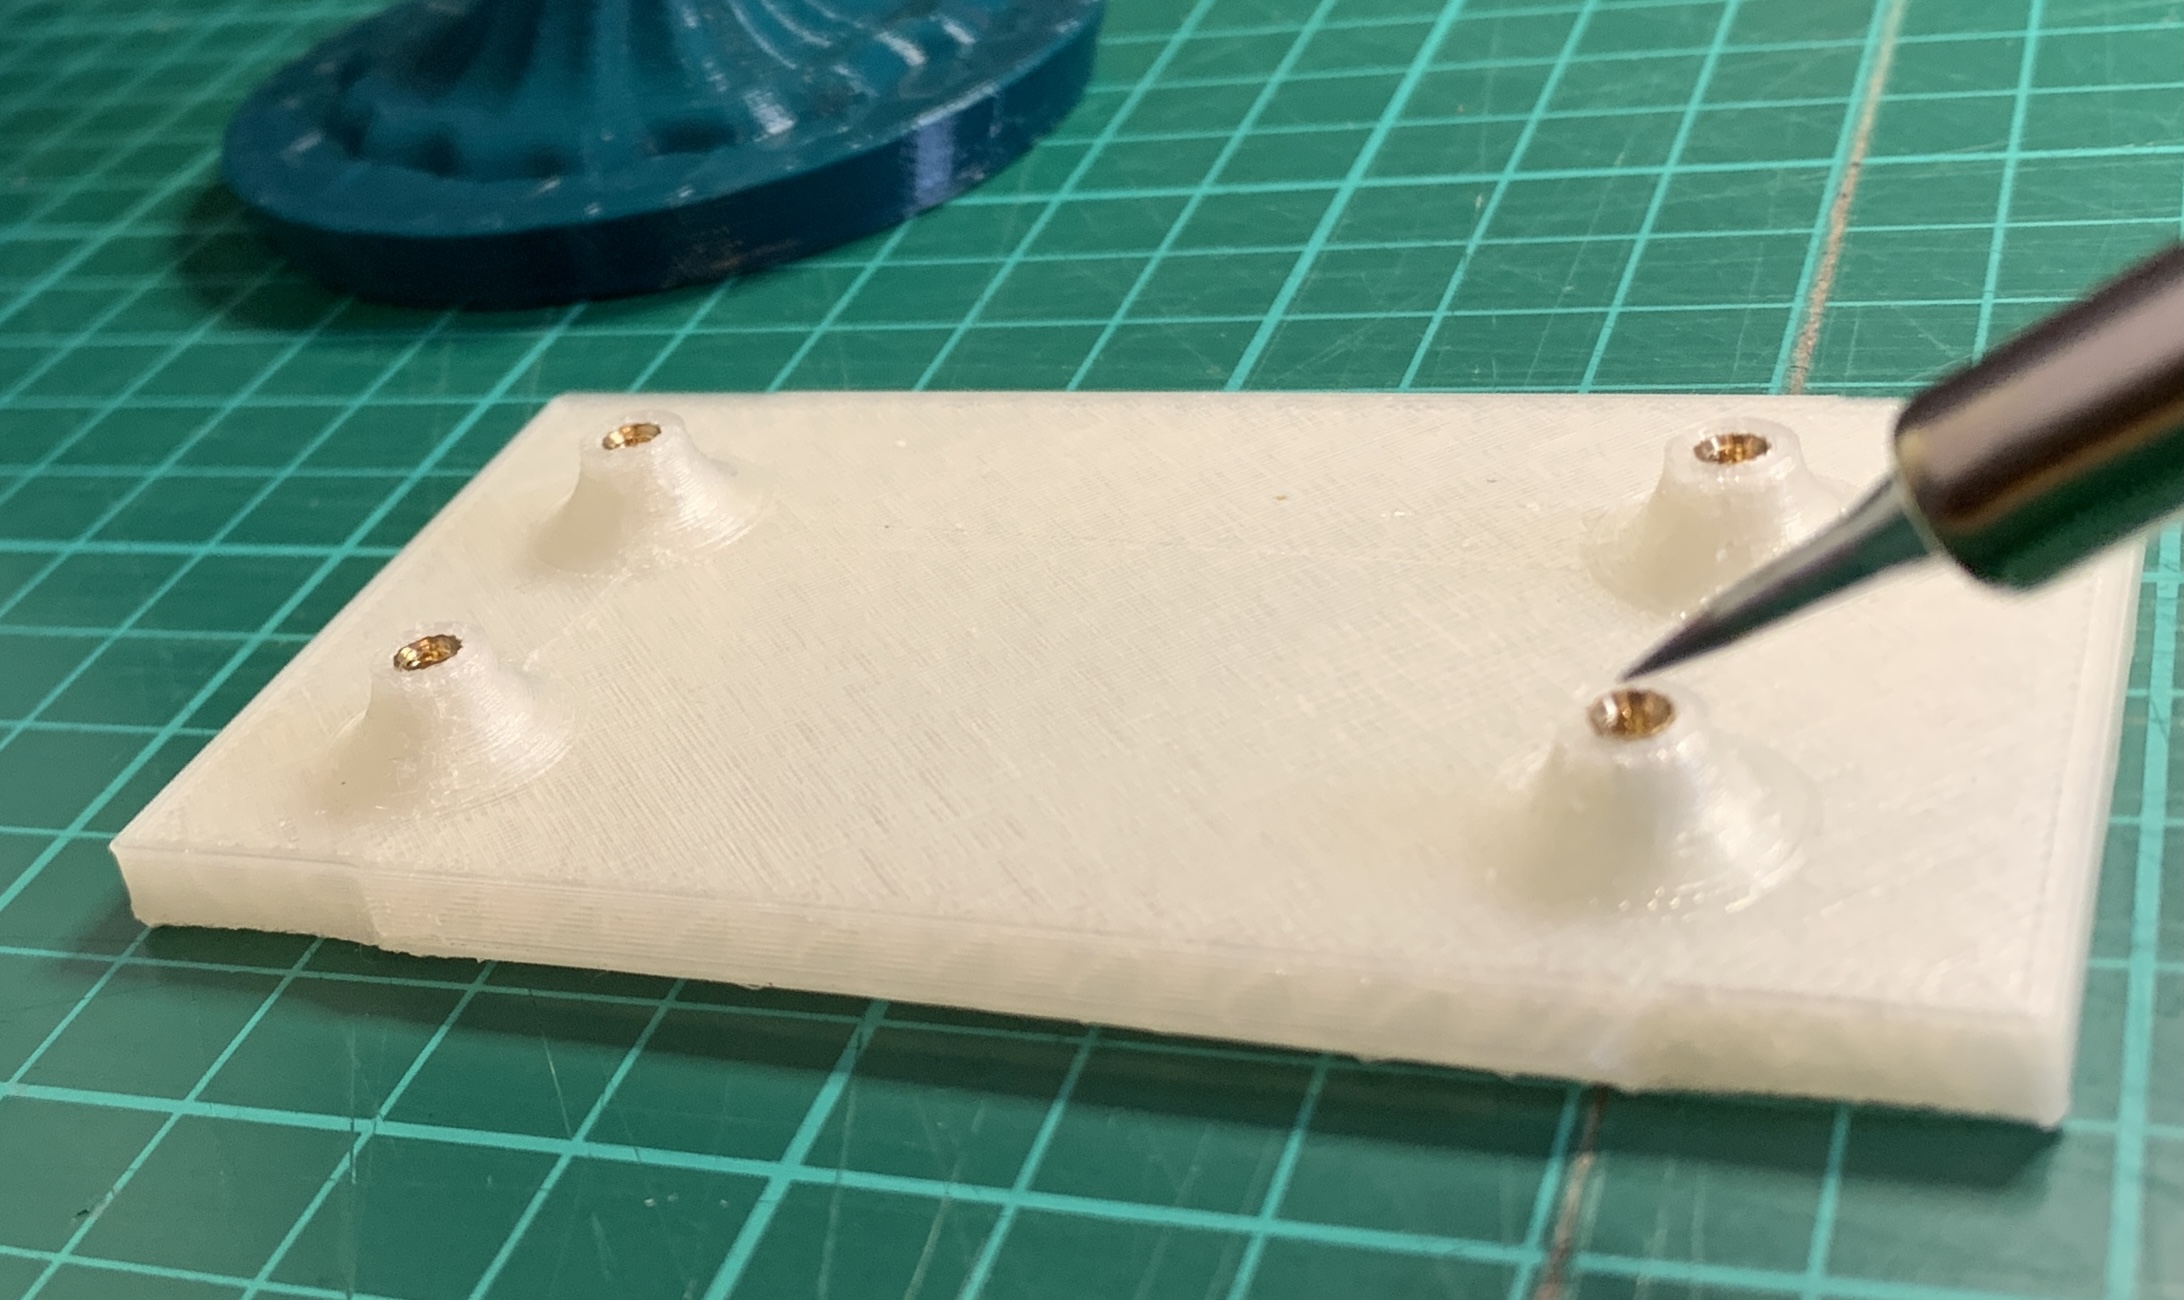
“I’ve been using M2.5 threaded inserts quite a bit when printing parts to fit a Raspberry Pi, as it allows you to simply design a small hole in your model and then you push the brass thread into the gap with your soldering iron to melt it securely into place ready for screwing in your device.”
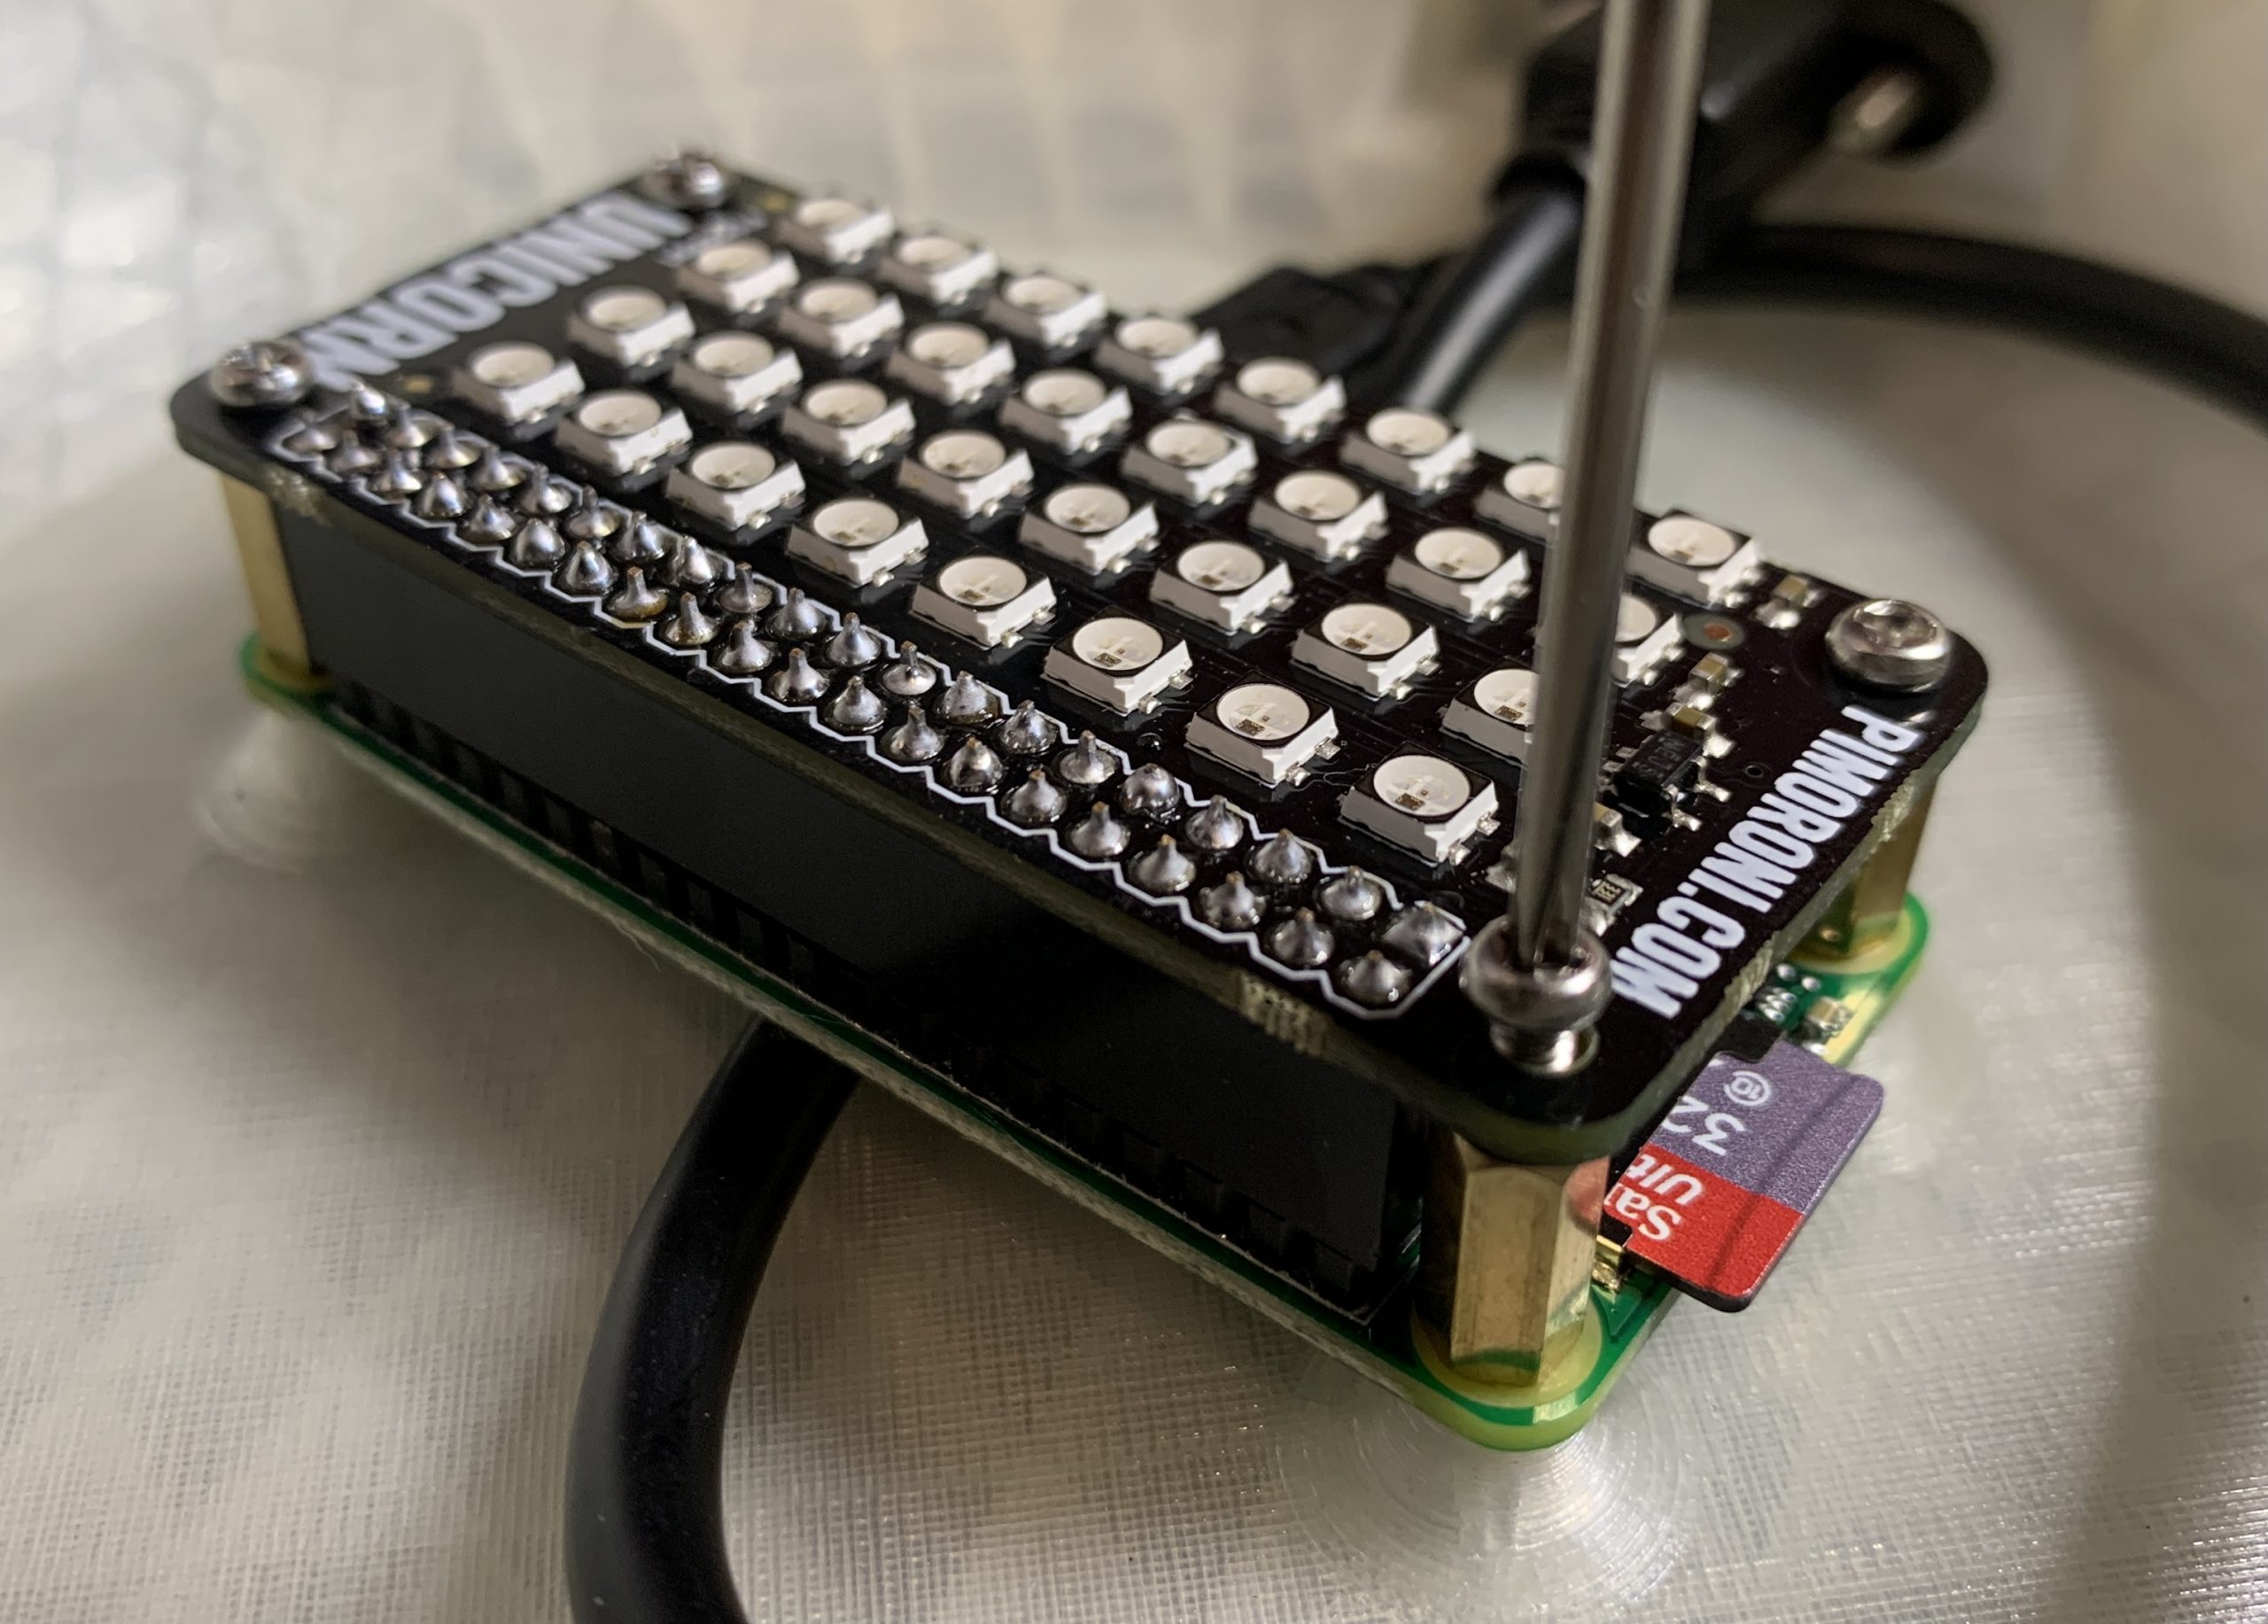
“Once the inserts are in, you can screw the Raspberry Pi Zero into place using some brass PCB stand-offs, place the Unicorn pHAT onto the GPIO ports, and then screw that down.”
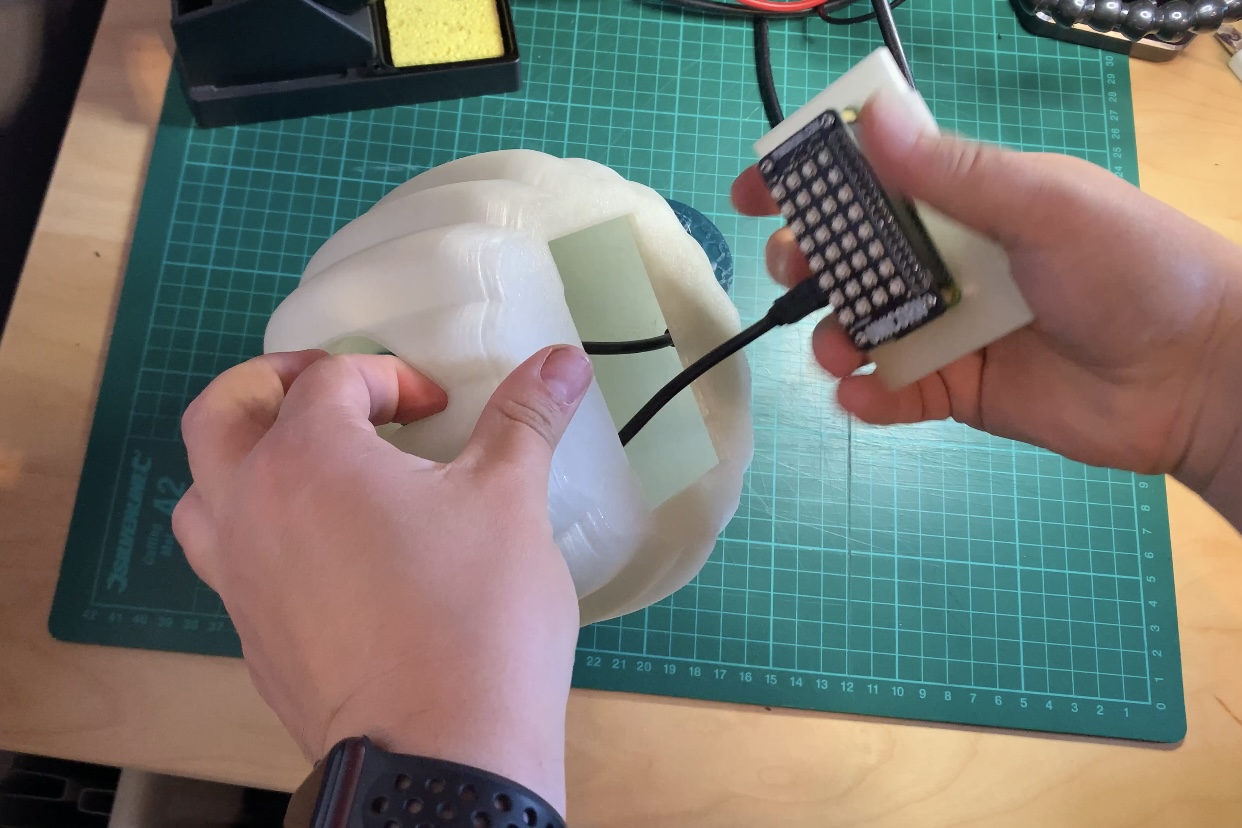
“Then you screw in the panel-mounted USB extension into the back of the pumpkin, connect it to the Raspberry Pi, and snap the Raspberry Pi holder into place in the bottom of your pumpkin.”
Code along with Martin
“Now you are ready to install the software. You can get the latest version from my PumpkinPi project on GitHub. “
“Format the micro SD Card and install Raspberry Pi OS Lite. Rather than plugging in a keyboard and monitor, you probably want to do a headless install, configuring SSH and WiFi by dropping an ssh file and a wpa_supplicant.conf file onto the root of the SD card after copying over the Raspbian files.”
“You’ll need to install the Unicorn HAT software, but they have a cool one-line installer that takes care of all the dependencies including Python and Git.”
\curl -sS https://get.pimoroni.com/unicornhat | bash
“In addition, we’ll be using the requests module in Python which you can install with the following command:”
sudo pip install requests
“Next you want to clone the git repo.”
git clone https://github.com/martinwoodward/PumpkinPi.git
“You then need to modify the settings to point at your build badge. First of all copy the sample settings provided in the repo:”
cp ~/PumpkinPi/src/local_settings.sample ~/PumpkinPi/src/local_settings.py
“Then edit the BADGE_LINK variable and point at the URL of your build badge.”
# Build Badge for the build you want to monitor
BADGE_LINK = "https://github.com/martinwoodward/calculator/workflows/CI/badge.svg?branch=main"
# How often to check (in seconds). Remember - be nice to the server. Once every 5 minutes is plenty.
REFRESH_INTERVAL = 300
“Finally you can run the script as root:”
sudo python ~/PumpkinPi/src/pumpkinpi.py &
“Once you are happy everything is running how you want, don’t forget you can run the script at boot time. The easiest way to do this is to use crontab. See this cool video from Estefannie to learn more. But basically you do sudo crontab -e then add the following:”
@reboot /bin/sleep 10 ; /usr/bin/python /home/pi/PumpkinPi/src/pumpkinpi.py &
“Note that we are pausing for 10 seconds before running the Python script. This is to allow the WiFi network to connect before we check on the state of our build.”

“The current version of the pumpkinpi script works with all the SVG files produced by the major hosted build providers, including GitHub Actions, which is free for open source projects. But if you want to improve the code in any way, I’m definitely accepting pull requests on it.”
“Using the same hardware you could monitor lots of different things, such as when someone posts on Twitter, what the weather will be tomorrow, or maybe just code your own unique multi-coloured display that you can leave flickering in your window.”
“If you build this project or create your own pumpkin display, I’d love to see pictures. You can find me on Twitter @martinwoodward and on GitHub.”
Website: LINK
Schreibe einen Kommentar
Du musst angemeldet sein, um einen Kommentar abzugeben.