Looking for a weekend DIY project? Check out this awesome 3D printed hand-powered mechanical laser show created by software developer Evan Stanford.
Is your 3D printer sitting idle this weekend? Want to find a amusing project to show your friends and family just what this technology is capable of? What better way to seize the day than with a fully 3D printed mechanical laser light show.
Today’s Weekend Project is the Mechanical Laser Show, a spectacular showcase of the functionality of 3D printed gear mechanisms and 3D design. Created by software developer Evan Stanford, his goal was to use a laser to display a Persistence Of Vision (POV) image. However, he didn’t want to use any electric motors or servos, instead opting to create a hand-powered device with fully 3D printed parts.
The outcome is an impressive feat in mechanical engineering, one that you can replicate quite easily at home. This project uses a gear mechanism and custom designed cams, which are used to display the laser image. In his visual examples, Stanford creates laser-powered stars, hearts, even the Batman logo on the wall.

DIY Mechanical Laser Show: What Do You Need?
Interested in building your own mechanical laser show? Here’s what you need to put this project together:


DIY Mechanical Laser Show: Putting it all Together
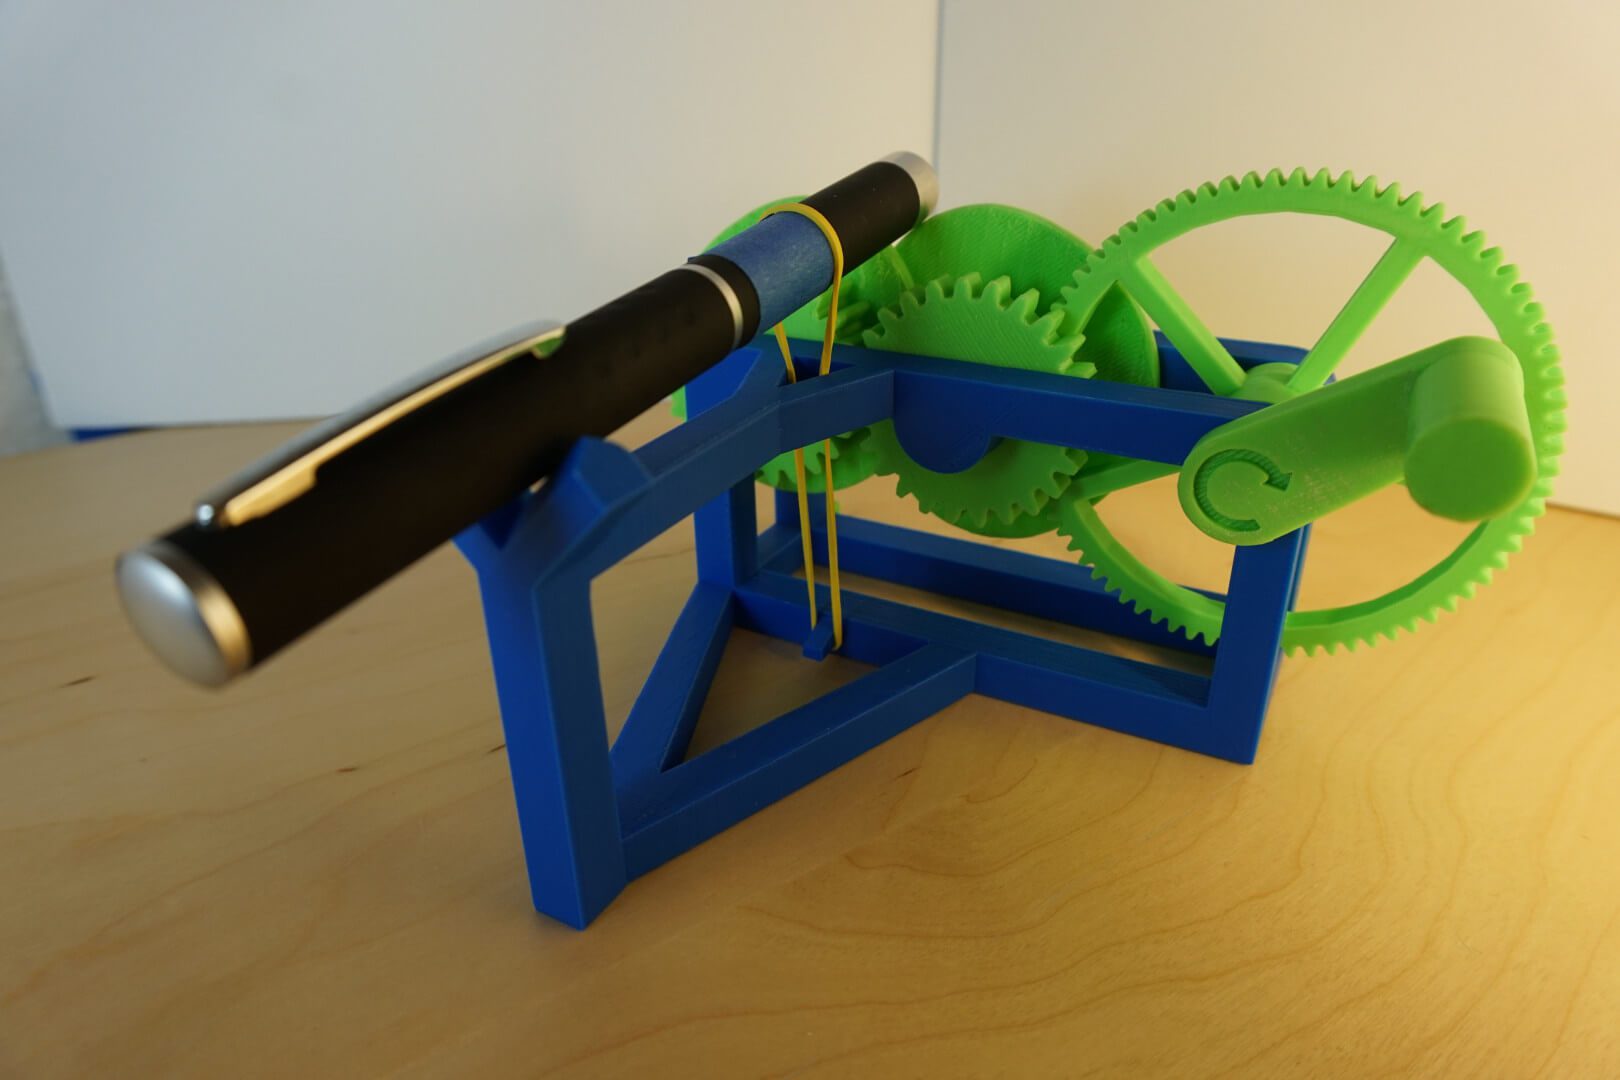
First things first, you’ll need to 3D print the different parts, all of which are available on Thingiverse. The device itself is comprised of nine components: the front and back plate, gear, crank, bolt, two axels, and two cams, which are interchangeable depending on the image you wish to display.
The rubber band is used to secure the laser pointer to the 3D printed device. Stanford shares a few different 3D printable cam designs on Thingiverse.
Stanford describes how the basics of how device works on the project’s Hackaday page:
“When you turn the input crank, the cams turn at a 5:1 ratio. Every time the cams rotate, the laser traces the path once. Using 2 cams allows the laser to move with 2 degrees of freedom. Basically one actuates in the X axis and one in the Y axis.”


To design your own image projections, Stanford developed a Go program (available via GitHub) that takes the target path as input and outputs the two cam profiles. This target path uses a series of points that the laser will travel to sequentially. The software developer also shares instructions to ensure that the mechanical variables or optimized to properly display the laser show.
If you want take on this project, you can find more information on the Hackaday project page. And, if you’re not convinced yet, check out the mesmerizing “Mechanical Laser Show” video below and get inspired. Happy making!
Website: LINK
Schreibe einen Kommentar
Du musst angemeldet sein, um einen Kommentar abzugeben.