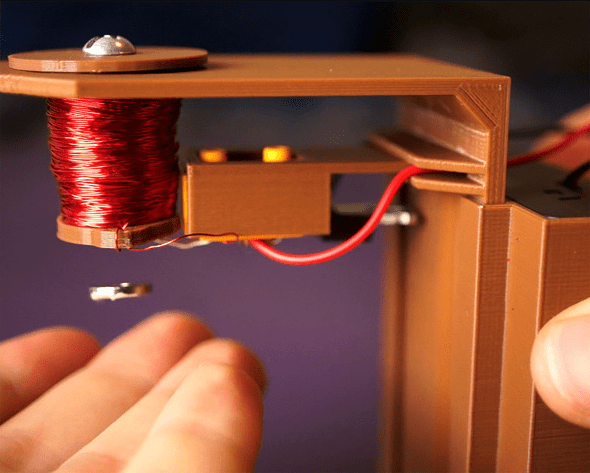
Instructables user and designer 3DSage has unveiled an amazing 3D printed Levitation Device that you can make at home. It’s a crazy contraption that uses a magnet to make objects float before your very eyes!
For many of us, childhood was marked by amazement when we witnessed our favorite superhero defy the laws of gravity and levitate to the rescue. The concept of levitation is one that seems highly technical or even impossible to some. But that couldn’t be further from the truth, and we’re here to show you how.
One maker named 3DSage has proven that you can bring this phenomenon to reality with your 3D printer and a few components. That’s right…You can make your own Magnetic Levitation Device at home! It might sound like a daunting task, but this project is actually quite easy for beginners and advanced makers alike.
This project is designed for those who lack experience with electronic circuitry and soldering, so don’t be intimidated by the end result. You will need to 3D print a few parts and obtain and handful of components to assemble this Magnetic Levitation Device, so let’s take a closer look at this incredible Weekend Project!
3D Printed Magnetic Levitation Device: What You Need & How to Build
There are eight different parts that need to be 3D printed, all of which are available to download on Thingiverse. The designer suggest printing the parts with 20 percent infill, no support structures necessary. When printing the spool holder parts, 3DSage recommends using a slow print speed.
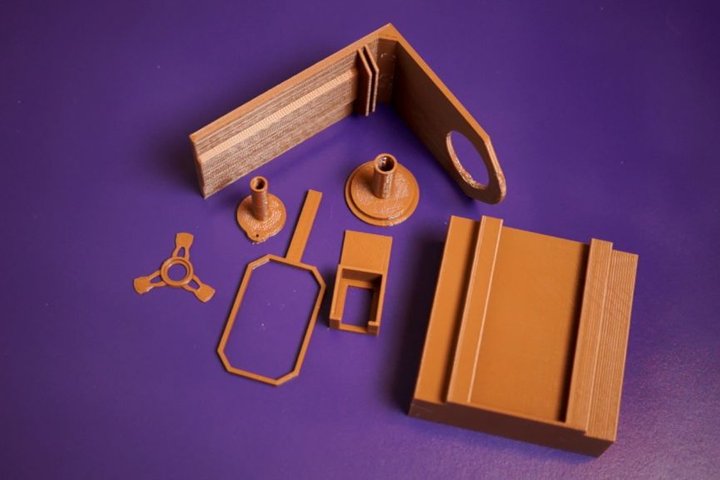
Other than the STL files, here’s what else you need to create your own 3D printed Magnetic Levitation Device:
Once you have all of your materials, it’s time to get started on the assembly process. 3DSage begins with the 3D printed spool holder and magnet wire. First, place the small 3D printed spool holder inside of the larger one, adding the 4x15mm screw on top. Insert a couple of inches of the wire through the small hole closest to the center of the spool holder and wind the wire tightly.
The next step is the breadboard circuit, which the designer has made as simple as possible. Here’s a diagram to help you follow along:

You have to place the hall sensor in the exact right position to make this levitation device work properly. This is why 3DSage made a breadboard holder so that you can move it around and tune it accordingly. The designer goes into the assembly process in more depth on YouTube, so if you want to learn more about how to created a levitation device, check out the video below!
Source: Instructables
Website: LINK