Need a safe and sleek place to store your credit cards, gift cards, and your other wallet inhabitants? This fully 3D printed Card Wallet is extremely easy to make, and has a card pusher to give you instant access to your plastic money!
Most of the projects we share at All3DP are primarily focused on 3D printing, but some of them require other components and technologies to bring the idea to life. Unfortunately, that could end up being quite a drain on your wallet, so we decided to bring you a fully 3D printed that will not only save you money, it will also store your credit cards too!
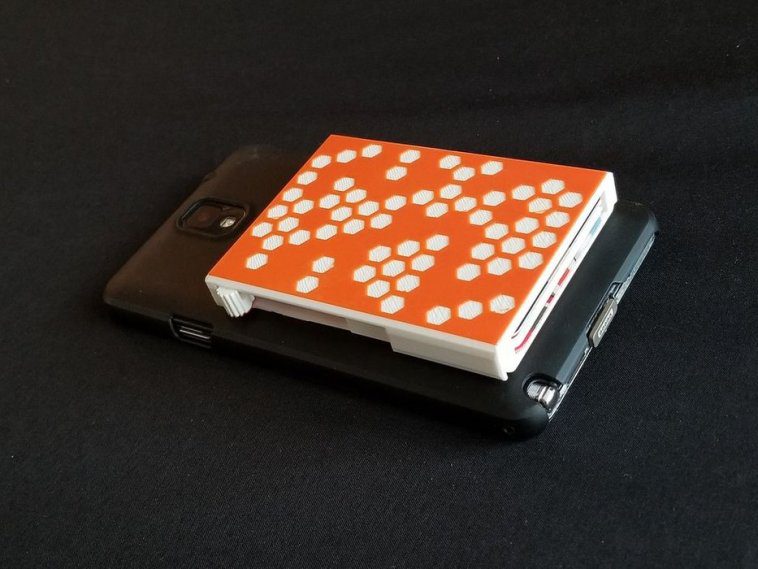
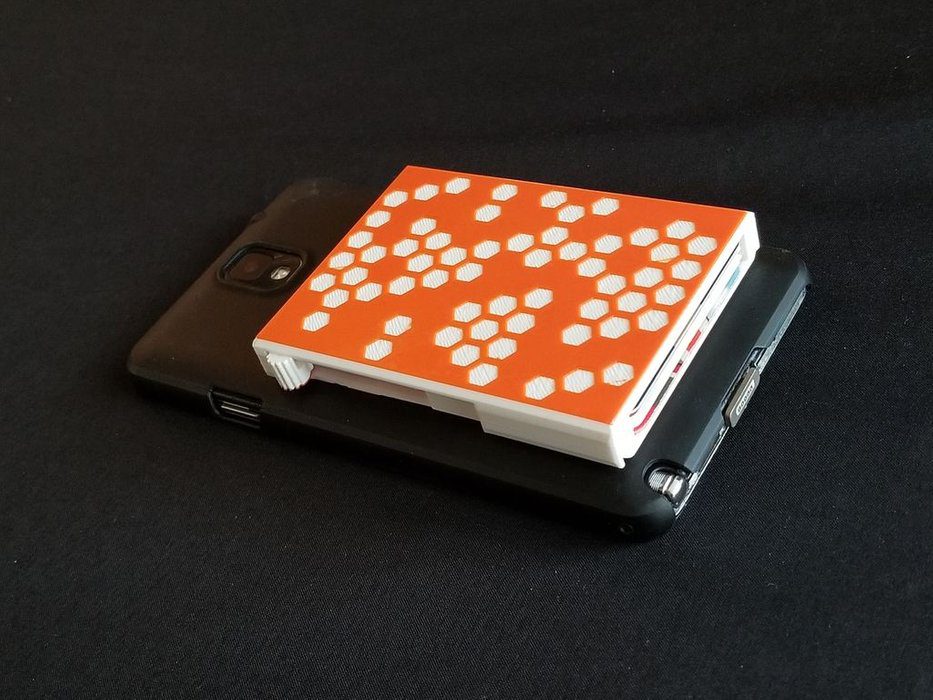
The 3D printable Card Wallet by Instructables user mdavisgtm is a simple, yet sleek design, a unique fusion of minimalistic style and functionality. The wallet uses card inserts to individually hold each card in place so they don’t slip out. It’s also equipped with a card pusher that is activated by sliding a knob on the side of the print.
Not only is this impressive design fully 3D printed, it doesn’t require any support structures, and can also be assembled in under one minute without any glue or screws.
Let’s take a closer look at how to assemble the fully 3D printed Card Wallet.
3D Printed Card Wallet: Putting it Together
The Card Wallet comes in seven individual parts, all of which can be 3D printed without support structures. The STL files are all freely available on the Instructables post that details the project.
There are four different models, but the card insets must be printed four times at a .08mm layer height. All of the other parts are printed at a .16mm layer height. You can even print a multi-colored version by switching filaments after the first couple of layers of the Top-print 1.STL.
Once you’ve finished printing the parts, the rest of the assembly process is a cinch. Take the bottom part of the wallet and stack the four Card Insert parts on top of one another. Then, snap the Card Pusher onto the designated post at the bottom of the model. Finally, slide the honeycomb-designed top into place and there you have it. Pretty easy, right?
Now that you have your 3D printed Card Wallet ready, pick your four most important cards and slide them into the slots. You now have a secure place to keep your cards without taking up too much space in your pockets. If you want, you can even tape the card wallet to the back of your phone case!
If you’re more of a visual learner, be sure to check out the short assembly video below. You can find the STL files and learn more about this project by heading over to Instructables.
Website: LINK