Give your home an aquatic feel with these incredible 3D printed DIY Voronoi Jellyfish lights created by German maker and Thingiverse user UniversalMaker3D.
Who needs IKEA when you have your very own 3D printer? Okay, well sometimes it’s nice to buy some new furnishings and chow down on those Swedish meatballs, but you can also go the DIY route and produce your own stylish and decorative objects to spruce up the home. One common use for 3D printing is to create custom lighting fixtures, and we’ve seen a myriad of great ideas across the maker-sphere.
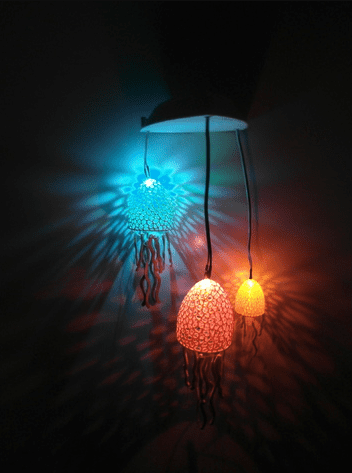
German student and Thingiverse user UniversalMaker3D has recently designed free-floating Jellyfish lights. The design is inspired by the mathematically-driven design concept of Voronoi, which provides a complex structure to the 3D printed sea creature.
The Voronoi design gives a coral reef-like impression, adding to the oceanic vibe that these jellyfish lights conjure up. The 3D printed shell is embedded with a number of tiny holes, creating a jaw-dropping lighting effect on your walls. Add some tentacles to the mix and you’ve got yourself a lighting fixture that will have you feeling as if you’re living under the sea.
3D Printed Voronoi Jellyfish: What You Need & How to Build it
Since the jellyfish-like lighting enclosure is designed in the complex Voronoi style, you’ll need to use supports when 3D printing the base of the model. UniversalMaker also shares the STL files for the tentacles and other parts, all of which are freely available on Thingiverse.
Aside from your 3D printer, filament and the 3D model, there’s still some other components you’ll need to make your sea creature lamp light up. Here’s the checklist:
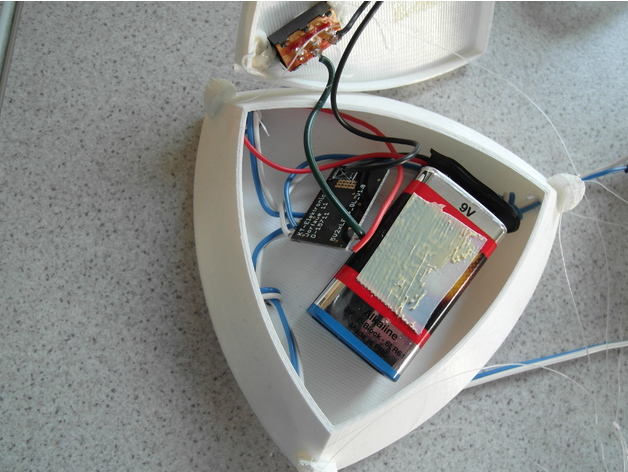
Once you have your 3D printed jellyfish body and tentacles, along with all of the necessary electronic components, it’s time to put everything together. Take the LEDs and run them through the bottom of the 3D printed top and connect it via the switch to the battery.
The 3D printed top and bottom sections are designed to slide perfectly over each other, but might require a bit of sanding. Finally, mount the jellyfish with the cables, which are used to activate the LEDs. That’s about it as far as assembly goes! If you want to catch a visual of how awesome these 3D printed jellyfish lights look, check out the designer’s instructional video below.
Website: LINK