Schlagwort: Your Projects
-

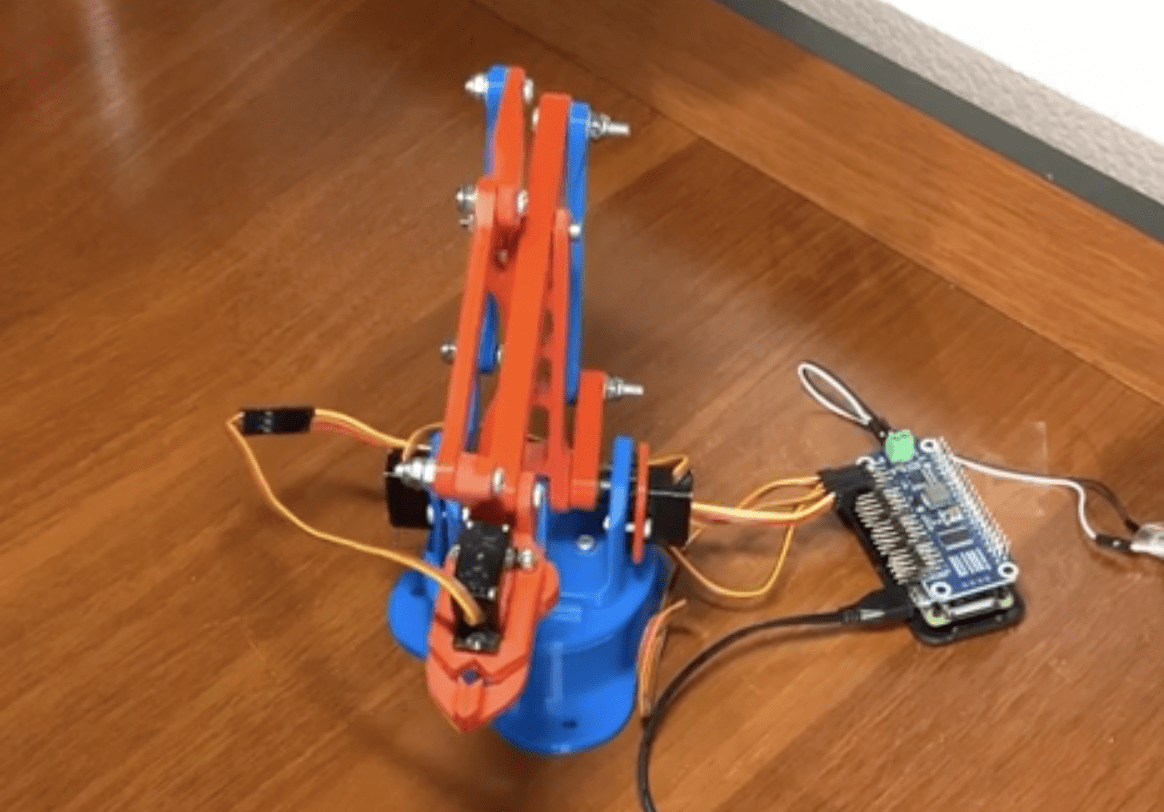
Robotic waiter learning to serve drinks
Reading Time: 2 minutesThe maker of this robotic waiter had almost all of the parts for this project just sat around collecting dust on a shelf. We’re delighted they decided to take the time to pick up the few extra bits they needed online, then take the extra hour (just an hour?!) to write a…
-

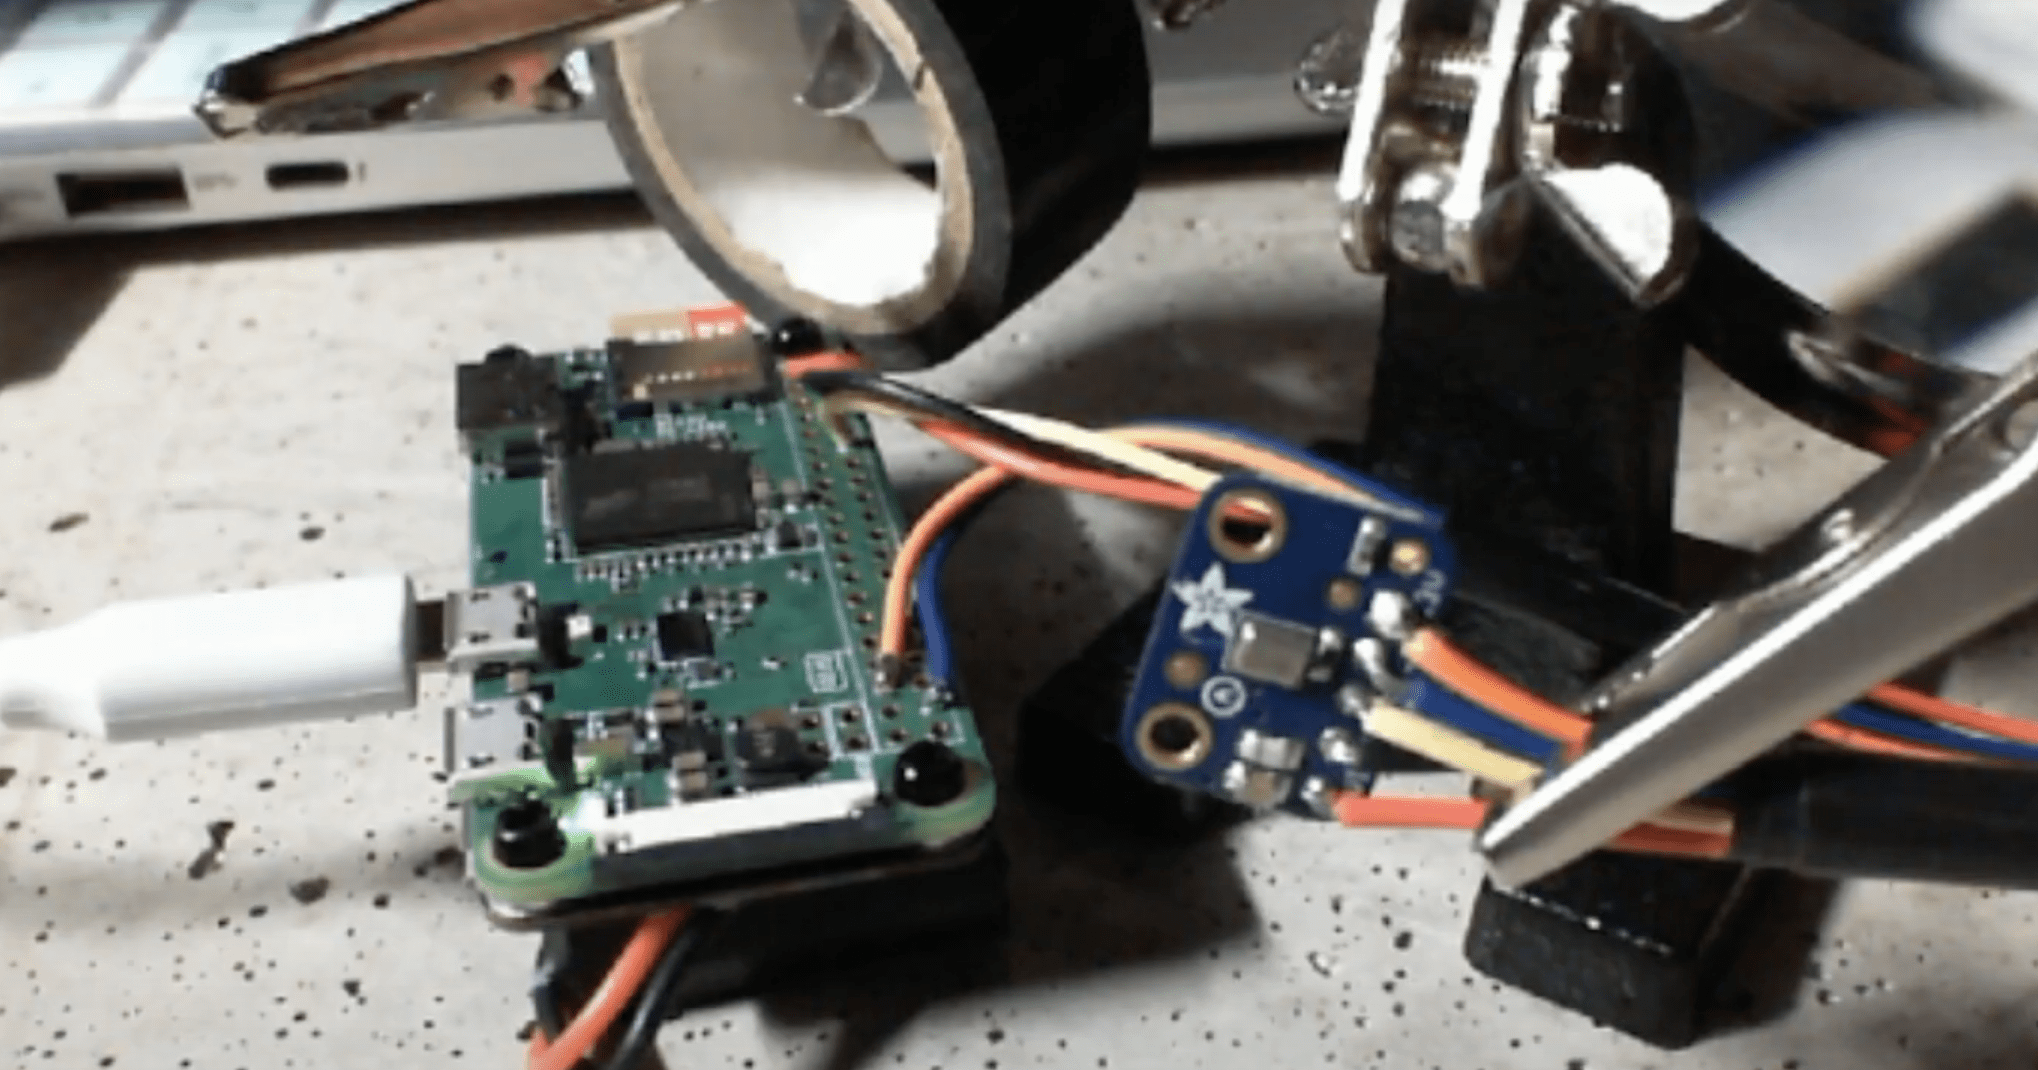
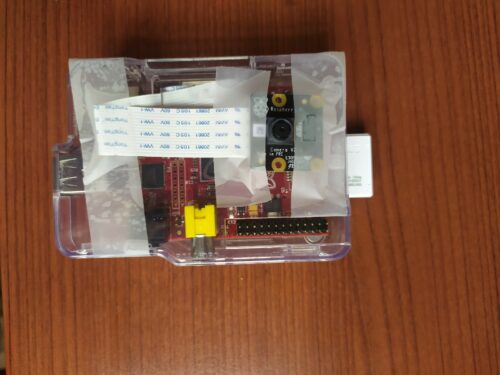
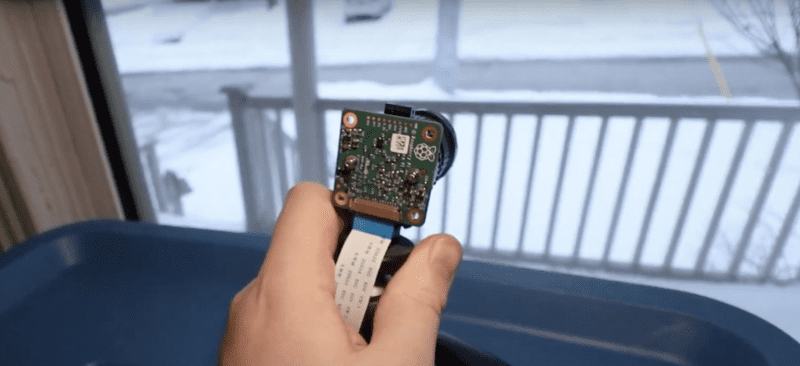
Raspberry Pi makes your retro analogue camera digital
Reading Time: 3 minutesBefinitiv has built a custom film cartridge, using a Raspberry Pi Zero W, that turned their gorgeous old analogue camera into a digital one, and enabled it to take digital photos, videos, and even wirelessly live stream to the Internet. [youtube https://www.youtube.com/watch?v=5DdQN0NVVT0?start=139&feature=oembed&w=500&h=281] A quick, simple build video for a smooth-running project The…
-

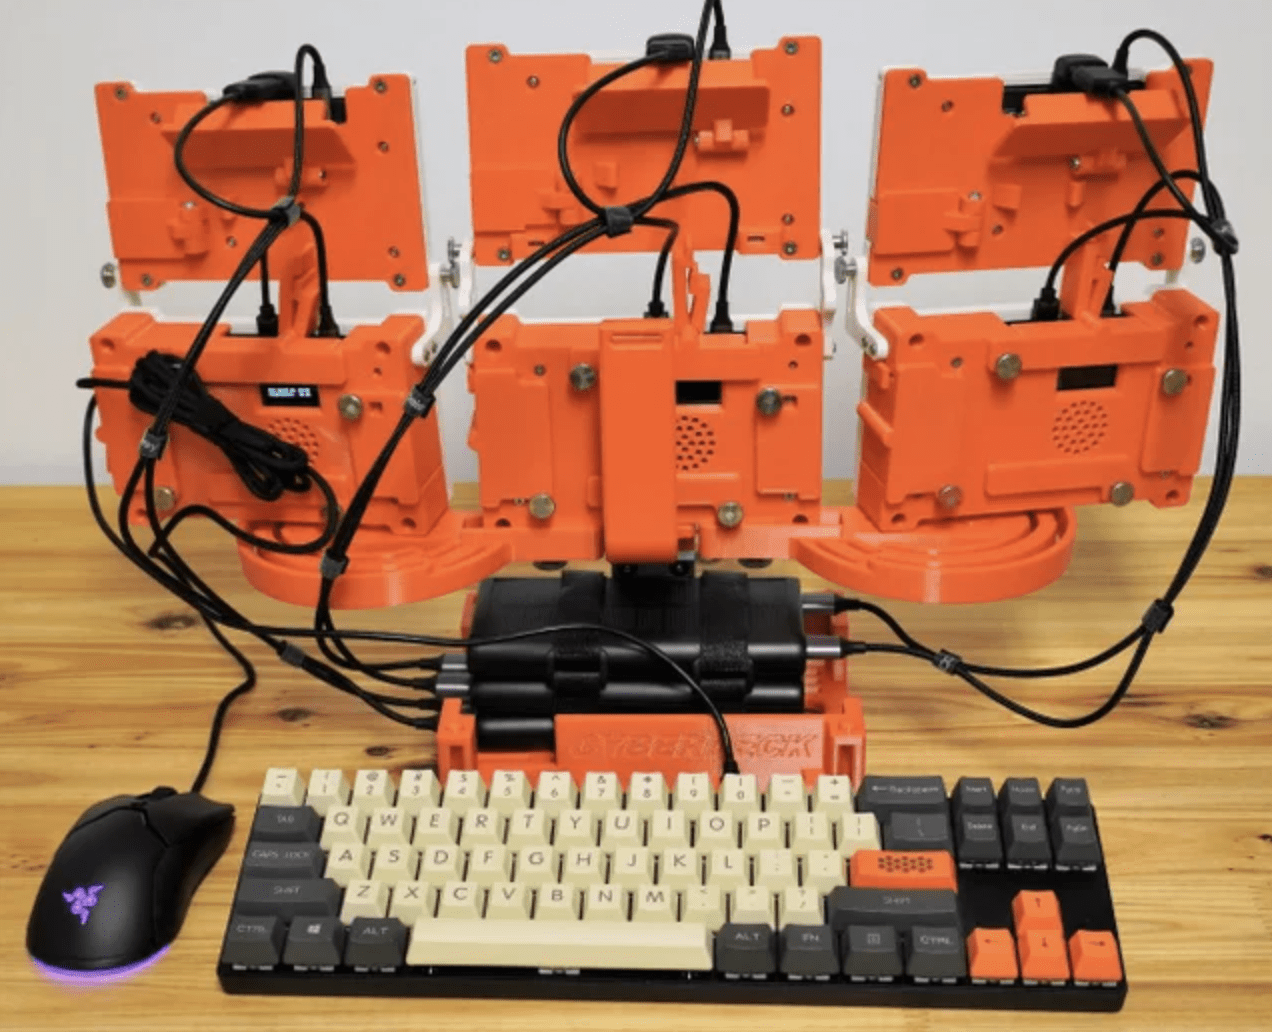
Mega six-screen cyberdeck
Reading Time: 3 minutesHoly cyberdecks! Redditor Holistech (aka Sören Gebbert) really leaned in to the “more is more” idiom when building this big orange cyberdeck using three Raspberry Pis. Why use just one screen to manipulate enemy cyberware and take down your cyberpunk foes, when you can have six? Rear view (keep reading for the…
-

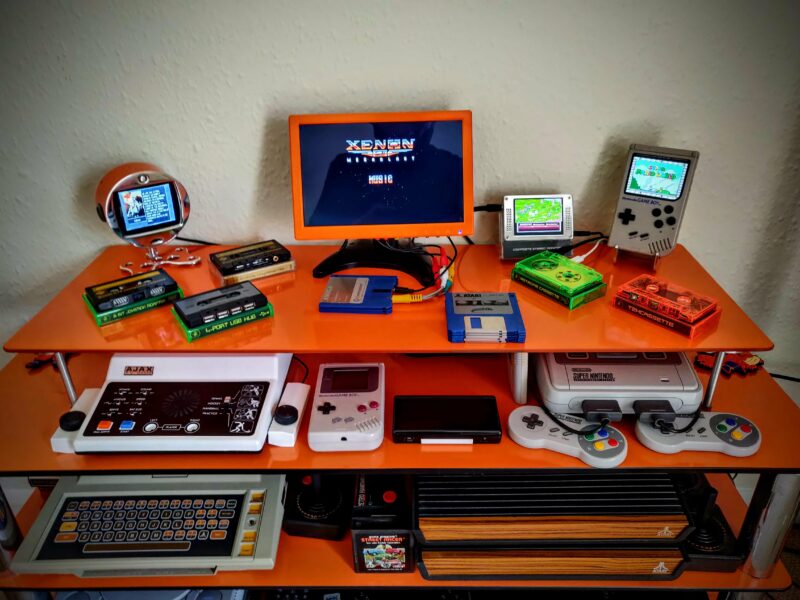
Collection of Raspberry Pi retro tech projects
Reading Time: 5 minutesDuring lockdown, Stuart (aka JamHamster) wanted to keep busy whilst between jobs, and ended up building a mini empire of rescued retro systems. Cassette tapes, Game Boys, and floppy disks were all among the treasures he reclaimed. Stuart calls this the “shelf of deceit” – where nothing is what it appears to…
-

Translate dog barks with Raspberry Pi
Reading Time: 3 minutesI speak English. Super well. And I can read the rough, overall vibe of writing in French. I can also order beer and taxis in Spanish. Alas, my dog can do none of these things, and we are left in communication limbo. I try asking them (in English) why they’re so mean…
-

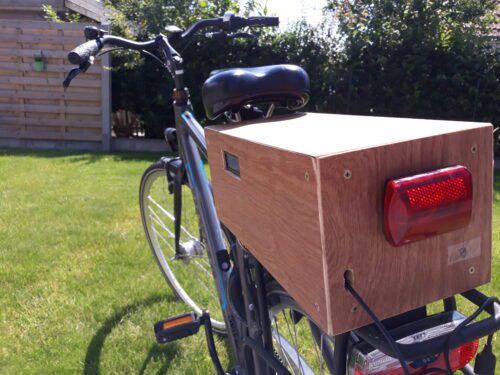
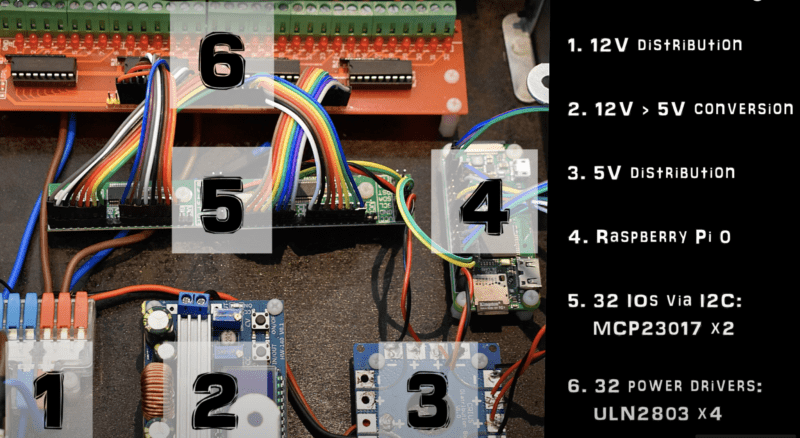
Make your bike smart with Raspberry Pi
Reading Time: 3 minutesMaker keanuDav was always forgetting to turn on his bike lights when riding out in the dark. He also never knew how fast he was going, or how long his rides were. So he created a shareable smart bike that automatically turns the lights on or off and keeps track of where…
-

Raspberry Pi Zero makes a xylophone play itself
Reading Time: 3 minutesWhen maker Stéphane (aka HalStar) set about building this self-playing xylophone, their goal was to learn more about robotics, and to get hands-on with some mechanical parts they had never used before, in this case solenoids. They also wanted to experiment with Raspberry Pi to build something that reflected their love of…
-
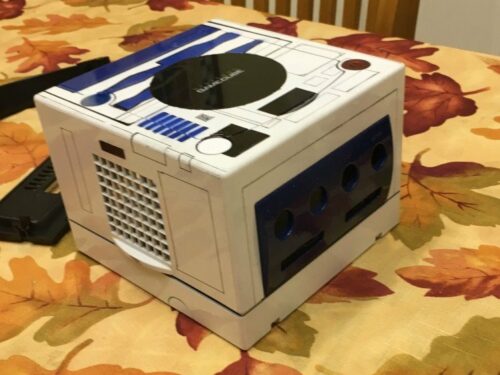
Raspberry Pi R2D2 console (plus tons of other Star Wars projects)
Reading Time: 3 minutesDiehard Nintendo and Star Wars fan electrouser301 is behind this customised R2D2 Raspberry Pi-powered console. Raspberry Pi 3 Model B is its brain, and a Nintendo GameCube was customised with spray paint and hand-cut stencils. A match made in a galaxy far, far away Unleash your inner child Telling the story of…
-

Make a Raspberry Pi-powered BMO Adventure Time console
Reading Time: 2 minutesIf you’re a fan of the animated TV series Adventure Time, you’re already excited and scrolling to see how you can build your own Be MOre (BMO) console. And if you’re not: BMO is Adventure Time main characters Finn’s and Jake’s sentient video game system-cum-roomate. See, you recognise it now, don’t you?…
-

Shred through Guitar Hero with a Raspberry Pi-powered robot
Reading Time: 3 minutesLevel up your Guitar Hero gaming with Nick O’Hara’s Jon Bot Jovi Guitar Hero robot. While Nick admits this is an expensive project (around $1000 to build), it’s something that was so “ridiculous, hilarious, and awesome” he felt he just needed to do it. [youtube https://www.youtube.com/watch?v=htk6eXxpSNA?feature=oembed&w=500&h=281] While you’re not great at Guitar Hero,…
-

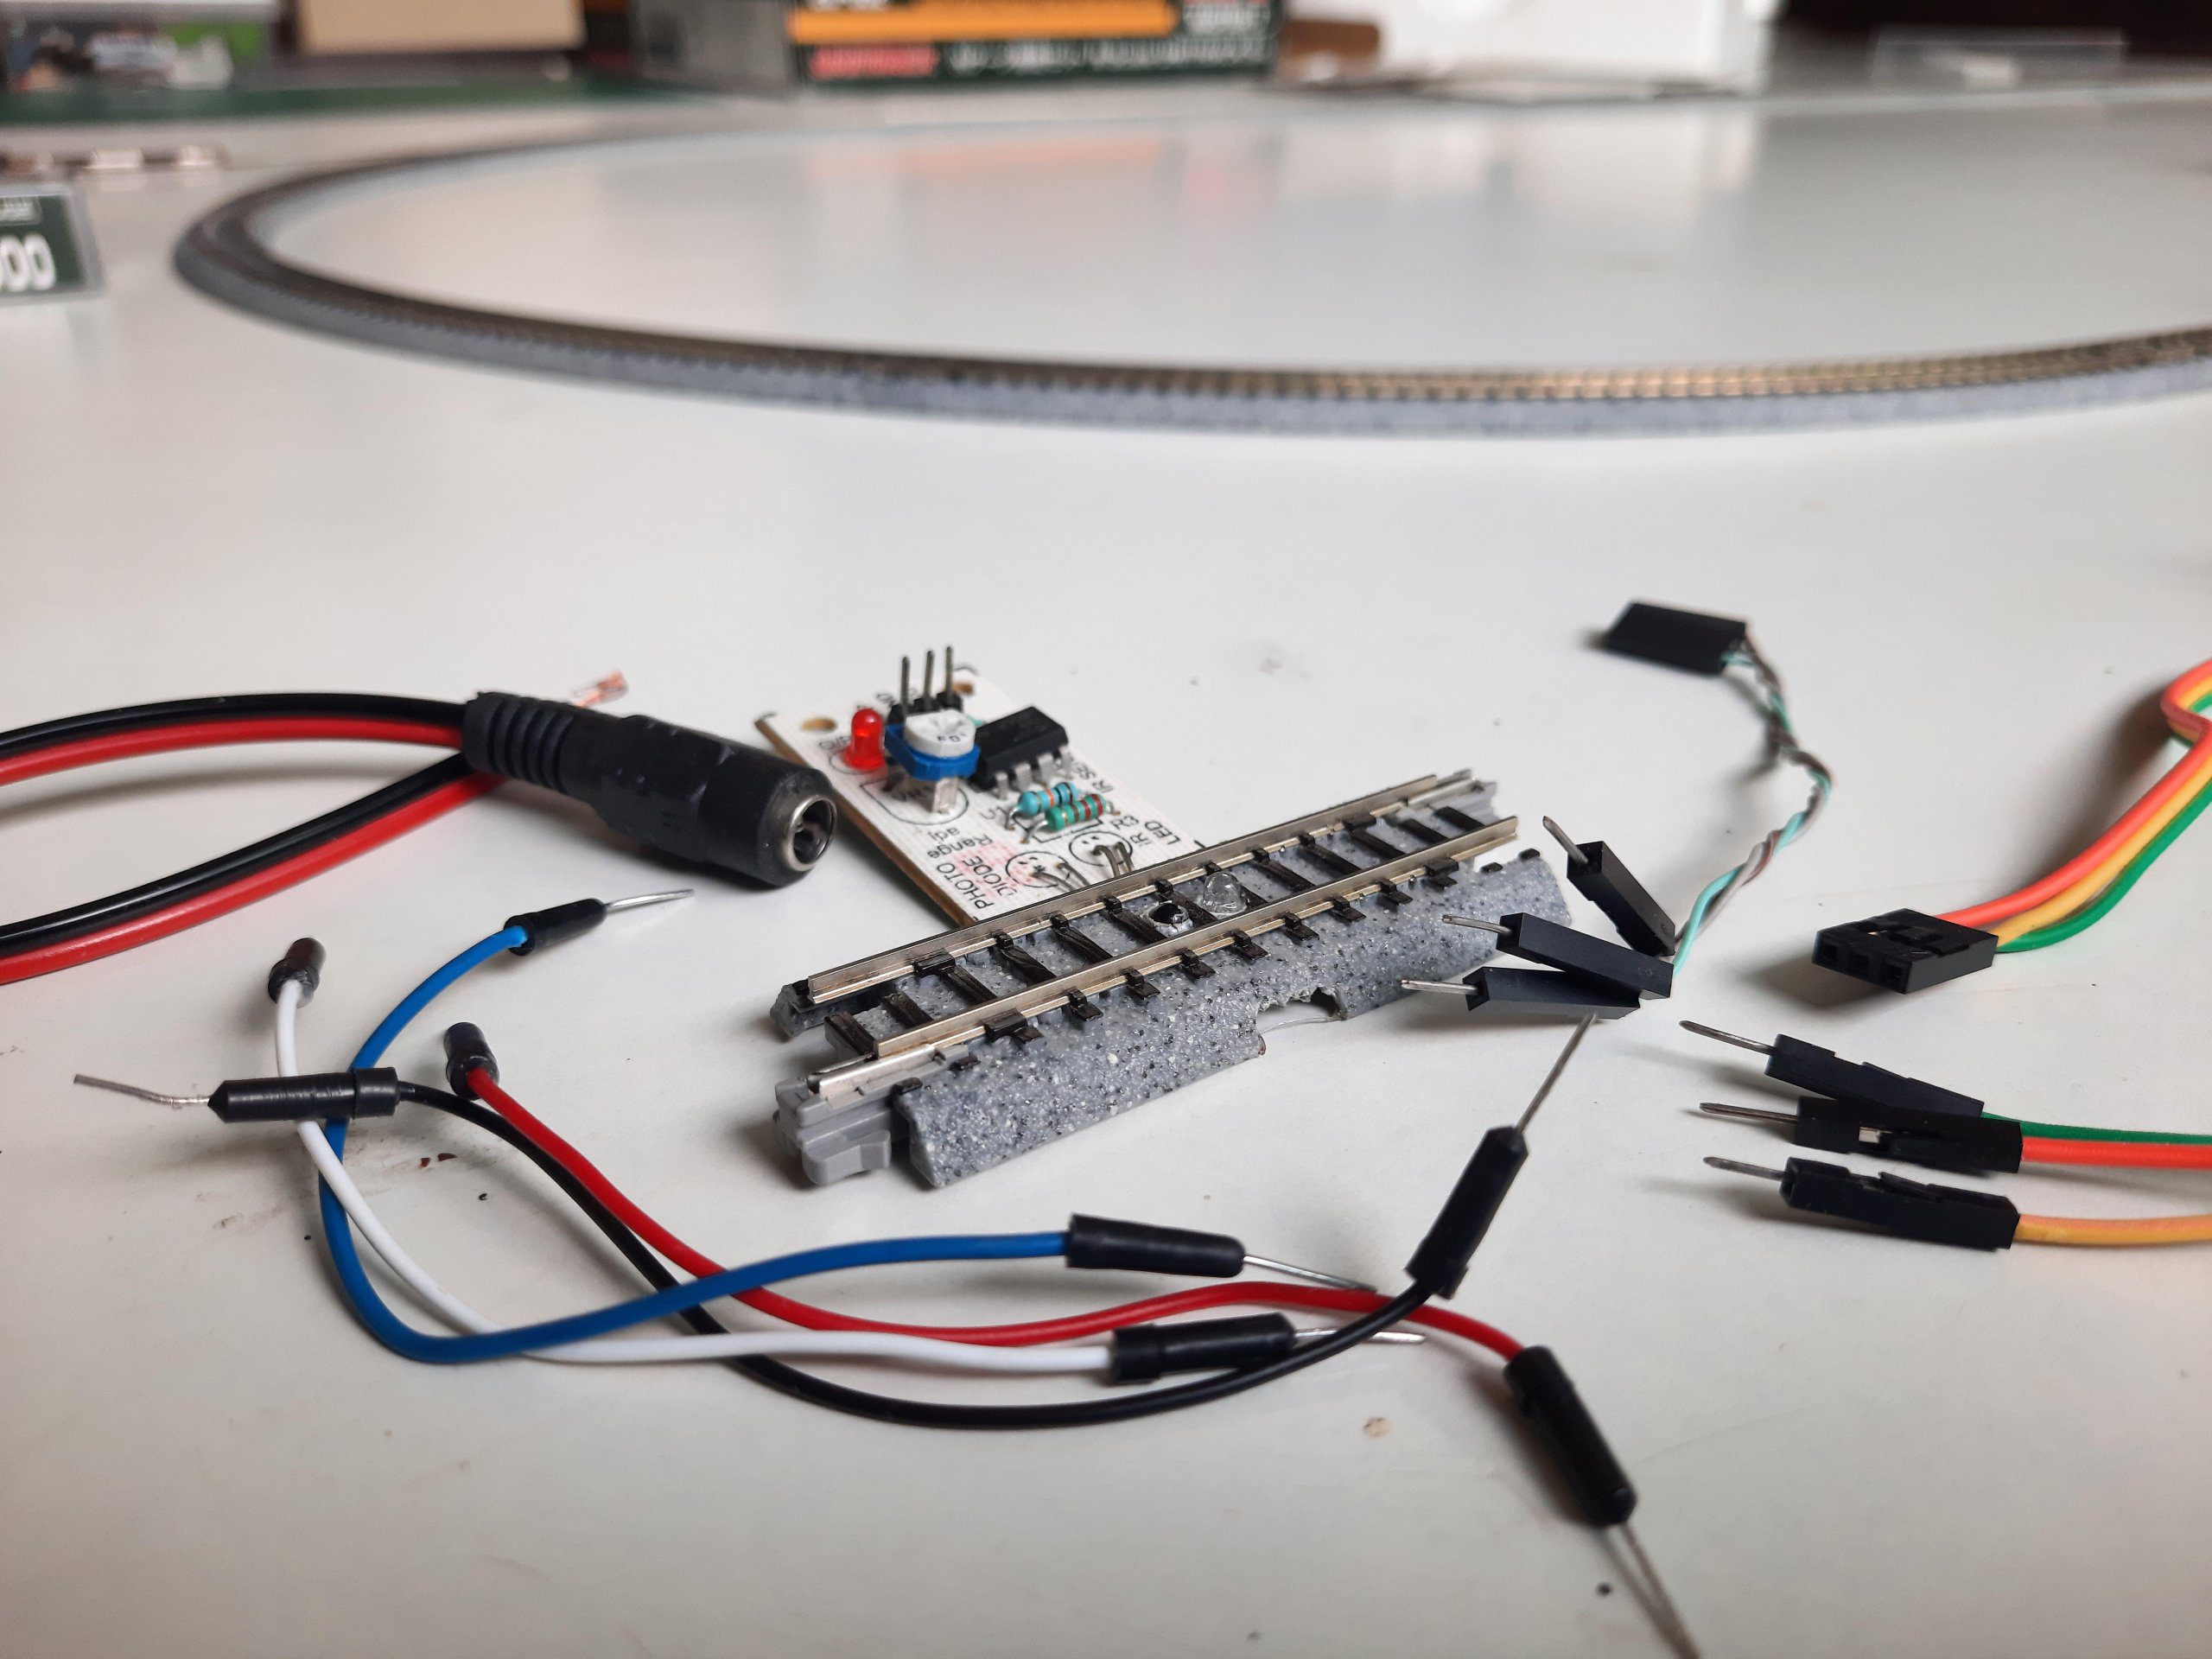
Raspberry Pi Pico-controlled model railroad
Reading Time: 2 minutesThe Orient Express. The Flying Scotsman. Ivor the Engine. All juggernauts of the rail community, but none powered by our microcontroller and all, thus, inferior in our eyes. Raspberry Pi Pico has been used in cooler and more interesting ways every day since its launch in January this year, but this is…
-

Hide a huge arcade machine in plain sight with Raspberry Pi
Reading Time: 3 minutesProblem: I really want an arcade machine at home, but I don’t have the space for it. Solution: Build Alexandre Chappel’s giant two-player machine, which is sleek and hidden in plain sight on your wall. [youtube https://www.youtube.com/watch?v=OB8VauGEvqg?feature=oembed&w=500&h=281] Subscribe to Alexandre’s YouTube channel Alexandre’s goal was to build something that looks like an…
-
SleePi sounds alarm when Raspberry Pi detects sleepiness
Reading Time: 2 minutesSleePi is a real-time sleepiness detection and alert system developed especially for Raspberry Pi and our Raspberry Pi Camera Module 2 NoIR. Driver drowsiness detection was the original application for this project, and Raspberry Pi was chosen for it because it’s small enough to not obstruct a driver’s view and can be…
-

Raspberry Pi transforms old Wurlitzer into modern digital jukebox
Reading Time: 3 minutesIt’s been a while since we saw a good jukebox retrofit project, so when we saw this old Wurlitzer transformed into a modern, all-in digital jukebox, we had to share it. Maker Marc Engrie’s cousin came across an old Wurlitzer on a local online second-hand store. The seller had imported it from…
-

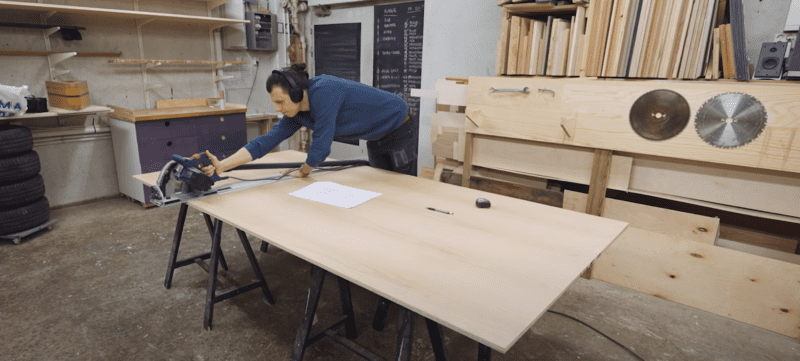
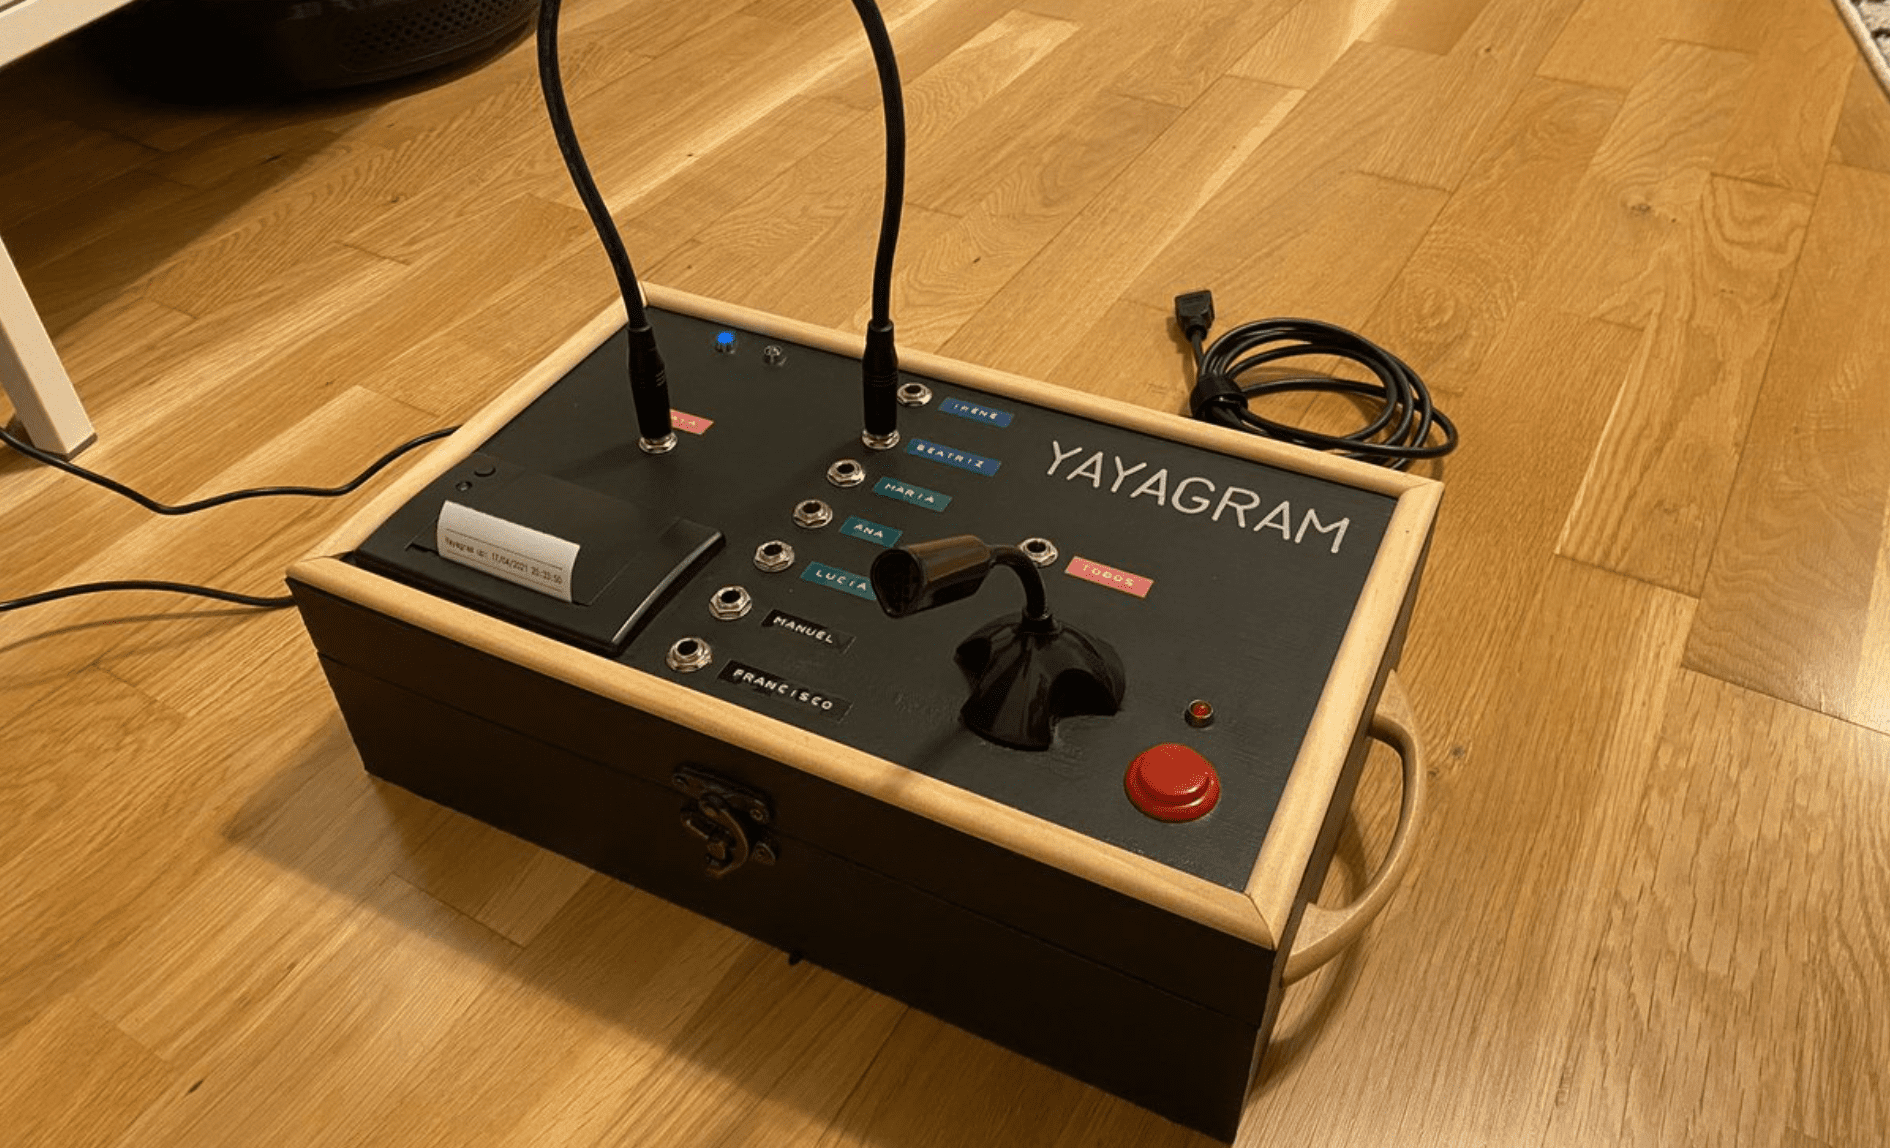
Yayagram makes it easy for grandparents to keep in touch
Reading Time: 3 minutesMaker Manu (@mrcatacroquer) is one inventive grandson, and he has warmed the cold hearts of Twitter with his Raspberry Pi-powered creation Yayagram. Manu’s mission was to help older family members keep in contact with their grandchildren. Analogue design makes Yayagram simple to use What does Yayagram mean? It’s a portmanteau, a mashup…
-
Stop snoring with Raspberry Pi
Reading Time: 2 minutesHow many of you have woken up grumpy from being snored at all night? Or maybe you’re the snorer whose sleep is interrupted by being elbowed in the ribs to get you to stop. Not only does snoring keep your partner awake, it also affects the quality of your own sleep, even…
-

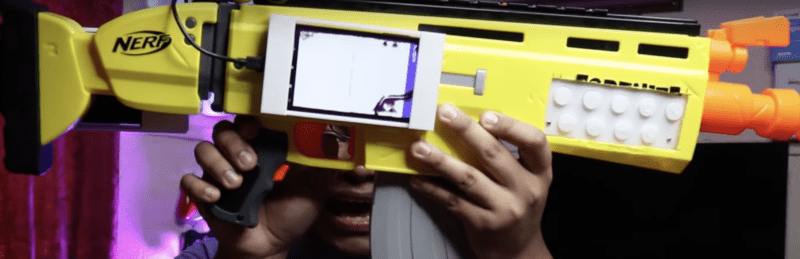
Play Call of Duty with a Raspberry Pi-powered Nerf gun
Reading Time: 2 minutesYouTuber Alfredo Sequeida turned a Nerf gun into a controller for playing Call of Duty: Warzone. This is a fun-looking modification project, but some serious coding went into the process. [youtube https://www.youtube.com/watch?v=ld0Pcy6F-3g?feature=oembed&w=500&h=281] Head to the 13-minute mark for an in-game demonstration Trigger happy Funnily enough, the Nerf gun that Alfredo chose was…
-

Raspberry Pi: a versatile tool for biological sciences
Reading Time: 3 minutesOver the nine-ish years since the release of our first model, we’ve watched grow a thriving global community of Raspberry Pi enthusiasts, hobbyists, and educators. But did you know that Raspberry Pi is also increasingly used in scientific research? Some of the scientific applications of Raspberry Pi that Jolle found Dr Jolle…
-

Go down a Raspberry Pi YouTube rabbit hole
Reading Time: 4 minutesWe here at Virtual Raspberry Pi Towers are looking forward to our weekends getting warmer, now that we are officially in British Summer Time. But we wanted to make the most of these last Saturdays and Sundays in which we have no choice but to cosy up against the typically British spring…
-

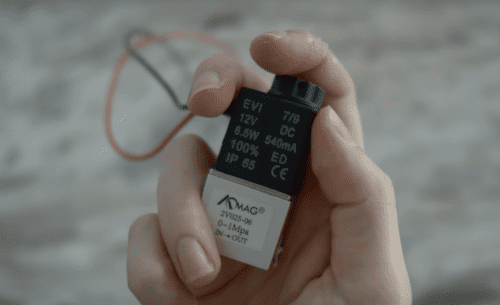
Raspberry Pi automatically refills your water bottle
Reading Time: 3 minutesYouTuber Chris Courses takes hydration seriously, but all those minutes spent filling up water bottles take a toll. 15 hours per year, to be exact. Chris regularly uses three differently sized water bottles and wanted to build something to fill them all to their exact measurements. [youtube https://www.youtube.com/watch?v=S3okv0jYZUc?feature=oembed&w=500&h=281] (Polite readers may like…
-

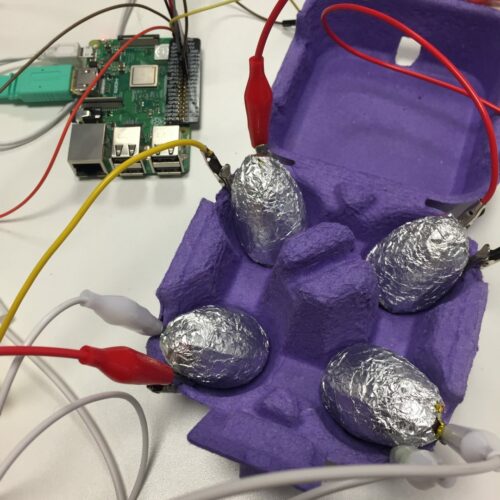
Easter fun with Raspberry Pi
Reading Time: 3 minutesEaster is nearly upon us, and we’ll be stepping away from our home-office desks for a few days. Before we go, we thought we’d share some cool Easter-themed projects from the Raspberry Pi community. Egg-painting robot [youtube https://www.youtube.com/watch?v=QBEAppVn6Ao?feature=oembed&w=500&h=281] Teacher Klaus Rabeder designed, 3D-printed, and built a robot which his students programmed in…
-

Raspberry Pi dog detector (and dopamine booster)
Reading Time: 2 minutesYou can always rely on Ryder’s YouTube channel to be full of weird and wonderful makes. This latest offering aims to boost dopamine levels with dog spotting. Looking at dogs makes you happier, right? But you can’t spend all day looking out of the window waiting for a dog to pass, right?…