Reducing automotive fuel consumption with an Arduino
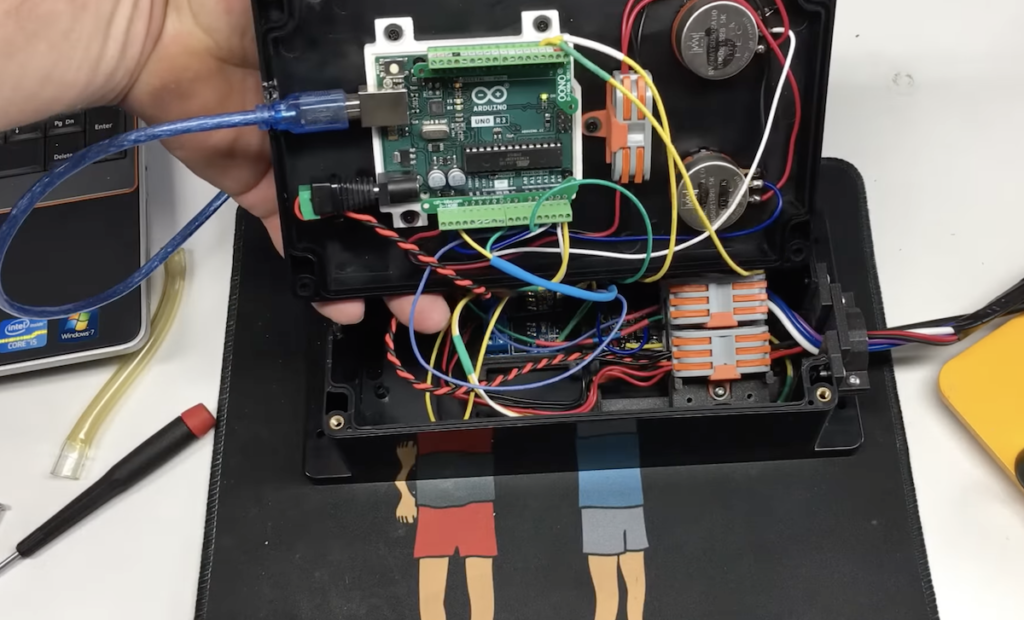
Reading Time: 2 minutesArduino Team — August 4th, 2022 Every car sold in the last few decades is equipped with an engine control unit, or ECU for short. Its job is to control nearly every aspect about the vehicle’s performance by reading various sensors and acting upon those inputs accordingly. However, some older rides aren’t nearly as performant […]