We’ve been following the work of Dominique Laloux since he first got in touch with us in May 2013 ahead of leaving to spend a year in Togo. 75% of teachers in the region where he would be working had never used a computer before 2012, so he saw an opportunity to introduce Raspberry Pi and get some training set up.
We were so pleased to receive another update this year about Dominique and his Togolese team’s work. This has grown to become INITIC, a non-profit organisation that works to install low cost, low power consumption, low maintenance computer rooms in rural schools in Togo. The idea for the acronym came from the organisation’s focus on the INItiation of young people to ICT (TIC in French).
The story so far
INITIC’s first computer room was installed in Tokpli, Togo, way back in 2012. It was a small room (see the photo on the left below) donated by an agricultural association and renovated by a team of villagers.
-

The first INTIC room -

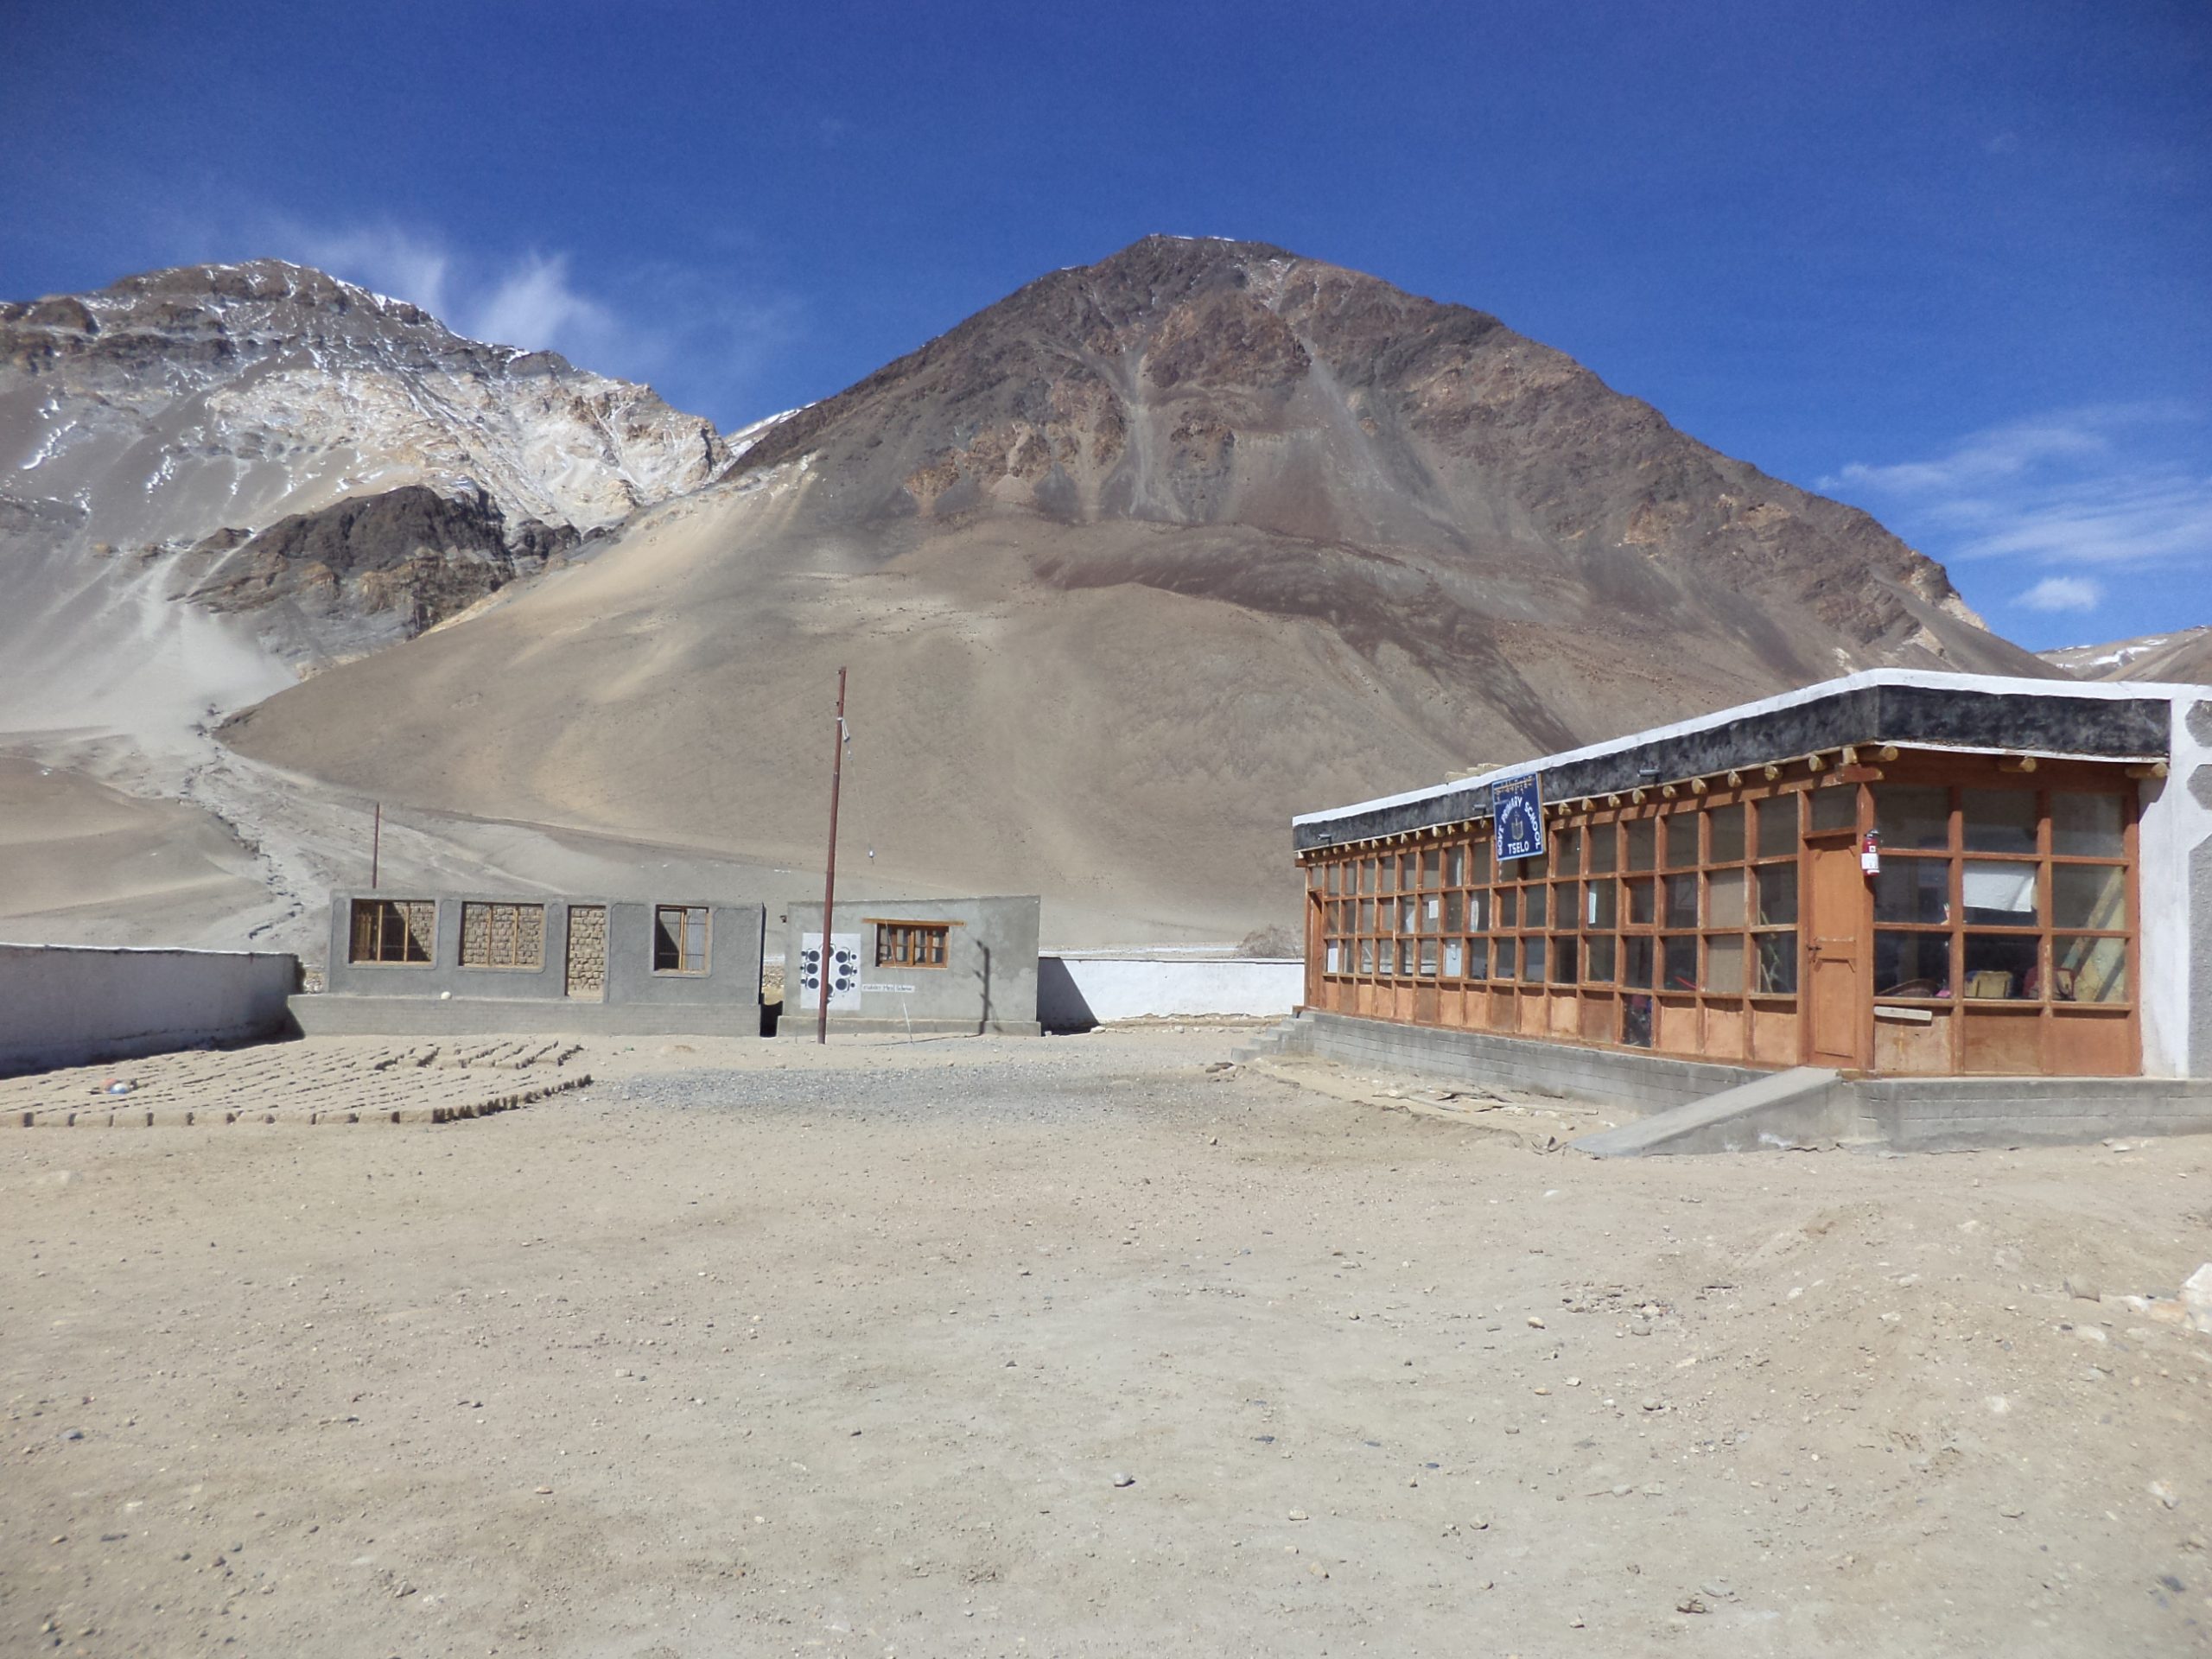
The new INTIC building
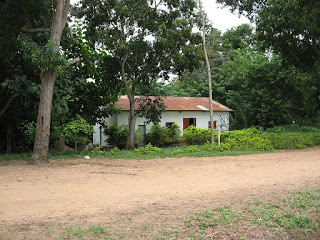
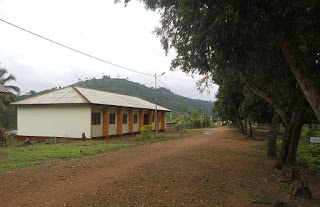
Fast forward to 2018, and INTIC had secured its own building (photo on the right above). It has a dedicated a Raspberry Pi Room, as well as a multipurpose room and another small technical room. Young people from local schools, as well as those in neighbouring villages, have access to the facilities.
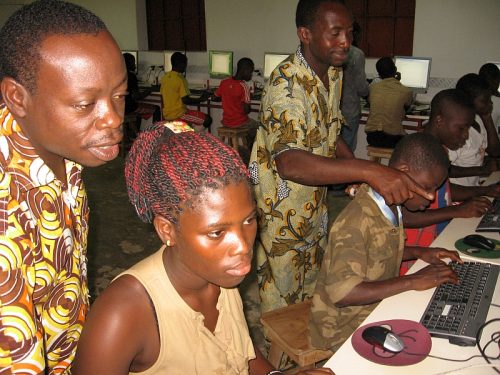
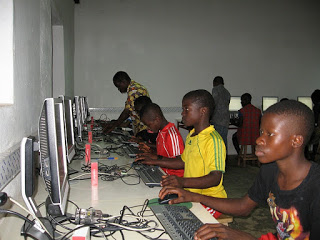
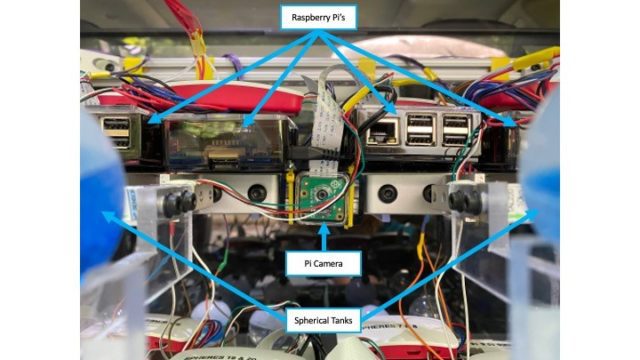
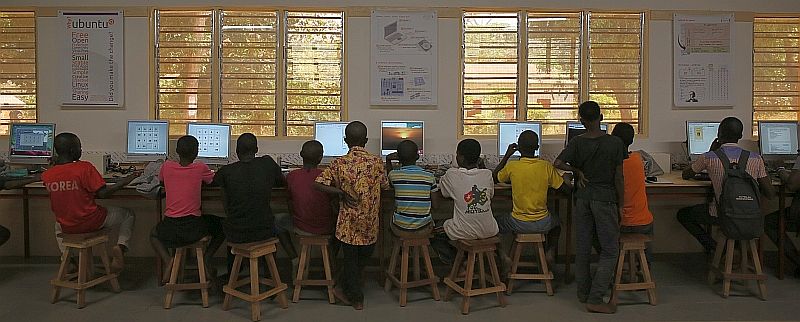
The first dedicated Raspberry Pi Room in Togo was at the Collège (secondary school) in the town of Kuma Adamé. It was equipped with 21 first-generation Raspberry Pis, which stood up impressively against humid and dusty conditions.
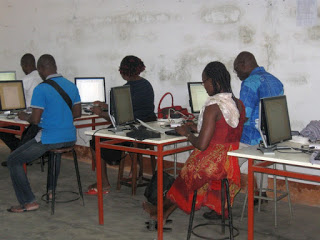

In 2019, Kpodzi High School also got its own Raspberry Pi Room, equipped with 22 Raspberry Pi workstations. Once the projector, laser printer, and scanners are in place, the space will also be used for electronics, Arduino, and programming workshops.
What’s the latest?
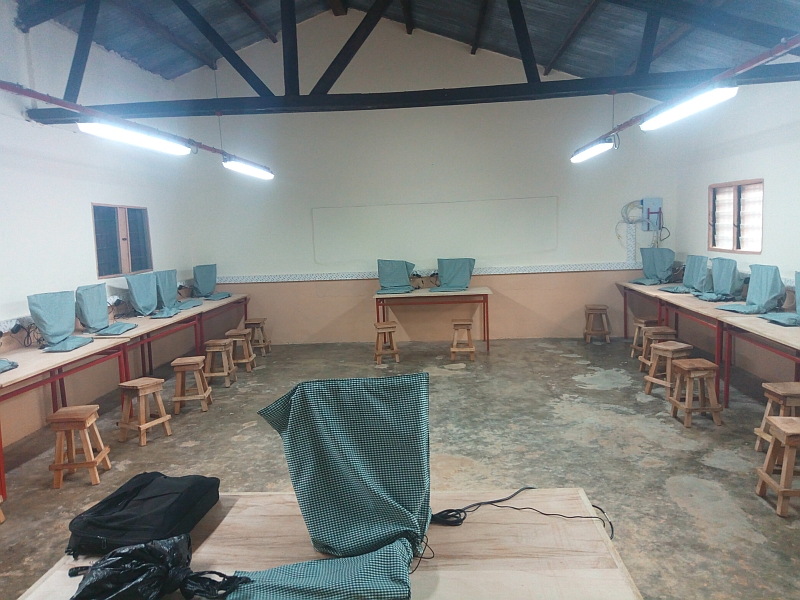
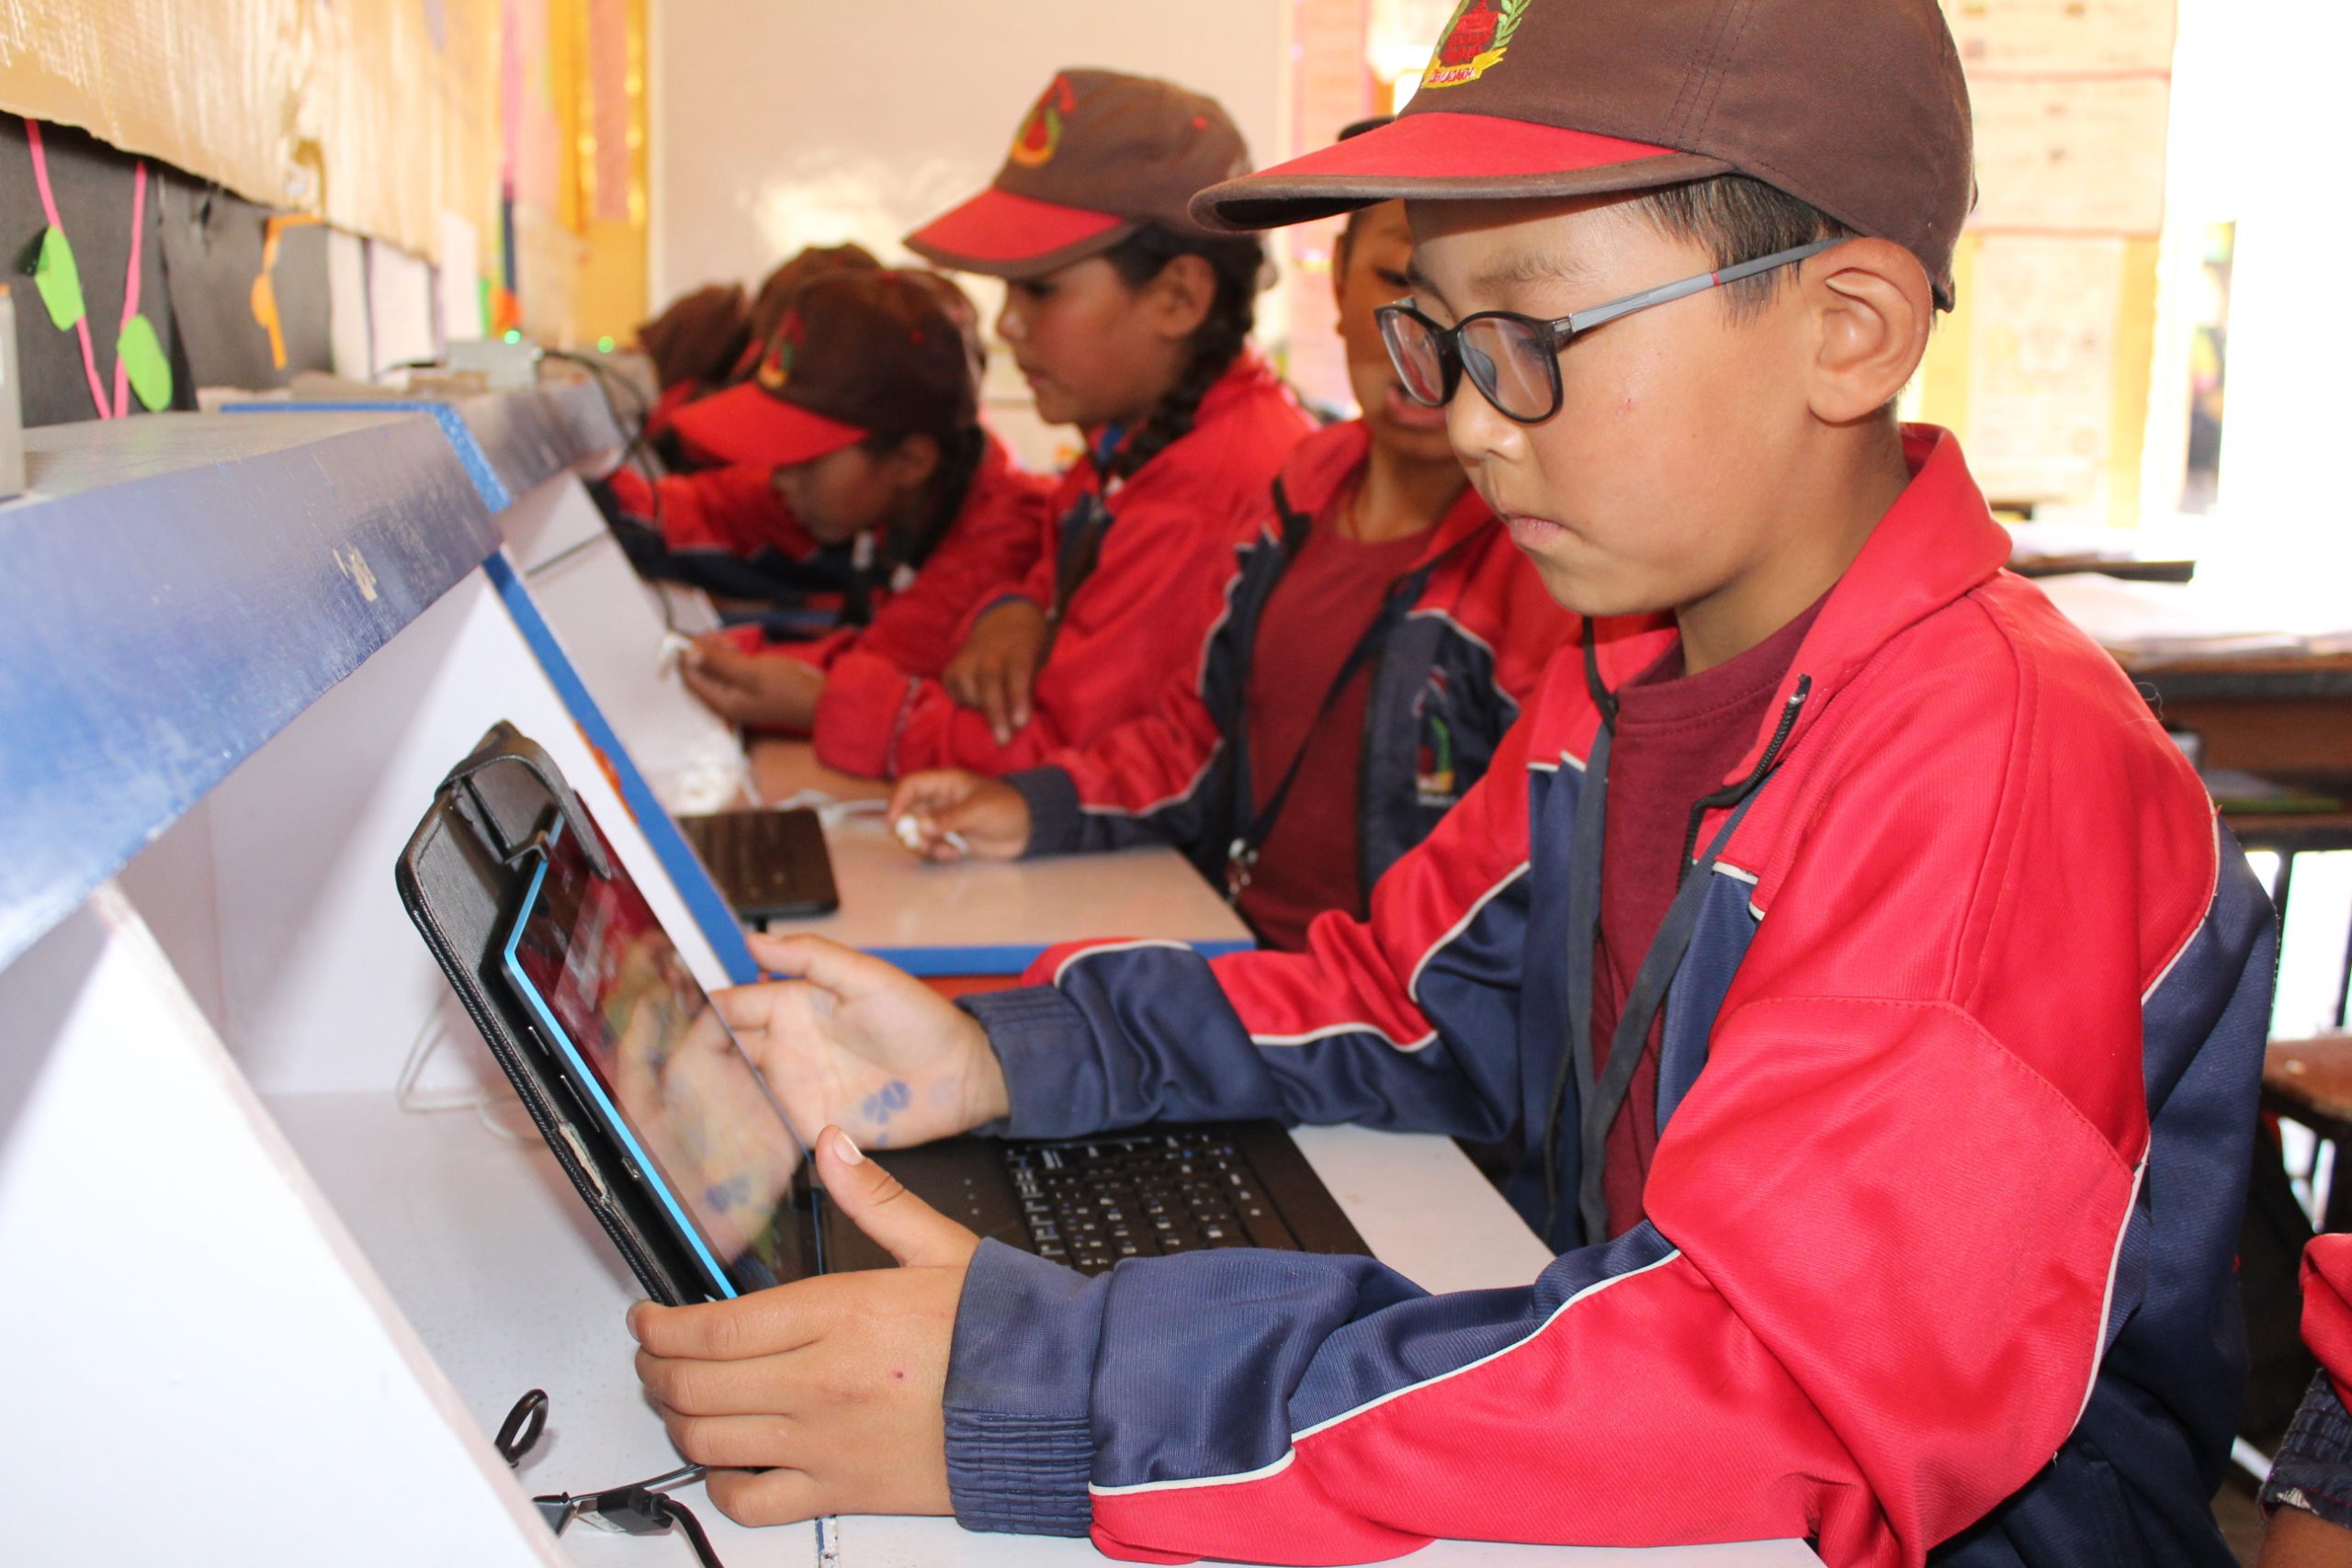
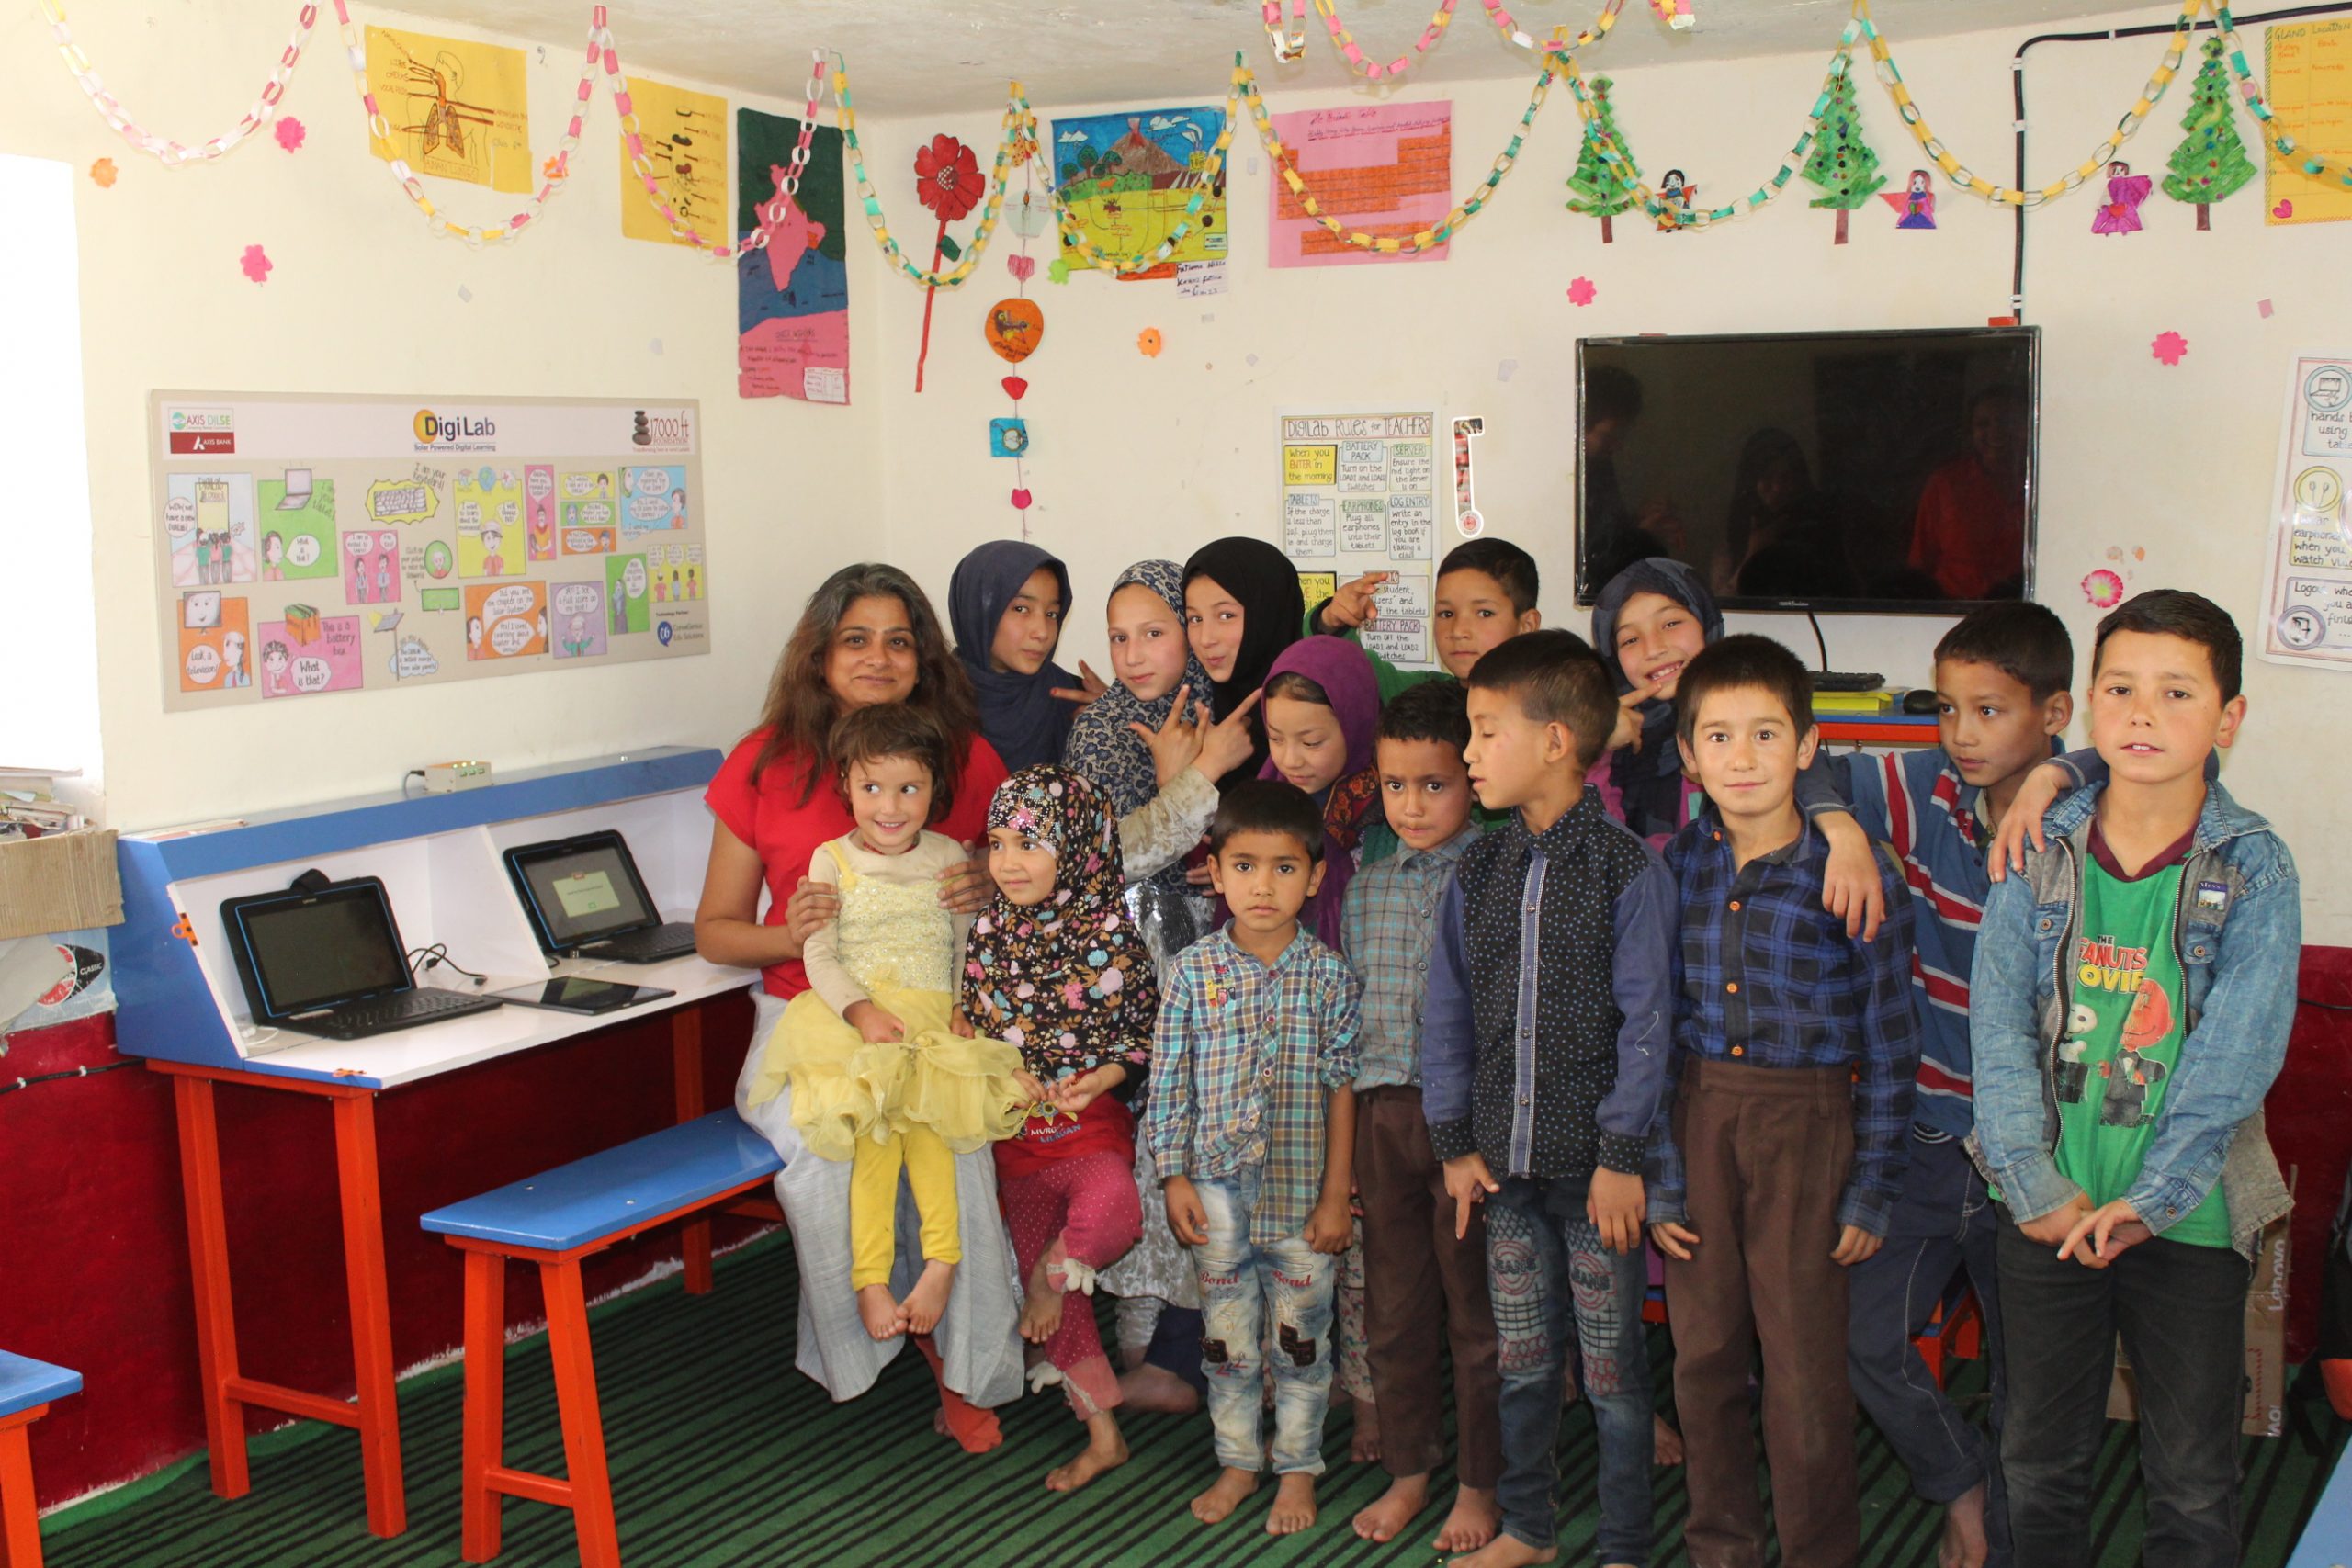
Now we find ourselves in 2020 and INTIC is still growing. Young people in the bountiful, but inaccessible, village of Danyi Dzogbégan now have access to 20 Raspberry Pi workstations (plus one for the teacher). They have been using them for learning since January this year.


We can’t wait to see what Dominique and his team have up their sleeve next. You can help INTIC reach more young people in rural Togo by donating computer equipment, by helping teachers get lesson materials together, or through a volunteer stay at one of their facilities. Find out more here.
Website: LINK


 Website: