Schlagwort: tech articles
-

Win a Raspberry Jam Bundle!
Reading Time: < 1 minuteWe were honoured to find out that a year long subscription to The MagPi is part of the Raspberry Jam bundle sent out to event organisers over the next couple of months, and thought we’d give our readers a chance to win a version of the bundle with a Raspberry Pi…
-

ED-HMI3020 Pi 5 touchscreen review
Reading Time: 2 minutesAn upgrade over the HMI3010 models, the HMI3020 adds RS232 and RS485 interfaces, as well as 3.5mm headphone and mic jacks. The key addition, however, is an M.2 socket. To access it, you’ll need to unscrew Raspberry Pi 5 and the case from the rear of the unit, then you can use…
-

GitHub Universe attendees treated to custom RP2040 Badgers
Reading Time: 2 minutesSpecial custom gift GitHub’s Martin Woodward made a dedicated repo to help conference attendees learn how to hack their badges. Lo and behold, in it he confirms that the hackable conference badges are indeed a custom version of the Badger 2040 that Pimoroni made especially for GitHub. An RP2040 is running MicroPython…
-

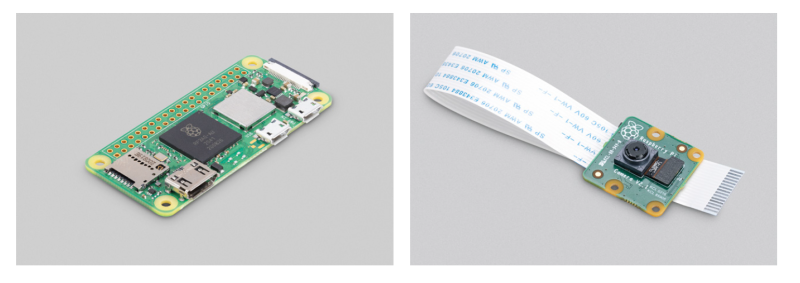
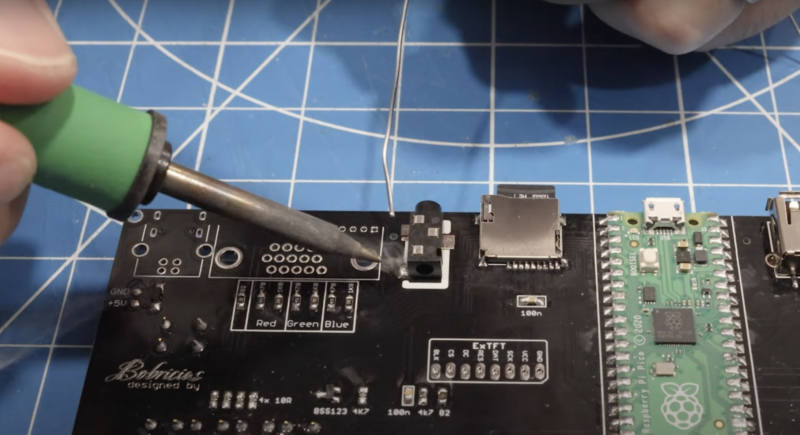
PicoZX Handheld
Reading Time: 2 minutesPeter Misenko (Bobricius to his friends on GitHub, and YouTube, is the brain behind the original design for PicoZX, and PicoZX Handheld – the Raspberry Pi Pico-based Spectrum emulator that inspired Ken. Peter’s short and snappy demo video explains the project, but Ken’s longer build video, goes into more detail on how…
-

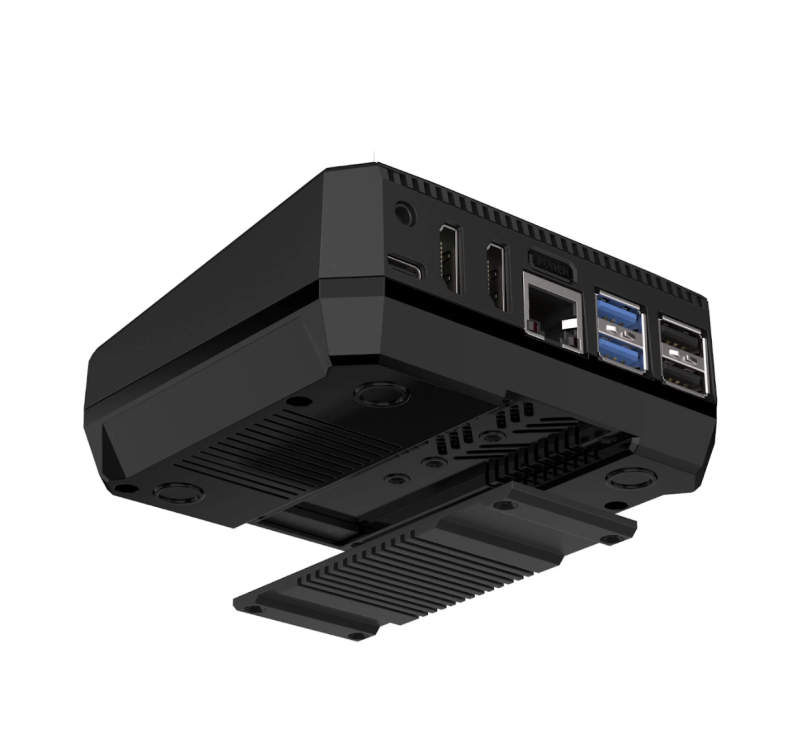
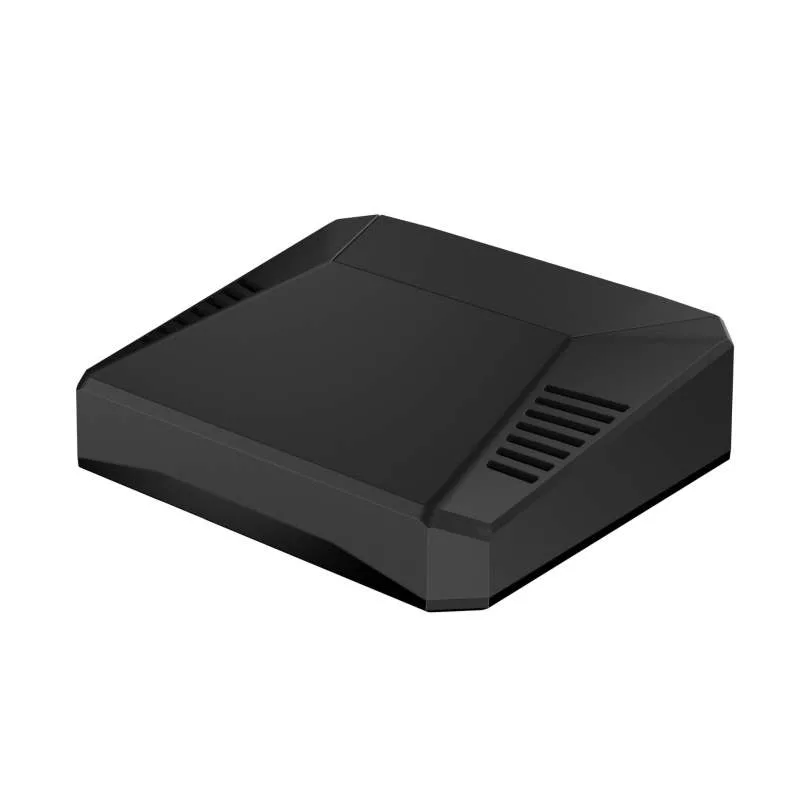
Argon ONE V3 M.2 NVME case review
Reading Time: 4 minutesThis month we have the hotly anticipated Argon ONE V3 M.2 NVMe PCIe Case. Hopes are high for this one and we can tell you it hits home runs all the way. Redesigned for Raspberry Pi 5 this board combines the features of the Argon ONE V2 with the – previously separate…
-

SNES XL
Reading Time: 2 minutesButton management Every button on SNES XL controller has its own custom PCB, created using PCBWay an online service for producing PCB prototypes. Each board is shown fully working by Arnov on YouTube. Tactile switches on the custom boards are positioned just below the 3D-printed buttons, such that pressing a button toggles…
-

Mac Mini KVMac16
Reading Time: 3 minutesThe right tools Ivan values Raspberry P’s modularity which allows him to create unique devices and has previously used various models including Compute Module 4 in his Compute Blade, an energy-efficient alternative to a rack-mounted server. He praises the “relatively cheap minicomputer with a huge community, which greatly lowers the threshold of…
-
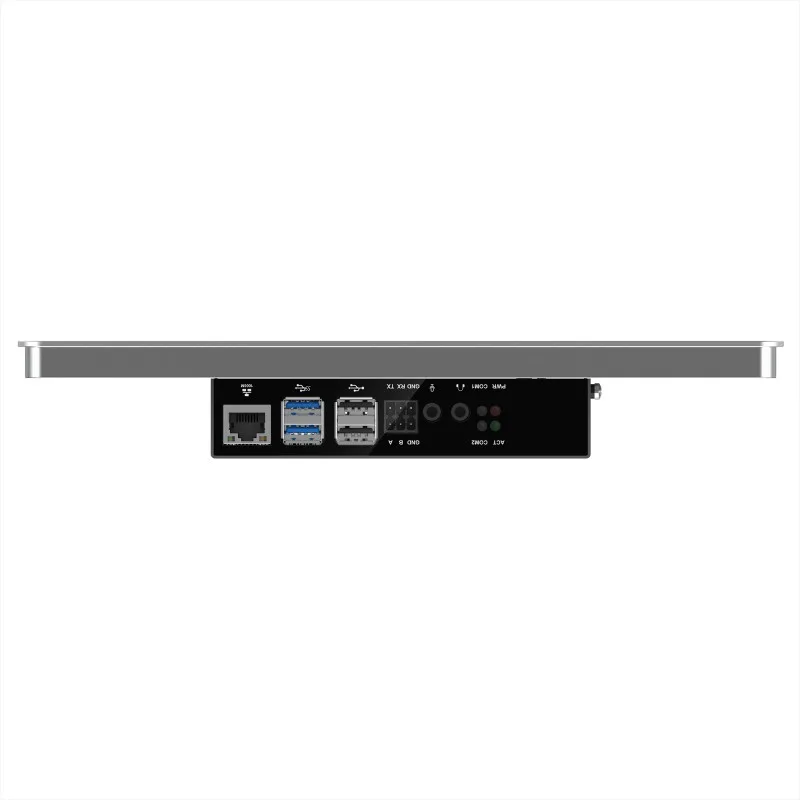
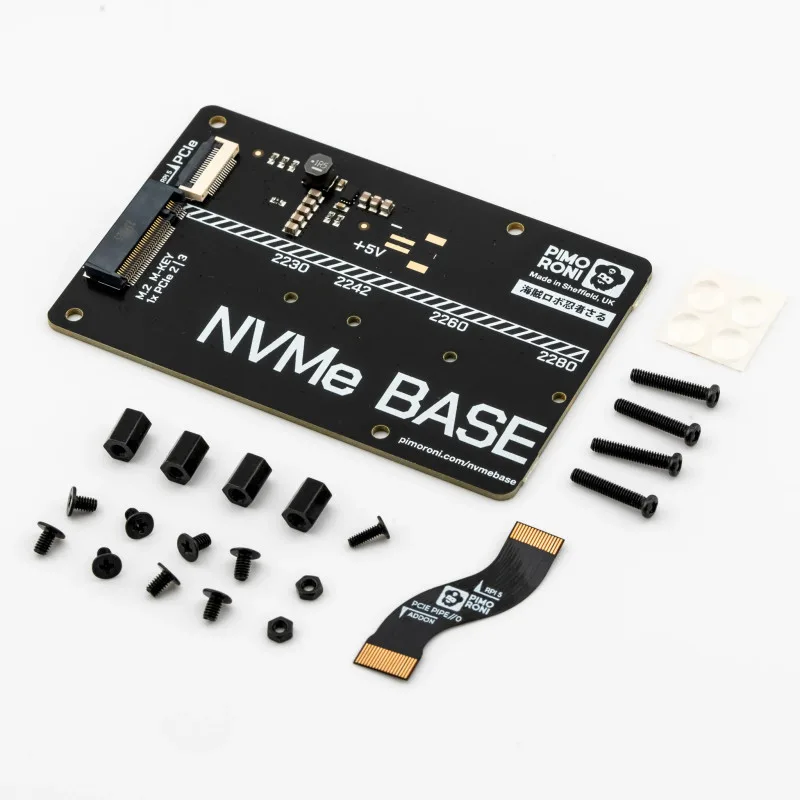
NVMe Base review
Reading Time: 3 minutesBefore attaching the NVMe Base to the underside of Raspberry Pi 5 using the supplied standoff kit – demonstrated in Pimoroni’s installation video – you’ll want to insert your NVMe SSD stick into the Base’s M.2 key slot. The board is long enough to accommodate 2280 size SSDs, and has mounting holes…
-

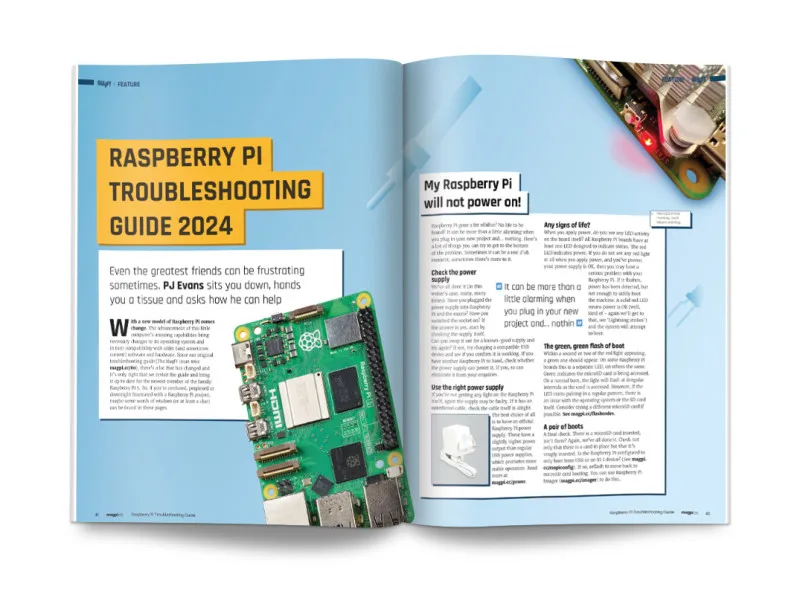
Troubleshooting Raspberry Pi in The MagPi magazine #139
Reading Time: 3 minutesRaspberry Pi Troubleshooting Guide 2024 Raspberry Pi star PJ Evans wants to sit you down, hand you a tissue and ask how he can help. This month’s cover feature is jam-packed with advice. From power supply issues to video errors, audio problems, networking, and more. #MonthOfMaking 2024 Every March we enter #MonthOfMaking,…
-
Win! One of five Argon ONE V3 cases!
Reading Time: < 1 minuteSave 35% off the cover price with a subscription to The MagPi magazine. UK subscribers get three issues for just £10 and a FREE Raspberry Pi Pico W, then pay £30 every six issues. You’ll save money and get a regular supply of in-depth reviews, features, guides and other Raspberry Pi…
-

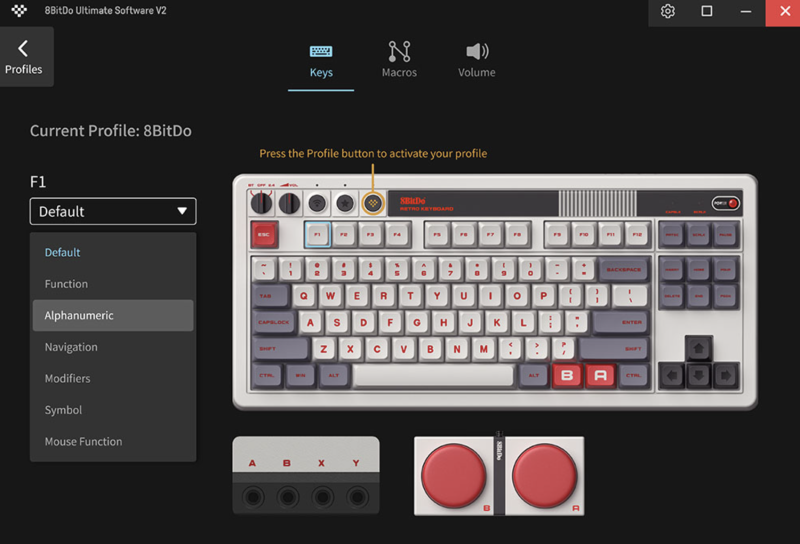
8BitDo Retro Mechanical Keyboard
Reading Time: 3 minutes8BitDos latest offering (£79/$100) bucks this trend. A pair of beautiful wireless mechanical keyboards with colour schemes based on the original NES and Famicom, the most noticeable thing about them is an included pair of gigantic ‘super buttons’, arcade-esque add-ons that plug into the keyboard and can be programmed to run certain…
-

Adam Cohen-Rose interview
Reading Time: 3 minutesWhat is your history with making? I’ve always enjoyed building things – I had a big chest of LEGO as a kid, and so did my wife, and now we’ve only expanded it as our children got into model building too! I’ve been going to BarCamps and hackathons since 2007 and have loved…
-
Argon NEO 5 Raspberry Pi case review
Reading Time: 2 minutesThe enclosure is provided with instructions. These are straightforward, although we will confess to some confusion with wiring in the fan cable. It took four attempts before the ‘ah ha!’ moment when we realised what was intended. The instructions could cover this better. The rest of the installation was painless and thermal…
-

DOS ain’t dead
Reading Time: 2 minutesNo one really uses MS-DOS any more, but the modern, open-source FreeDOS ships with every copy of DOSBox, and you’ve quite probably used that. Most modern DOS developers use DOSBox and its forks for testing, so they can rapidly spot bugs and iterate solutions. The year 2023 in DOS also saw the release of…
-

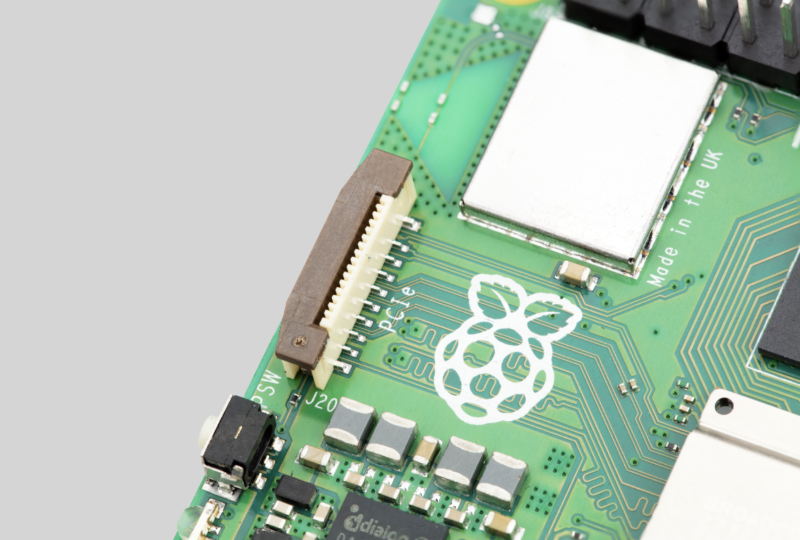
Double Standards
Reading Time: 3 minutesOnce people had recovered from the shock of seeing both a power button and a real-time clock on a Raspberry Pi, one of the most commented-on features of the new platform was the small, vertical, 16-way FFC (Flat Flexible Cable) connector on the left-hand side of the board, which exposes a single-lane…
-
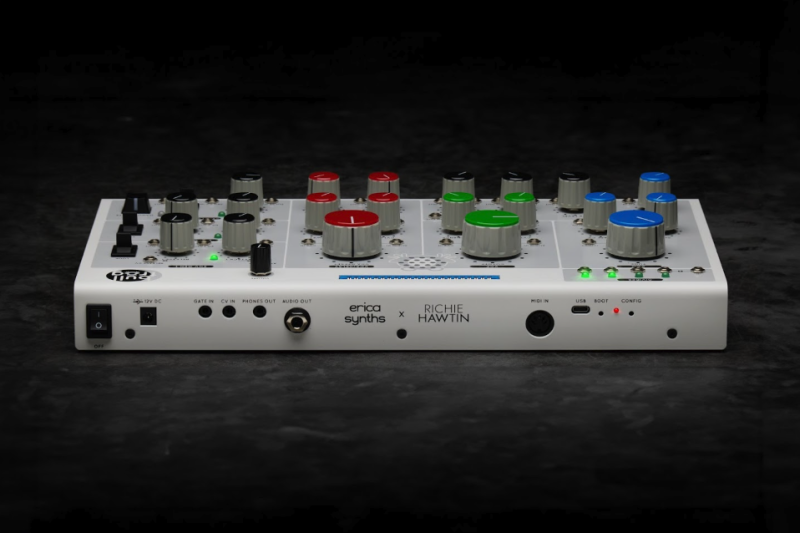
Bullfrog synthesizer review
Reading Time: 3 minutesThe front of Bullfrog is a smorgasbord of dials with instant appeal to anybody who loves tweaking and the feel of hands-on analogue technology. There are three main sections: VCO, VCF, and VCA/Delay (corresponding to the three elements of sound: pitch, timbre, and amplitude). To the right of this are envelope generators…
-

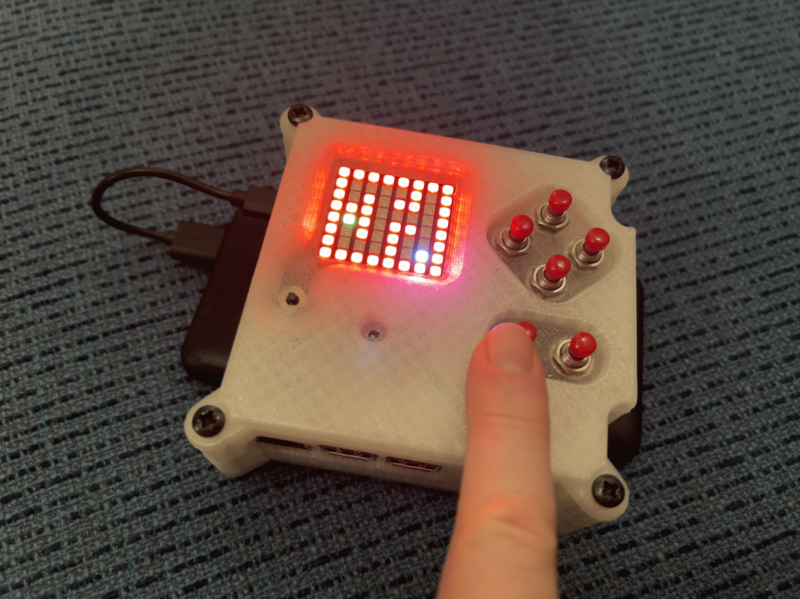
Persistence of vision (POV) candle
Reading Time: 2 minutesHis solution was to make use of persistence of vision (POV) – the brief retention of a visual impression on the eye’s retina that creates the illusion of a moving image in film and television. Shine a light While the general consensus was that POV displays require too much in the way of…
-

Raspberry Pi OS goes dark
Reading Time: 4 minutesThis has taken a few weeks longer this time, simply due to the sheer amount that changed under the hood in Bookworm, but the bug-fix release is now ready and can be installed from today via Raspberry Pi Imager, or downloaded from the usual place on our website. Or, to upgrade an existing image, simply…
-
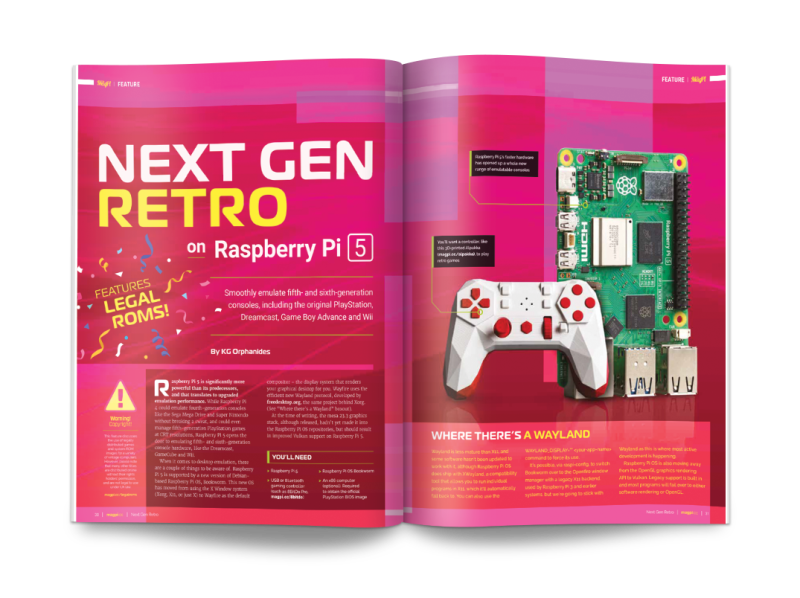
Retro gaming for a new (old) generation with Raspberry Pi 5
Reading Time: 3 minutesNext gen retro Smoothly emulate fifth- and sixth-generation consoles including Playstation, Nintendo Game Boy Advance and GameCube, Sega Dreamcast and more. What’s more, there’s a whole new homebrew scene to discover, with brand-new games being made for these classic consoles. Arts & Crafts with Raspberry Pi Technology and creativity are inclusive and…
-

Win! One of three CrowVision displays!
Reading Time: < 1 minuteSave 35% off the cover price with a subscription to The MagPi magazine. UK subscribers get three issues for just £10 and a FREE Raspberry Pi Pico W, then pay £30 every six issues. You’ll save money and get a regular supply of in-depth reviews, features, guides and other Raspberry Pi…
-
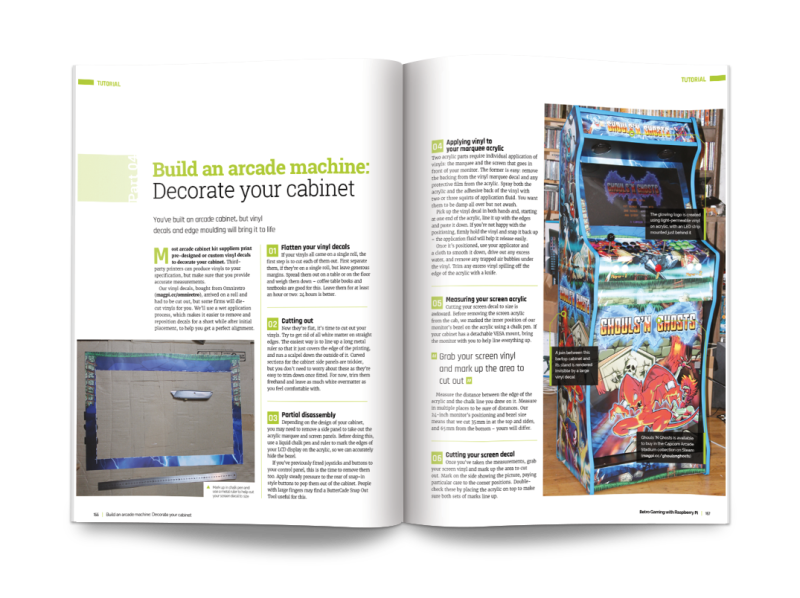
Retro Gaming with Raspberry Pi (3rd Edition) out now
Reading Time: 2 minutesThis book is packed with information on retro gaming. In particular, it covers how to retro game with Raspberry Pi 5 in a lot of detail. Learn to use all the major emulation systems, and recreate retro consoles up to the Dreamcast and Sony Playstation generations. It’s packed with homebrew software and…
-

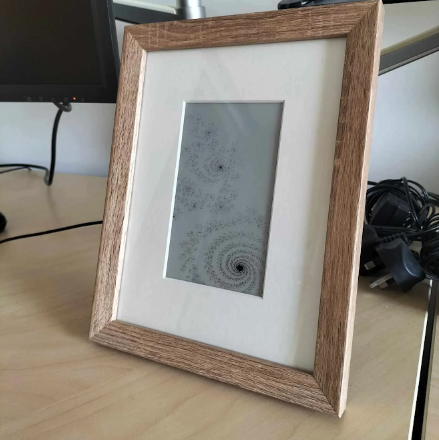
PiArtFrame
Reading Time: 2 minutesWhat are fractals? Fractals are shapes that contain complex detail however closely you look at them, or however far you zoom in. Often, they are self-similar: if you zoom in on the small-scale detail, you find it resembles the overall shape. Some of the most familiar forms that have fractal features are…