NVMe Base review
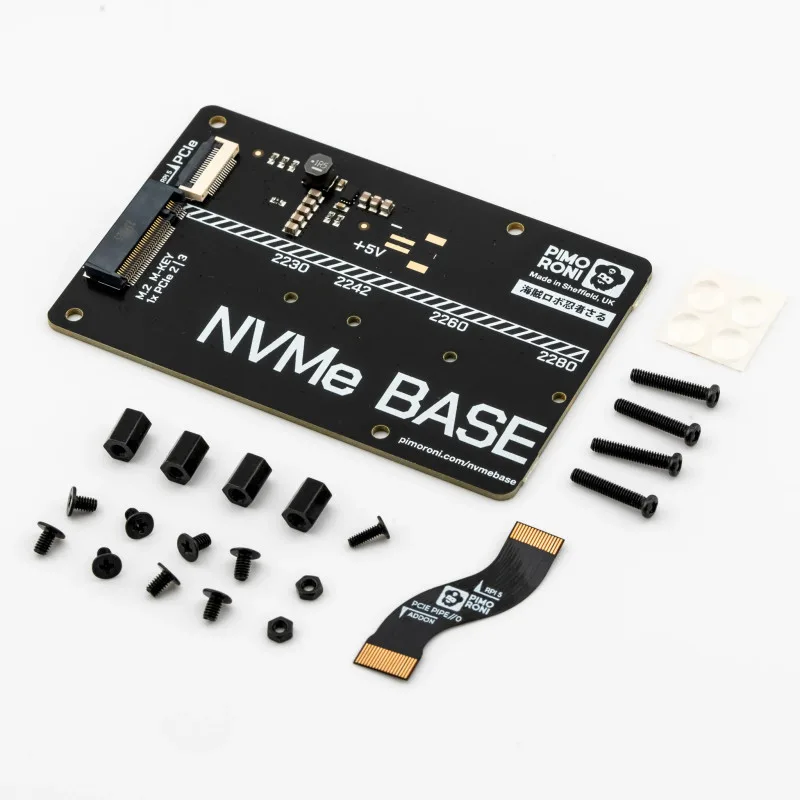
Before attaching the NVMe Base to the underside of Raspberry Pi 5 using the supplied standoff kit – demonstrated in Pimoroni’s installation video – you’ll want to insert your NVMe SSD stick into the Base’s M.2 key slot. The board is long enough to accommodate 2280 size SSDs, and has mounting holes for this plus 2230, 2242, and 2260 drives – so you can secure it with a bolt and nut.
Securing the Base
The next step is to attach M2.5 standoffs to the top of the Base using the four mounting holes. The kit helpfully includes both short and long bolts – the latter are useful if you want to securely mount another HAT on top of Raspberry Pi 5.

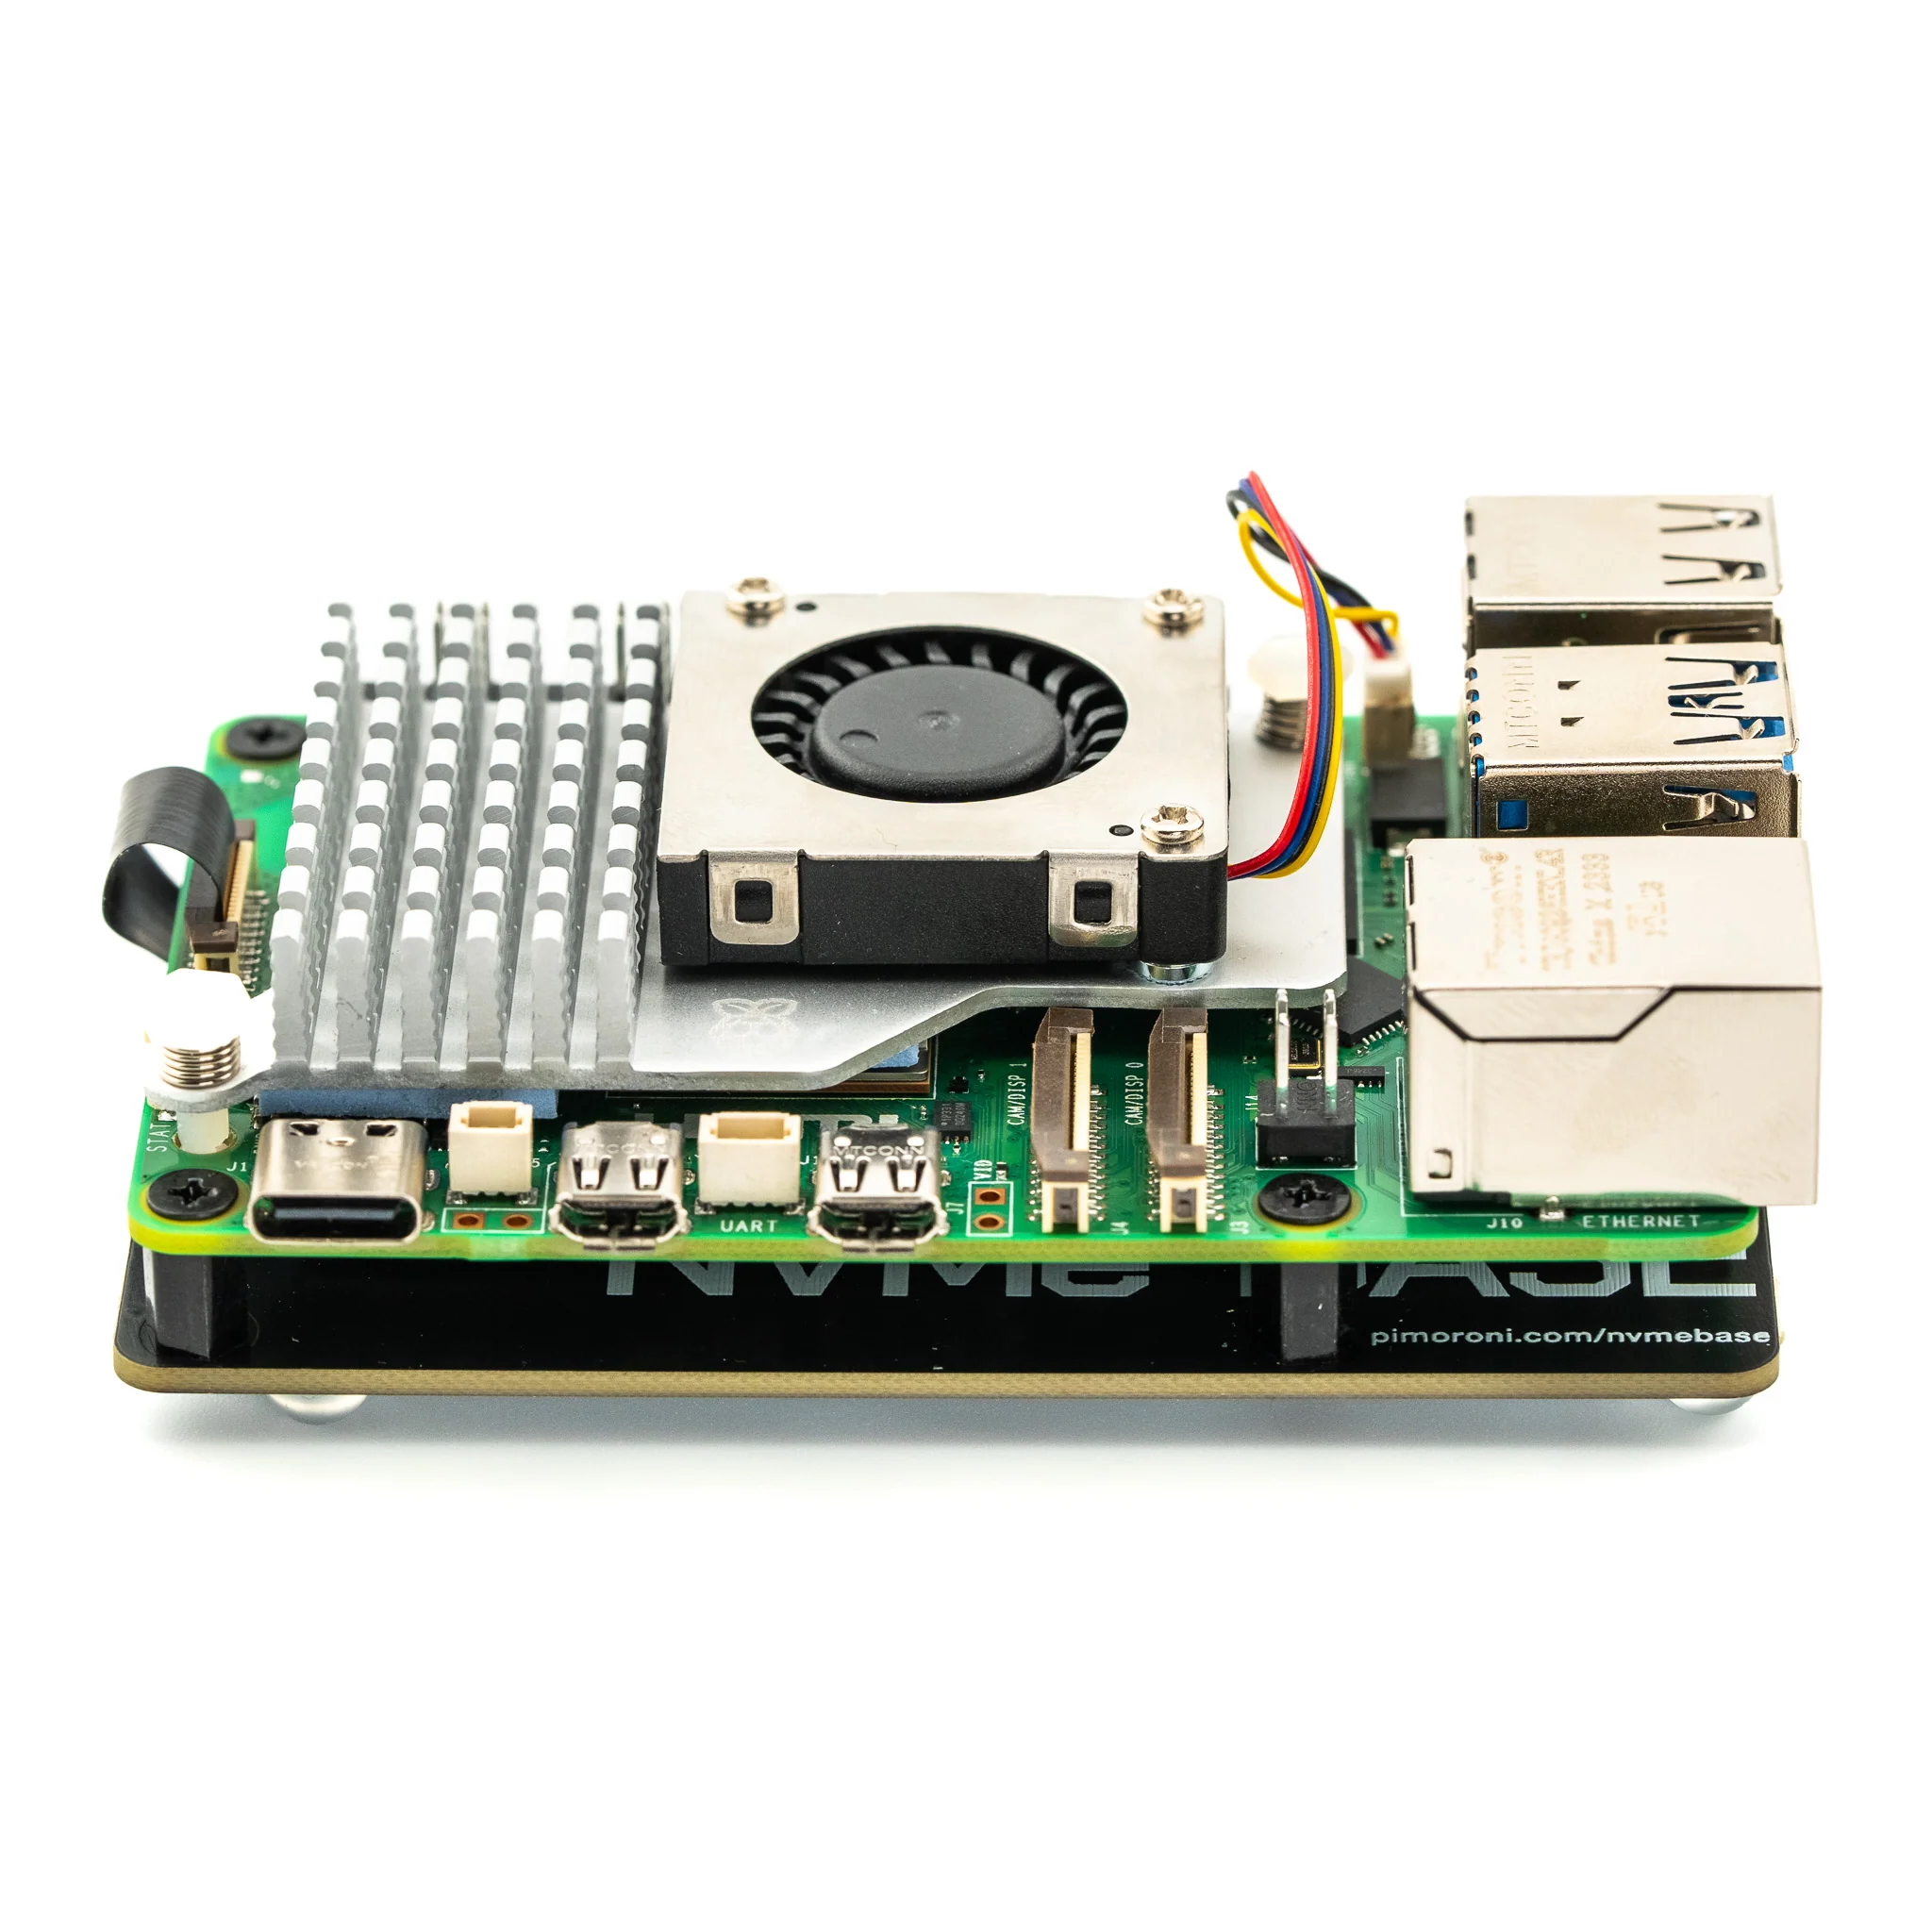
Connecting the Base’s PCIe slot with the one on Raspberry Pi 5 is done using a small, flat S-shaped cable that flexes and has labels to help you orient it correctly – the end for the Base is slightly wider, at 18 pins. It’s easier to connect Raspberry Pi 5’s PCIe slot first, then the Base’s, due to the latter’s less fiddly flip tab. You can then fold the flexible cable over so the Base is underneath Raspberry Pi 5 to form a sandwich, before using a small screwdriver and bolts to secure it. The only downside is that the extra height means it won’t fit in a standard case.
With the hardware installed, you’re ready to start using your SSD… that is, once you’ve checked that your system is up to date and you have the latest bootloader version selected in raspi-config: Advanced Options > Bootloader Version > Latest, then select ‘No’ and reboot. The drive should then appear in the /media directory, and be shown by the lsblk command. If not, make sure it is formatted (you can use Raspberry Pi Imager).
Drive compatibility
While the majority of NVMe M.2 drives should work fine, Pimoroni’s product page notes that a few models have quirks or have proved troublesome. The safest option is to choose a tested model listed there, or purchase the NVMe Base bundled with a compatible 250GB or 500GB SSD.
Raspberry Pi 5 officially only supports the Gen 2.0 version of PCIe, but adding an extra line to /boot/config.txt will force Gen 3.0 for extra speed. In our tests, using the dd command, we achieved a write speed of 514MB/s and a read speed of 858MB/s. While far from our SSD’s maximum (due to only using one of its PCIe lanes), it’s still many times faster than microSD (typically around 30MB/s write, 90MB/s read), and also better than an SSD connected via speed-limiting USB. Check out Pimoroni’s own tests on various SSDs at.
You’ll want to make Raspberry Pi 5 boot from the SSD instead of the microSD card. This is easily achieved by writing the OS to it with Raspberry Pi Imager and then selecting Advanced Options > Boot Order > NVMe in raspi-config. For our drive, this cut around four seconds from the average boot time. We also noticed that some apps, such as Chromium, seemed a little snappier.
Verdict
9/10
A slimline adapter that sits neatly under Raspberry Pi 5 and enables fast PCIe read/write speeds with a suitable SSD