Schlagwort: tech articles
-

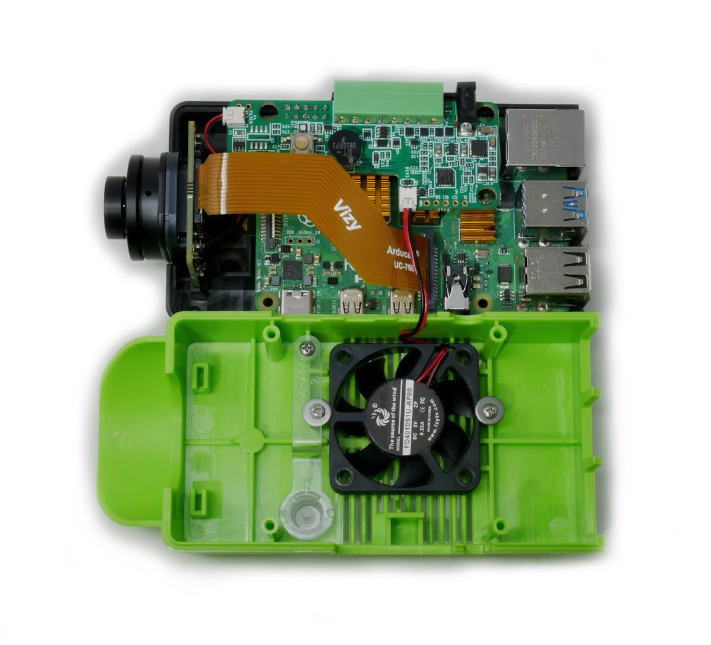
Vizy AI camera review
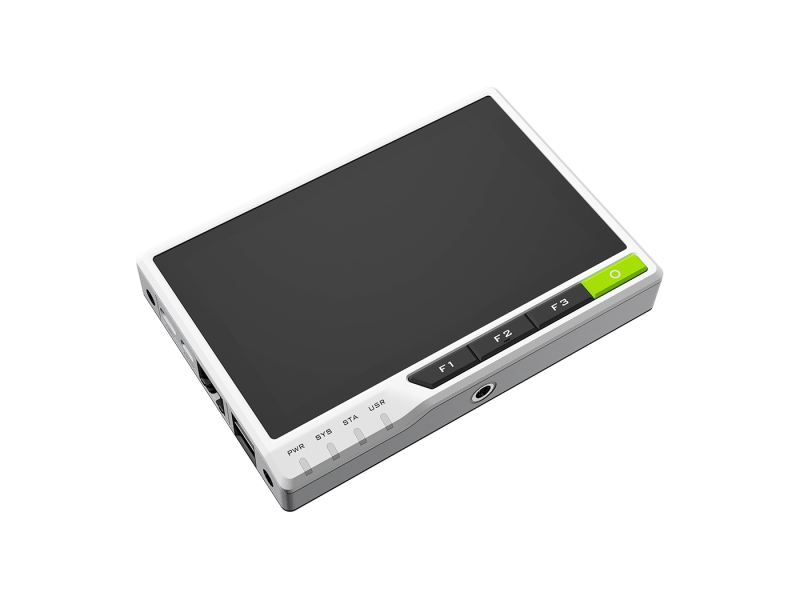
Reading Time: 3 minutesVizy setup Vizy comes self-assembled (you can choose between 2GB, 4GB, and 8GB Raspberry Pi inside). A microSD card is pre-installed and all you need to do is plug it in and press the button to turn it on. While there’s no fun in the build process, it is quick to get…
-

Aquarium dosing pump
Reading Time: 3 minutesRather than pay anywhere between £80 and £500 on a commercial dosing pump, however, he decided to make one himself. By using a Raspberry Pi Pico microcontroller, along with good-quality relays and pumps, he has been able to create a driver for a fraction of the cost – just £14 in total.…
-

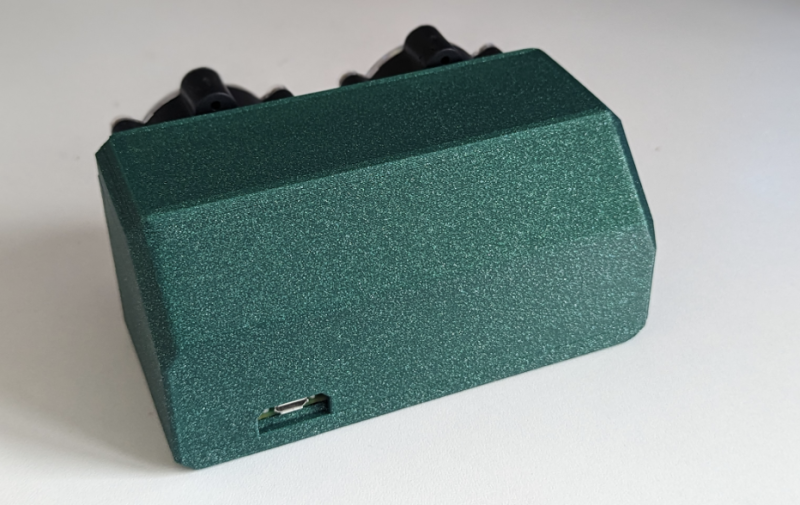
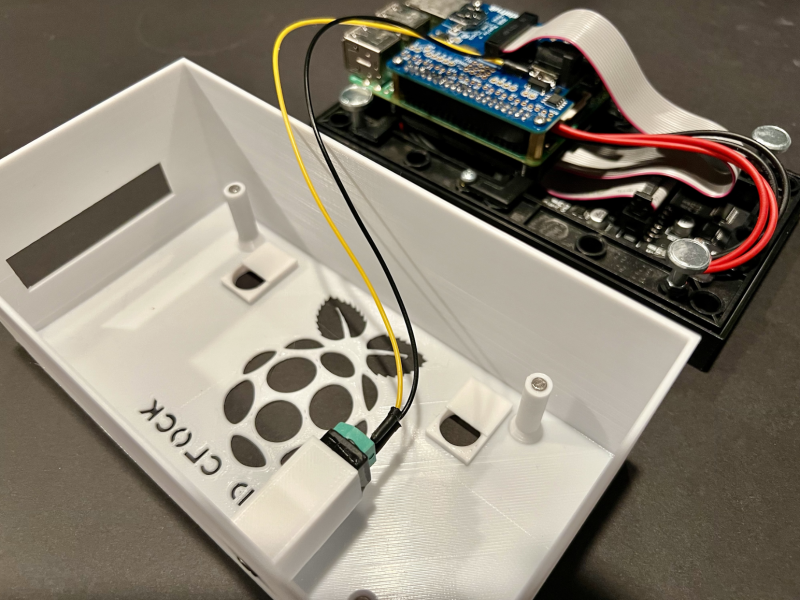
Word clock
Reading Time: 3 minutesWord clocks are not new but they sure are fun, and Christopher’s entry goes further than most. As well as telling the time, it announces holidays and birthdays by shining LED lights behind specific letters and numbers on a custom-made panel. Everything is controlled by a Raspberry Pi computer. “When I thought…
-

Let’s get together
Reading Time: 2 minutesRaspberry Pi itself is deeply connected with industry professionals and enthusiasts, and a new Events section.raspberrypi.com/ can also be found on Raspberry Pi’s website. Here, you’ll find Raspberry Pi at industry trade shows and hobbyist events. Kicking off with Embedded World 2023, where you can meet Raspberry Pi makers. Eben Upton will…
-

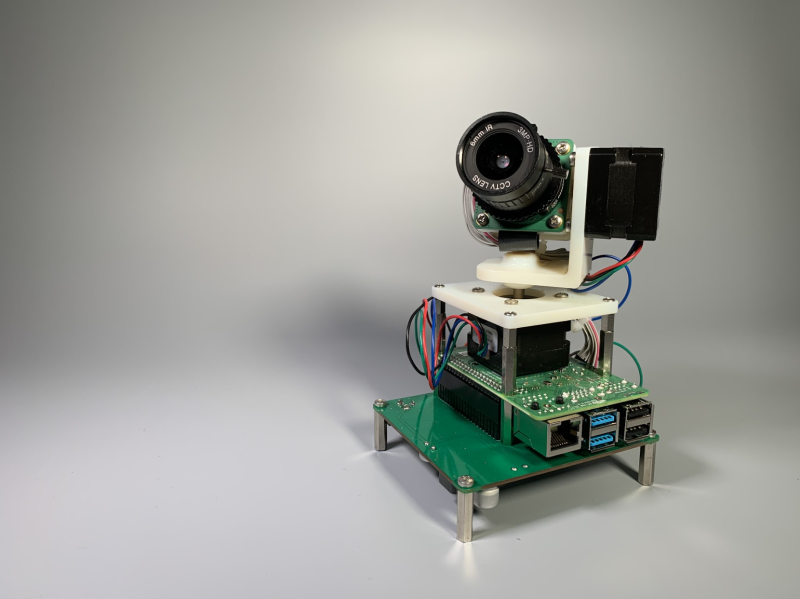
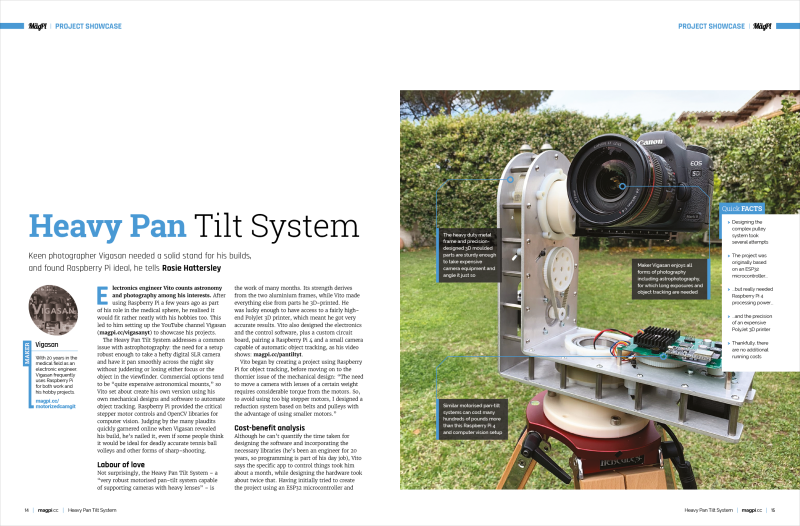
Heavy Pan Tilt System
Reading Time: 3 minutesThe Heavy Pan Tilt System addresses a common issue with astrophotography: the need for a setup robust enough to take a hefty digital SLR camera and have it pan smoothly across the night sky without juddering or losing either focus or the object in the viewfinder. Commercial options tend to be “quite…
-

Learn to code with Python in The MagPi magazine issue #128
Reading Time: 3 minutesHeavy Pan Tilt System Say hello to Vigasan, an electronic engineer turned DIY hero who’s built the Heavy Pan Tilt System, the perfect solution for astrophotography fans. This sturdy stand is robust, motorized, and can handle hefty cameras while smoothly tracking celestial objects. Game Boy Interceptor Get ready for a blast from…
-
Win a reTerminal
Reading Time: < 1 minuteSave 35% off the cover price with a subscription to The MagPi magazine. UK subscribers get three issues for just £10 and a FREE Raspberry Pi Pico W, then pay £30 every six issues. You’ll save money and get a regular supply of in-depth reviews, features, guides and other Raspberry Pi…
-

Kevin McAleer – Robotics expert
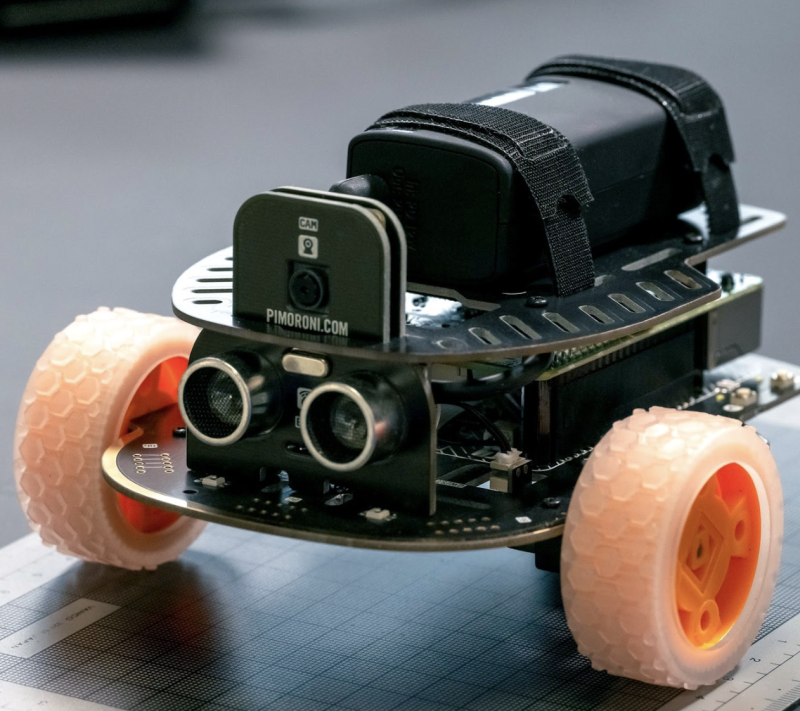
Reading Time: 3 minutesQ: What are some of your favourite robots? A: My favourite robots are small, 3D-printable robots that you can build and modify yourself. These include OpenCat, OttoDIY, SMARS (obviously), and Danielle Boyer’s Scobots. I love Raspberry Pi Pico, Pico W, and full Raspberry Pi robots such as the Pimoroni Trilobot. All the…
-

Artificial Artists
Reading Time: 2 minutesIf you think artists have it bad, then spare a thought for your lonely writers. We’re staring down the barrel of ChatGPT and Google’s response, Bard. The creative mill As Rob pointed out last month, ChatGPT’s copy is generously described as ‘hit-and-miss’. A more accurate assessment would be: “dumber than a tall…
-

Workshop Rudolph the Red Nose Reindeer
Reading Time: 2 minutes“I foresaw a big blinking LED as a red nose, an animated leg (actuated by a simple servo), a turning star connected to a potentiometer, and lots of blinking lights to support the Christmas theme,” Bas says. “Simple, versatile to support users in programming their individual scenes, simple to connect by USB,…
-

Radiation detecting Geiger counter
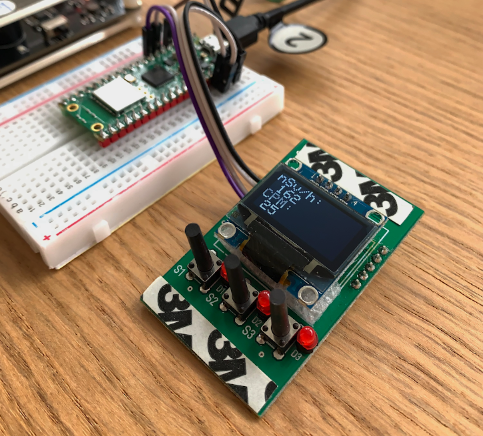
Reading Time: 2 minutesThis prompted him to create a device using a Raspberry Pi Pico W. “Radiation is not something you can feel, see, taste, hear, or smell,” he says. “So, I created a device designed to be a silent observer of the ionising radiation levels in my city. I wanted it to become the…
-

PiBoy XRS handheld games console review
Reading Time: 3 minutesTaking design notes from the original Game Boy, Neo Geo Pocket, and just about every portable game system since the release of the Game Boy Advance, this updated kit also whacks on a second analogue stick for much improved playability. Instead of two shoulder buttons, there are now four, and while that…
-

Alternative Flight Simulator
Reading Time: 3 minutesFirst class upgrade Apart from the seats, and various aesthetic aircraft appendages, there are two key sections to the Alternative Flight Simulator that help provide an authentic passenger experience. Firstly, Alex has constructed a ‘flight selector panel’ that the passenger uses to select the airport where they wish to land (and there…
-

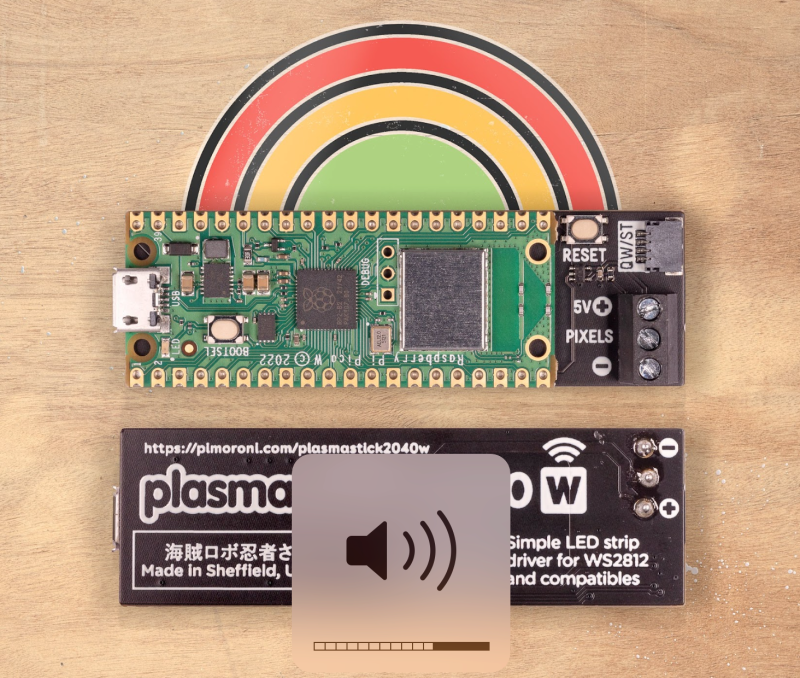
Plasma Stick 2040 W (Pico W Aboard)
Reading Time: 2 minutesTo get you up and running quickly, the Plasma Stick 2040 W is preloaded with Pimoroni’s own brand of MicroPython firmware, complete with a fair few example programs, including fire, rainbow, snow, and sparkle effects. These can easily be adapted to suit the number of LEDs in your strip. Alternatively you can…
-

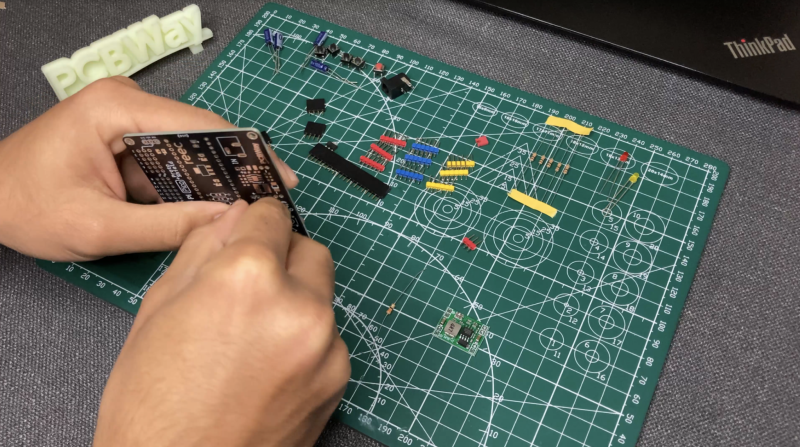
Proto Shield with Robot Arm and Snake Game
Reading Time: 3 minutesRonin built his first prototype circuit board six years ago and discovered Raspberry Pi a year later. He usually programs microcontrollers using embedded C, but learning MicroPython led him to Raspberry Pi and, more specifically, the Pico. After realising the scope of what Pico can do, Ronin says he was “mad at…
-

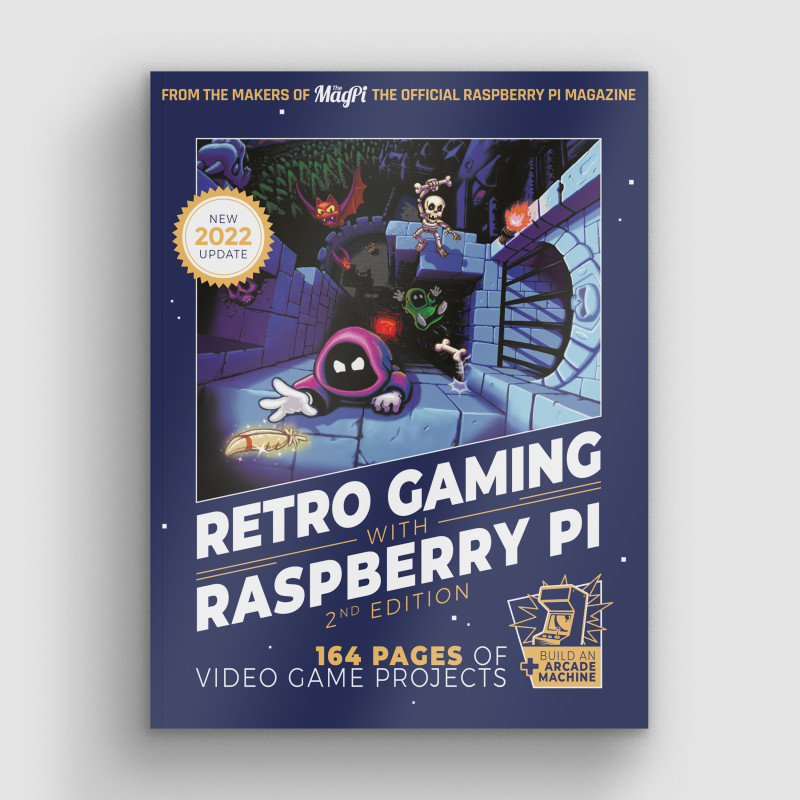
K.G. Orphanides – Retro gaming expert
Reading Time: 4 minutesQ: How did you get into retro gaming? A: When I started, it was just ‘gaming’, thanks! My family won an MSX in a raffle when I was seven, and my mum, an IT worker, taught me how to program in BASIC. Then she borrowed an XT from work until we saved…
-

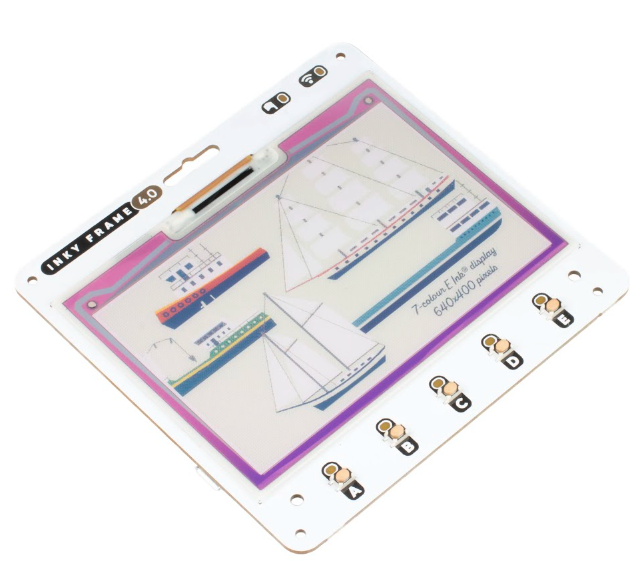
Inky Frame 4.0″ (Pico W Aboard) review
Reading Time: 2 minutesFive user buttons are located on the front, each with an LED, with two more LEDs at the top to indicate activity and wireless connection. Two metal legs (supplied) can be used to stand up the board. Refreshing stuff The Inky Frame comes preloaded with Pimoroni’s brand of MicroPython firmware, including the…
-

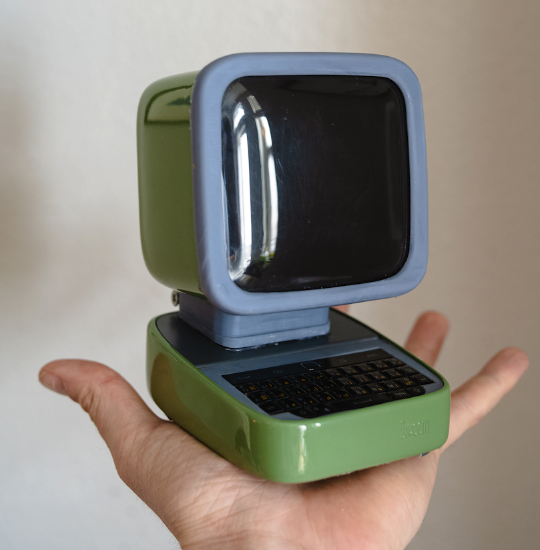
Mini PC
Reading Time: 3 minutes“I have a YouTube channel, and a company called Divoom sent me a Bluetooth speaker to review,” Carter explains. “Unfortunately, I’m not a product reviewer, so I decided to make a project with it. Initially, I was hoping to make a standalone music and media player for my kitchen but, as I…
-
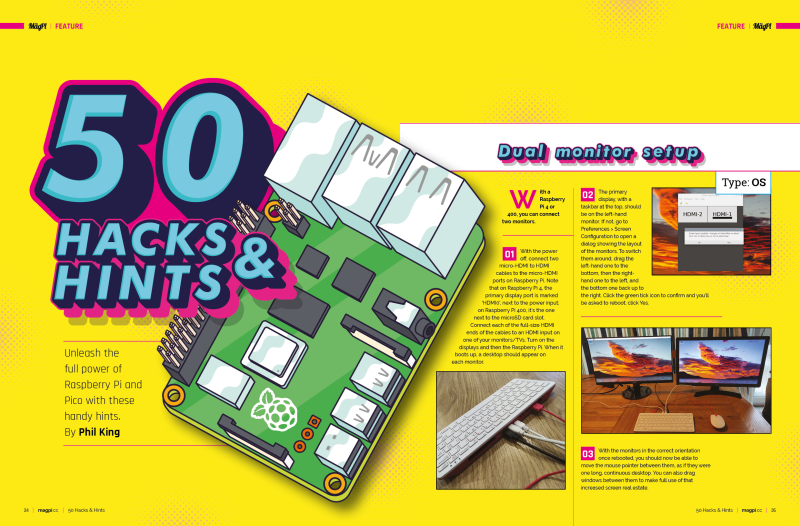
Get more out of Raspberry Pi in The MagPi magazine issue #127
Reading Time: 3 minutes50 Hints & Hacks Unleash the full power of Raspberry Pi with our ultimate collection of tips and tricks. Create multi-monitor professional setups, adjust GPU memory settings, customise the Raspberry Pi operating system, automatically run programs and much more. Desert Eye 2.0 This sophisticated Raspberry Pi 4 robot is designed to operate…
-

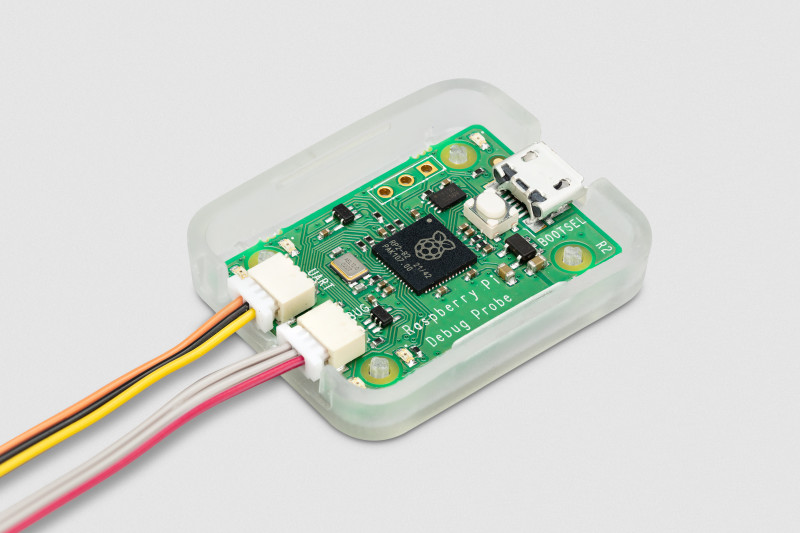
Win 1 of 10 Raspberry Pi Debug Probes!
Reading Time: < 1 minuteSave 35% off the cover price with a subscription to The MagPi magazine. UK subscribers get three issues for just £10 and a FREE Raspberry Pi Pico W, then pay £30 every six issues. You’ll save money and get a regular supply of in-depth reviews, features, guides and other Raspberry Pi…
-

PaperPi V3 e-paper display
Reading Time: 3 minutesEarly promise As with so many of our featured project showcase makers, Aaron showed a very early interest in electronics and technology. “When I was eight, I disassembled the TV remote and (poorly) punched holes through the faceplate so I could add ‘extra features’,” he relates. “I lovingly remember this as my…
-

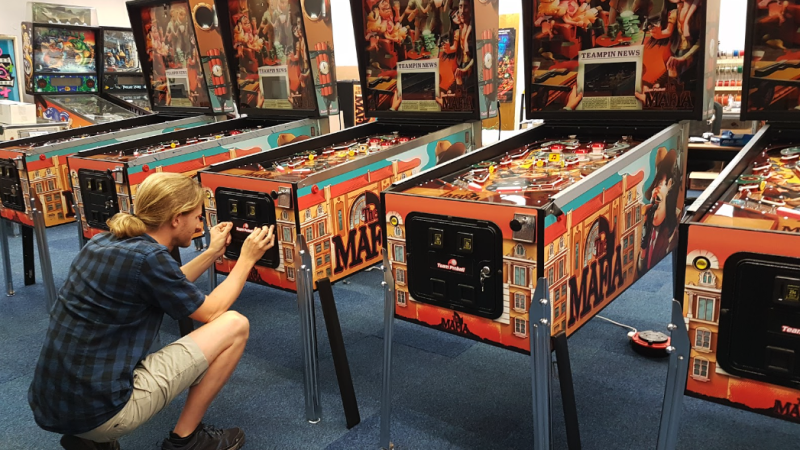
Team Pinball
Reading Time: 3 minutes“Raspberry Pi is a powerful tool that has already found its place in the video game community with RetroPie. We wanted to do the same and create new, fun games with the Raspberry Pi,” explains Romain Fontaine. When the team sat down to decide on the theme and title for their pinball…