Schlagwort: Sliding Clock
-

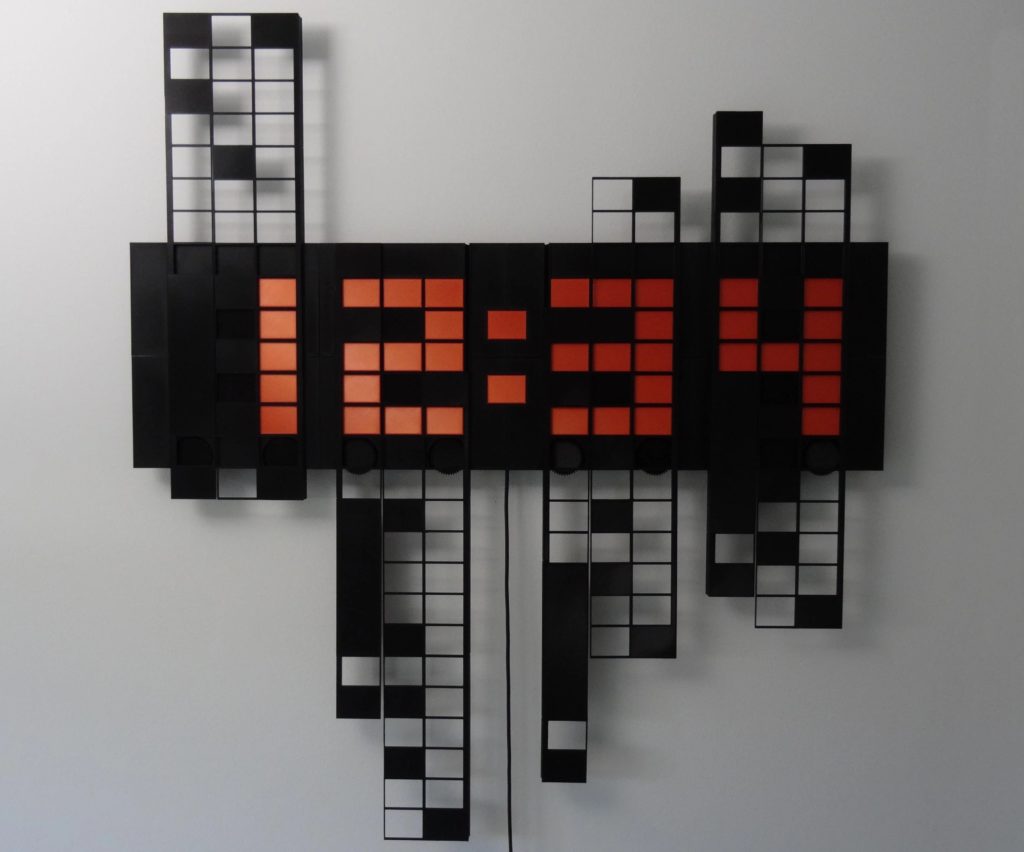
Time Slider is an interesting spin on clock design
Reading Time: 1 minuteYou can build a simple and accurate clock with any Arduino board, an RTC (real-time clock) module, and a four-digit seven-segment display. But if you want to be inspired by a more unique design, check out Hans Andersson’s Time Slider. This clever clock features four sliders — one for each digit of…
-

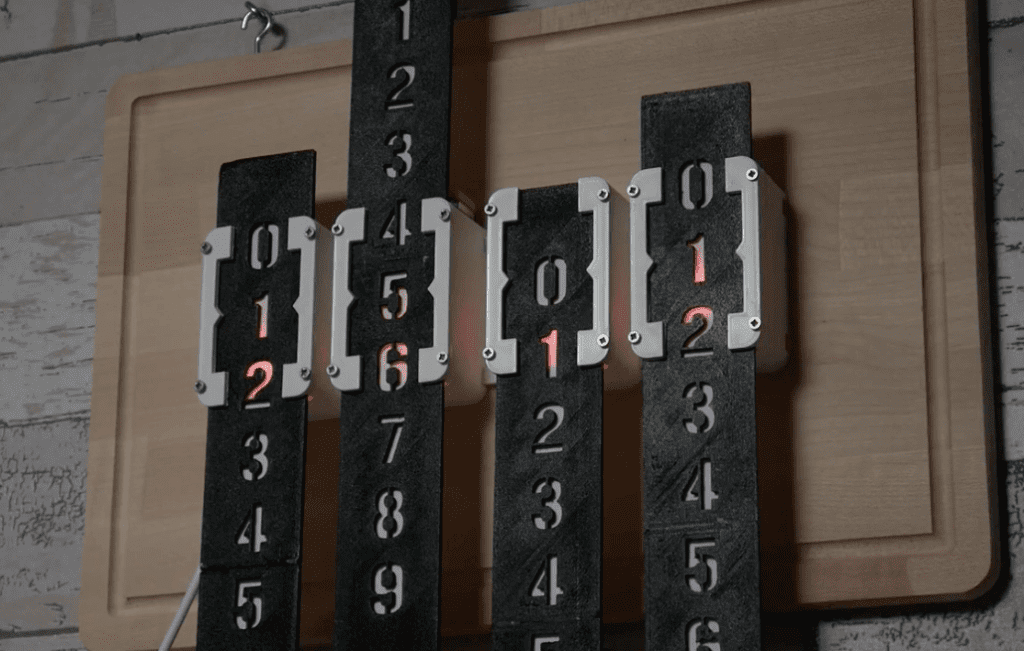
Tell time and temperature with sliding numbers
Reading Time: < 1 minuteTell time and temperature with sliding numbers Arduino Team — October 19th, 2020 While dial clocks are functional and well-understood, for something a bit more uniquely styled, Luuk Esselbrugge has created a 3D-printed timekeeping unit with four rows of sliding numbers. As seen here, each digit moves up and down to…