Schlagwort: Raspberry Pi Zero WH
-

Monitor your GitHub build with a Raspberry Pi pumpkin
Reading Time: 4 minutesGitHub’s Martin Woodward has created a spooky pumpkin that warns you about the thing programmers find scariest of all — broken builds. Here’s his guest post describing the project: “When you are browsing code looking for open source projects, seeing a nice green passing build badge in the ReadMe file lets you…
-

Remote humidity detector
Reading Time: 3 minutesWe know crawl spaces are creepy, sweaty, and confining but, hear us out… You need to keep an eye on the humidity level in your crawl space, as it can seriously affect the whole house’s overall health. It’s ideal to be able to do this remotely (given the creepy, sweaty atmosphere of…
-

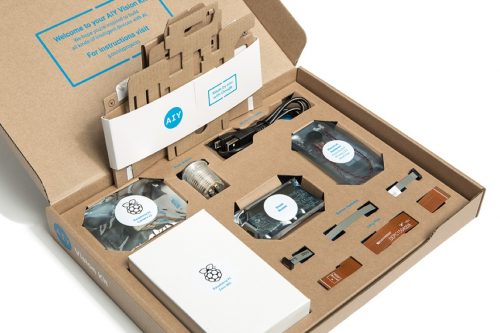
AIY Projects 2: Google’s AIY Projects Kits get an upgrade
Reading Time: 3 minutesAfter the outstanding success of their AIY Projects Voice and Vision Kits, Google has announced the release of upgraded kits, complete with Raspberry Pi Zero WH, Camera Module, and preloaded SD card. Google’s AIY Projects Kits Google launched the AIY Projects Voice Kit last year, first as a cover gift with The…
-
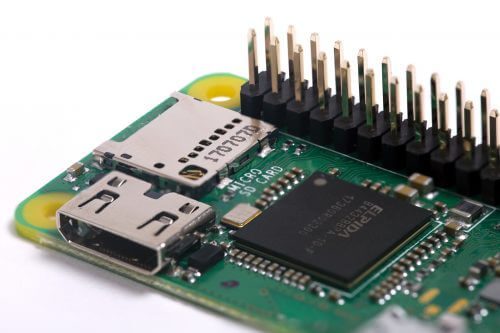
Zero WH: pre-soldered headers and what to do with them
Reading Time: 3 minutesIf you head over to the website of your favourite Raspberry Pi Approved Reseller today, you may find the new Zero WH available to purchase. But what it is? Why is it different, and what can you do with it? “If you like pre-soldered headers, and getting caught in the rain…” Raspberry…