Schlagwort: Raspberry Pi Cameras
-

Machine Learning made easy with Raspberry Pi, Adafruit and Microsoft
Reading Time: 3 minutesMachine learning can sound daunting even for experienced Raspberry Pi hobbyists, but Microsoft and Adafruit Industries are determined to make it easier for everyone to have a go. Microsoft’s Lobe tool takes the stress out of training machine learning models, and Adafruit have developed an entire kit around their BrainCraft HAT, featuring…
-

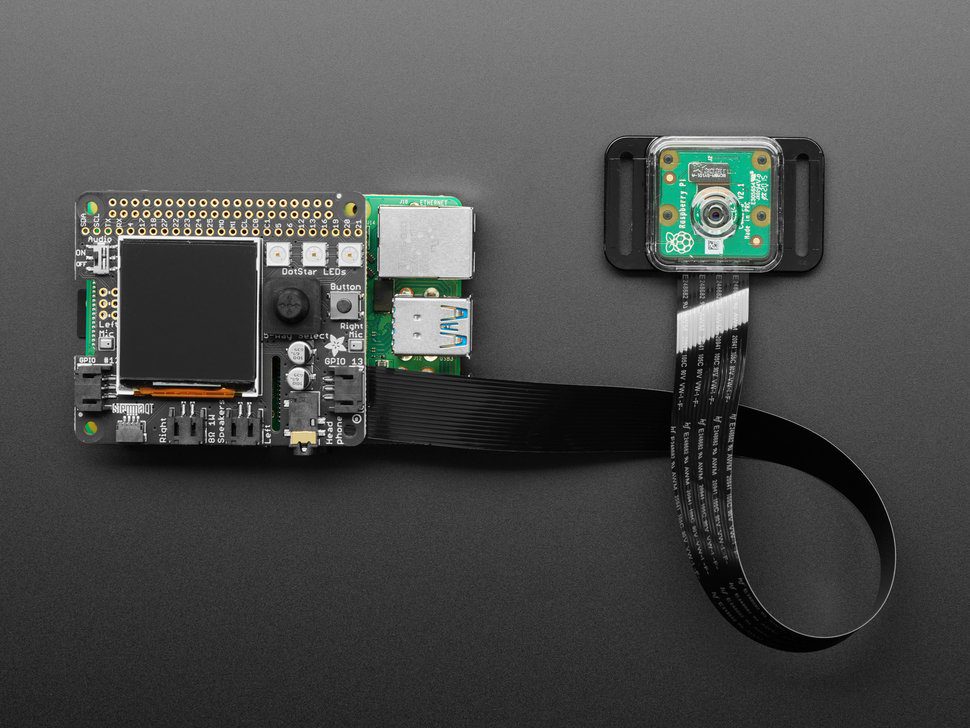
SleePi sounds alarm when Raspberry Pi detects sleepiness
Reading Time: 2 minutesSleePi is a real-time sleepiness detection and alert system developed especially for Raspberry Pi and our Raspberry Pi Camera Module 2 NoIR. Driver drowsiness detection was the original application for this project, and Raspberry Pi was chosen for it because it’s small enough to not obstruct a driver’s view and can be…
-

Raspberry Pi dog detector (and dopamine booster)
Reading Time: 2 minutesYou can always rely on Ryder’s YouTube channel to be full of weird and wonderful makes. This latest offering aims to boost dopamine levels with dog spotting. Looking at dogs makes you happier, right? But you can’t spend all day looking out of the window waiting for a dog to pass, right?…
-

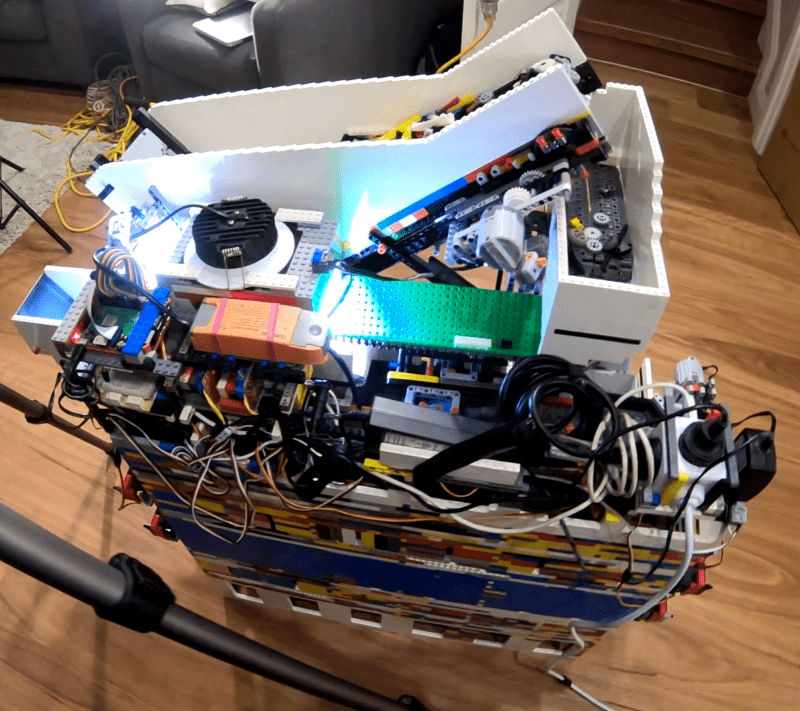
Raspberry Pi LEGO sorter
Reading Time: 3 minutesRaspberry Pi is at the heart of this AI–powered, automated sorting machine that is capable of recognising and sorting any LEGO brick. And its maker Daniel West believes it to be the first of its kind in the world! [youtube https://www.youtube.com/watch?v=04JkdHEX3Yk?feature=oembed&w=500&h=281] Best ever This mega-machine was two years in the making and…
-

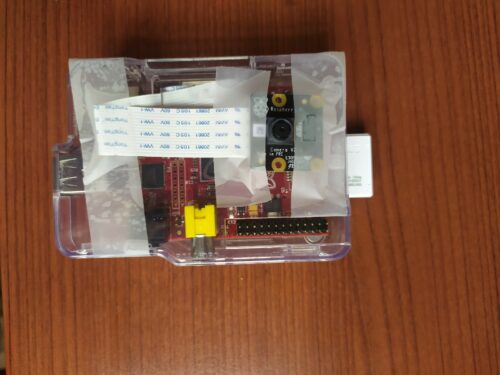
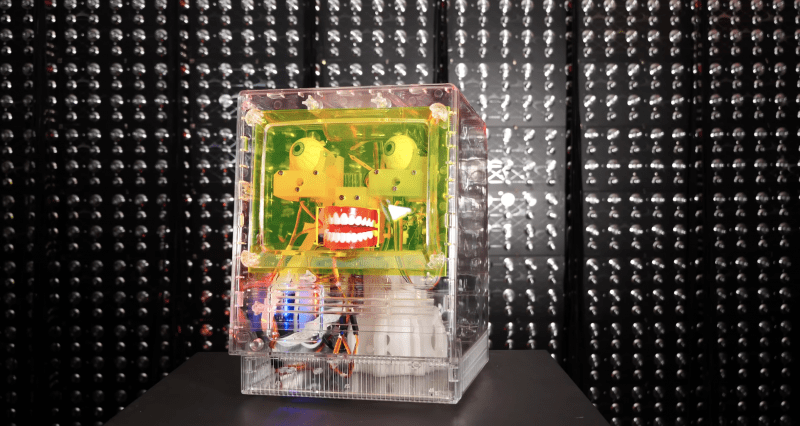
These Furby-‘controlled’ Raspberry Pi-powered eyes follow you
Reading Time: 3 minutesSam Battle aka LOOK MUM NO COMPUTER couldn’t resist splashing out on a clear Macintosh case for a new project in his ‘Cosmo’ series of builds, which inject new life into retro hardware. AAGGGGHHHHHHH! This time around, a Raspberry Pi, running facial recognition software, and one of our Camera Modules enable Furby-style…
-

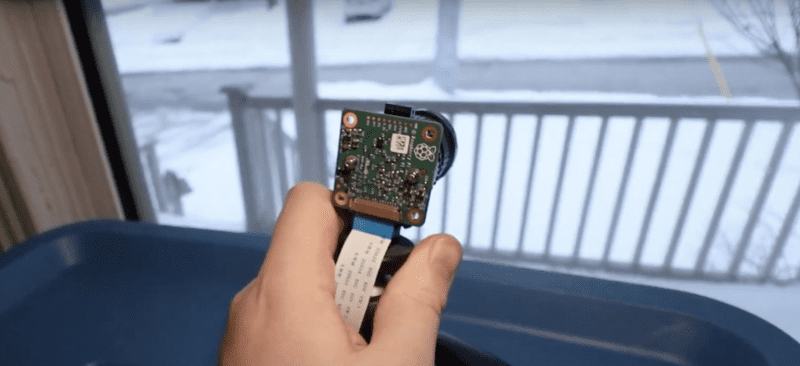
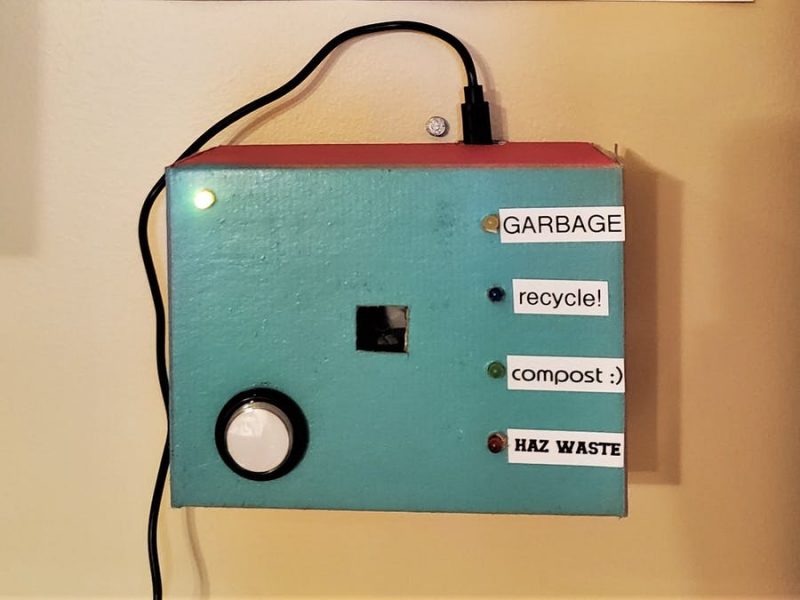
Classify your trash with Raspberry Pi
Reading Time: 3 minutesMaker Jen Fox took to hackster.io to share a Raspberry Pi–powered trash classifier that tells you whether the trash in your hand is recyclable, compostable, or just straight-up garbage. Jen reckons this project is beginner-friendly, as you don’t need any code to train the machine learning model, just a little to load…
-

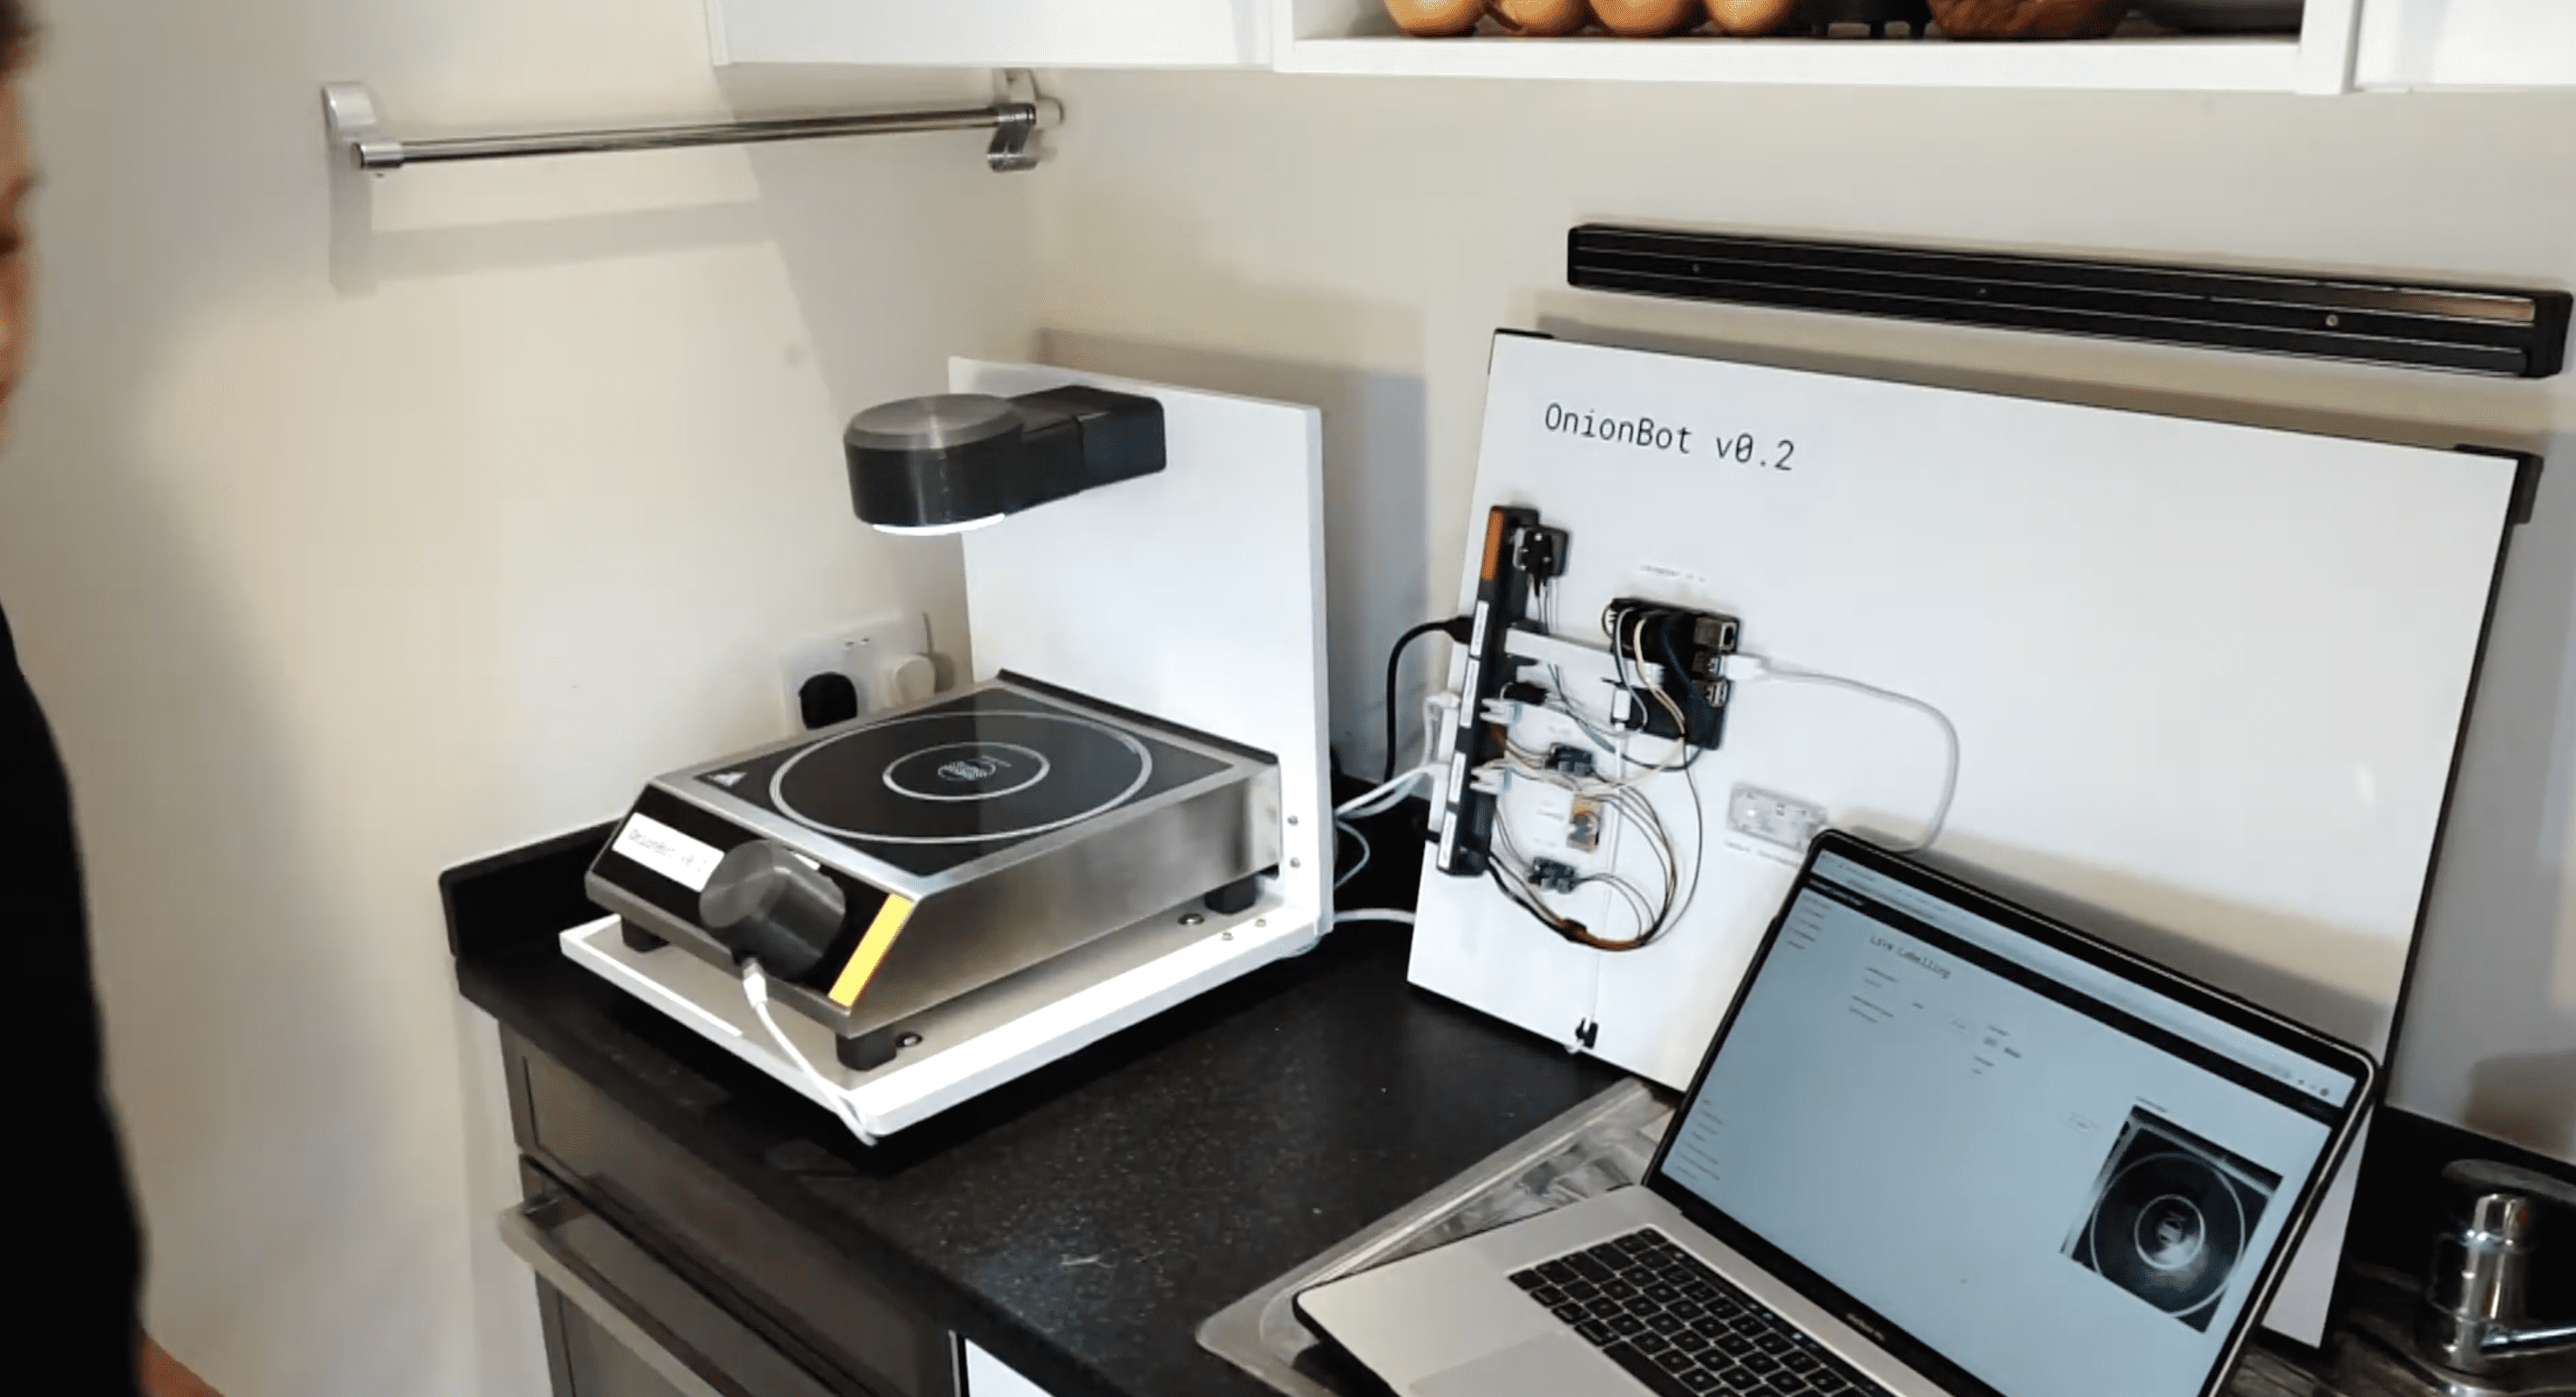
Hire Raspberry Pi as a robot sous-chef in your kitchen
Reading Time: 3 minutesDesign Engineering student Ben Cobley has created a Raspberry Pi–powered sous-chef that automates the easier pan-cooking tasks so the head chef can focus on culinary creativity. [youtube https://www.youtube.com/watch?v=W4utRCyo5C4?feature=oembed&w=500&h=281] Ben named his invention OnionBot, as the idea came to him when looking for an automated way to perfectly soften onions in a pan…
-

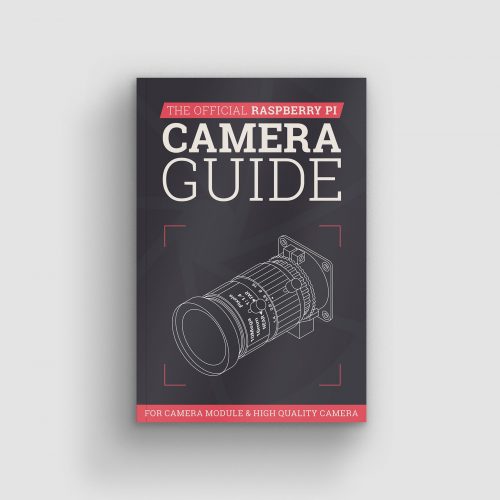
New book: The Official Raspberry Pi Camera Guide
Reading Time: 3 minutesTo coincide with yesterday’s launch of the Raspberry Pi High Quality Camera, Raspberry Pi Press has created a new Official Camera Guide to help you get started and inspire your future projects. The Raspberry Pi High Quality Camera Connecting a High Quality Camera turns your Raspberry Pi into a powerful digital camera.…
-
New product: Raspberry Pi High Quality Camera on sale now at $50
Reading Time: 5 minutesWe’re pleased to announce a new member of the Raspberry Pi camera family: the 12.3-megapixel High Quality Camera, available today for just $50, alongside a range of interchangeable lenses starting at $25. NEW Raspberry Pi High Quality Camera Subscribe to our YouTube channel: http://rpf.io/ytsub Help us reach a wider audience by translating…