Schlagwort: Portenta
-

Prototype faster and smarter in 2025: Meet the Arduino Pro Portenta Proto Kit
Reading Time: 3 minutesLaunching today at CES 2025, the Arduino Pro Portenta Proto Kit is here to revolutionize how professionals approach prototyping. Designed to empower engineers, designers, and innovators from all walks of life, this kit provides everything you need to turn your ideas into functional prototypes quickly, efficiently, and without conventional limitations. Available in…
-
Discover #Virgil: history comes to life with Arduino
Reading Time: 2 minutesWe’re excited to introduce #Virgil, an innovative project that combines the power of Arduino technology with a passion for history, creating a groundbreaking interactive experience for museums. Using Arduino’s versatile and scalable ecosystem, #Virgil operates completely offline, allowing visitors to interact with 3D avatars in a seamless and immersive way. The project…
-
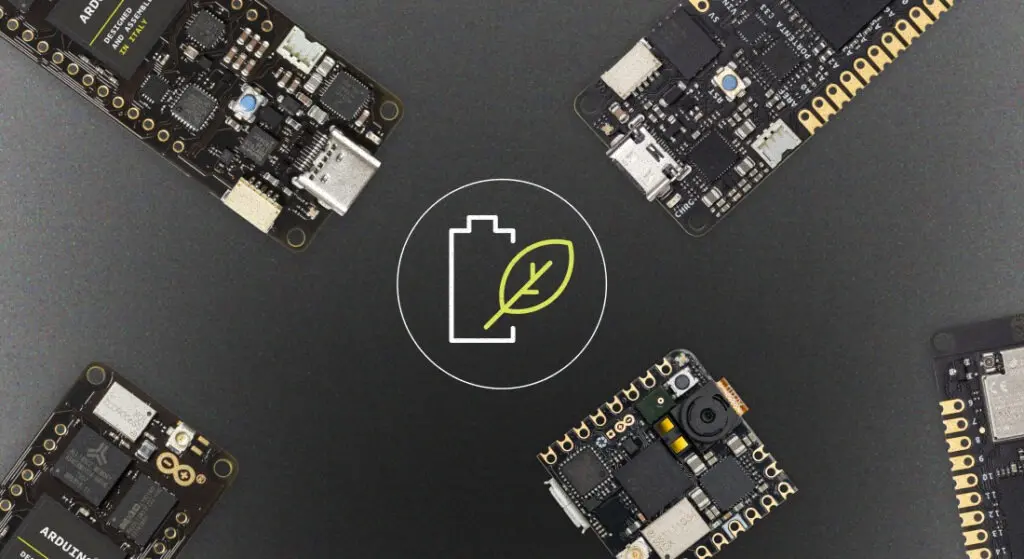
Reduce power consumption in IoT and wearable devices, with Arduino’s new power management library!
Reading Time: 7 minutesDeveloping energy-efficient IoT and wearable devices is complex and time-consuming, yet it is essential for creating high-quality products that stand out in today’s market. A key part in this process is optimizing power consumption without sacrificing performance or functionality. Fortunately, Arduino Pro modules help address this challenge by offering powerful chips and…
-

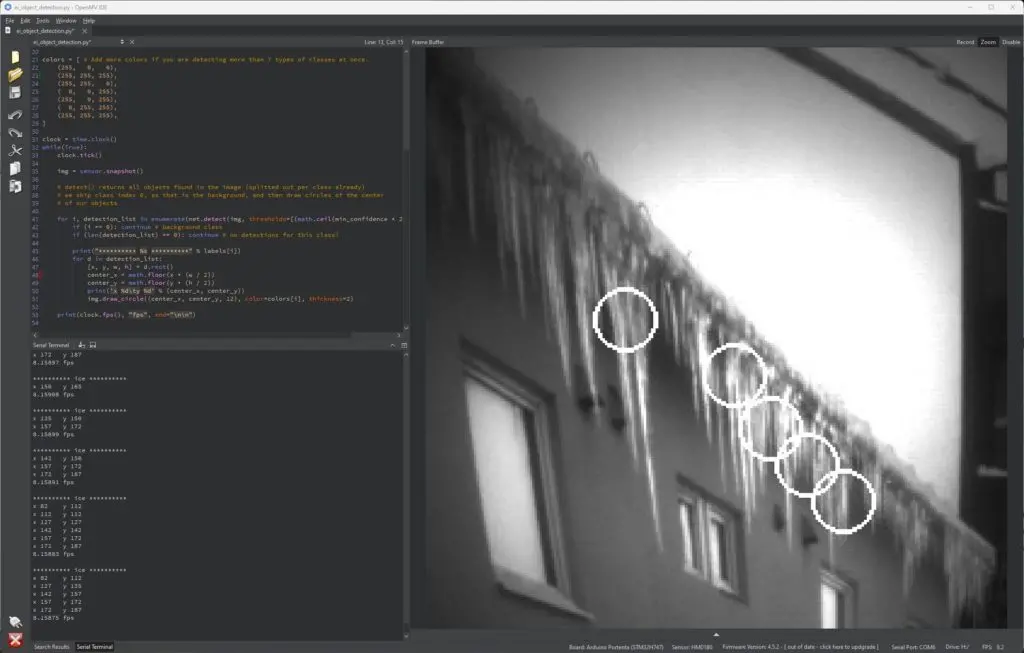
Detecting rooftop ice buildup using an Arduino Portenta and synthetic data
Reading Time: 2 minutesIn areas that experience plenty of cold weather, icicles and ice dams can present a very real danger to the people and property nearby. In response, Eivind Holt has developed a computer vision-based system that relies on an Arduino Portenta H7, a Portenta Vision Shield, and a slew of AI tools/models to recognize this…
-

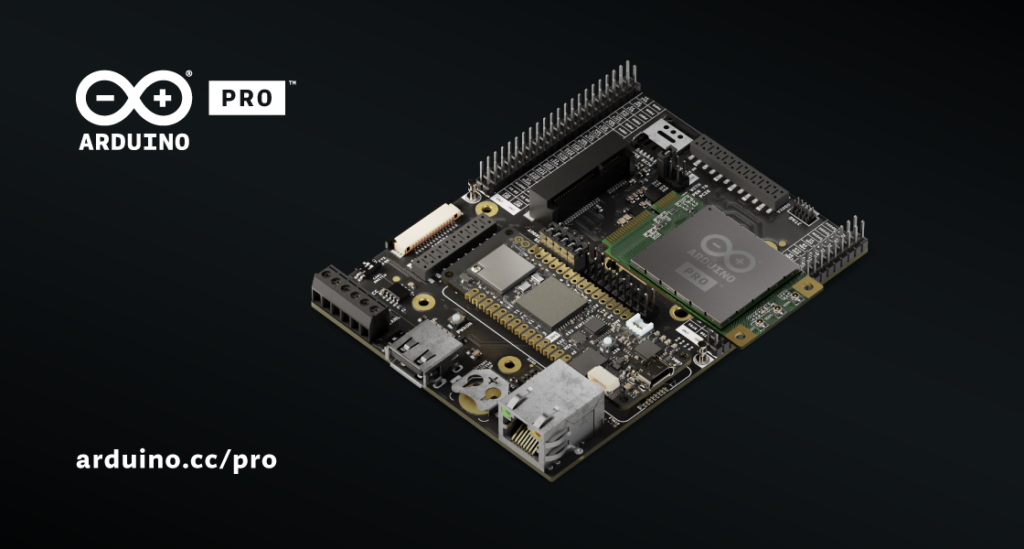
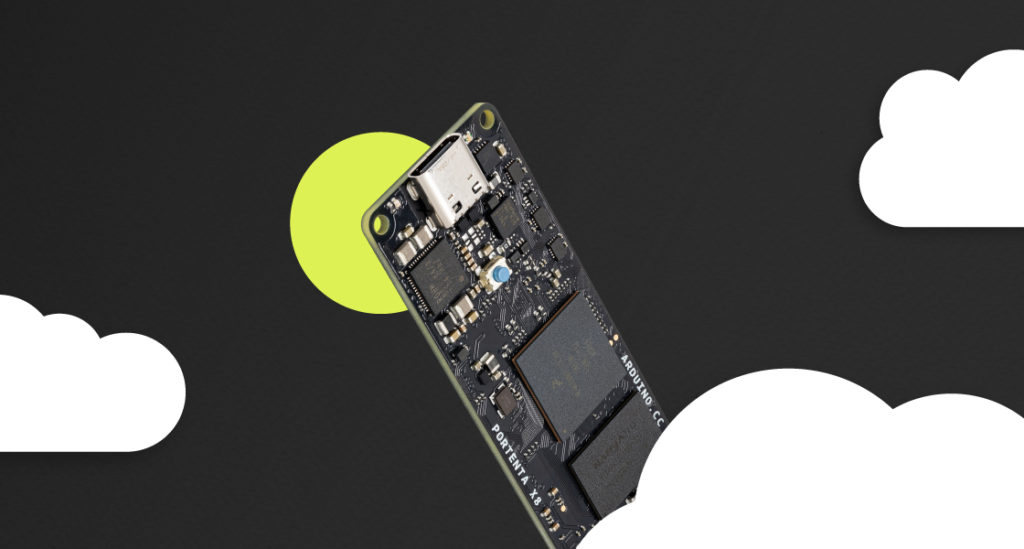
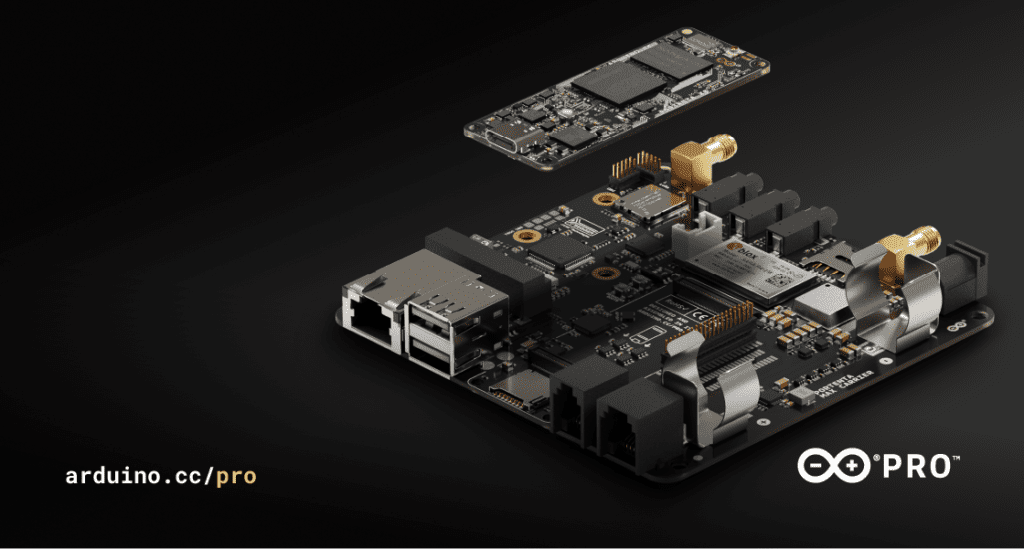
The new Arduino Pro 4G Module and Portenta Mid Carrier expand our ecosystem, and your options!
Reading Time: 2 minutesOur team at Embedded World (April 9th-11th in Nuremberg) has announced not one, but two groundbreaking additions to the Arduino Pro range that are ready to elevate your prototyping and connectivity experiences. Say hello to the Arduino Portenta Mid Carrier and the Arduino Pro 4G Module! Portenta Mid Carrier: maximizing prototyping potential…
-

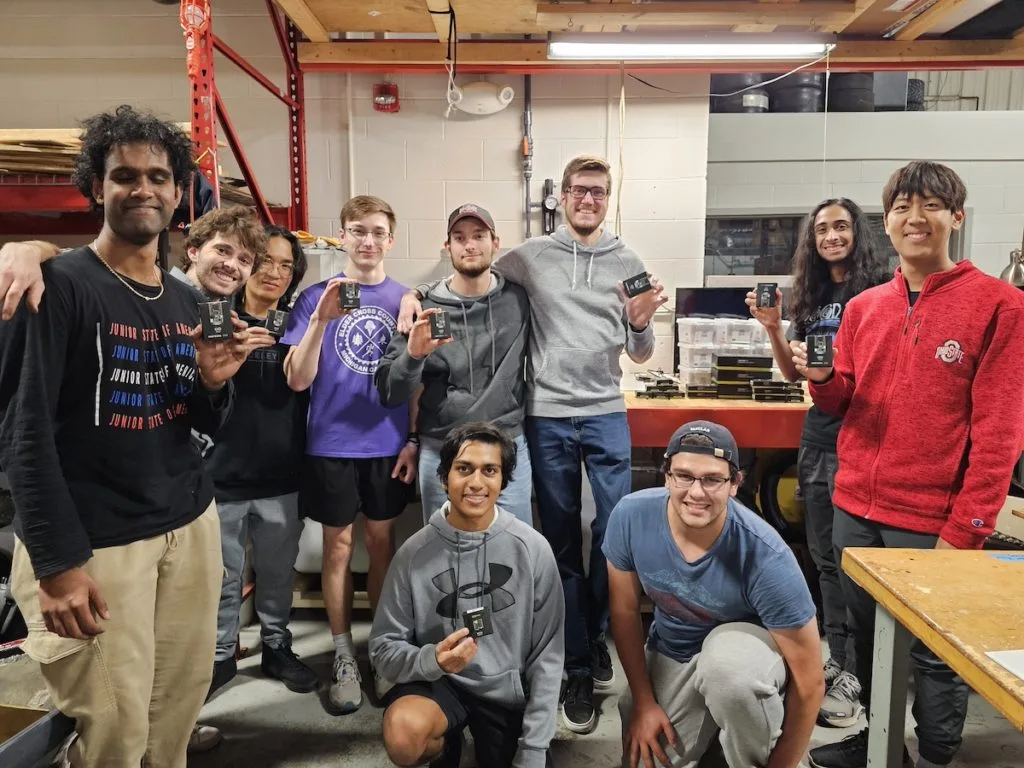
Empowering the transportation of the future, with the Ohio State Buckeye Solar Racing Team
Reading Time: 3 minutesArduino is ready to graduate its educational efforts in support of university-level STEM and R&D programs across the United States: this is where students come together to explore the solutions that will soon define their future, in terms of their personal careers and more importantly of their impact on the world. Case…
-

Improve recycling with the Arduino Pro Portenta C33 and AI audio classification
Reading Time: 2 minutesIn July 2023, Samuel Alexander set out to reduce the amount of trash that gets thrown out due to poor sorting practices at the recycling bin. His original design relied on an Arduino Nano 33 BLE Sense to capture audio through its onboard microphone and then perform edge audio classification with an…
-

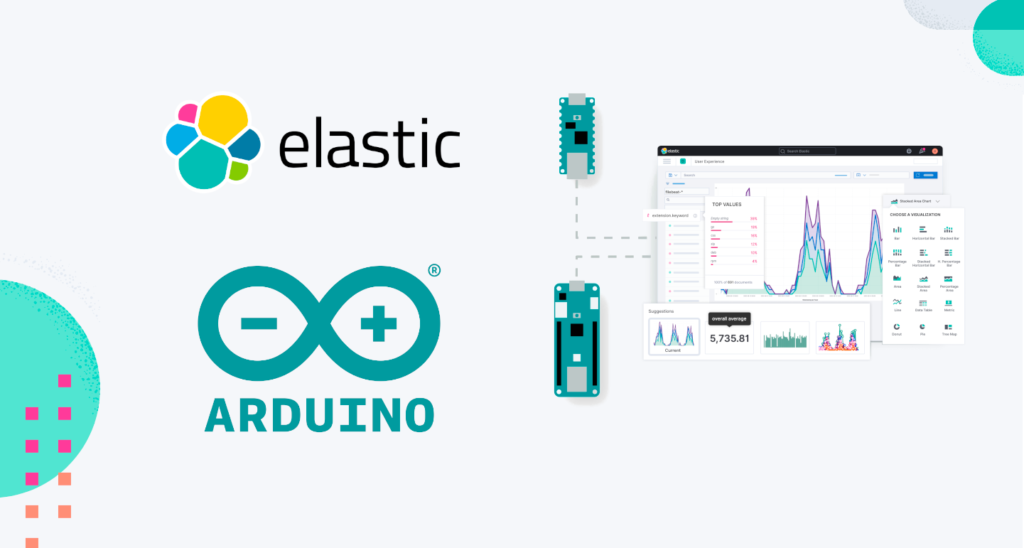
Elasticsearch and Arduino: better together!
Reading Time: 8 minutesNamed Visionary by Gartner for the third year in a row, Elastic is the world’s leading platform for search-powered solutions – and a company we are proud to partner with. Recently, we collaborated with this data powerhouse on a Portenta H7-based R&D project to provide a simple Elasticsearch client library (written in…
-
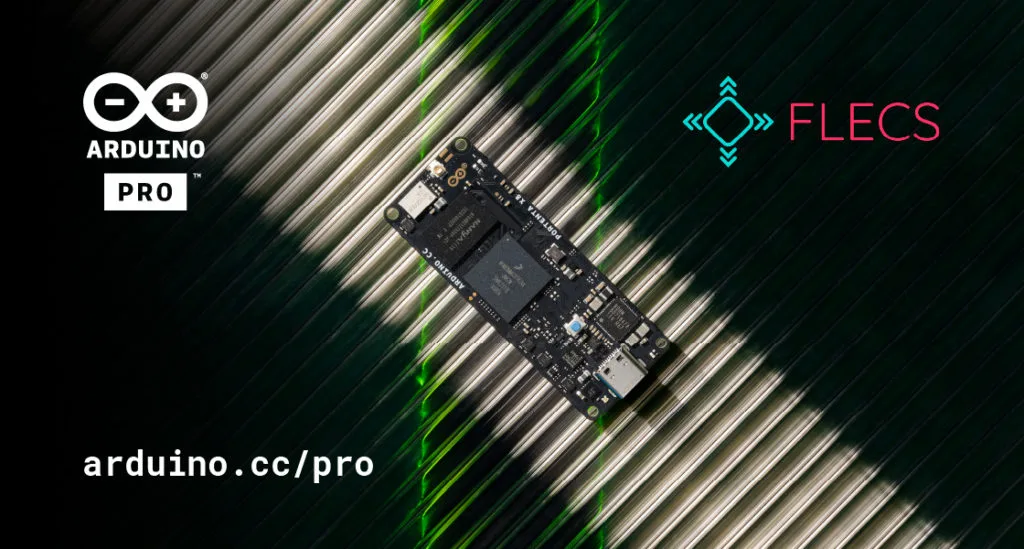
Industry automation? There’s an app for that! With FLECS and Portenta X8
Reading Time: 2 minutesFLECS and Arduino Pro are partnering to make Industry 4.0 easier for you. FLECS is the easy-to-configure and open-source platform that allows industrial users to work with automation solutions dedicated to their machinery just as easily as we all handle the apps on our phone: install, manage and configure via web interface,…
-
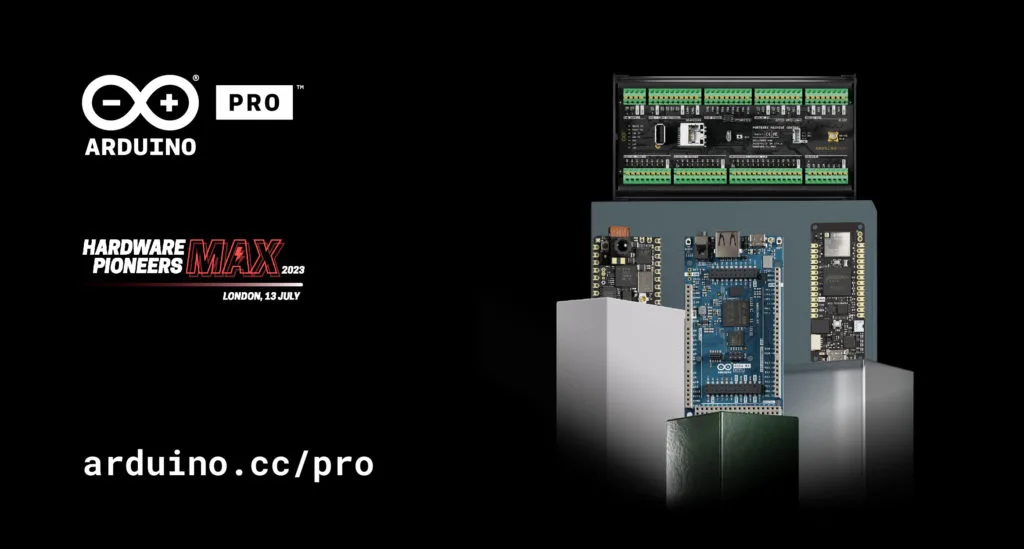
You have 3 ways to meet Massimo Banzi in the UK!
Reading Time: 3 minutesMassimo Banzi and the Arduino Pro team will be crossing the Channel soon for a short tour of Southern England, touching base with long-time partners and meeting many new Arduino fans! On July 11th at 4PM BST, Massimo has been invited to give a Tech Talk at Arm’s headquarters in Cambridge, as…
-

This converted RC car uses a Portenta H7 to drive itself
Reading Time: 2 minutesJeremy Ellis is a teacher, and as such, wanted a longer-term project that his students could do to learn more about microcontrollers and computer vision/machine learning, and what better way is there than a self-driving car. His idea was to take an off-the-shelf RC car which uses DC motors, add an Arduino Portenta…
-

Arduino Pro at SPS Italy 2023
Reading Time: 3 minutesMark your calendars: May 23rd-25th we’ll be at SPS Italia, one of the country’s leading fairs for smart, digital, sustainable industry and a great place to find out what’s new in automation worldwide. We expect a lot of buzz around AI for IoT applications – and, of course, we’ll come prepared to…
-
Portenta C33: The high-performance, low-price oxymoron
Reading Time: 2 minutesWhile democratizing professional solutions may seem like an oxymoron, that’s exactly what Arduino Pro is out to achieve. Our business-oriented unit stands at industrial clients’ side with a growing ecosystem of high-performance, reliable, secure products that aim to provide the right solution for every need big and small companies may have, in…
-
Portenta X8 in Arduino IoT Cloud
Reading Time: 4 minutesYou may have heard about Portenta X8 for its flexibility of usage of Linux combined with real-time applications through the Arduino environment. But now, a new set of features have been added to Portenta X8 thanks to its brand-new Arduino Python container. Update your board with the latest image (here is a…
-

Predicting when a fan fail by listening to it
Reading Time: 2 minutesEmbedded audio classification is a very powerful tool when it comes to predictive maintenance, as a wide variety of sounds can be distinguished as either normal or harmful several times per second automatically and reliably. To demonstrate how this pattern recognition could be incorporated into a commercial setting, Kevin Richmond created the Listen Up…
-

Environmental monitoring of corporate offices with Arduino Pro
Reading Time: 7 minutesThe challenge The quality of the air we breathe has a direct impact on our health. Poor air quality can cause a variety of health problems, including respiratory infections, headaches, and fatigue. It can also aggravate existing conditions such as asthma and allergies. That’s why it’s so important to monitor the air…
-

Spotting defects in solar panels with machine learning
Reading Time: 2 minutesLarge solar panel installations are vital for our future of energy production without the massive carbon dioxide emissions we currently produce. However, microscopic fractures, hot spots, and other defects on the surface can expand over time, thus leading to reductions in output and even failures if left undetected. Manivannan Sivan’s solution for tackling this…
-

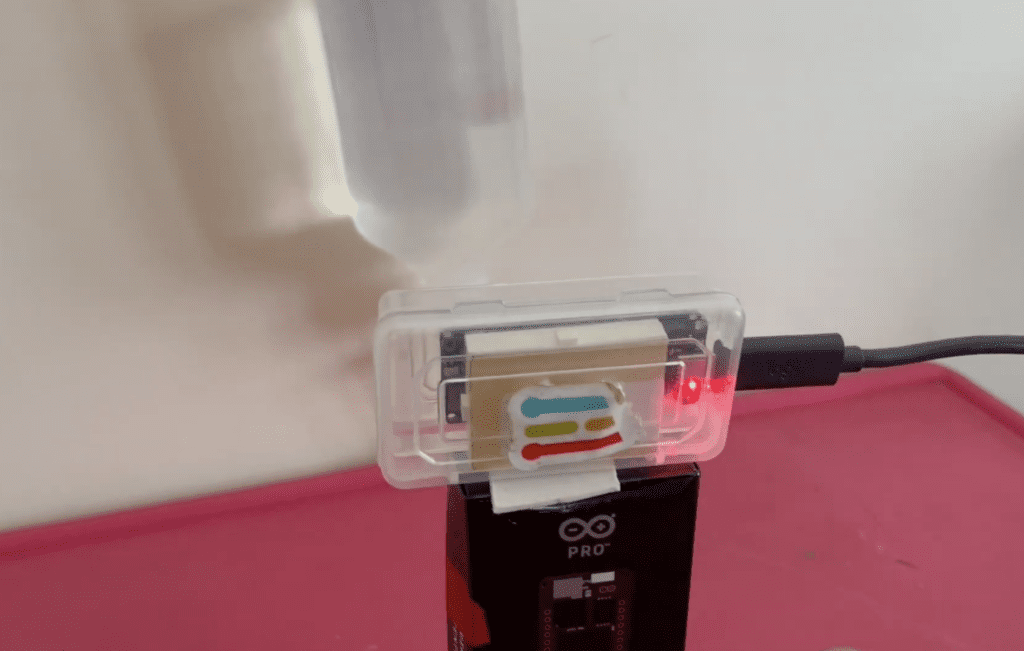
This tinyML-powered baby swing automatically starts when crying is detected
Reading Time: 2 minutesNo one enjoys hearing their baby cry, especially when it occurs in the middle of the night or when the parents are preoccupied with another task. Unfortunately, switching on a motorized baby swing requires physically getting up and pressing a switch or button, which is why Manivannan Sivan developed one that can automatically…
-

The Things Conference 2022: catch up with us and all things LoRaWAN®
Reading Time: 3 minutesArduino Team — September 16th, 2022 We are excited to announce our team will be traveling to Amsterdam for The Things Conference on September 22nd-23rd, where Arduino will be among select exhibitors. The Things Conference is the world’s largest conference about LoRaWAN®, bringing together the industry’s major players contributing to this technology’s…
-

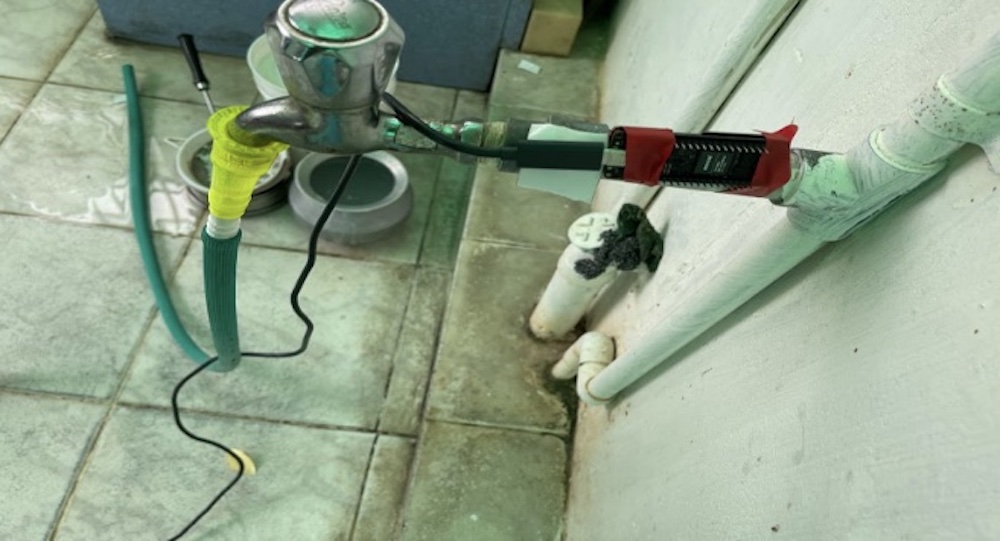
This system detects leaks by listening to water flowing through pipes
Reading Time: 2 minutesArduino Team — July 27th, 2022 Damaged, leaking pipes are not only a nuisance to clean up after, but they can also create major inefficiencies within water delivery systems, leading to a loss in both the water itself and the electricity required to disinfect and pump it. Over the past decade, water…
-

Monitoring IV fluid bag levels with the Arduino Portenta H7 and Vision Shield
Reading Time: 2 minutesArduino Team — June 22nd, 2022 When a patient is receiving intravenous (IV) fluids, it is vital that air is not introduced into the line, as its presence can create issues such as excessive pressure or even embolisms that can be life-threatening. Normally, the level of fluids remaining within the bag is…
-
The new Portenta X8 (with Linux!) and Max Carrier redefine what’s possible
Reading Time: 3 minutesArduino’s mission has always been to give creators, makers and innovators the tools they need to turn their ideas into real projects. That will never change. What is changing, and at warp speed, is our definition of possible. Because every day our accessible, flexible and reliable open-source hardware grows more powerful, and…