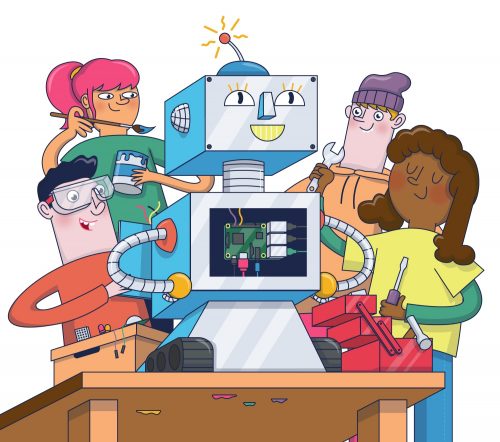
Make a robot: A fun and educational journey into robotics for kids
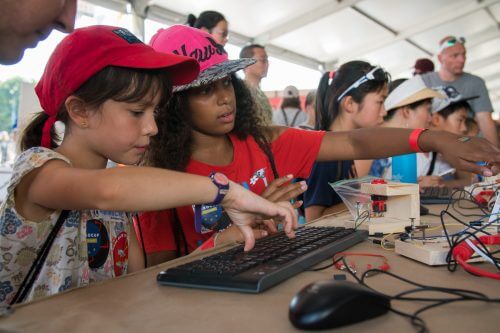
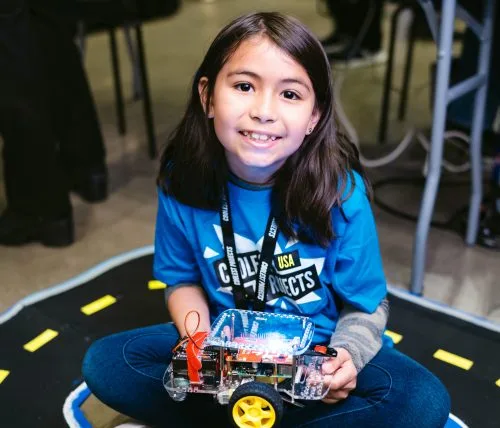
Reading Time: 5 minutesLots of kids are excited about robotics, and we have the free resources you need to help your children start making robots. What’s a robot anyway? Did you know that the concept of robotics dates back to ancient Greece, where a mathematician built a self-propelled flying pigeon to understand bird flight? Today, we have robots […]