Schlagwort: Model Trains
-

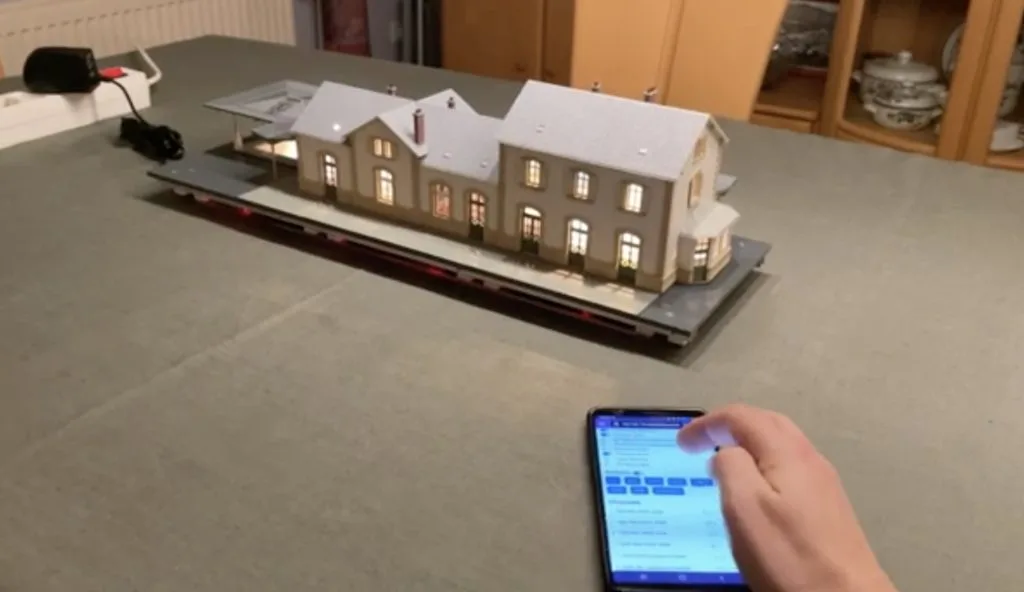
The ultimate lighting system for model railroaders
Reading Time: 2 minutesGo to any model railroading convention and you’ll see that most layouts have far more work put into the terrain and buildings than into the trains themselves. The emphasis is usually on realism, so enthusiasts spend uncountable hours constructing and weathering their buildings. But lighting those buildings can be difficult, leading many…
-

Controlling a model railroad with a vintage Atari ST
Reading Time: 2 minutesBack in the ’90s, Cyril Rossignol had a dream of controlling his model railroad with his computer. While that was possible at the time, it wasn’t easy and would have required some serious skill with hardware and programming. But today, thanks to development boards like those from Arduino, this is a much…
-

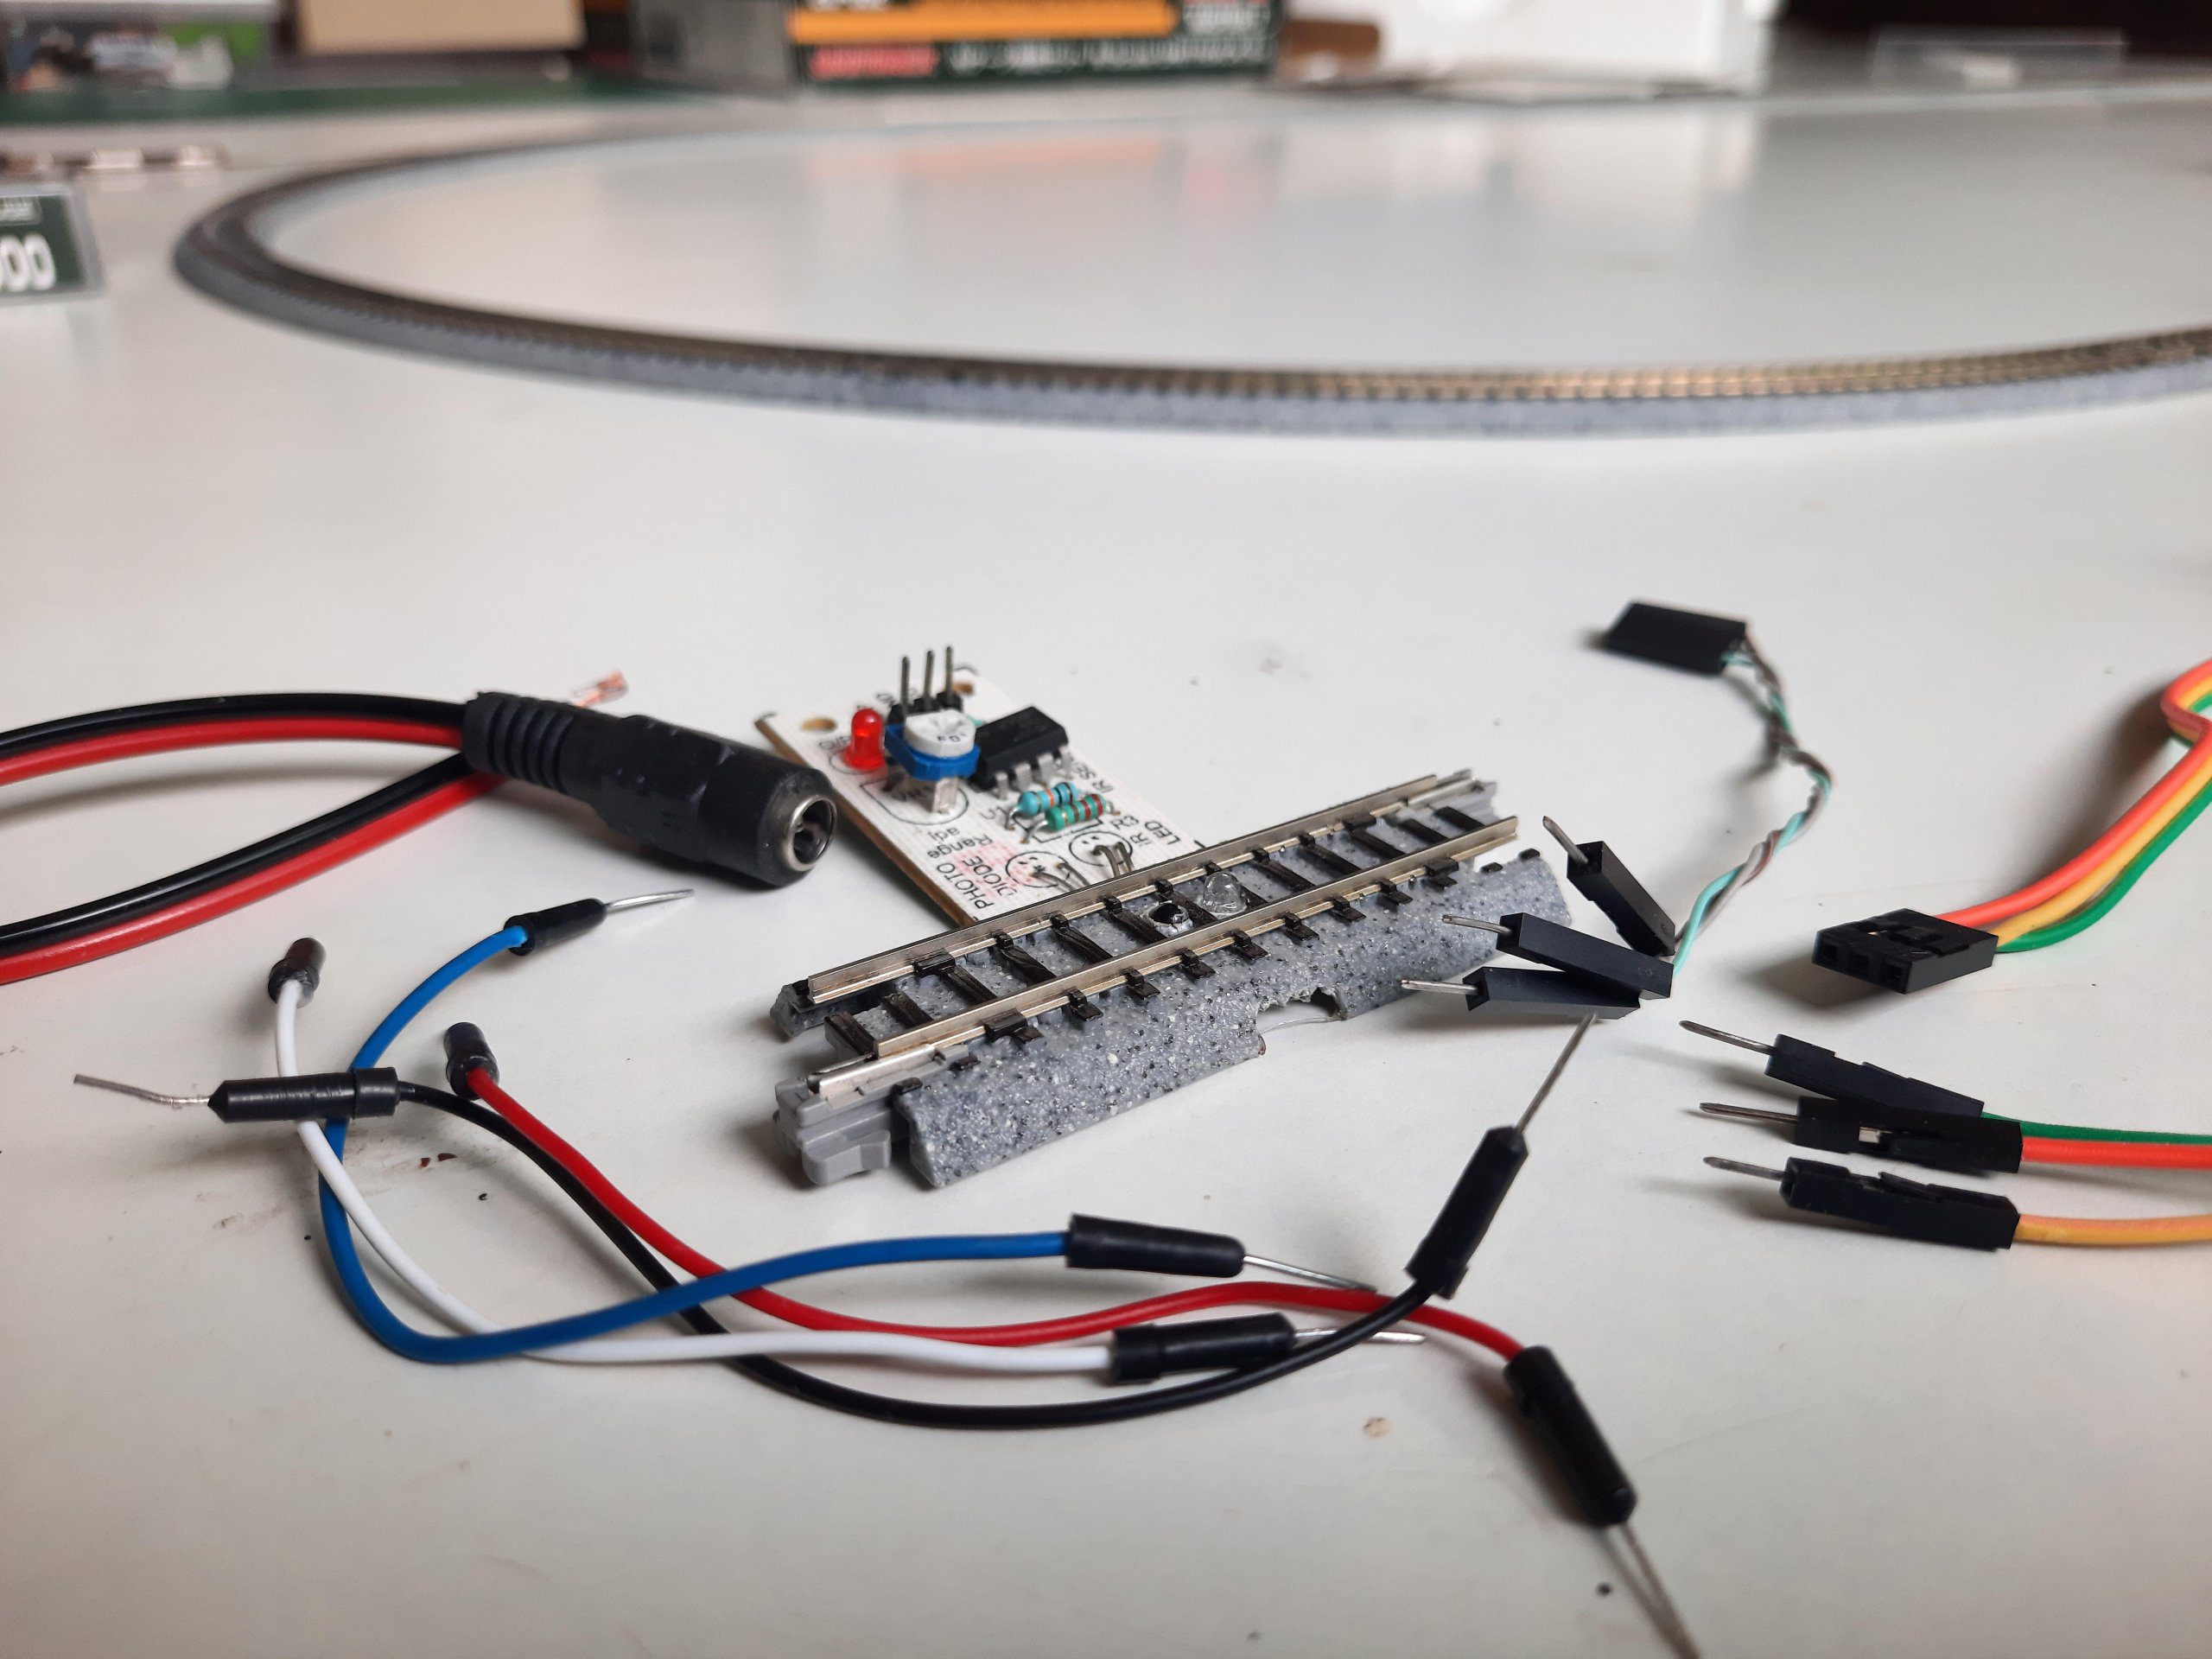
Raspberry Pi Pico-controlled model railroad
Reading Time: 2 minutesThe Orient Express. The Flying Scotsman. Ivor the Engine. All juggernauts of the rail community, but none powered by our microcontroller and all, thus, inferior in our eyes. Raspberry Pi Pico has been used in cooler and more interesting ways every day since its launch in January this year, but this is…
-

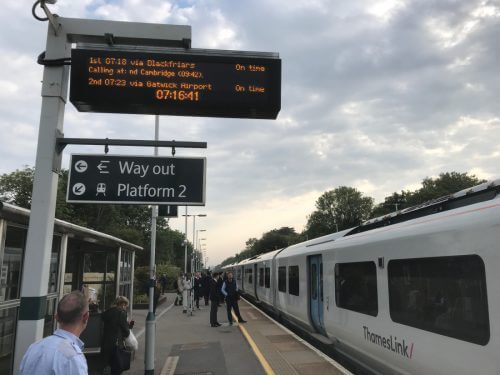
Real-time train station departure board
Reading Time: 2 minutesAll across the UK, you’ll find train departure boards on station platforms that look like this: They’ve looked this way for as long as I can remember (before they were digital dot-matrix displays, they were made from those flappy bits of plastic with letters of the alphabet and numbers printed on them,…
-

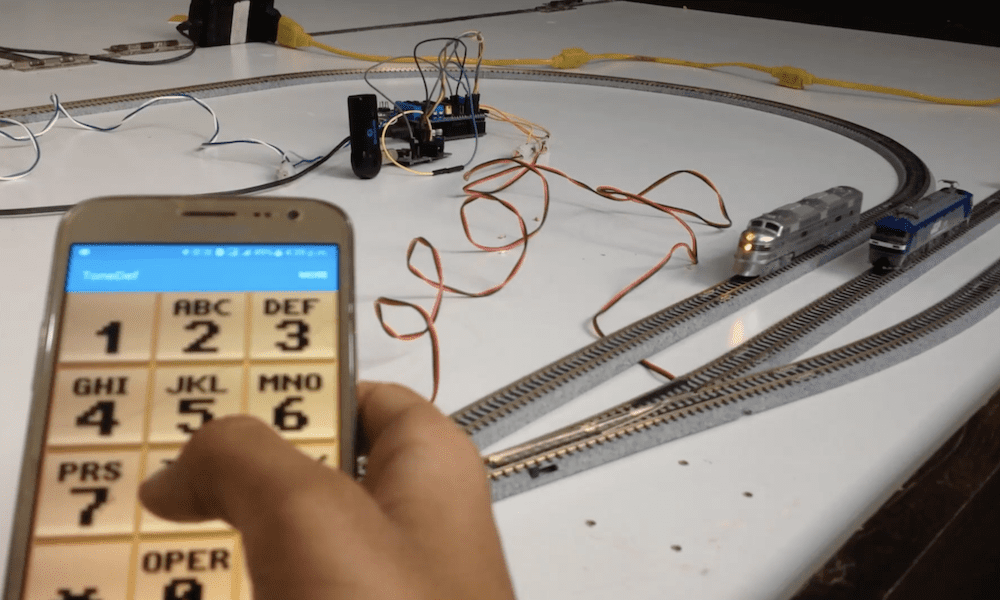
Control model trains wirelessly with your smartphone
Reading Time: < 1 minuteControl model trains wirelessly with your smartphone Arduino Team — January 2nd, 2019 Model trains have been a staple of DIY hobbiysts for generations, and while wireless control options can be purchased, KushagraK7’s hack lets you use your phone instead. The setup consists of an Arduino Uno, along with a motor driver…