Schlagwort: miniatures

  • Using Smart Home Tech to Care for Your Pets

    Using Smart Home Tech to Care for Your Pets

    Reading Time: 5 minutes
    Using Smart Home Tech to Care for Your Pets

    Smart home technology has a ton of useful and fascinating use cases for humans, but what about our pets? For most of us, our furry friends are members of the family, and if we can make modifications to our home to help them, we do it.

    The good news here is that there are tons of home automation tools that you can use to make life easier and more fun for your pets, and many of them can be done with just a handful of starting materials and basic knowledge.

    In this article, we’ll take a look at some of the ways smart homes can benefit pets, and explore some projects from the Arduino community.

    Here are just a few of the ways smart home technology can improve your pets’ quality of life:

    • Control the temperature through tools like automatic sensors and heating systems, ensuring the room is perfect for pets even when you’re not around
    • Observe pets when you’re away, allowing you to quickly notice if they’re distressed or in trouble (or making trouble)
    • Keeping your pets fed by automatically filling their bowls at the right times
    • Keeping your pets entertained with robotic toys and activities
    • Prevent theft with monitoring and tracking tools, alongside existing smart home security systems

    Some examples of smart home pet tech

    Now let’s take a look at some projects from the Arduino community geared toward making life easier for pets.

    Remote pet feeder

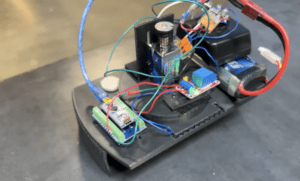
    Community member Amal Mathew designed this project to make it possible to feed pets using a remote control. It’s pretty simple to get started — all you need is an Arduino Uno board (or similar), a plastic bottle, a servo motor, a TV remote, IR receiver (TS0P1738) and a small piece of cardboard.

    With just a few clicks of the remote, you can instruct the plastic bottle of food to release a certain amount to be enjoyed by your pet — without even leaving the sofa. Check out the full project here.

    Pet entertainment centre

    Vítor Barbosa was inspired by the Alexa and Arduino Smart Home challenge to build the pet entertainment centre along with two friends. As well as feeding pets, it also keeps them entertained with the use of a laser toy — although this is better suited to cats than dogs.

    Every pet owner knows how useful it is to have a toy to keep your pets distracted when you need to focus on something else, and Vitor’s project uses smart home technology to build the perfect automated solution. 

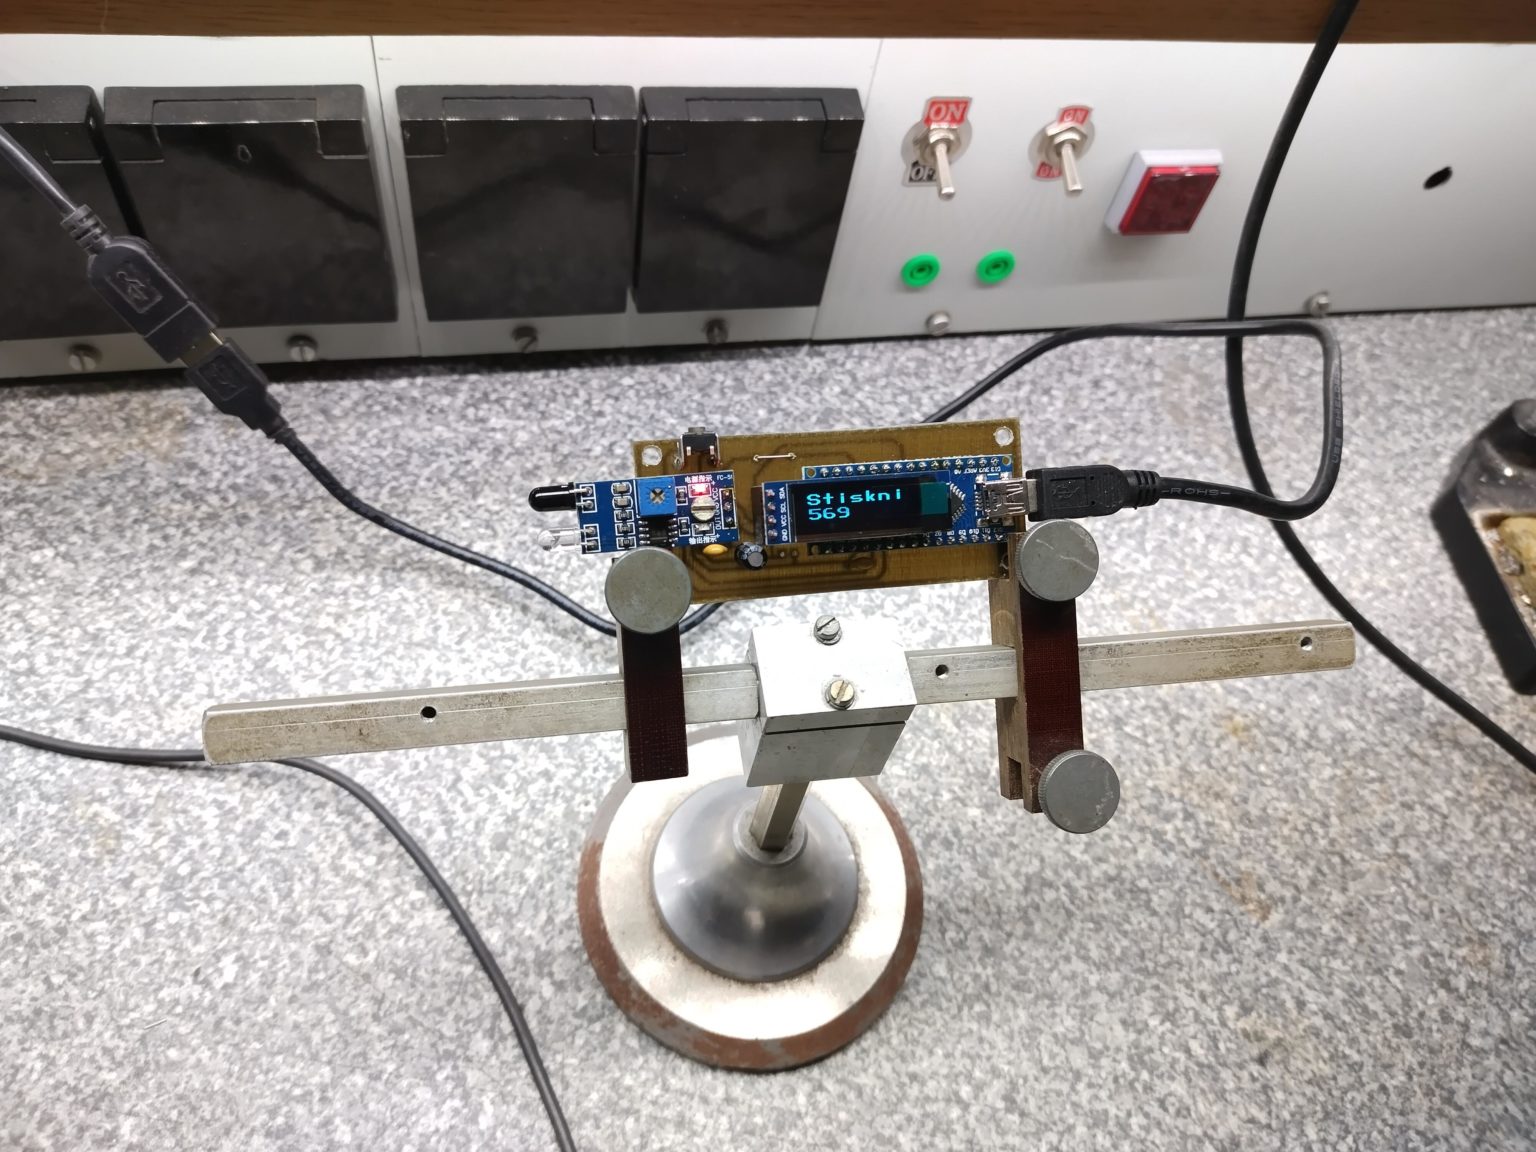
    Pet feeder with 3D printed parts

    Before COVID-19, russo08 was working long, unpredictable hours and often ended up getting home late due to flooding and other disruptions. This made it tricky to feed his dog on time every day.

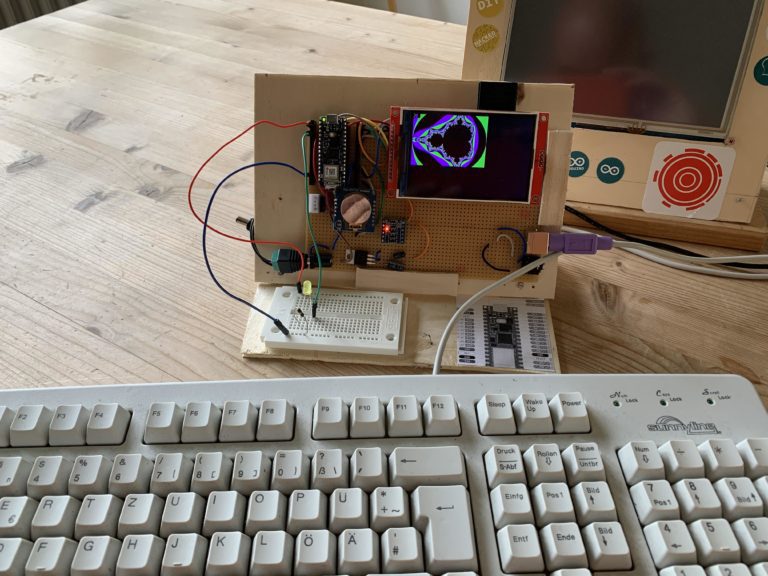
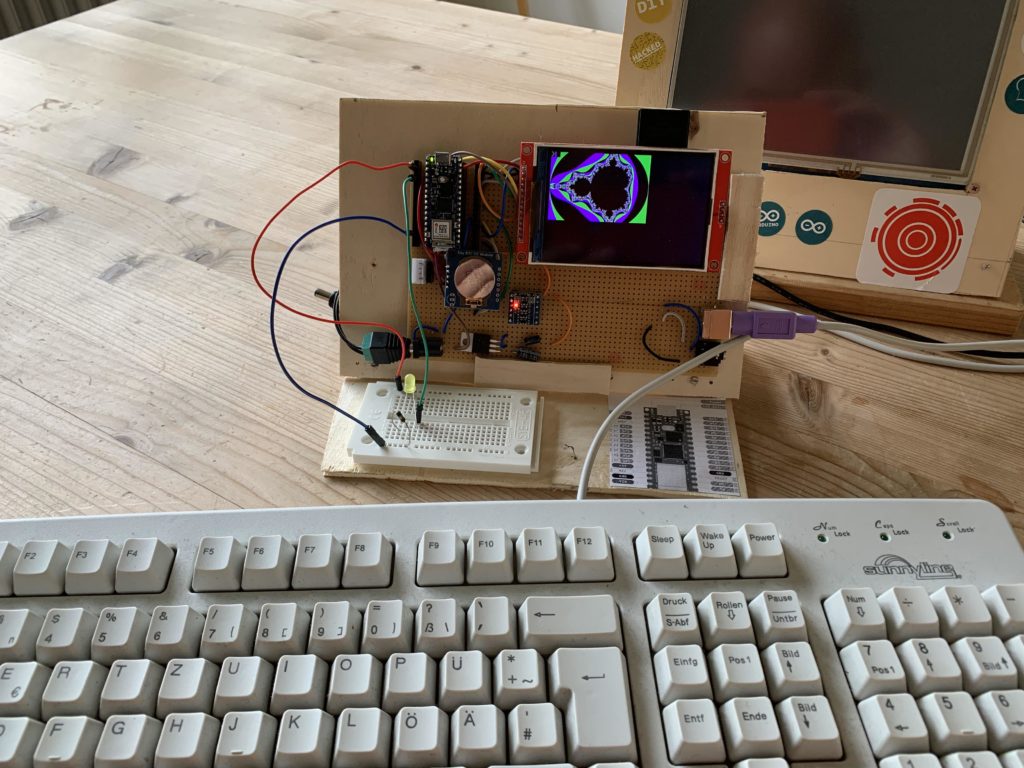
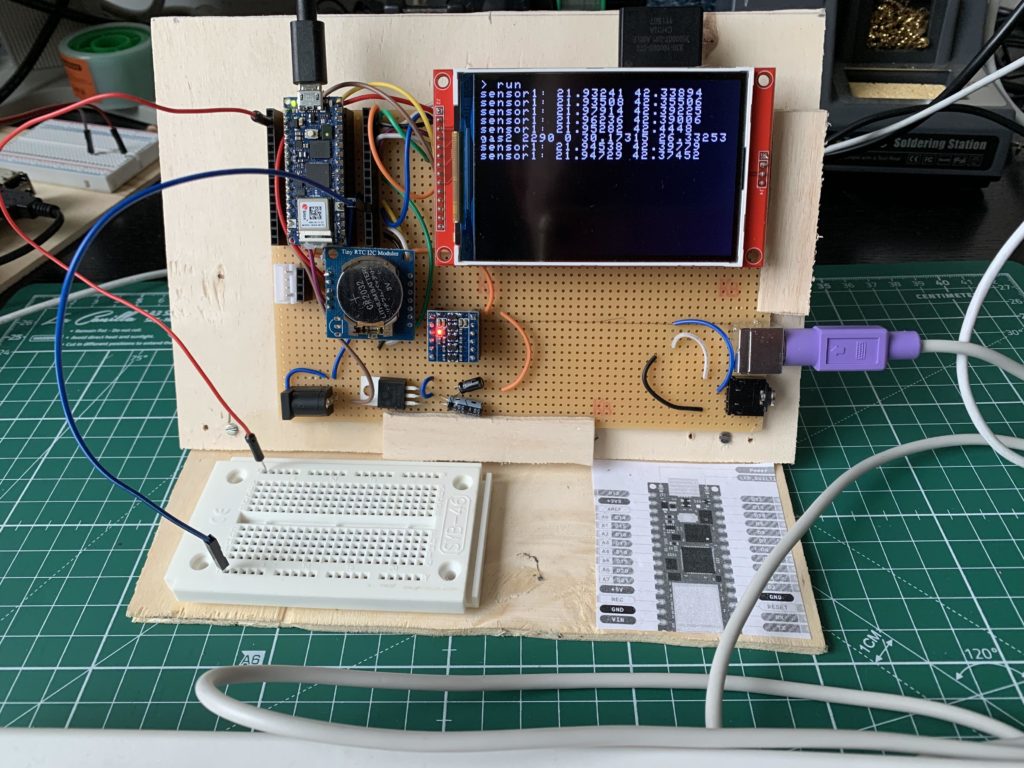
    To ensure his pet was fed at the right times every day, russo08 decided to build an automated solution. He used an Arduino microcontroller and a handful of other components — including 3D printed parts — to build a custom dog feeder. Because of random power outages in the area, it was essential that the feeder had a solution for power outage recovery and food getting stuck in the dispensing mechanism. 

    Here’s the full list of features on russo08’s feeder:

    • Two feedings per day
    • Accurate timekeeping with real-time clock
    • Manual time change of real-time clock
    • Manual feeding option
    • LED indication of hall sensor and real-time clock failure
    • Overview of feed times, current time, and feeding completions on the main screen
    • Easy to navigate menu
    • Power outage feeding resume (will feed when the power comes back on)
    • Feeding times and completions are safely stored in EEPROM
    • Servo “jiggle” in the event of food getting stuck while dispensing

    Improve your pet’s life with Arduino

    Arduino’s solutions make it easier than ever to build your own smart home projects with relatively few starting materials and without the need to be a seasoned expert. Our community is filled with examples of DIY home automation projects that improved our makers’ lives in all kinds of ways.

    When it comes to pets, Arduino’s technology can be used to build smart solutions like the ones in this article, making it easy to feed, water, protect, and care for our pets even when we aren’t physically present.

    Check out this article where we look at how home automation can make it easier to care for your pets. We’ll also share some examples of projects from the Arduino Community, where many members have developed their own devices to keep their pets safe and happy.

    Find out more about how Arduino works and get started with your own projects by checking out the main website.

    Abstract: Caring for pets is one of the most important — if not THE most important — job you do at home. The good news is that technology can help in this area. Home automation can make it easier to feed, entertain, and care for your furry friends — find out some of the ways Arduino can help you do this.

    Social post: Making sure your pets are fed, watered, and entertained can be a demanding job at times, especially when you’re busy with other things. The good news is that technology can shoulder some of the burden by automating some important pet care tasks.

    Website: LINK

  • Standalone Arduino Nano RP2040 Connect-controlled computer runs BASIC for IoT development

    Standalone Arduino Nano RP2040 Connect-controlled computer runs BASIC for IoT development

    Reading Time: 3 minutes

    If you’re more than 30 years old, then there is a good chance that BASIC (Beginners’ All-purpose Symbolic Instruction Code) was the first programming language you used. Many early computers shipped with a BASIC interpreter in firmware, so it was the first thing users saw when they booted up their computer. While other languages are more useful for most tasks today, BASIC still has benefits. To take advantage of it, Stefan Lenz used a Nano RP2040 Connect to build a standalone computer that runs BASIC for Internet of Things applications.

    The Raspberry Pi RP2040 is a powerful microcontroller that immediately became popular after it hit the market in January 2021. The Arduino Nano RP2040 Connect is one of the newest boards in the Arduino lineup and gives users access to the RP2040 within the friendly Arduino ecosystem. In addition the MCU, this board also contains a u-blox WiFi and Bluetooth® adapter, a six-axis IMU, a microphone, 16MB of flash memory, and even a CryptoAuthentication chip. The u-blox adapter was particularly useful for this project, since it enables IoT control over a wireless network.

    To turn the Arduino into a complete computer, Lenz connected an ILI9488-based 480×320 TFT LCD screen with built-in SD card slot, a real-time clock, and a PS2 keyboard. The use of the PS2 keyboard eliminated the need for the Arduino to act as a USB host, but the PS2 connection does require a voltage level converter to go from 5V to 3.3V. Lenz also connected a small thermal printer to output logs of sensor data. 

    Lenz developed his own BASIC interpreter from scratch specifically for Arduinos and other microcontroller development boards. The cool thing about BASIC is that, like Python, the interpreter allows for interactive programming without compilation. This lets users create IoT programs one piece at a time while seeing the results immediately, instead of compiling and flashing each revision.

    Categories:Arduino

    Website: LINK

  • Count elevator passengers with the Nicla Vision and Edge Impulse

    Count elevator passengers with the Nicla Vision and Edge Impulse

    Reading Time: 3 minutes

    Modern elevators are powerful, but they still have a payload limit. Most will contain a plaque with the maximum number of passengers (a number based on their average weight with lots of room for error). But nobody has ever read the capacity limit when stepping into an elevator or worried about exceeding it. In reality, manufacturers build their elevators to a size that prevents an excessive number of passengers. But as a demonstration, Nekhil R. put together a tutorial that explains how to use the Edge Impulse ML platform with an Arduino Nicla Vision board to count elevator passengers.

    The Nicla Vision is a new board built specifically for computer vision applications — especially those that incorporate machine learning. In its small footprint (less than a square inch), there is a powerful STM32H747AII6 microcontroller, a 2MP color camera, a six-axis IMU, a time of flight sensor, a microphone, WiFi and Bluetooth, and an onboard LiPo battery charger — and it’s officially supported by Edge Impulse, making it well suited for ML projects.

    To build this passenger counter, all you need is the Nicla Vision, a buzzer, an LED, a push button, a power source, and the 3D-printable enclosure. The guide will walk you through how to train and deploy the object detection model, which is what Edge Impulse excels at. It lets you train a model optimized for microcontrollers and then outputs code that is easy to flash onto an Arduino. There are many optimization tricks involved, such as lowering the video resolution and processing the video as grayscale, but Edge Impulse takes care of all of the difficult work for you.

    After deploying your model to the Nicla Vision, you can mount this device anywhere in an elevator that gives you a view of the whole car. It keeps a running log of passenger counts, which you can visualize later in graphs or as raw data. If the device sees a passenger count that exceeds the set limit, it will flash the LED and sound the buzzer.

    You probably don’t have a reason to count elevator passengers, but this is a fantastic demonstration of what you can accomplish with the Nicla Vision board and Edge Impulse.

    [youtube https://www.youtube.com/watch?v=yD8CJGDpgfY?feature=oembed&w=500&h=281]

    Website: LINK

  • A DIY non-contact digital tachometer for machinists

    A DIY non-contact digital tachometer for machinists

    Reading Time: 3 minutes

    A tachometer is a device that counts the revolutions of a rotating object, with the most well-known example being the automotive tachometer that monitors the revolutions per minute (RPMs) of an internal combustion engine. But tachometers are useful, and sometimes a requirement, in many other applications. RPM is a very important datum when working with machine tools like lathes and milling machines, which is what this DIY non-contact digital tachometer was designed to accommodate.

    The term “feeds and speeds” refers to the parameters a machinist uses to achieve the ideal tool load. A vertical milling machine’s end mill, for example, can only remove a certain amount of material with each stroke of each cutting flute. For that reason, it is imperative that a machinist know how fast the end mill is rotating. Most modern machine tools (not just CNC tools, but also manual tools) include a digital RPM display. But many older machines and some modern machines with low-cost VFDs (variable-frequency drives) do not and that makes it very difficult to maintain optimal load. This DIY device addresses those shortcomings in an affordable way.

    Inside of the device’s 3D-printed enclosure are an Arduino Nano board, an infrared distance sensor module, a 0.91” 128×32 OLED screen, a lithium-ion battery, and a TP4056 lithium battery charging module. Any time the infrared sensor sees a strong reflection of its emitted light, it counts a pulse. But timing the delay between pulses, the Arduino can calculate the RPM and then display that number on the OLED screen. The user only needs to mount the device in front of the object to monitor, like a mill’s spindle or a lathe’s chuck, and put a 6mm-wide piece of white tape in front of the infrared sensor. Every time that white tape passes in front of the sensor, it reflects a lot of light for the sensor to detect as a pulse.

    This doesn’t require any physical modification of the machine tool, because it runs on battery and doesn’t need to make physical contact with the spindle, so it is perfect for machinists working on an employer’s equipment. 

    Boards:Nano
    Categories:Arduino

    Website: LINK

  • Zen sand garden in a suitcase doubles as MIDI controller

    Zen sand garden in a suitcase doubles as MIDI controller

    Reading Time: 3 minutes

    At the shallow end of the pool, a MIDI (musical instrument digital interface) controller can be as simple as a handful of buttons that correspond to different notes. But even as one wades into the deep end of the pool, MIDI controllers tend to still look like hunks of plastic with some knobs and keys. Redditor Gilou_ wanted something that felt more organic (actually, “inorganic” if we want to be technical) and so they built this unusual MIDI controller that looks like a Japanese-style sand garden in a suitcase.

    If you stumbled across this device without any context, you would assume that is exactly what it is: some kind of portable sand garden. Opening the top of the suitcase reveals a handful of dark stones resting in a bed of sand. Traditional rakes and scoops hang in straps on the lid of the suitcase. But underneath the sand there are a few electronic components that turn the sound garden into a functional instrument. A piezoelectric pickup, like the kind you’d see on some acoustic-electric guitars, in the sand translates the vibrations of sand raking and sifting into an audio signal that feeds into a computer’s sound card.

    The sound from the piezoelectric pickup might be interesting to a foley artist, but it wouldn’t be very musical on its own. To make this a useful electronic instrument, Gilou_ added an Arduino Micro board as a MIDI controller. The dark stones are knobs that sit on potentiometers, which lets the musician adjust the sound of the sand as it plays through the computer. Each potentiometer controls a different effect, such as reverb or delay, that dramatically alters the sound of the sand. Instead of something that sounds like a lapel mic rubbing on a shirt, the musician can create ambient music that is quite pleasant to hear.

    Boards:Micro
    Categories:ArduinoMIDI

    Website: LINK

  • Mokey is an affordable DIY laser engraver

    Mokey is an affordable DIY laser engraver

    Reading Time: 3 minutes

    All makers love lasers and they make great shop tools. Even low-power lasers can engrave a variety of materials. Cutting material requires more power, with the most popular cutting lasers being CO2 with power between 10W-100W. But the small, affordable solid state laser modules can cut some materials, like acrylic, if you get a powerful enough model. If you want an affordable way to use one of those, then the Mokey Laser v1.0 is worth looking at.

    Lasers like these can engrave and cut material, which means they can absolutely hurt you — your eyes are especially vulnerable. If you’re going to build something like this, make sure you understand how to operate it safely. It isn’t shown in the video, but you should absolutely use some kind of shielded enclosure that can handle the wavelength and power of the laser you use. Even with such an enclosure, you should wear the appropriate safety goggles.

    This design cuts costs by utilizing 3D printer-style parts and by omitting the optics that are necessary for CO2 lasers. Because solid state laser modules are so compact, it is practical to move them on a gantry in the same way as a 3D-printer’s extruder instead of redirecting the laser beam with mirrors and lenses.

    The structure of the Mokey Laser v1.0 is 8020 aluminum extrusion, which also acts as rails for the V-roller wheels on which the gantry rides. Most of the other parts are 3D-printed, with standard stepper motors and GT2 belts providing motion. An Arduino Uno board controls those stepper motors through a CNC Shield V3 with A4988 drivers. If you build this, you’ll have many software options. As shown, it runs GRBL 1.1 and that is compatible with almost every open source g-code sender out there, including some that are add-ons for Inkscape so you can control the laser from the same software you use to create toolpaths.

    The total build cost with the bill-of-materials presented is $402.61, which makes this quite affordable for the size and capability.

    [youtube https://www.youtube.com/watch?v=OrmquzFItJM?feature=oembed&w=500&h=281]
    Boards:Uno
    Categories:Arduino

    Website: LINK

  • Shop fan automatically activates when airborne particulates are present

    Shop fan automatically activates when airborne particulates are present

    Reading Time: 2 minutes

    Even if you’re one of the few people in the world who is consistent about wearing a respirator in the shop, it’s a good idea to run a filtration fan. Not only is that good for your own health and comfort, it can help keep your equipment running well — the last thing you want is something overheating and catching fire because its cooling ducts are clogged. To avoid running a fan when it isn’t needed, Brandon of the YouTube channel Honest Brothers built a system to automatically activate his filtration fan when airborne particulates are present.

    The first half of this video provides detail on building the fan itself, including an explanation of filtration fundamentals and what particulates different standards can handle. If you don’t have an interest in building a fan from scratch and would prefer to buy something off the shelf, you can skip ahead. The important thing to take away before Brandon gets to the low-voltage section is that the fan receives AC mains voltage and you’ll switch it on via a relay.

    An Arduino Leonardo board will activate that relay. It will do so when it detects particulates in the air. It is able to do that using a PMS5003 digital particulate sensor that can monitor the concentration of airborne particulates using a laser. The sensor scatters the laser through a volume of air and has its own built-in microprocessor to calculate the results. It can detect particulates with a diameter as small as 0.3?m, which is perfect for what you’d expect to find in a typical maker’s shop. The Arduino displays the results from the PMS5003 on a small LCD screen, but will also activate the fan relay when they exceed a set threshold. Because filtration fans can consume a lot of power, this will keep both your electric bills and your future to a minimum. 

    [youtube https://www.youtube.com/watch?v=ccPqfBEu5PI?feature=oembed&w=500&h=281]
    Boards:Leonardo
    Categories:Arduino

    Website: LINK

  • Art class stinks! Learn with smell in art class using this olfactory display

    Art class stinks! Learn with smell in art class using this olfactory display

    Reading Time: 3 minutes

    By Maria Nikoli, Interaction Designer, MSc., Malmö University

    Smelling is crucial to our everyday living. But how well do we really understand the role that smells play in our day-to-day? Ask someone who temporarily lost their sense of smell because of COVID-19. They’ll probably tell you about how incredibly boring eating became all of a sudden, and how their roomies saved them from eating a foul-smelling, spoiled block of cheese that had zero mold on it. 

    The sense of smell is super important, as it makes life pleasurable, and helps us detect danger. It’s also intrinsically connected to memory and emotion. You probably know what it’s like to smell something and get an instant flashback – it almost feels like time travel. 

    Yet, olfaction (a fancy word for the sense of smell) is often overlooked in both HCI and art education. Building on that, “Art Class Stinks!” is an interactive system for learning with smell in art class while helping the students become more aware of their sense of smell.

    The prototype consists of two components. The first component is a mobile app that guides the user through processes of learning and being creative with smell, gives instructions for creative tasks and smell awareness tasks, and archives the users’ art. The second component is an olfactory display (OD). The OD consists of a scent kit and an Arduino-powered interactive board equipped with LED lights and RFID tag readers. Navigating the app, the user gets prompted to do several creative tasks using the scents for inspiration. They also get prompted to do smell identification tasks to raise their own awareness of their sense of smell. The interactive board links each scent note to the software and also indicates the ways in which the user can sniff the scent notes. 

    [youtube https://www.youtube.com/watch?v=-0P8fpRPwz4?feature=oembed&w=500&h=281]

    Find out more about this project on Instagram (@marianikolistudio) and Malmö University’s digital archive.

    Categories:Arduino

    Website: LINK

  • Beating unscrupulous arcade owners at their own games

    Beating unscrupulous arcade owners at their own games

    Reading Time: 2 minutes

    Mark Rober isn’t just a talented mechanical engineer and entertaining personality, he is also something of a champion of justice for the common man. He’s already proved that several times with his famous yearly porch pirate-targeted pranks, but now he’s taking on the corrupt fat cats running arcades for children. Those arcades are often full of rigged games that are either more difficult than they seem or downright unwinnable. In his most recent video, Rober built machines that could beat several of those games with ease.

    We don’t have enough space here to provide detail on every contraption that Rober created, but they all accomplish a common goal of defeating rigged arcade games. Some of those, like Skee-Ball, are only nefarious in the sense that have misleading difficulty and rely on misdirection to swindle players. Others, like Quik Drop, are almost impossible for humans to win. For good measure, Rober even made a robot that can block every shot a human opponent takes in air hockey.

    The exact nature of each machine depends on the game it was intended to beat and a few of them utilized Arduino development boards for control. The Quik Drop-beating machine, for example, uses an Arduino to rapidly actuate a solenoid that presses the button to drop the balls. That speed was necessary to sink all of the balls in the short amount of time allotted. His basketball robot — literally a robot disguised as a basketball — has pneumatic pins and an infrared beam-blocking pop-out section controlled by an Arduino.

    For entertainment, a look into the mind of a very clever engineer, and a peek behind the curtain of arcade odds-stacking, be sure to watch Rober’s YouTube video.

    [youtube https://www.youtube.com/watch?v=Rsxao9ptdmI?feature=oembed&w=500&h=281]
    Boards:Nano
    Categories:Arduino

    Website: LINK

  • You’ll Never Look At Movies The Same Once You See These Miniature Film Sets Used For Blade Runner 2049

    You’ll Never Look At Movies The Same Once You See These Miniature Film Sets Used For Blade Runner 2049

    Reading Time: 4 minutes

    Anybody who’s seen Blade Runner 2049 will know how stunning it is. Even if you didn’t like the movie itself, it’s almost impossible not to gaze in awe at the incredible visuals on offer in Denis Villeneuve’s incredible follow-up to the 1982 classic. What’s even more impressive is that instead of solely relying on CGI for everything, the filmmakers actually used miniature models for many of the scenes. Well, we say “miniature” but as you can see, there’s really nothing miniature about them!

    “They’re really bigatures – they’re not miniatures. They’re massive buildings,” says Pamela Harvey-White, the on-set production manager, in the video below. And few people could disagree when they see the 14.8ft (4.5m) high L.A.P.D building, the pyramid-shaped Wallace Towers that could only be lifted by crane, and the Trash Mesa that nearly filled the whole floor of the studio. “They’re just stellar pieces of art,” she states with pride.

    The “bigatures” were made by Weta Workshop, a special effects and prop company from New Zealand (co-founded by Lord of the Rings director Peter Jackson) which has also worked on such blockbusters as Thor: Ragnarok and Ghost in the Shell.  Around 38 models were made in total, and “each building would probably take about a week to make,” said Ben Milsom, the miniature unit’s senior art director, emphasizing that they were “mega high detailed.” Scroll down to see the incredible results.

    More info: Weta Workshop (h/t: demilked)

    Many of the Blade Runner 2049 sets were actually made from miniatures

    Well, we say “miniature” but as you can see, there’s really nothing miniature about them!

    With the biggest one being the L.A.P.D. miniature skyscraper, which was 14.8 feet (4.5 meters) high

    “They’re really bigatures – they’re not miniatures. They’re massive buildings,” says Pamela Harvey-White, the on-set production manager

    In total, around 38 “miniature” buildings were constructed

    Some were so big that they could only be moved by crane

    They were crafted by Weta Workshop, a special effects and prop company from New Zealand

    The company was co-founded by Peter Jackson, who directed the Lord of the Rings and The Hobbit trilogies

    “Each building would probably take about a week to make,” said Ben Milsom, the miniature unit’s senior art director

    And it comes as no surprise, seeing how much detail the artists pack into a single miniature

    Check out the video for more info:

    Website: LINK

  • I Make Paper Miniatures By Upcycling Old Books

    I Make Paper Miniatures By Upcycling Old Books

    Reading Time: 4 minutes

    Working with paper doesn’t stop amazing me, the concentration in detail I put on all my peaces makes me feel free and very very happy.

    More info: Facebook

    I make Paper Miniatures and incorporate some of them to my Book Sculptures

    I make Paper Miniatures and incorporate some of them to my Book Sculptures

    I make Paper Miniatures and incorporate some of them to my Book Sculptures

    I make Paper Miniatures and incorporate some of them to my Book Sculptures

    I make Paper Miniatures and incorporate some of them to my Book Sculptures

    I make Paper Miniatures and incorporate some of them to my Book Sculptures

    I make Paper Miniatures and incorporate some of them to my Book Sculptures

    I make Paper Miniatures and incorporate some of them to my Book Sculptures

    I make Paper Miniatures and incorporate some of them to my Book Sculptures

    I make Paper Miniatures and incorporate some of them to my Book Sculptures

    I make Paper Miniatures and incorporate some of them to my Book Sculptures

    I make Paper Miniatures and incorporate some of them to my Book Sculptures

    I make Paper Miniatures and incorporate some of them to my Book Sculptures

    I make Paper Miniatures and incorporate some of them to my Book Sculptures

    I make Paper Miniatures and incorporate some of them to my Book Sculptures

    I make Paper Miniatures and incorporate some of them to my Book Sculptures

    I make Paper Miniatures and incorporate some of them to my Book Sculptures

    I make Paper Miniatures and incorporate some of them to my Book Sculptures

    I make Paper Miniatures and incorporate some of them to my Book Sculptures

    I make Paper Miniatures and incorporate some of them to my Book Sculptures

    I make Paper Miniatures and incorporate some of them to my Book Sculptures

    I make Paper Miniatures and incorporate some of them to my Book Sculptures

    I make Paper Miniatures and incorporate some of them to my Book Sculptures

    I make Paper Miniatures and incorporate some of them to my Book Sculptures

    I make Paper Miniatures and incorporate some of them to my Book Sculptures

    I make Paper Miniatures and incorporate some of them to my Book Sculptures

    Website: LINK