Schlagwort: MIDI Controller
-

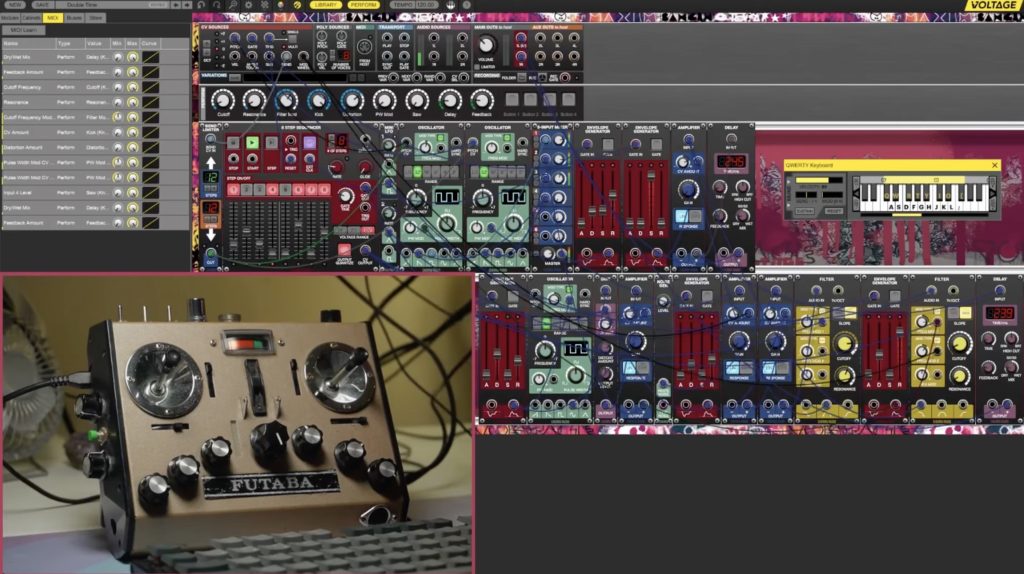
Old RC transmitter becomes new MIDI controller
Reading Time: 2 minutesIf you’re going to produce electronic music on a PC, you need some sort of input tool. That can be your keyboard and mouse, but most producers prefer to use a dedicated MIDI (Musical Instrument Digital Interface) controller. That will provide a more intuitive and efficient experience. Instead of buying something new, HYPRREAL turned…
-

Zen sand garden in a suitcase doubles as MIDI controller
Reading Time: 3 minutesAt the shallow end of the pool, a MIDI (musical instrument digital interface) controller can be as simple as a handful of buttons that correspond to different notes. But even as one wades into the deep end of the pool, MIDI controllers tend to still look like hunks of plastic with some…
-

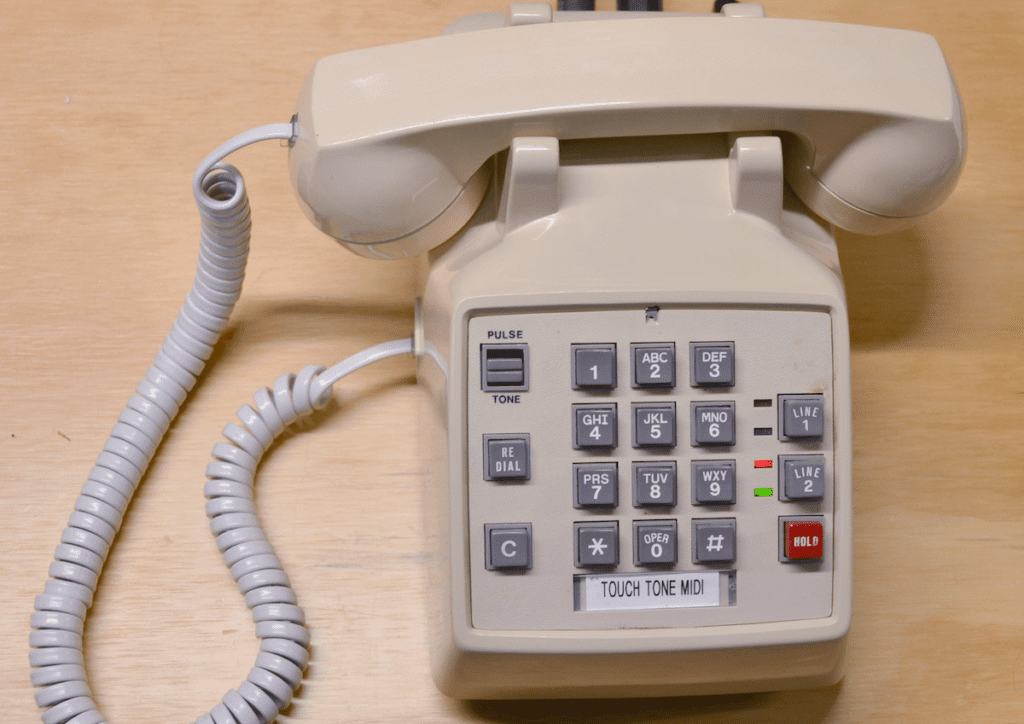
Convert an old telephone into a MIDI instrument
Reading Time: 2 minutesArduino Team — September 1st, 2022 MIDI (Musical Instrument Digital Interface) is a fantastic standard because it is versatile enough to encompass almost all instruments, but simple enough to work with using low-power digital hardware. A typical MIDI message contains three bytes. The first is a status byte that describes the action…
-

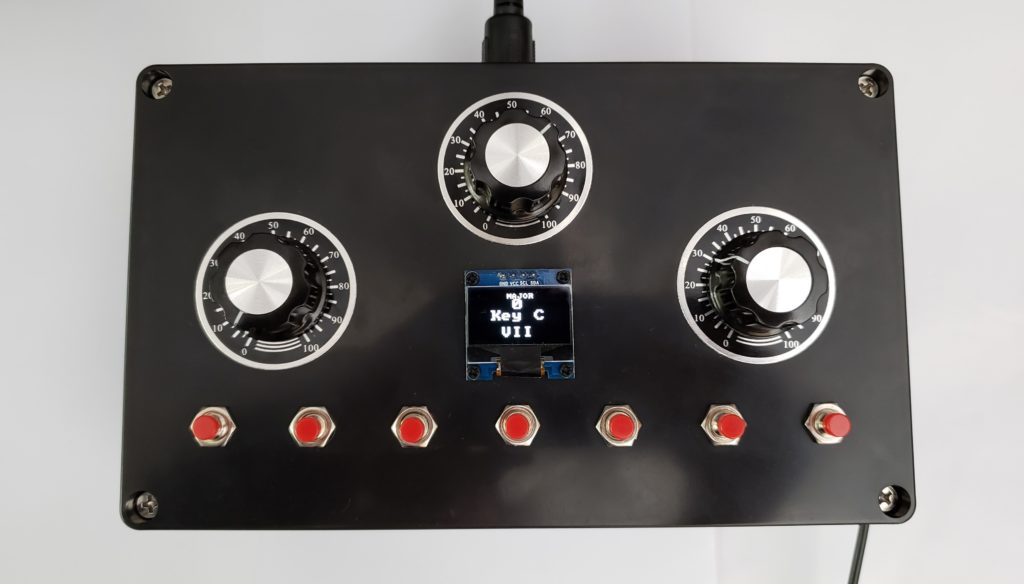
The Root Commander is a homemade MIDI controller that ensures you never play the wrong note
Reading Time: 2 minutesArduino Team — May 8th, 2022 After attempting to learn how to play the piano after some previous experience with guitar and music theory in general, YouTuber EvolutionStoneware encountered a few difficulties when trying to learn the keys on a standard MIDI keyboard. Because of this, she created a DIY MIDI controller called the…
-

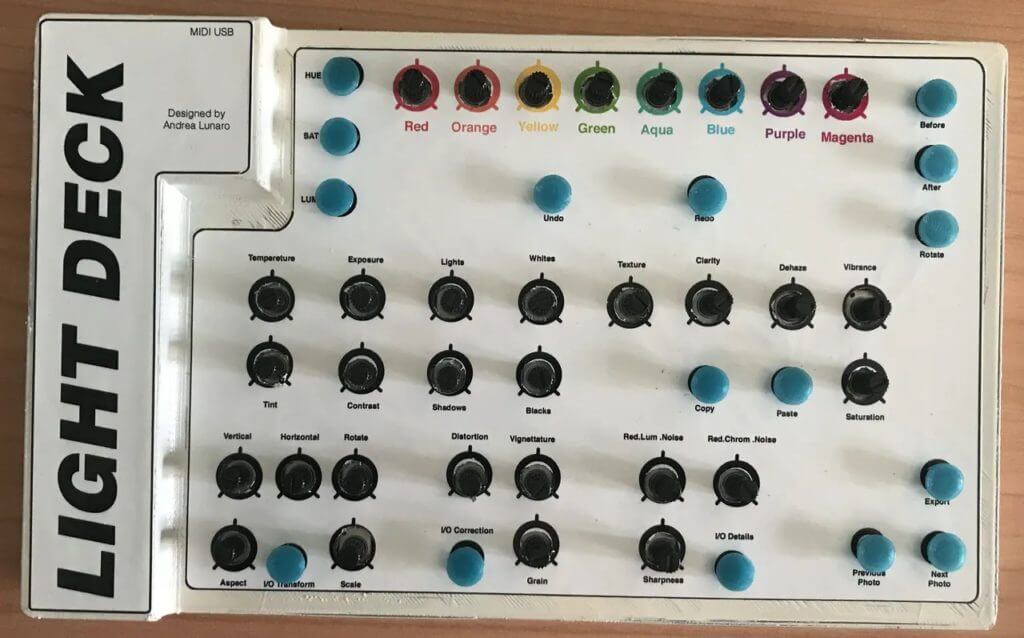
Light Deck is a MIDI Lightroom controller
Reading Time: 2 minutesArduino Team — October 21st, 2021 Using Adobe Lightroom can be a tedious process, especially for those who don’t have their keyboards set up with a hundred macro shortcuts. Andrea Lunaro wanted to make this process easier by constructing a large, physical bank of buttons and potentiometers that can be used to perform…
-

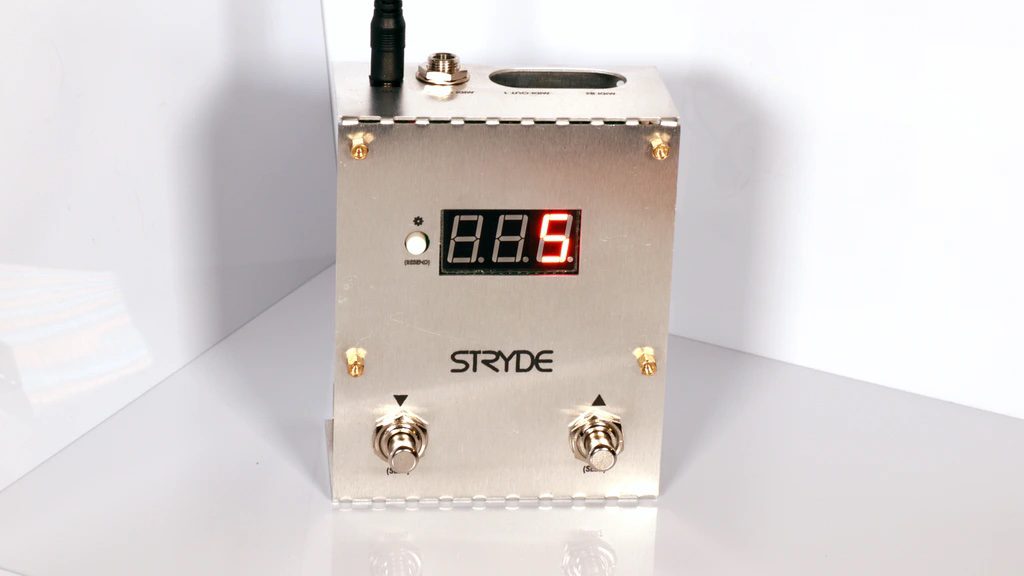
Stryde is an Arduino Nano Every-powered MIDI preset loader
Reading Time: 2 minutesArduino Team — May 23rd, 2021 MIDI-controlled instruments are awesome, as custom sounds can be loaded and dynamically changed while you play. However, accessing these effects often requires an external controller that can get expensive and complicated. That is why music enthusiast Joe King created the Stryde, which is a fully integrated…
-

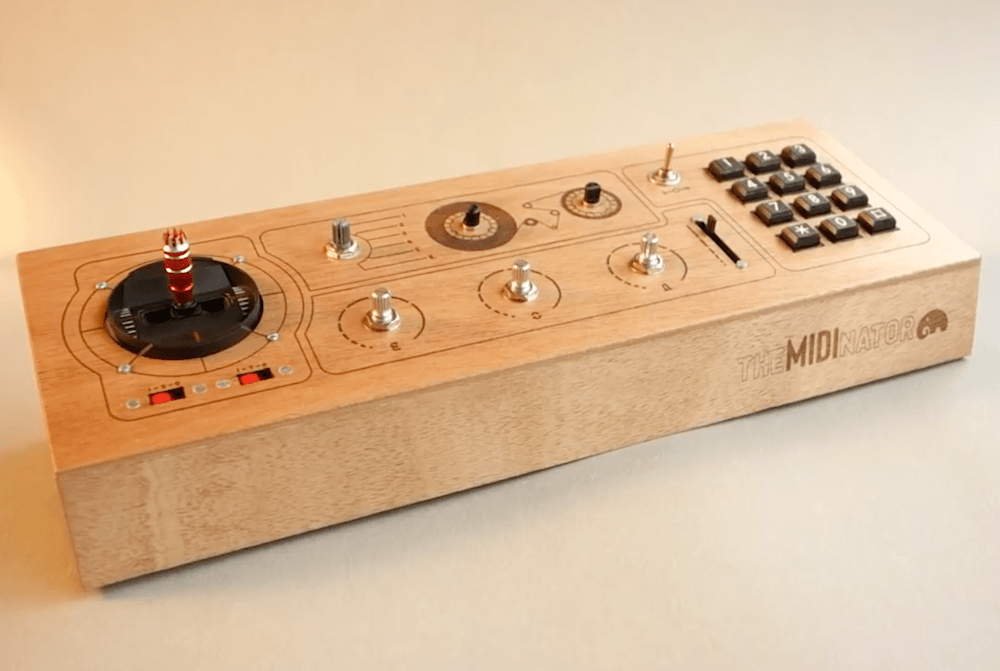
theMIDInator is a marvelous MIDI controller
Reading Time: 2 minutestheMIDInator is a marvelous MIDI controller Arduino Team — December 9th, 2019 While you may know on some level that an Arduino can help you make music, you probably haven’t seen as good an implementation as this MIDI controller by Switch & Lever. The device features a numeric pad for note input,…
-

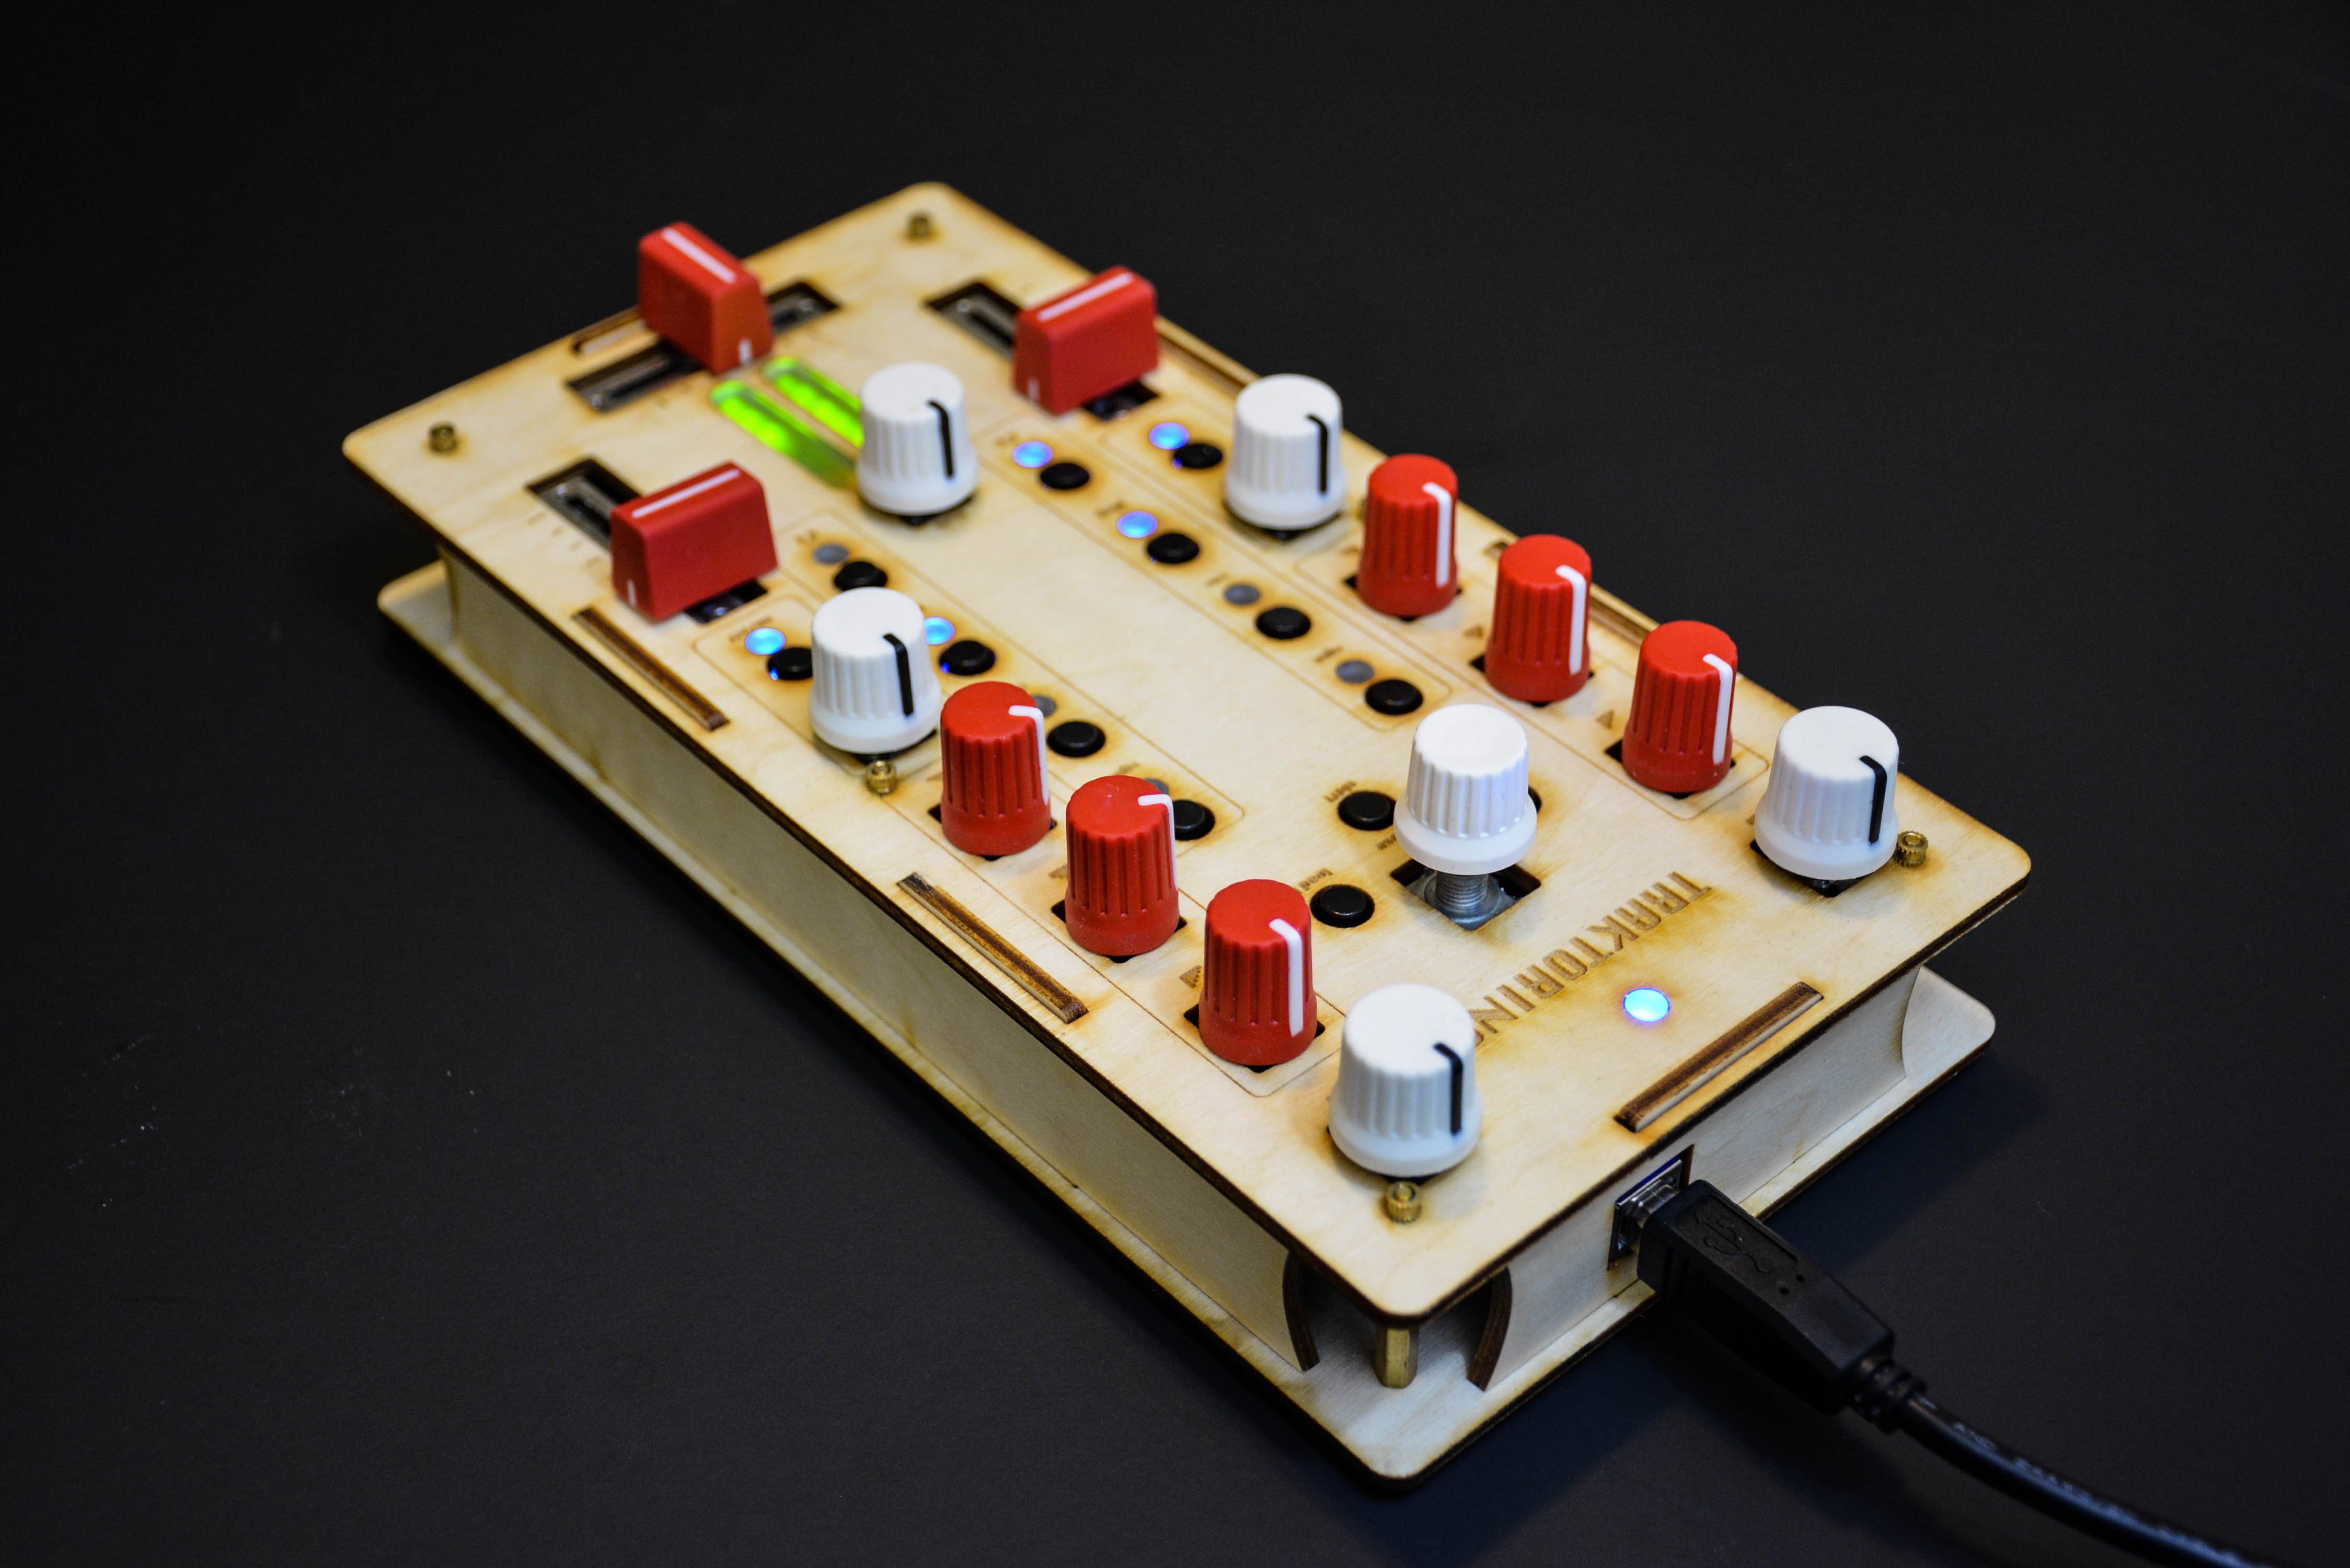
Traktorino is an open-source DIY MIDI controller for DJs
Reading Time: 2 minutesTraktorino is an open-source DIY MIDI controller for DJs Arduino Team — April 3rd, 2018 A keyboard and mouse is a great user interface system for general computing tasks, but in other situations custom knobs, sliders, and lights would certainly be more fun. If you enjoy making digital music, then you should…