Schlagwort: Kodak
-

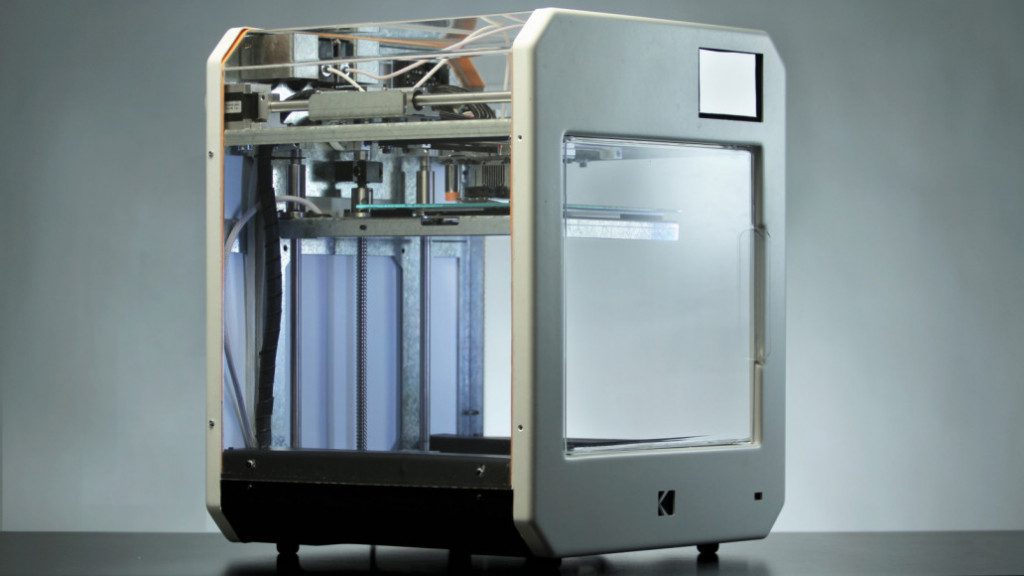
3DPrinterOS Cloud-Based Operating System is Integrated Into KODAK Portrait 3D Printers
Reading Time: 3 minutes3DPrinterOS, the cloud-based 3D printer management company, announced that it will be integrated into the Kodak Portrait 3D printer ecosystem. The partnership will help provide schools and enterprises with a way to manage files, track printers and materials, and enable printing from networked computers. 3DPrinterOS, the company behind the world’s first operating system for desktop…
-

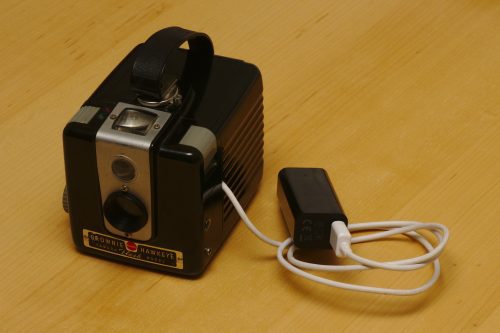
Converting a Kodak Box Brownie into a digital camera
Reading Time: 3 minutesIn this article from The MagPi issue 69, David Crookes explains how Daniel Berrangé took an old Kodak Brownie from the 1950s and turned it into a quirky digital camera. Get your copy of The MagPi magazine in stores now, or download it as a free PDF here. The Kodak Box Brownie When Kodak unveiled its Box…