Schlagwort: Instructables
-

Raspberry Pi Off-World Bartender
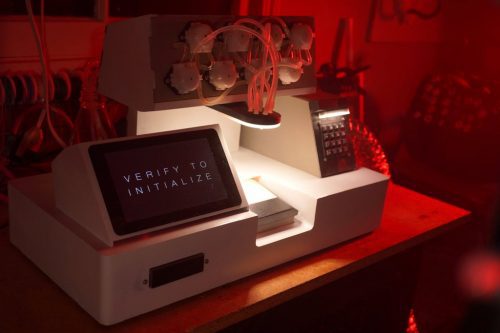
Reading Time: 4 minutesThree things we like: Blade Runner, robots, and cocktails. That’s why we LOVE Donald Bell‘s Raspberry Pi–packed ‘VK-01 Off-World Bartender‘ cocktail making machine. [youtube https://www.youtube.com/watch?v=qc9lcwPjyWk?feature=oembed&w=500&h=281] This machine was due to be Donald’s entry into the Cocktail Robotics Grand Challenge, an annual event in San Francisco. By the time the event was cancelled, he…
-

Weekend Project: Create Your Own 3D Printed LED Mason Jar Lanterns
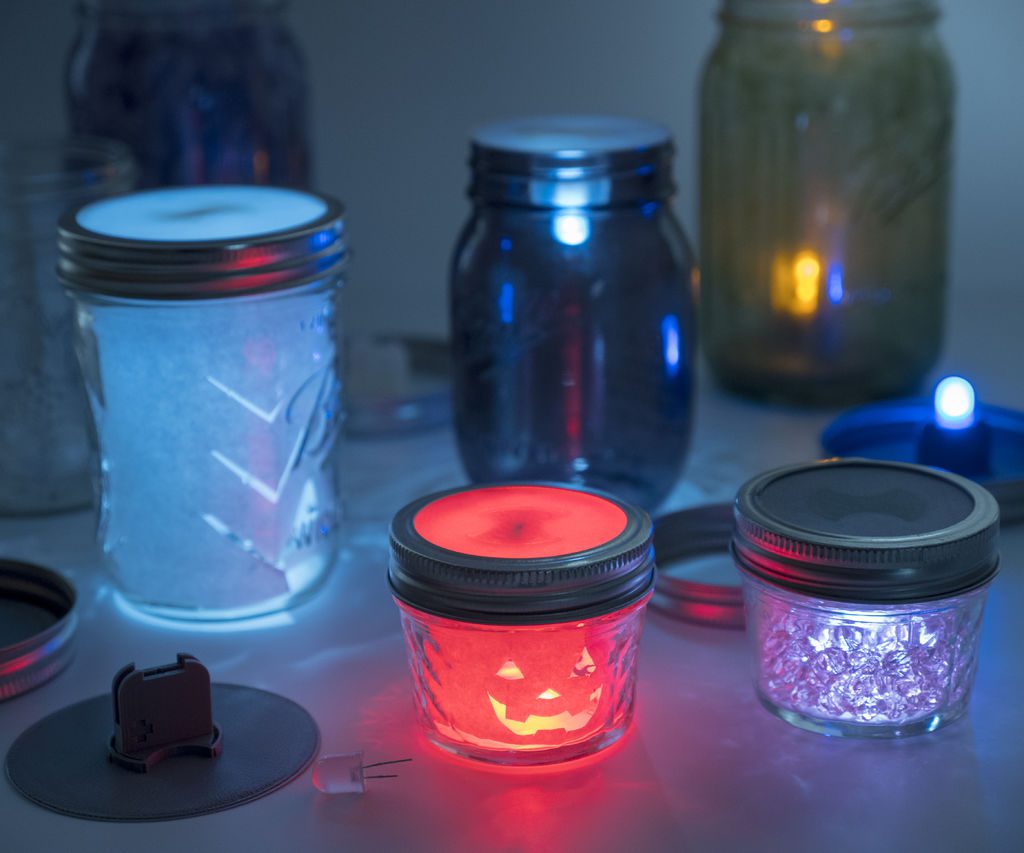
Reading Time: 4 minutesInstructables content creator Becky Stern shares her latest 3D printing project: LED Mason Jar Lanterns. This beginner-level project will help you improve your design and DIY skills, and you’ll have some lovely new lanterns to light up your home! If there’s one type of container that has become synonymous with the stereotypical…
-

The Fisher Piano: make music in the air
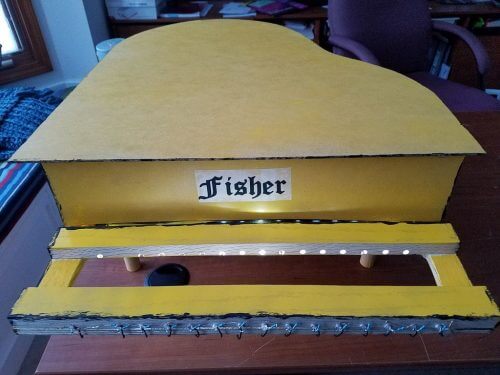
Reading Time: 2 minutesPiano keys are so limiting! Why not swap them out for LEDs and the wealth of instruments in Pygame to build air keys, as demonstrated by Instructables maker 2fishy? Raspberry Pi LED Light Schroeder Piano – Twinkle Little Star Raspberry Pi LED Light Schroeder Piano – Twinkle Little Star Keys? Where we’re…
-

When tiny robot COZMO met our tiny Raspberry Pi
Reading Time: 2 minutesHack your COZMO for ultimate control, using a Raspberry Pi and this tutorial from Instructables user Marcelo ‘mjrovai’ Rovai. Cozmo – RPi 4 Full integration The complete tutorial can be found here: https://www.instructables.com/id/When-COZMO-the-Robot-Meets-the-Raspberry-Pi/ COZMO COZMO is a Python-programmable robot from ANKI that boasts a variety of on-board sensors and a camera, and that…
-

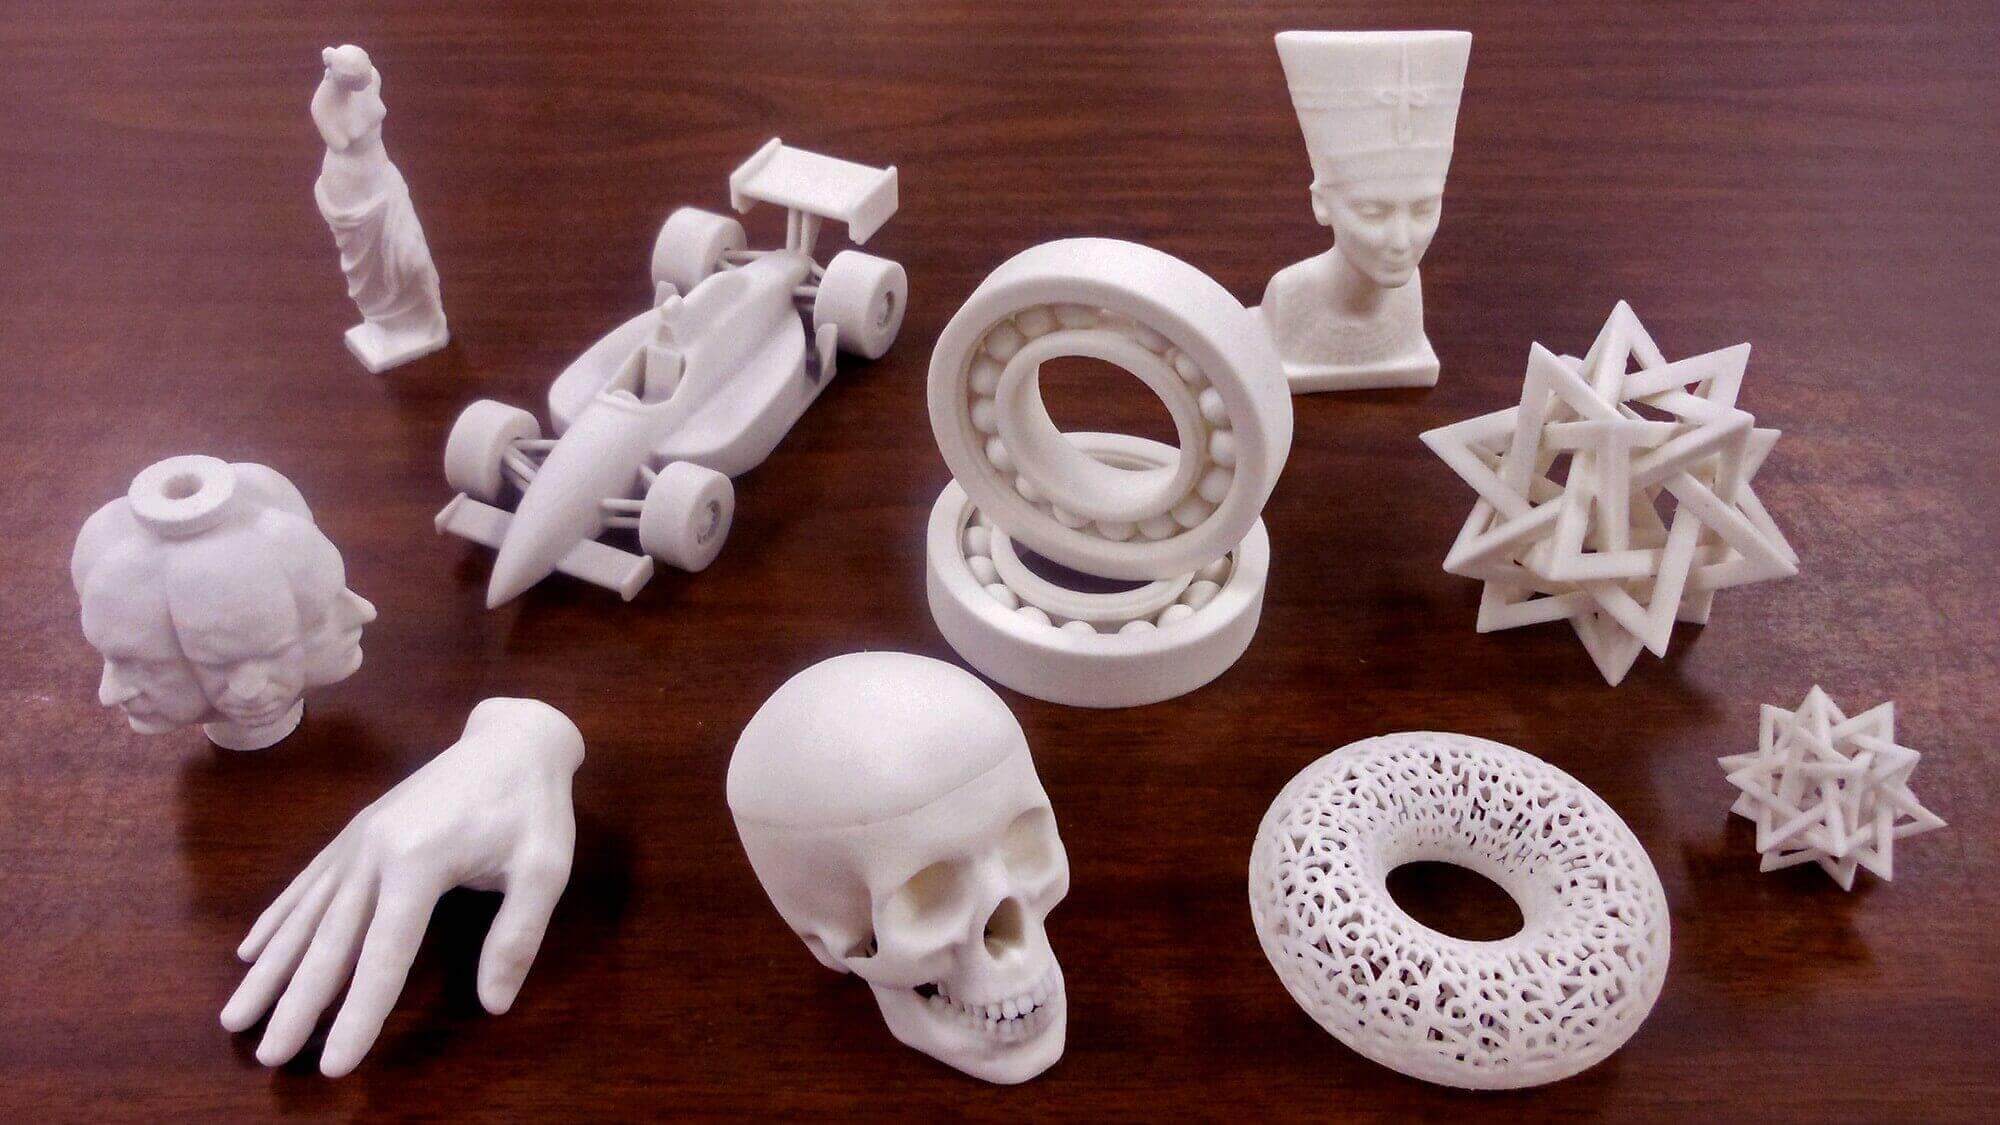
Free STL Files & 3D Printer Models – 35 Best Sites
Reading Time: < 1 minuteYobi3D is a bleeding edge search engine that helps you find free STL files, and then offers comprehensive features like 3D visualization, sharing, and even one-click 3D printing. With this workflow, you can select any number of 3D printer models and have them fabricated without even touching a 3D printer. The…
-

Rick and Morty fans will love this butter robot
Reading Time: < 1 minuteRick and Morty fans will love this butter robot Arduino Team — January 4th, 2018 Up until the present day, if you need butter, you simply ask another human to “pass the butter,” leading to minor inconvenience and awkwardness. Engineering students in Brussels have come up with a novel solution: a…
-

Build a six-wheeled RC vehicle for any terrain
Reading Time: 2 minutesBuild a six-wheeled RC vehicle for any terrain Arduino Team — January 4th, 2018 In order to create the ultimate off-road RC rig, “asrebro” designed his own six-wheeled vehicle, operated with the help of Arduino. To give it decent range and reliability, the hacker turned to a stock transmitter and receiver, but routed…
-

RoboGlove assists users with gripping objects
Reading Time: 2 minutesRoboGlove assists users with gripping objects Arduino Team — January 3rd, 2018 The RoboGlove project is a robotic glove by students at the Université Libre de Bruxelles that is designed to assist the wearer when continuously gripping objects. This is accomplished by a series of three servos that transmit force through cables…
-

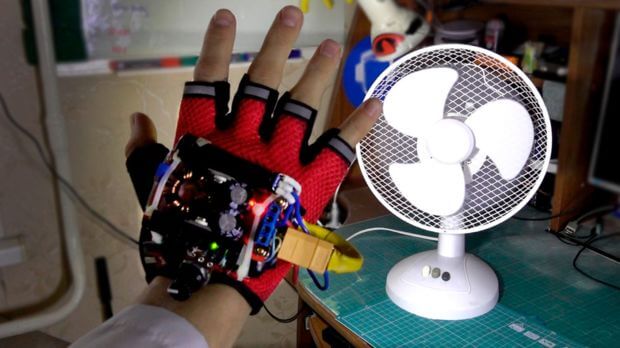
Manipulate time with this Arduino-controlled LED glove
Reading Time: 2 minutesManipulate time with this Arduino-controlled LED glove Arduino Team — November 2nd, 2017 While you might not be able to actually manipulate time, this glove by YouTuber “MadGyver” certainly makes it appear that way. His glove, shown in the video below, uses a gigantic LED controlled by an Arduino Nano to allow…