Schlagwort: computer
-

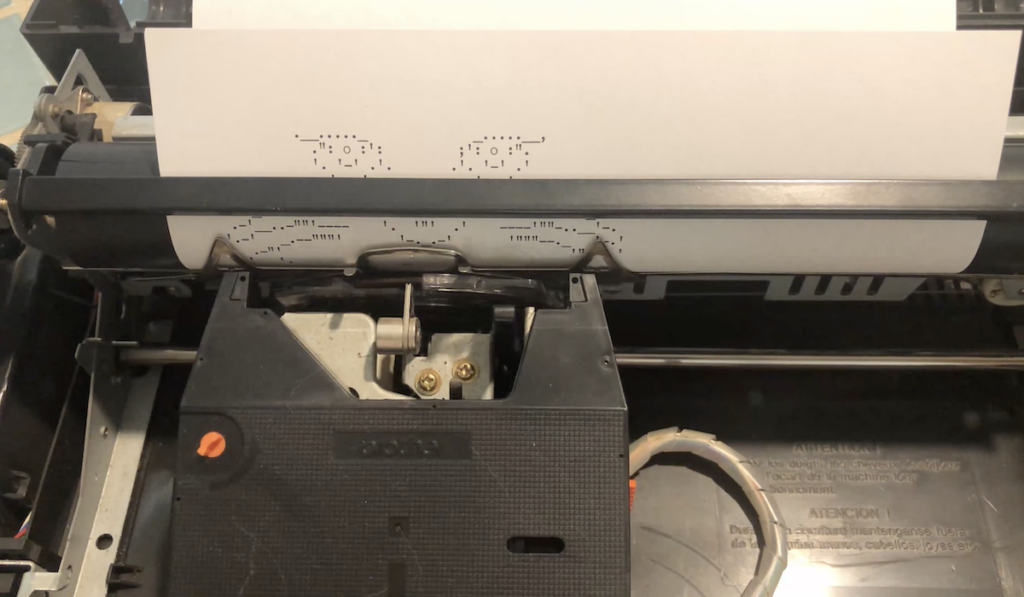
Reading typewriter key presses with an Arduino
Reading Time: 2 minutesArduino Team — August 3rd, 2022 There was a period in the late ‘70s and into the ‘80s when typewriter manufacturers tried to keep up with the tide of the digital age. Personal computers were hitting prices that middle-class families could justify and even the most basic models were far more practical…
-

High-End Gaming Rig Video Review
Reading Time: < 1 minuteAt first glance, this appears to be a ’90s computer, but open up the case, and you’ll discover it’s actually a high-end gaming rig, created by Reddit user „Gilmour509″. [mbYTPlayer url=“https://www.youtube.com/watch?v=v-TkQ7KZcbI“ opacity=“.5″ quality=“medium“ ratio=“auto“ isinline=“false“ showcontrols=“false“ realfullscreen=“true“ printurl=“true“ autoplay=“true“ mute=“true“ loop=“true“ addraster=“true“ stopmovieonblur=“false“ gaTrack=“false“] Specifications include: an Intel Core i7 6700K…
-

Building your Custom LEGO Raspberry Pi LEGO Case
Reading Time: 3 minutesFrom today’s HOW TO BUILD A CUSTOM RASPBERRY PI MINI PC to another challenge 😉 Little girl named ‚Biz‘ (age 12) from UK managed to make this Case first and also did a Tutorial for everyone. Official Raspberry Pi Site posted it already earlier last year. Here come the instructions, from official…