Schlagwort: Arduino Weather Station
-

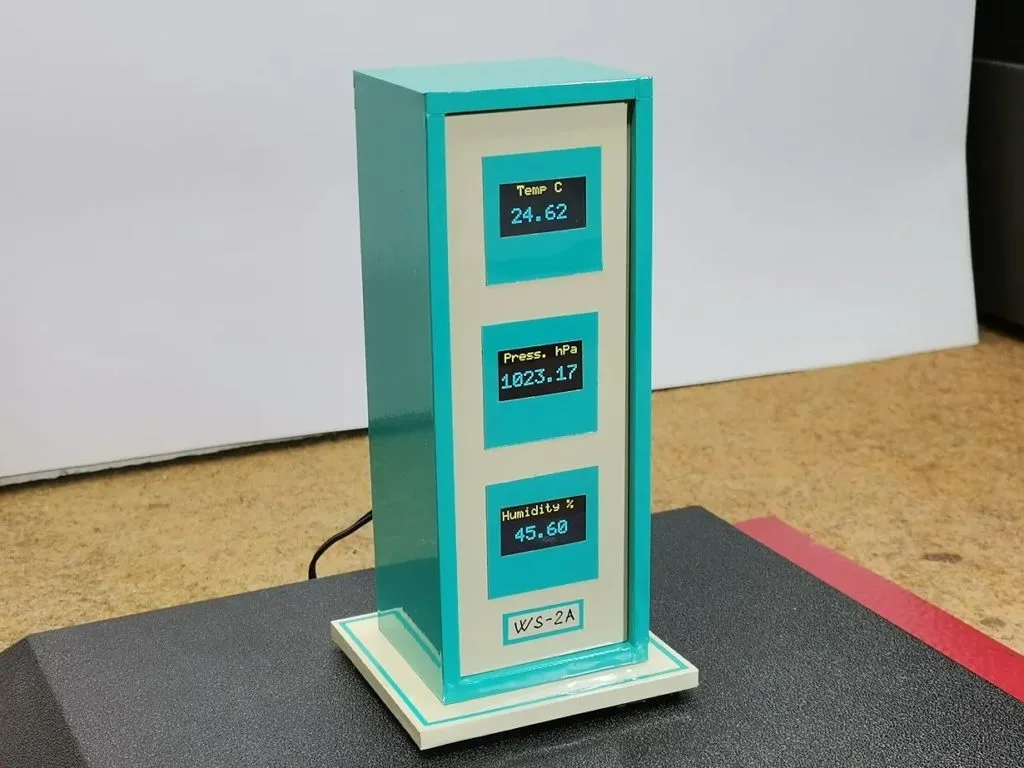
This classic weather station prioritizes the essentials
Reading Time: 2 minutesWeather stations are very popular projects for people new to Arduino. They’re complex enough to help a person learn new skills, but they’re simple enough to be approachable. However, that popularity has led to something of an arms race, with many makers attempting to design the most impressive weather stations on the…
-

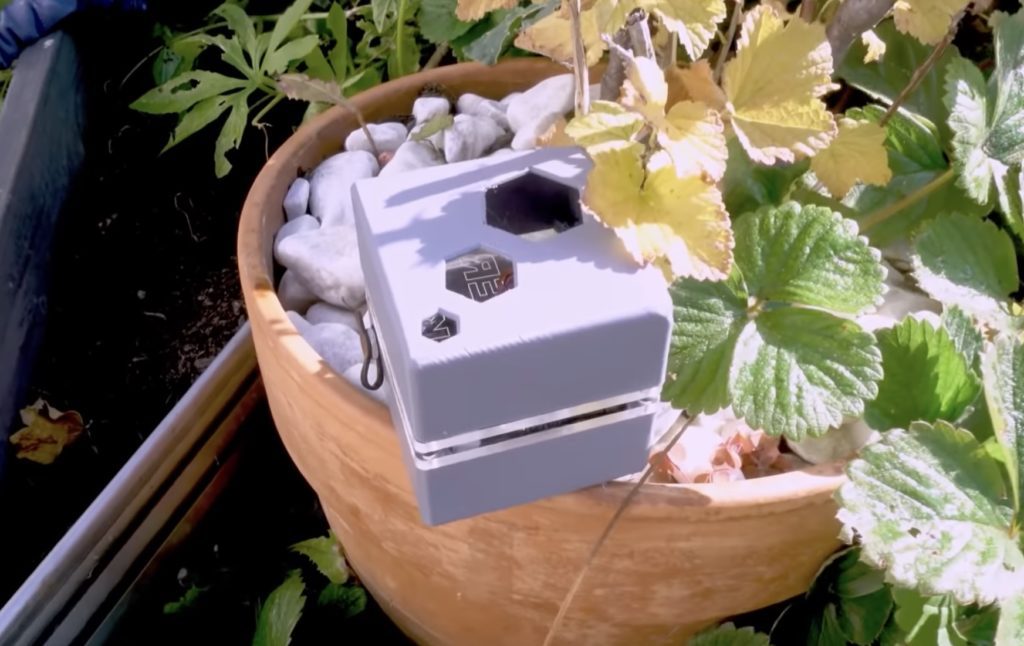
This MKR WiFi 1010-based weather station sends readings to the Arduino Cloud
Reading Time: 2 minutesArduino Team — November 13th, 2021 Constructing your very own IoT weather monitoring station can be a complicated ordeal, as getting values from the embedded device to some kind of web server in a secure manner takes a lot of effort and time to complete. For his system, Clem Mayer from element14…
-

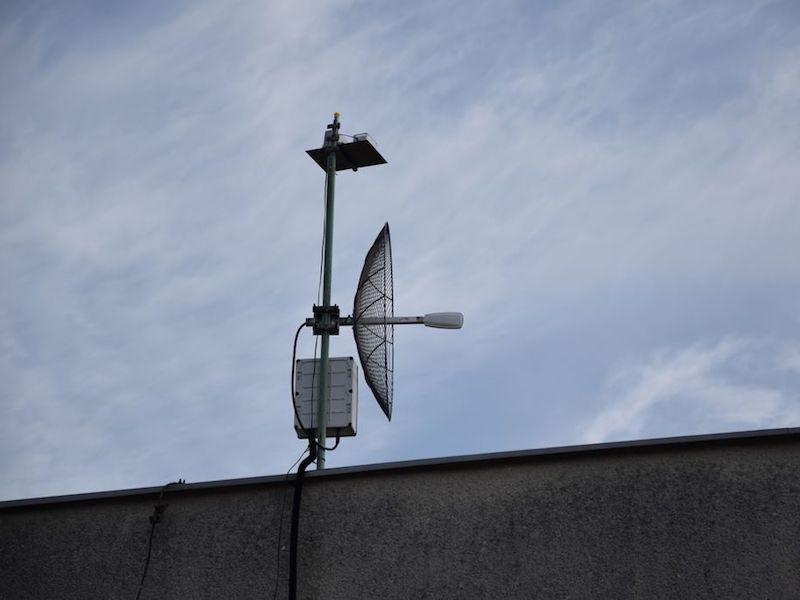
Stream weather conditions to the cloud!
Reading Time: < 1 minuteStream weather conditions to the cloud! Arduino Team — November 26th, 2018 Weather reports on the news, your computer, or smartphone are very good—something that people 100 years ago could only dream of—but what if you want to know the exact weather in a fixed location from anywhere in the world?…
-

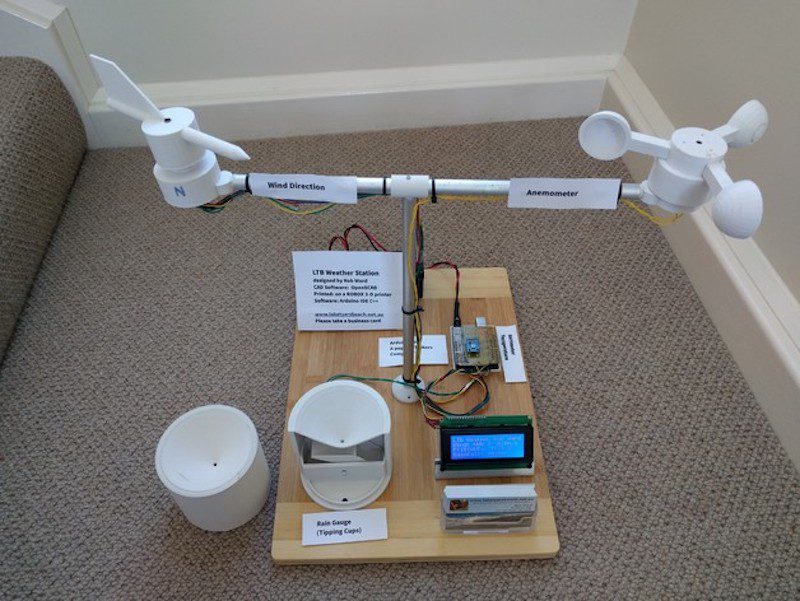
A 3D-printed personal weather station
Reading Time: 2 minutesA 3D-printed personal weather station Arduino Team — April 9th, 2018 If you need to know the forecast, generally you can look outside, listen to a weather report, or take advantage of the wide range of online services available. For something local to your dwelling place, however, this 3D-printed weather measurement device…