Schlagwort: 3D Printing Projects
-

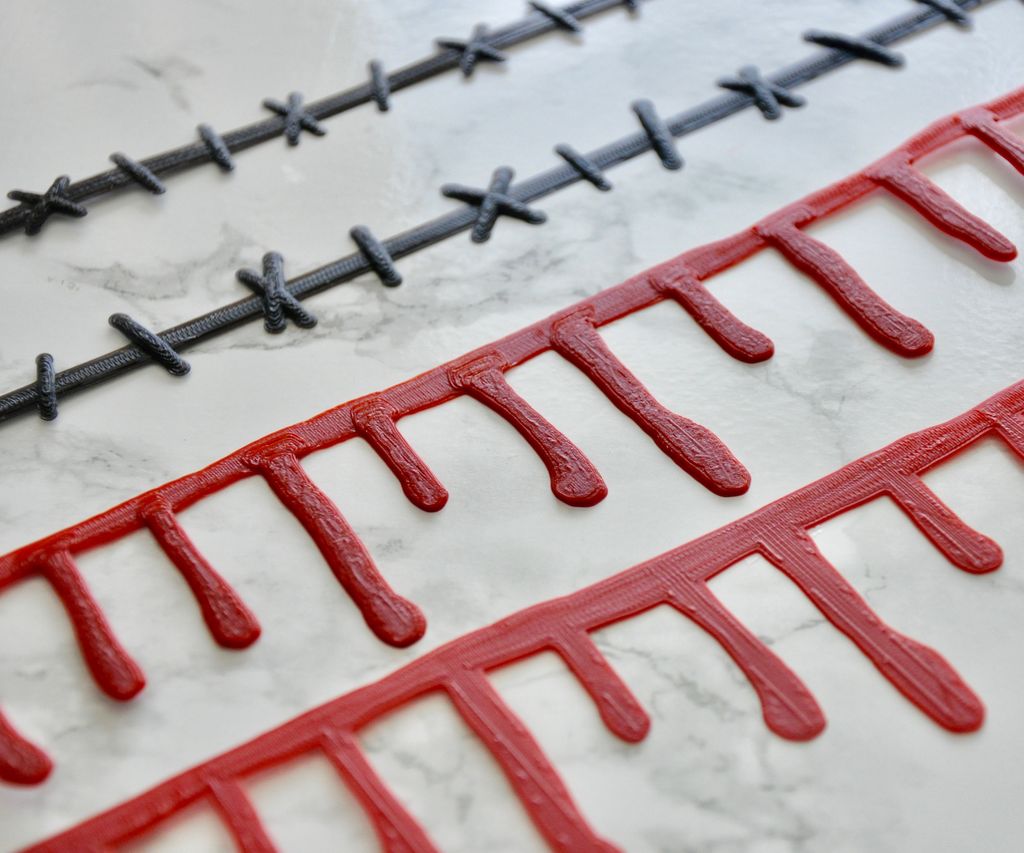
Weekend Project: 3D Print a Bloody or Stitched Neck for Your Halloween Costume
Reading Time: 4 minutesAdd some fright to your spine-chilling costume with this collection of Halloween-themed 3D printed jewelry, which includes a stitched neck and dripping bloody neck. Do you need to add some extra dread to your undead aesthetic? One Instructables user who goes by the name of Penolopy Bulnick has recently shared a collection…
-

Weekend Project: 3D Print a Creepy-Crawling Halloween Pumpkin Spider Transformer
Reading Time: 3 minutesNeed to prepare decorations for Halloween? We’ve got you covered with this spooky 3D printed Pumpkin Spider Transformer designed by William Bruning. The spookiest day of the year is just weeks away… Why buy your decorations when you can make them on your 3D printer? To get you prepared for the ghouls,…
-
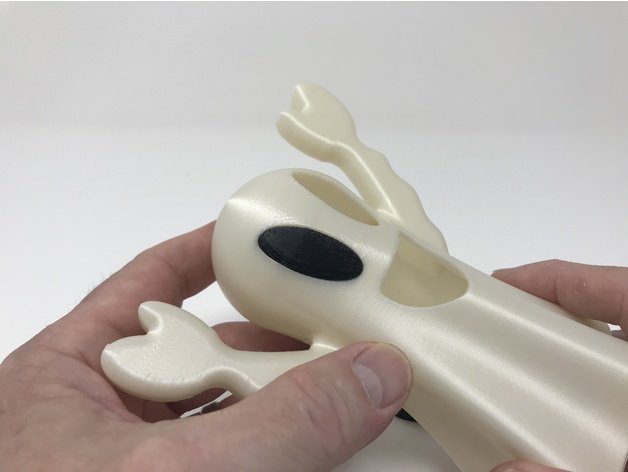
Weekend Project: Tell Scary Tales Over This 3D Printed Tea Light Ghost
Reading Time: 3 minutesWant to make your Halloween decorations more cheerful this year? This 3D printed Tea Light Ghost will make a happy addition to your seasonal adornments, greeting all of the trick-or-treaters with a smile. Halloween is a time for haunted houses, elaborate costumes and frightening amounts of candy, but not every decoration has to…
-

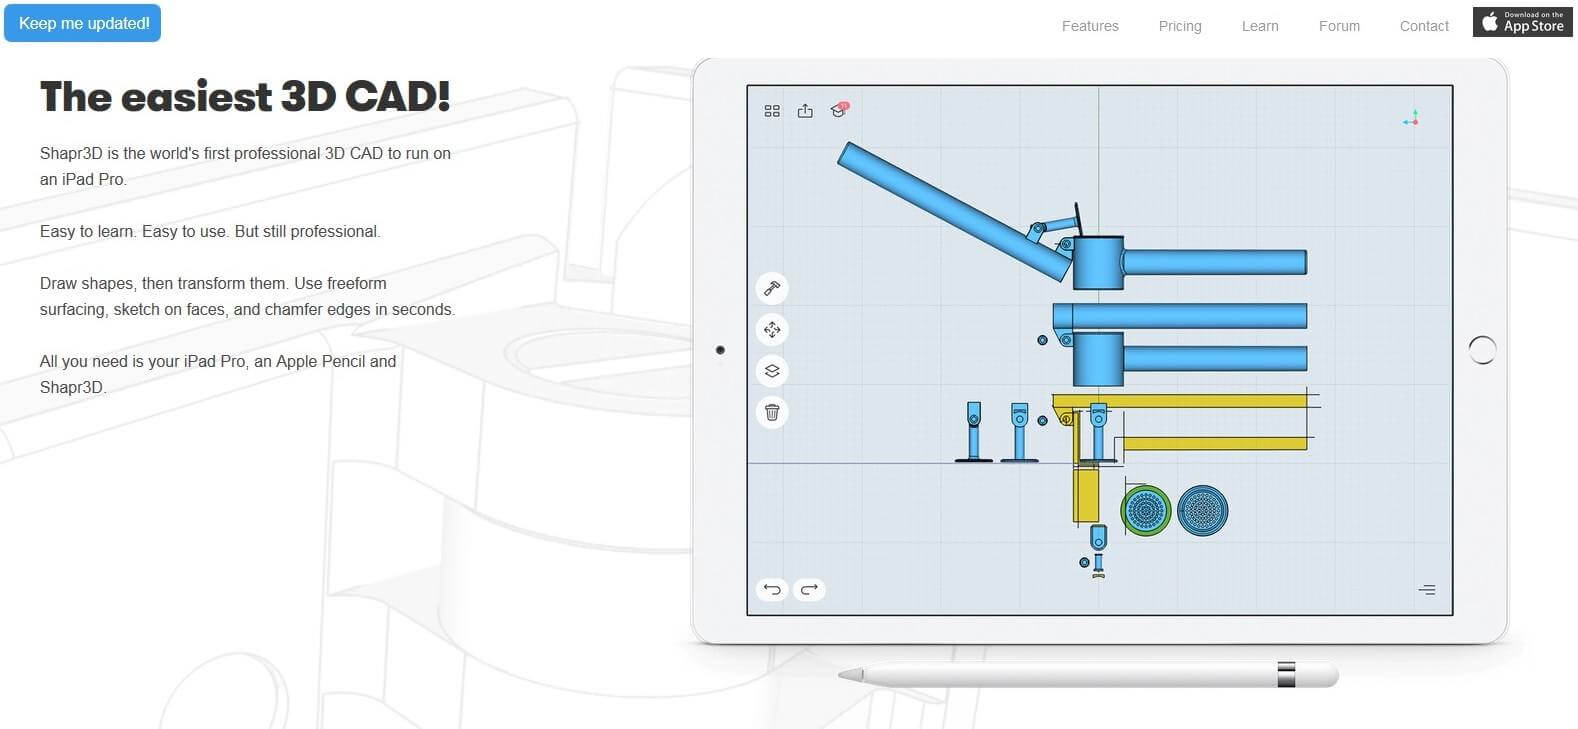
A Quick and Easy 3D Printable Valentine’s Gift
Reading Time: 13 minutesValentine’s day is approaching fast. If you are still looking for a last-minute, yet creative gift, don’t despair! We might just have the solution for you: a 3D printable Valentine’s gift in the form of a heart-shaped bookmark. More… As we know only too well, CAD modeling can be daunting, especially if…