Schlagwort: 3D printing filament
-

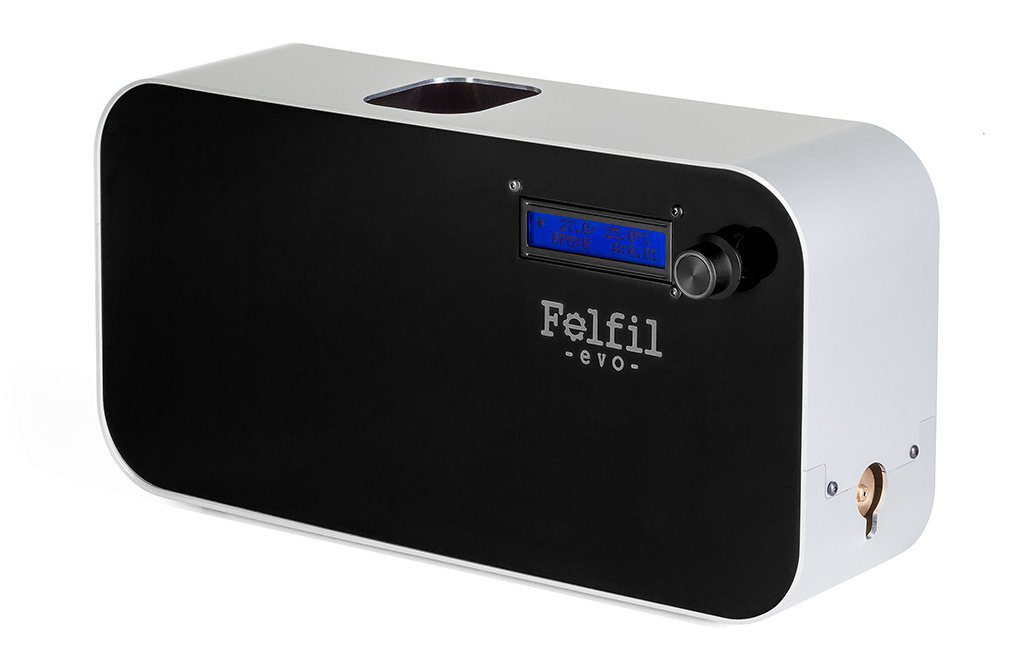
Become Your Own Material Maker with the Felfil Evo Filament Extruder
Reading Time: 4 minutesThe Felfil Evo is an open-source 3D printer plastic extruder machine that allows you to create customized 3D printing filament from the comfort of your own home. Make your own materials from plastic pellets, flawed or old 3D prints, or plastic waste. With all of the brands and formulations crowding the 3D…
-

Colorfabb Launches High-Quality Semi Matte Black Filament
Reading Time: 2 minutesThe new PLA Semi-Matte Black 3D printing filament combines a stylish textured finish for a cleaner, smoother look. ColorFabb, the 3D printing filament producer, has just launched a brand new filament. The PLA Semi-Matte Black provides a smoother surface finish compared to other PLAs. The filament achieves a high-quality finish because it…
-

Weekend Project: How to Properly Polish & Oxidize Your Metal 3D Prints
Reading Time: 4 minutesMetal 3D printing filaments are perfect for busts, figurines, and other 3D models. But in order to achieve that true metal look, you have to know how to properly post-process your metal 3D print. This weekend, get familiar with polishing and oxidizing techniques that will help your 3D print shine. There are a…
-

Weekend Project: A $20 DIY Heated DryBox for 3D Printing Filament Storage
Reading Time: 3 minutesWant to keep your filament in tip-top shape? Engineer and 3D printing enthusiast RichRap shows us how to create DIY Heated DryBox for 3D Printing filament for under $20. No matter how finely tuned your 3D printer is, the quality of your prints are highly dependent on the state of the filament you’re…
-

PETG Filament for 3D Printing: Explained & Compared
Reading Time: 2 minutesPolyethylene terephthalate (PET) is the most commonly used plastic in the world. You can find the polymer almost everywhere you look, from your water bottle to clothing fibers, even in your food containers. PET is also used in thermoforming processes and can be combined with glass fiber to create engineering resins. Basically,…
-

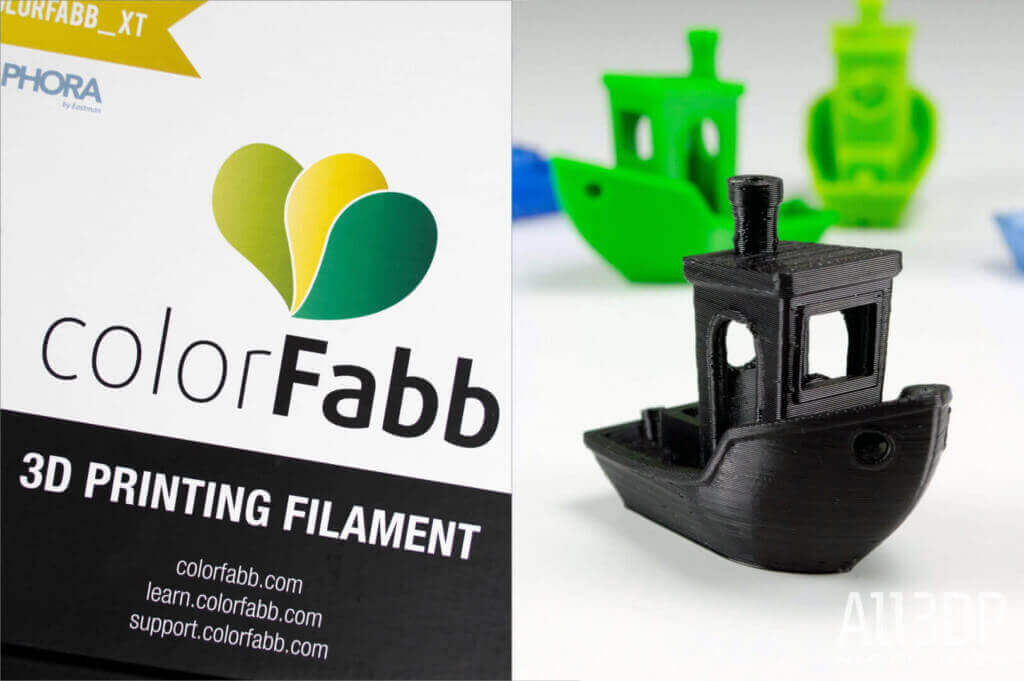
The Best PETG Filament Tested & Reviewed
Reading Time: 3 minutescolorFabb_XT (Runner-Up) Although colorFabb now offers a PETG material in an economy package, the filament producer’s XT line offers similar durability while also being easy to print. We ended up testing the XT_Black alongside the other participating PETG filament. The colorFabb_XT co-polyester range is made with Amphora polymers from Eastman Chemical Company, which helps…