
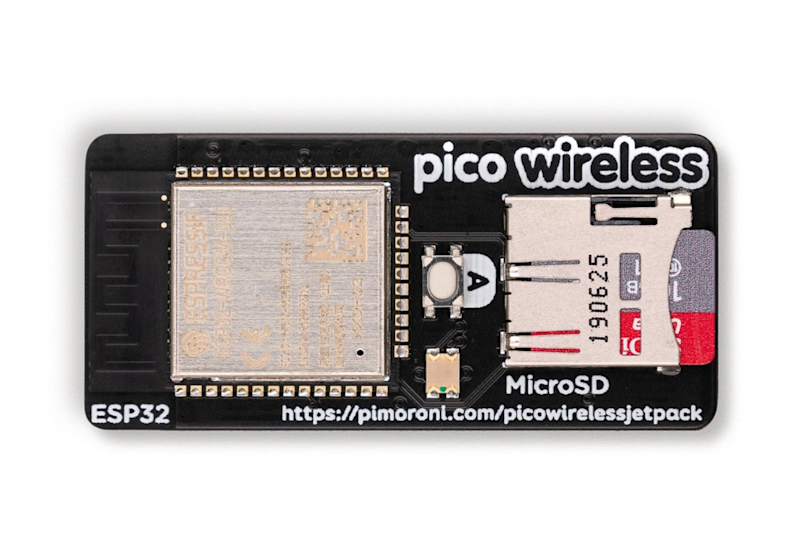
In addition, the board features a bright on-board RGB LED, tiny tactile switch, and a microSD slot for storing extra data, expanding greatly on Pico’s 2MB of flash storage.
To connect your Pico, you’ll need to have male headers soldered on, then you can just plug it into the female headers of the Wireless Pack, so it and Pico are back to back.
The obvious downside is that it blocks access to Pico’s GPIO pins. So, to connect sensors or other components, you’ll need a stacking header on Pico or a breakout board such as Pimoroni’s Pico Omnibus. Still, 14 GPIO pins are left unused; plenty for most projects.
Software libraries
Libraries for C++ and MicroPython can be downloaded from Pimoroni’s GitHub repo. The latest version of Pimoroni’s MicroPython UF2 firmware contains the necessary drivers, so you’ll need to flash Pico with it.
To help you get to grips with the picowireless library, a couple of MicroPython examples are provided. One creates a simple web server enabling you set the red, green, and blue values of the on-board LED. The other demonstrates connecting to an API, and lets you control the LED’s colour using #cheerlights tweets.
Both examples are pretty verbose, with some complex HTTP request details, so are hard to follow unless you know your networking, but you could easily adapt them for your own projects.
Alternatively, you can code with CircuitPython, using Adafruit’s CircuitPython and ESP32 libraries, by adjusting a few pin numbers in their code examples.
Verdict
8/10
A simple way to add wireless connectivity to Pico, although you’ll need to break out the GPIO pins for IoT projects.
Schreibe einen Kommentar
Du musst angemeldet sein, um einen Kommentar abzugeben.