Element14’s Clem previously built a giant Raspberry Pi-powered resin-based 3D printer and here, he’s flipped the concept upside down.
The new Raspberry Pi 4 8GB reduces slicing times and makes for a more responsive GUI on this experimental 3D printer. Let’s take a look at what Clem changed and how…
[youtube https://www.youtube.com/watch?v=3rttZ-59ZAo?feature=oembed&w=500&h=281]
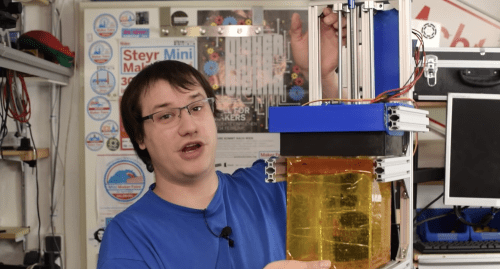
The previous iteration of his build was “huge”, mainly because the only suitable screen Clem had to hand was a big 4K monitor. This new build flips the previous concept upside down by reducing the base size and the amount of resin needed.
Breaking out of the axis
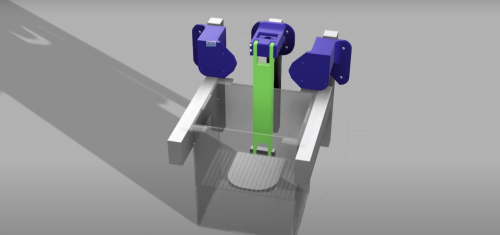
To resize the project effectively, Clem came out of an X,Y axis and into Z, reducing the surface area but still allowing for scaling up, well, upwards! The resized, flipped version of this project also reduces the cost (resin is expensive stuff) and makes the whole thing more portable than a traditional, clunky 3D printer.

How it works
Now for the brains of the thing: nanodlp is free (but not open source) software which Clem ran on a Raspberry Pi 4. Using an 8GB Raspberry Pi will get you faster slicing times, so go big if you can.
A 5V and 12V switch volt power supply sorts out the Nanotec stepper motor. To get the signal from the Raspberry Pi GPIO pins to the stepper driver and to the motor, the pins are configured in nanodlp; Clem has shared his settings if you’d like to copy them (scroll down on this page to find a ‘Resources’ zip file just under the ‘Bill of Materials’ list).
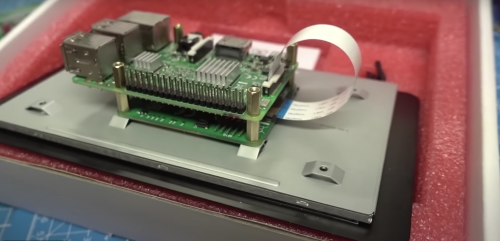
For the display, there’s a Midas screen and an official Raspberry Pi 7″ Touchscreen Display, both of which work perfectly with nanodlip.
At 9:15 minutes in to the project video, Clem shows you around Fusion 360 and how he designed, printed, assembled, and tested the build’s engineering.
Experimental resin
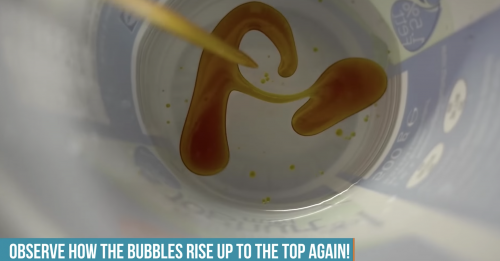
Now for the fancy, groundbreaking bit: Clem chose very specialised photocentric, high-tensile daylight resin so he can use LEDs with a daylight spectrum. This type of resin also has a lower density, so the liquid does not need to be suspended by surface tension (as in traditional 3D printers), rather it floats because of its own buoyancy. This way, you’ll need less resin to start with, and you’ll waste less too whenever you make a mistake. At 13:30 minutes into the project video, Clem shares the secret of how you achieve an ‘Oversaturated Solution’ in order to get your resin to float.
Materials
Join the conversation on YouTube if you’ve got an idea that could improve this unique approach to building 3D printers.
Website: LINK
Schreibe einen Kommentar
Du musst angemeldet sein, um einen Kommentar abzugeben.