New micro:bit coding projects for kids
Young people can now learn to code and create with our brand-new path of micro:bit coding projects. The ‘Intro to micro:bit’ path is free and kids can follow it to code projects that focus on wellbeing, including topics like mental health, relaxation, and exercise.

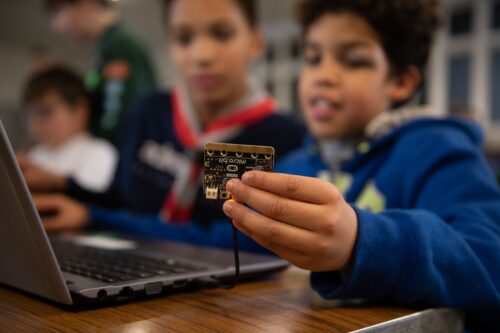
As you might know, a micro:bit (pronounced “microbit”) is a small, programmable device designed for education. You can program it using any computer. It’s easy to use and learn with, and suitable for beginners, especially young people in and out of school.
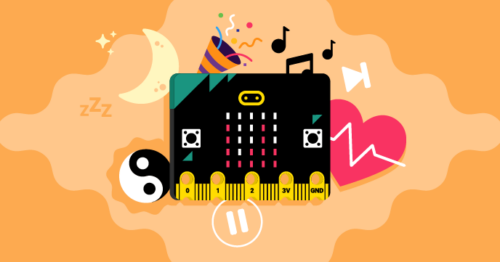
The theme of the new project path: Wellbeing
Our aim for this new micro:bit project path is to help young people explore how they can create their own tech tools that help them look after themselves and others. By designing the micro:bit coding projects around wellbeing, we want to not only help kids develop programming and digital literacy skills, but also promote open conversations about the important topic of mental health.
The six micro:bit coding projects in our new path all cover different aspects of wellbeing in a fun, creative way:
- Good sleep patterns
- Relaxation
- Self-confidence
- Happiness
- Health
- Entertainment
We hope that following the path and making projects helps encourage learners to ask questions, share their experiences, and feel like they can ask parents, teachers, or mentors for support, and help support their friends and peers.
What is in the ‘Intro to micro:bit’ project path?
The ‘Intro to micro:bit’ path is designed according to our Digital Making Framework. Its aim is to encourage young people to become independent coders and tech creators as they progress along the projects in a path by gently removing scaffolding.
- Our project paths begin with three Explore projects, in which learners are guided through tasks that introduce them to new coding skills.
- Next, learners complete two Design projects. Here, they are encouraged to practise their skills and bring in their own interests to personalise their coding creations.
- Finally, learners complete one Invent project. This is where they put everything that they have learned together and create something unique that matters to them.
The structure of the path means that learners are led through the development process of a coding project and learn how to turn their ideas into reality. The path structure also supports them with fixing programming errors (debugging), showing them that errors are a normal part of computer programming and just temporary setbacks that they can overcome.
Because community is important for learning, the path also offers young people the chance to share the projects they make with peers around the world.
What coding skills and knowledge will young people learn?
The Explore projects at the start of the path are where the initial learning takes place. Learners then develop their new skills and knowledge by putting them into practice in the Design and Invent projects, where they add in their own ideas and creativity.
The key programming concepts covered in this path are:
- Variables
- Using selection (if, else if, and else)
- Using repetition (for loops)
- Using randomisation
- Using functions
There are two versions of the micro:bit (V1 and V2) and learners can use either version to create the micro:bit coding projects in the path, using the micro:bit’s input and output features:
Input features:
- Buttons
- Accelerometer
- Sound sensor/microphone (micro:bit V2 only)
- Capacitive touch sensor
- Light sensor
Output features:
- LED display
- Speaker
- Headphones connected via GPIO (micro:bit V1 only)
Explore project 1: Music player
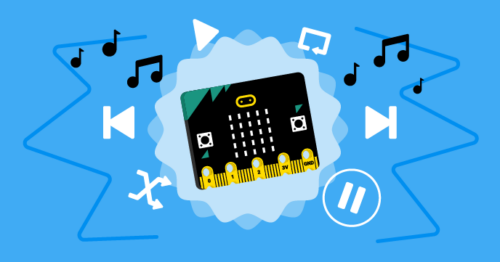
In this Explore project, kids create a music player on the micro:bit to explore how listening to music can improve their mood. While creating their music player, young people get to choose melodies that they enjoy or that make them feel more relaxed. They also add a range of functions such as pausing, skipping, and shuffling tracks.
Explore project 2: Sound level meter
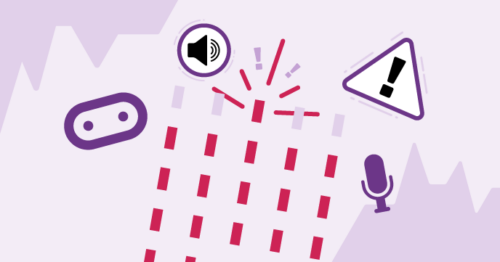
Noise levels can affect people’s well-being, so in this project, kids create a program to use the micro:bit to display how noisy their environment is. They will also learn how to save the noise data the micro:bit measures so they can identify the noisiest times in their day.
Explore project 3: Sleep tracker
Sleep is an important factor that contributes towards well-being. With this third Explore project, kids create a program to track their sleep movements using the micro:bit. This teaches them about variables and about using the micro:bit’s accelerometer, and its LEDs to display data.
Design project 1: How’s your day?
The first Design project of the path gets young people to build a mood checker program using the question ‘How’s your day?’. Kids get creative design control over the mood checker’s outputs according to the user’s replies, including displaying an animation or positive messages, or playing music. Kids can also make use of sensors to measure the various factors in the environment that could be affecting the user’s mood.
In this project, young people apply all of the coding skills and knowledge covered in the Explore projects, including selection, repetition, variables, functions, and randomisation.
Design project 2: Active assistant
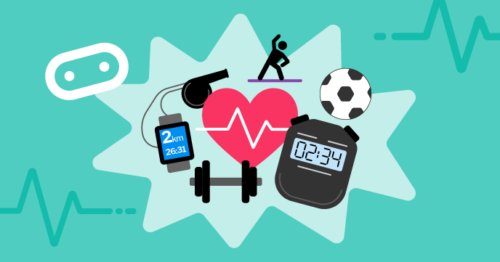
In the second Design project, young people create an assistant that helps them get active.The project provides examples, a structure, and brief summaries of what kids have learned to do on the path so far to inspire and motivate them. This mean young people can work independently to produce their own outcomes and the functionality of their assistant is up to each young tech creator.
Invent project: Party game

The final project, Party game, encourages learners to independently replicate their favourite party game for entertainment and relaxation. Learners will combine all of the knowledge and skills they’ve gained throughout the path to make something of their own around the theme of well-being. This is a chance for them to unleash their creativity and reflect on real-life games they enjoy. The outcome will be unique, and fun for them to share with their friends and family.
Key questions answered
Who is this path for?
We have written these micro:bit coding projects with young people around the age of 6 to 13 in mind. Building the projects on the path does not require any previous coding experience, although complete beginners may want to try our free ‘Intro to Scratch’ path first.
What software do learners need to code these projects?
A web browser on a computer. In every project, starter code is provided in the MakeCode online code editor. Learners can either download their project code to a physical micro:bit (recommended) or use the micro:bit simulator in MakeCode.
Young people who live where there isn’t constant internet connectivity can also download the offline version of the MakeCode editor. There are also free micro:bit coding apps for smartphones and tablets.
How long will the path take to complete?
We’ve designed the ‘Intro to micro:bit’ path to be completed in six one-hour sessions, with one hour per project. However, the project instructions invite learners to take additional time to upgrade their projects if they wish.
What can learners do next?
Take part in Coolest Projects
At the end of the micro:bit path, learners are encouraged to register a project they’re making with their new coding skills for Coolest Projects, our annual online technology showcase for young people around the world.
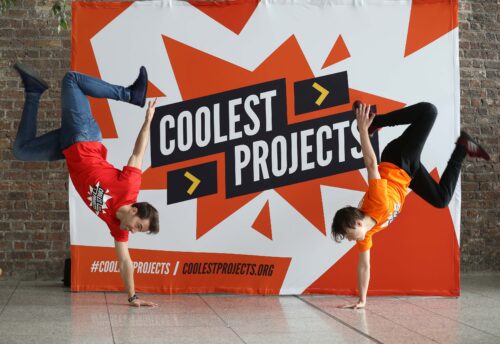
Taking part is free, and beginners as well as more experienced young tech creators are invited. This is their opportunity to share their ingenuity in an online gallery for the world and the Coolest Projects community to celebrate.
Website: LINK