2. Choose interpreter
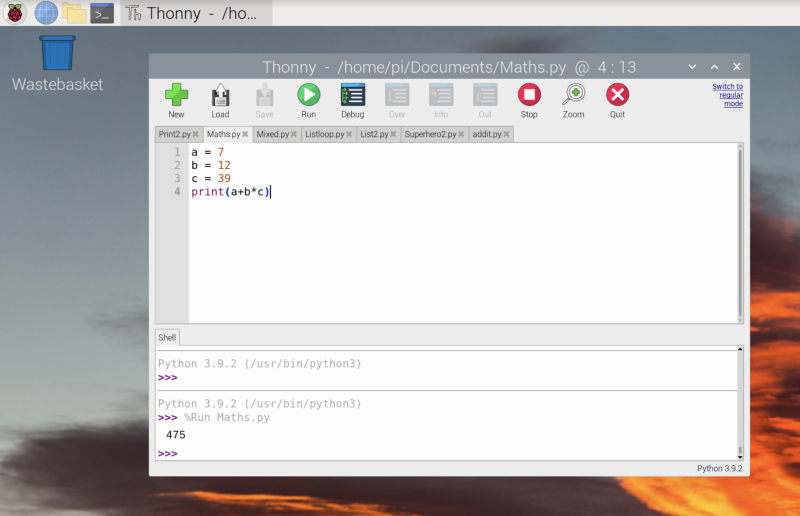
Thonny is normally used to write programs that run on the same computer you’re using Thonny on; to switch to writing programs on your Raspberry Pi Pico, you’ll need to choose a new Python interpreter. Look at the bottom-right of the Thonny window for the word ‘Python’ followed by a version number: that’s your current interpreter.
Click ‘Python’ and look through the list that appears for ‘MicroPython (Raspberry Pi Pico)’ – or, if you’re running an older version of Thonny, ‘MicroPython (generic)’.
3. Hello World
Writing a program for your Raspberry Pi Pico is a lot like writing a program for your Raspberry Pi. You can type commands in the Shell area at the bottom of the window to have them immediately executed, or you can write a program in the main part of the window to run on-demand.
Click in the Shell area, next to the >>>> symbols, and type:
print("Hello, World!")When you press ENTER at the end of the line, you’ll see your Raspberry Pi Pico respond.
You are now ready to start writing your MicroPython code in the main window. Click Run to start the program on Raspberry Pi Pico. Take a read of our book, Get Started with MicroPython on Raspberry Pi Pico if you want to learn more about Pico programming.
Top tip: Update Thonny
If you don’t see ‘MicroPython (Raspberry Pi Pico)’ in the interpreter list, you’ll need to update Thonny. Open a Terminal window and type:
sudo apt update && sudo apt full-upgrade -y

