Kategorie: PC
-

Indiana Jones and the Great Circle: Bringing ’80s Movie Magic to a 2024 Game
Reading Time: 14 minutesIndiana Jones has a feeling. It’s not just in the more tangible elements – the stories, the hero, or the music – it’s also in the way it was filmed, the minutiae of choreography, and the tone. Those ineffable qualities are what have made this series so beloved, and so lasting. And…
-

Fably bedtime storyteller
Reading Time: 3 minutesChildhood wonder Stefano’s first computer, a Commodore Vic20, was something he could program himself and opened up a world of possibilities. Most importantly, this first computer awakened Stefano to the idea of tinkering and eventually led to him pursuing a degree in electronic engineering. Over the past 20 years he has worked…
-

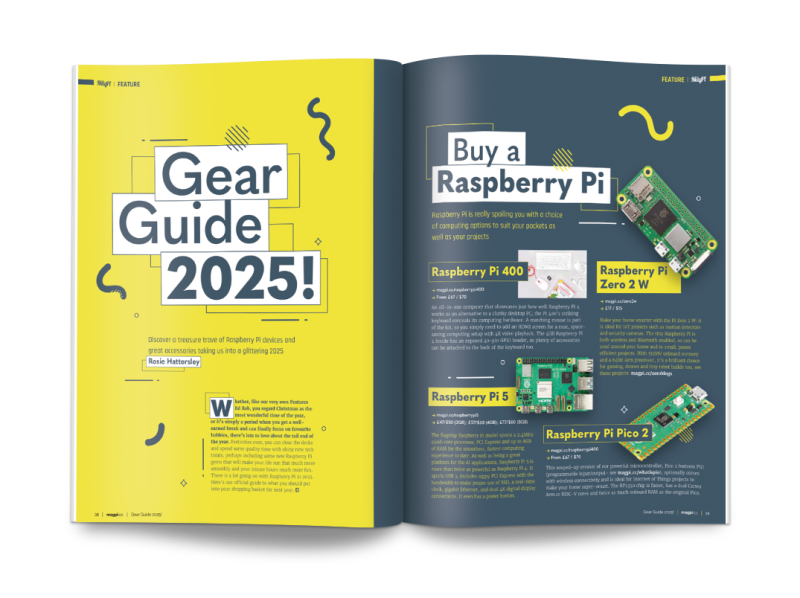
Gear Guide 2025 in The MagPi magazine issue 148
Reading Time: 2 minutesGear Guide 2025! Our Gear Guide 2025! has your back. Discover a treasure trove of Raspberry Pi devices and great accessories taking us into a glittering new year. Gift a project Sometimes the perfect gift is one you made yourself. Christmas Elf, Rob Zwetsloot has a fantastic feature for constructing your gifts…
-

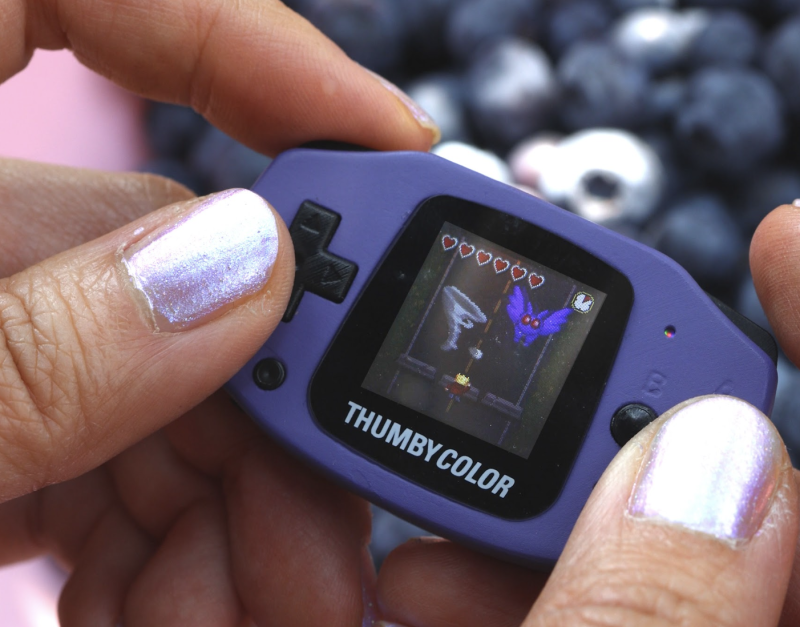
Win one of three Thumby Color game systems
Reading Time: < 1 minuteA ton of supporting products launcged with Raspberry Pi Pico 2 and the RP2350, including a lot of items that were powered by RP2350. One of these included the excellent Thumby Color game system, and we finally have a few for a competition – enter below…
-

Ada Computer Science: What have we learnt so far
Reading Time: 3 minutesIt’s been over a year since we launched Ada Computer Science, and we continue to see the numbers of students and teachers using the platform all around the world grow. Our recent year in review shared some of the key developments we’ve made since launching, many of which are a direct result…
-

Celebrating the community: Prabhath
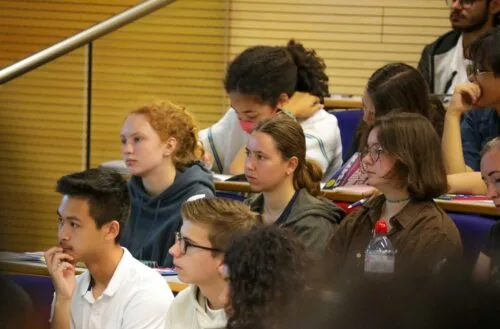
Reading Time: 5 minutesWe love hearing from members of the community and sharing the stories of amazing young people, volunteers, and educators who are using their passion for technology to create positive change in the world around them. Prabhath, the founder of the STEMUP Educational Foundation, began his journey into technology at an early age,…
-
Pibo the bipedal robot review
Reading Time: 2 minutesIt comes fully assembled, which is very nice as putting together the various motors and other components together correctly has been a pain with similar products in the past. All you need to do is turn it on and get it connected to your Wi-Fi network, either via a wireless access point…
-

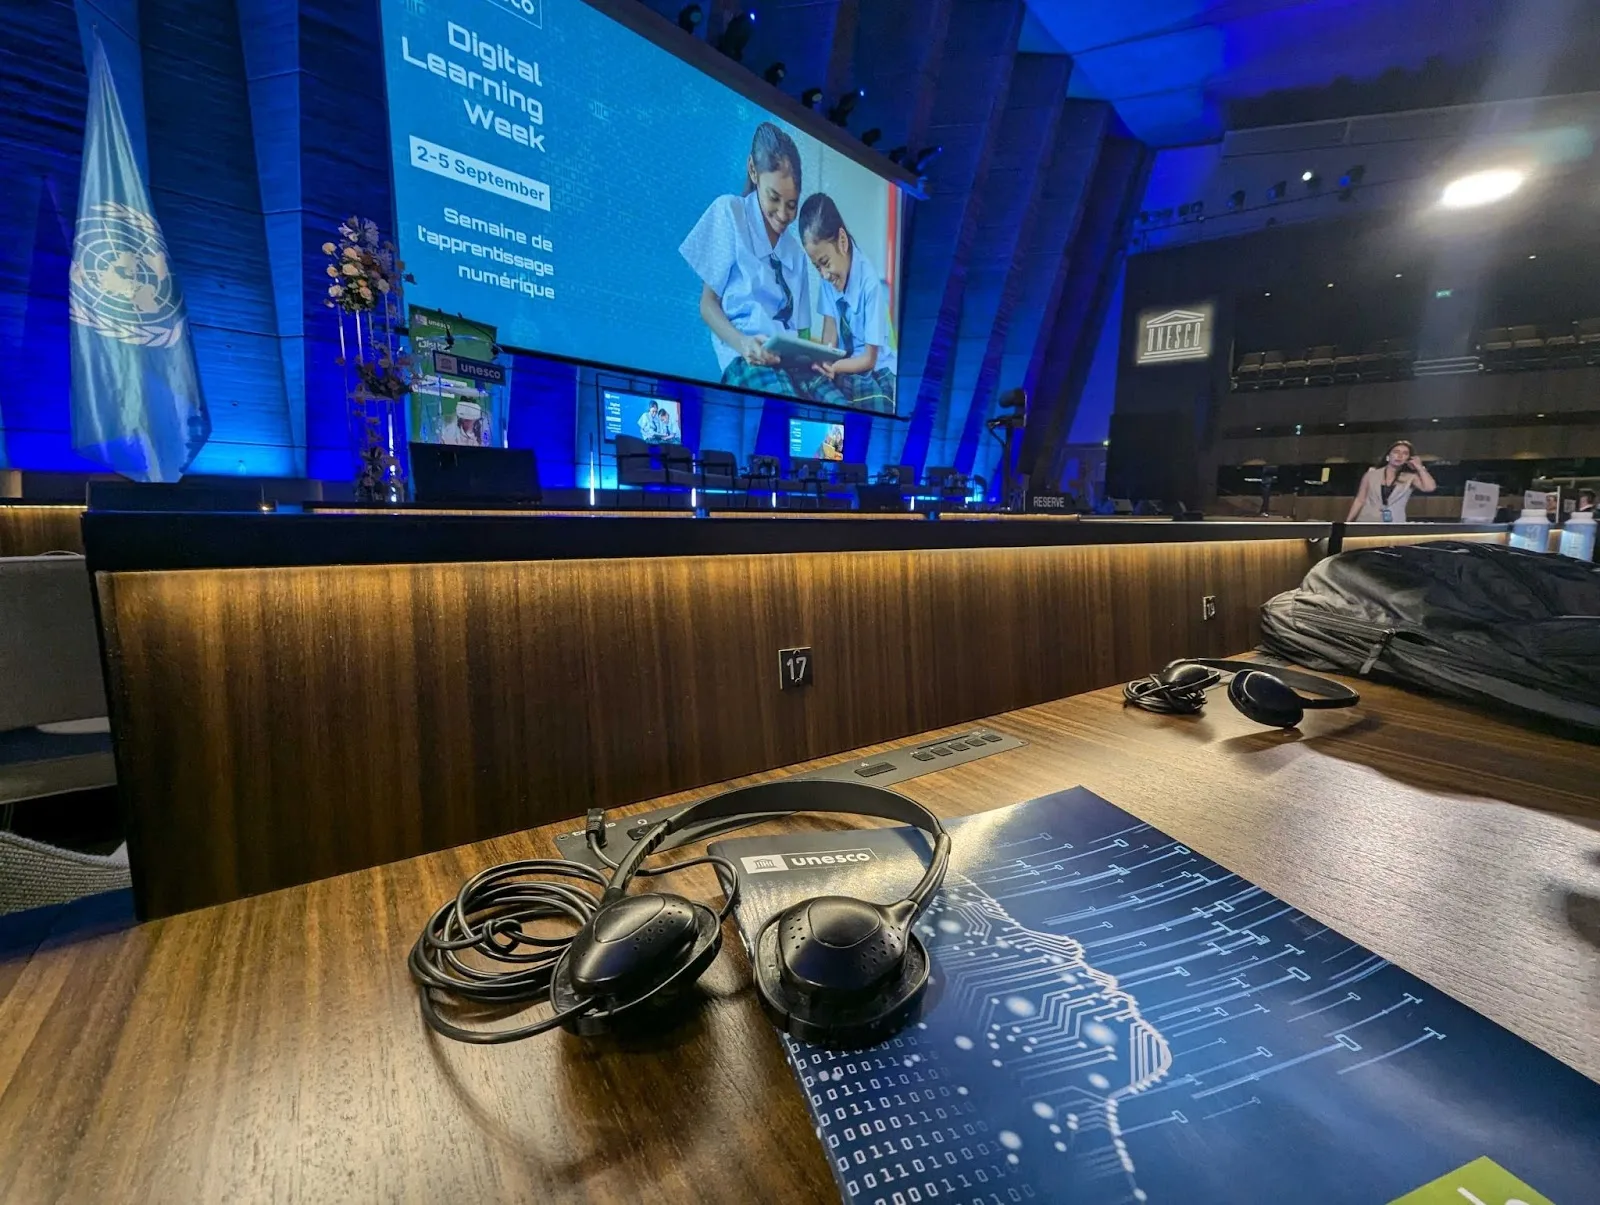
Exploring how well Experience AI maps to UNESCO’s AI competency framework for students
Reading Time: 9 minutesDuring this year’s annual Digital Learning Week conference in September, UNESCO launched their AI competency frameworks for students and teachers. What is the AI competency framework for students? The UNESCO competency framework for students serves as a guide for education systems across the world to help students develop the necessary skills in…
-

Using generative AI to teach computing: Insights from research
Reading Time: 7 minutesAs computing technologies continue to rapidly evolve in today’s digital world, computing education is becoming increasingly essential. Arto Hellas and Juho Leinonen, researchers at Aalto University in Finland, are exploring how innovative teaching methods can equip students with the computing skills they need to stay ahead. In particular, they are looking at…
-

Teaching about AI in schools: Take part in our Research and Educator Community Symposium
Reading Time: 4 minutesWorldwide, the use of generative AI systems and related technologies is transforming our lives. From marketing and social media to education and industry, these technologies are being used everywhere, even if it isn’t obvious. Yet, despite the growing availability and use of generative AI tools, governments are still working out how and…
-

Introducing new artificial intelligence and machine learning projects for Code Clubs
Reading Time: 4 minutesWe’re pleased to share a new collection of Code Club projects designed to introduce creators to the fascinating world of artificial intelligence (AI) and machine learning (ML). These projects bring the latest technology to your Code Club in fun and inspiring ways, making AI and ML engaging and accessible for young people.…
-
AI special edition in The MagPi 147
Reading Time: 2 minutesAI Projects Discover a range of practical AI Projects that put Raspberry Pi’s AI smarts to good use. We’ve got people detectors, ANPR trackers, pose detectors, text generators, music generators, and an intelligent pill dispenser. Handheld gaming Retro gaming on the move can be fun and creative. PJ Evans grabs some spare…
-
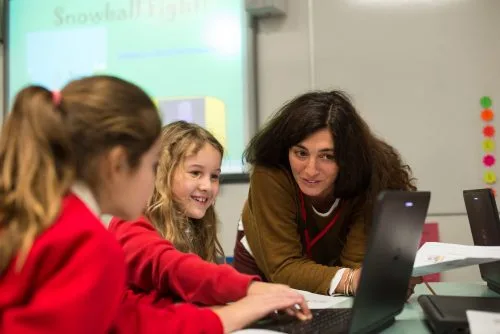
Implementing a computing curriculum in Telangana
Reading Time: 4 minutesLast year we launched a partnership with the Government of Telangana Social Welfare Residential Educational Institutions Society (TGSWREIS) in Telangana, India to develop and implement a computing curriculum at their Coding Academy School and Coding Academy College. Our impact team is conducting an evaluation. Read on to find out more about the…
-

Win! One of five brand new Raspberry Pi AI Cameras
Reading Time: < 1 minuteSave 35% off the cover price with a subscription to The MagPi magazine. UK subscribers get three issues for just £10 and a FREE Raspberry Pi Pico W, then pay £30 every six issues. You’ll save money and get a regular supply of in-depth reviews, features, guides and other Raspberry Pi…
-

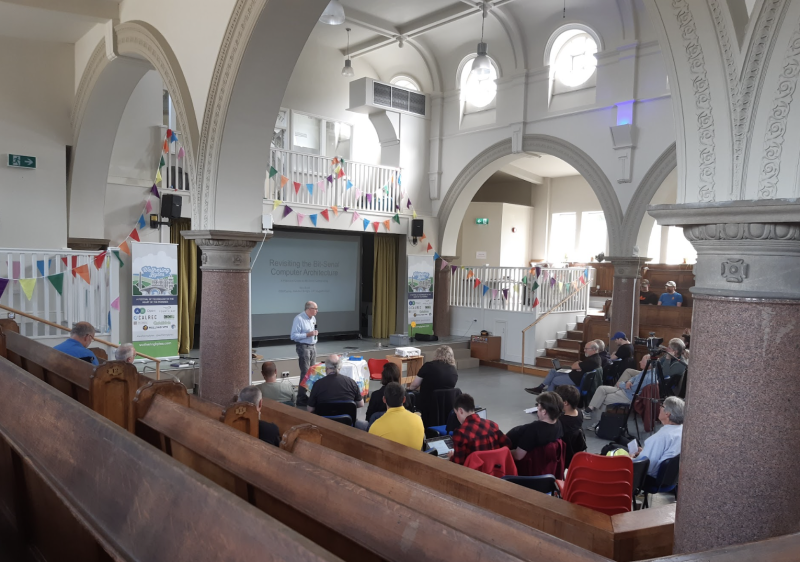
Open Source Hardware Camp
Reading Time: 3 minutesFriday kicked off with a talk on Dina St Johnston, founder of the UK’s first independent software company, which she started in 1959. After that came computing with human-worn sensors; mainframes; human creativity in the age of AI; and a look at Raftabar the robot, which uses facial recognition (and two Raspberry…
-

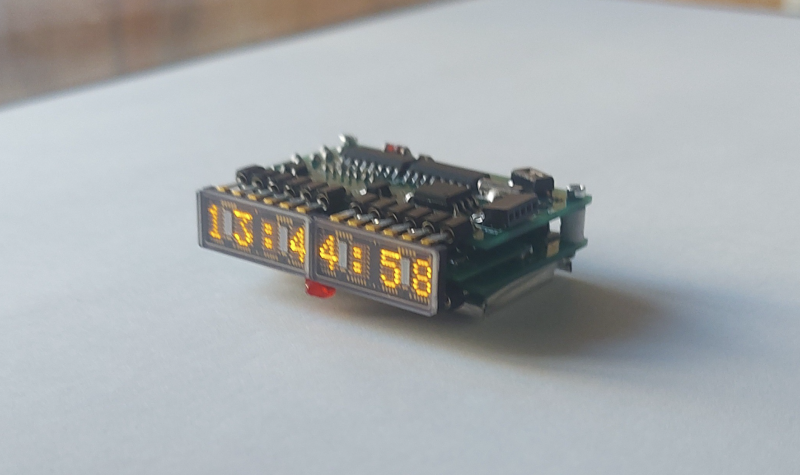
HDSP wristwatch
Reading Time: < 1 minuteWith a six-digit, seven-segment display such as the HDSP-2000 (itself an unusual choice – he hasn’t made this easy), Vitalii needed to find a way to multiplex the signals coming out of the chip, multiplying the I/O signals with transistors until he had enough to control each of the segments in…
-
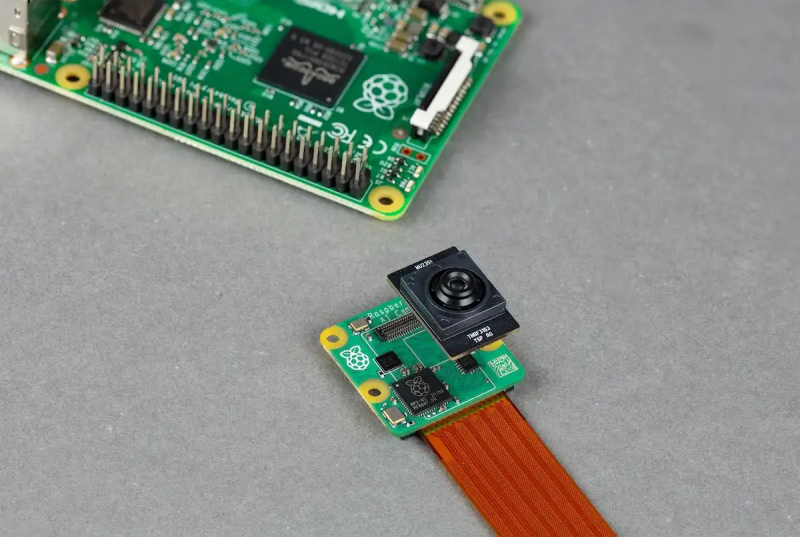
Introducing picamzero: Simplifying Raspberry Pi Camera projects for beginners
Reading Time: 3 minutesThousands of learners worldwide take their first steps into text-based programming using the Python programming language. Python is not only beginner-friendly, but is also used extensively in industry. In 2015, Python developer Daniel Pope, who has a keen interest in education, noticed that beginners often have great ideas for creating projects but…
-

Arcade briefcase
Reading Time: < 1 minuteAlternatively, if you have access to a soldering iron and a drill, you can build your own home arcade setup. This build by SrGamer is based on a Raspberry Pi 5, and features two joysticks, loads of buttons and a gloriously chunky red power switch built into the case. The case…
-
How to make debugging a positive experience for secondary school students
Reading Time: 6 minutesArtificial intelligence (AI) continues to change many areas of our lives, with new AI technologies and software having the potential to significantly impact the way programming is taught at schools. In our seminar series this year, we’ve already heard about new AI code generators that can support and motivate young people when…
-

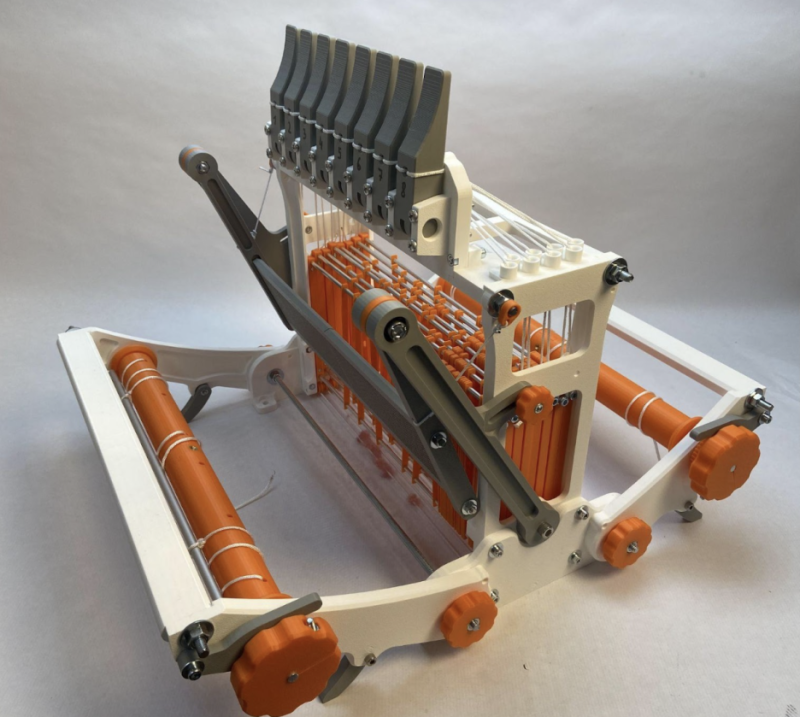
3D-printed loom
Reading Time: < 1 minuteIf you’ve ever tried to specialise in any field of making, you’ll find that at some point you’ll have stopped – or at least delayed – creating things, in order to make things that help you make things. If you’re at the start of your journey into woodworking, for example, you’ll…
-
Meet Natalie Turner: one of our magazine designers
Reading Time: 2 minutesHow did you join Raspberry Pi? I was working part time alongside job hunting after uni, and came across the application for a graphic design role at Raspberry Pi. I then got invited for an interview where I got to meet my lovely team, and speak through a few of my projects.…
-

The more things change…
Reading Time: 2 minutesIt’s refreshing that newer doesn’t always have to mean bigger and better. I’ve been using a Raspberry Pi 4 for the last few years as a desktop Linux machine, and although it could be faster, then thing that holds me back from upgrading it is nothing to do with the Pi itself.…