Schlagwort: YouTubers
-

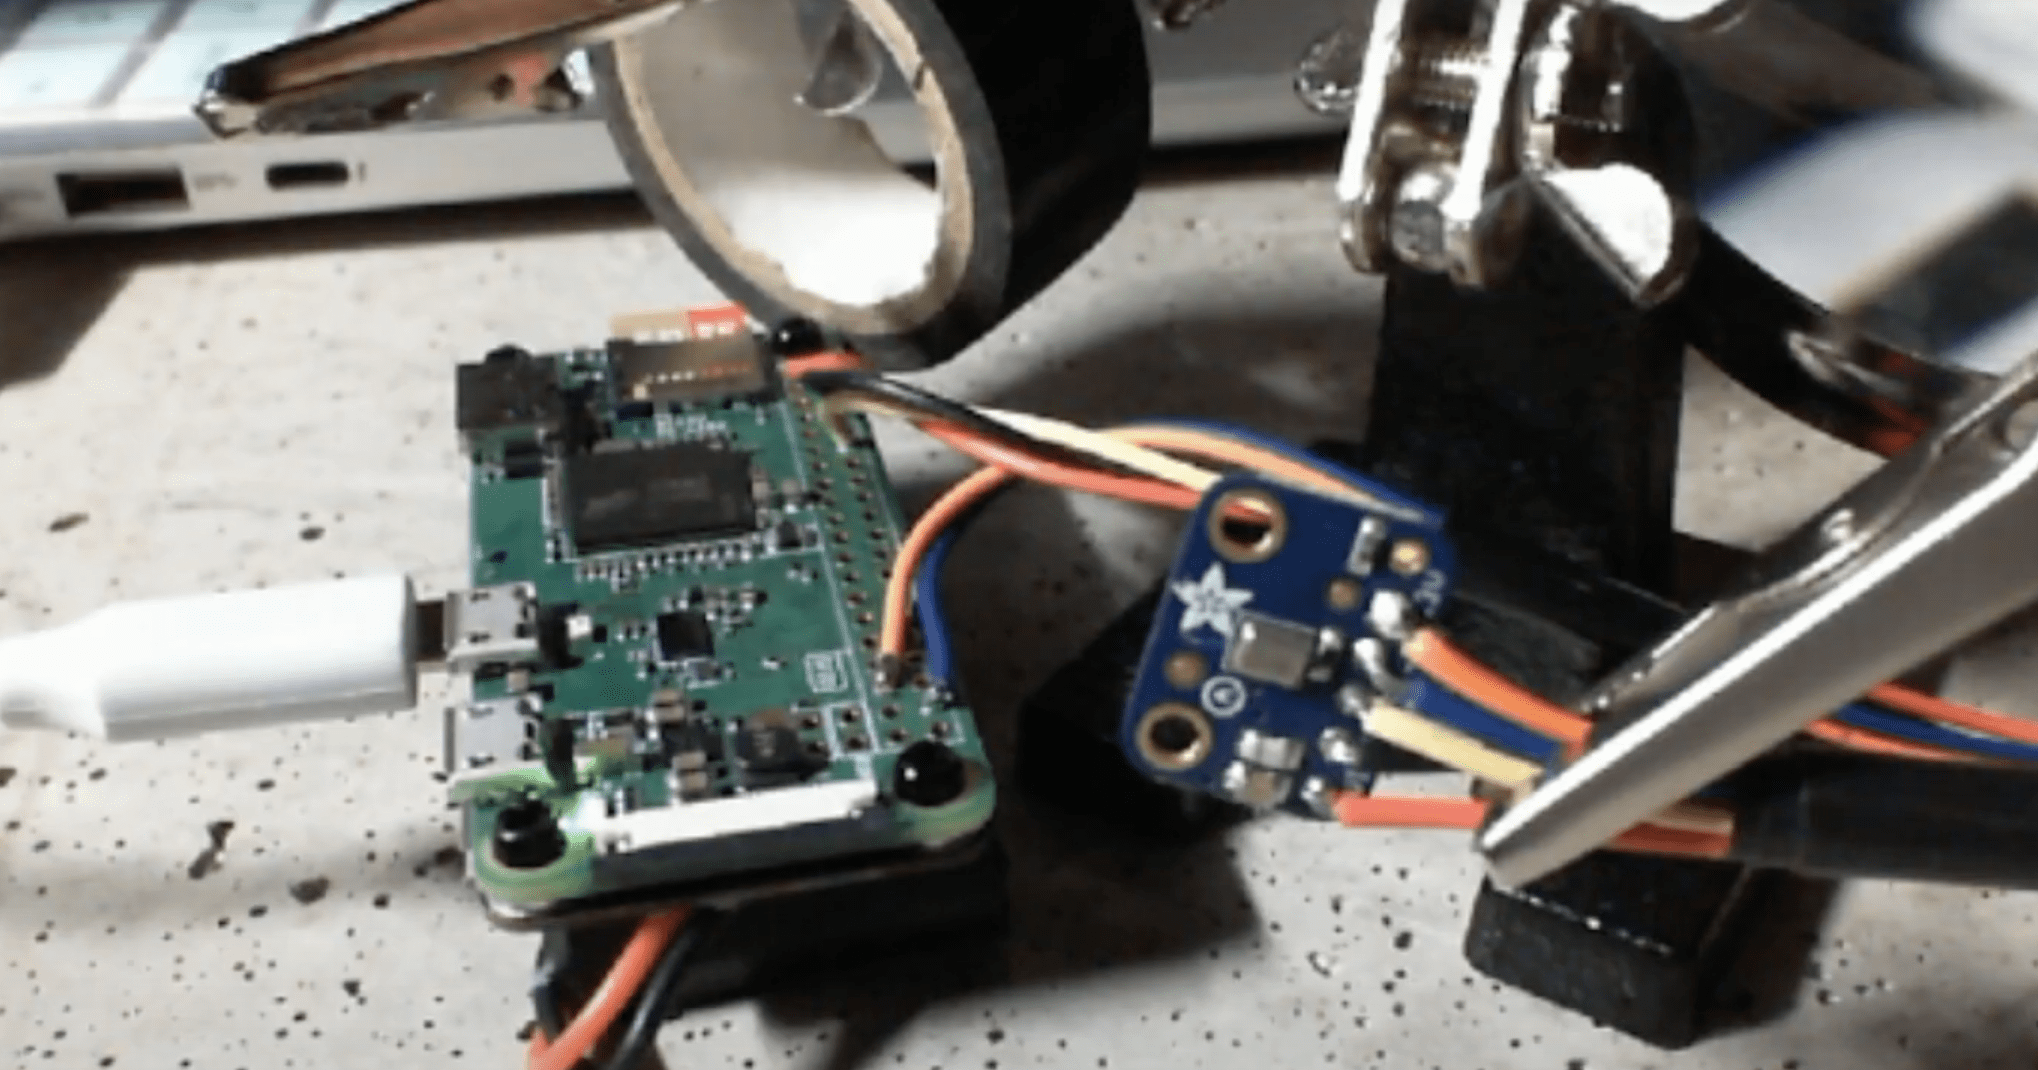
Raspberry Pi turns cryptocurrency into music
Reading Time: 2 minutesForget Beanie Babies as McDonald’s Happy Meal toys, or U2’s new album magically appearing on everyone’s iTunes list: the collaboration of the century is here. Estefannie Explains it All answered a call from LOOK MUM NO COMPUTER (aka Sam) who was looking for a coding genius to bring his cryptocurrency-measuring musical machine…
-

Translate dog barks with Raspberry Pi
Reading Time: 3 minutesI speak English. Super well. And I can read the rough, overall vibe of writing in French. I can also order beer and taxis in Spanish. Alas, my dog can do none of these things, and we are left in communication limbo. I try asking them (in English) why they’re so mean…
-

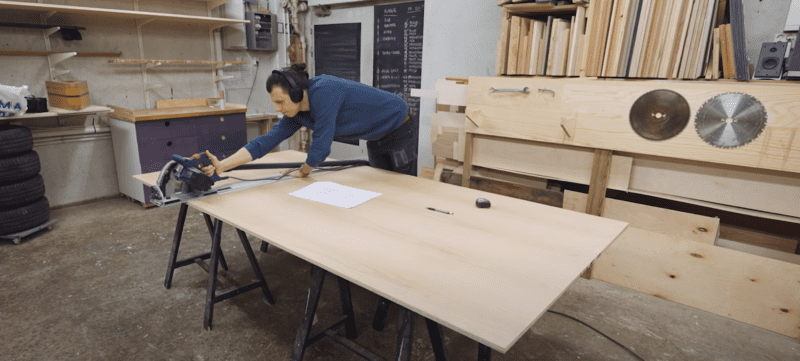
Meet Simone Giertz: Inventor, robotics enthusiast, and YouTuber
Reading Time: 13 minutesEven if you don’t follow Simone Giertz on social media or YouTube, there’s a good chance you know of her work. Originally hailed as the Queen of Shitty Robots, Simone’s early videos of questionable contraptions, such as the Toothbrush Machine and Hair Washing Robot, quickly went viral, birthing a variety of GIFs…
-

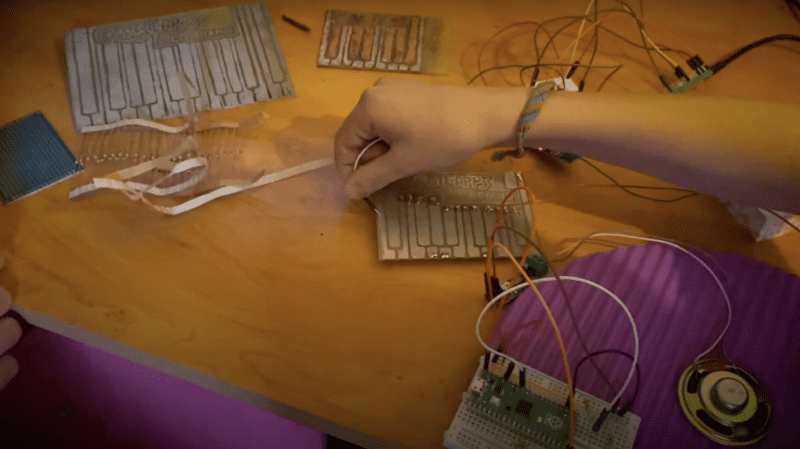
Build a Raspberry Pi Pico piano
Reading Time: 3 minutesDid you catch the very cool Raspberry Pi Pico piano project shared on the latest Digital Making at Home livestream? The sibling maker group from the GurgleApps family, Amelie, Caleb, and Ziva, chatted about how they got into coding before inviting us into miniature musical mayhem. [youtube https://www.youtube.com/watch?v=q4ESFX0RTuI?feature=oembed&w=500&h=281] Watch the siblings on…
-

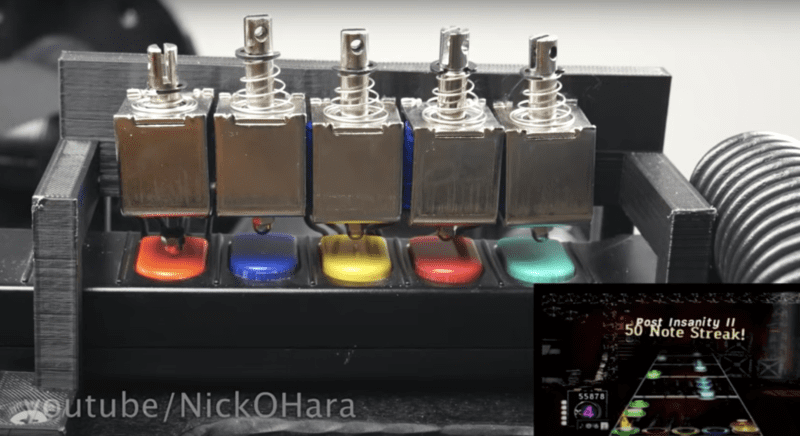
Shred through Guitar Hero with a Raspberry Pi-powered robot
Reading Time: 3 minutesLevel up your Guitar Hero gaming with Nick O’Hara’s Jon Bot Jovi Guitar Hero robot. While Nick admits this is an expensive project (around $1000 to build), it’s something that was so “ridiculous, hilarious, and awesome” he felt he just needed to do it. [youtube https://www.youtube.com/watch?v=htk6eXxpSNA?feature=oembed&w=500&h=281] While you’re not great at Guitar Hero,…
-

Hide a huge arcade machine in plain sight with Raspberry Pi
Reading Time: 3 minutesProblem: I really want an arcade machine at home, but I don’t have the space for it. Solution: Build Alexandre Chappel’s giant two-player machine, which is sleek and hidden in plain sight on your wall. [youtube https://www.youtube.com/watch?v=OB8VauGEvqg?feature=oembed&w=500&h=281] Subscribe to Alexandre’s YouTube channel Alexandre’s goal was to build something that looks like an…
-

Meet Ellora James
Reading Time: 4 minutesIn the latest issue of The MagPi magazine, we meet the smart young computer scientist behind an exciting new YouTube channel. When did you have that ‘ah-hah’ moment with computing? Ellora James remembers when she had hers. “When I was about 14/15 years old, I was considering taking Computer Science at exam…
-

Meet Estefannie Explains it All
Reading Time: 14 minutesRecently listed as one of Instagram’s Top 7 Women in STEM, software engineer and content creator Estefannie talks to Alex Bate about electronics, her online community, and why she can’t stop giving away free tech in her Instagram Live streams. Coming from a software background, Estefannie had to learn electronics Based in…
-

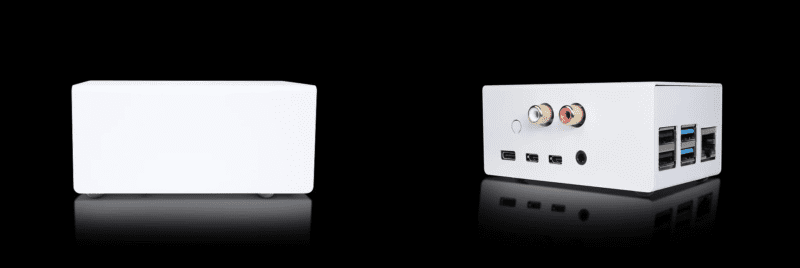
How to build a Raspberry Pi Roon Endpoint Music Streamer
Reading Time: 2 minutesOur friend Mike Perez at Audio Arkitekts is back to show you how to build PiFi, a Raspberry Pi-powered Roon Endpoint Music Streamer. The whole build costs around $150, which is pretty good going for such a sleek-looking Roon-ready end product. [youtube https://www.youtube.com/watch?v=ymfWb9detws?feature=oembed&w=500&h=281] Roon ready Roon is a platform for all the…
-

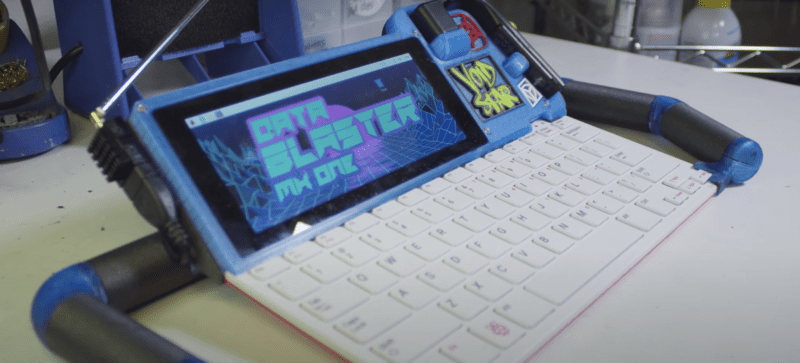
Transform Raspberry Pi 400 into a hacker cyberdeck
Reading Time: 3 minutesResisting the desolate consumerism of the suburbs is a serious business for hardware hacker Zack Freedman. Zack transformed a Raspberry Pi 400 into the Voidstar Data Blaster, a portable cyberdeck to fight against becoming a normie. [youtube https://www.youtube.com/watch?v=guGffGw3uDg?feature=oembed&w=500&h=281] The suburbs thing is explained at the beginning of Zack’s build video. Subscribe to…
-

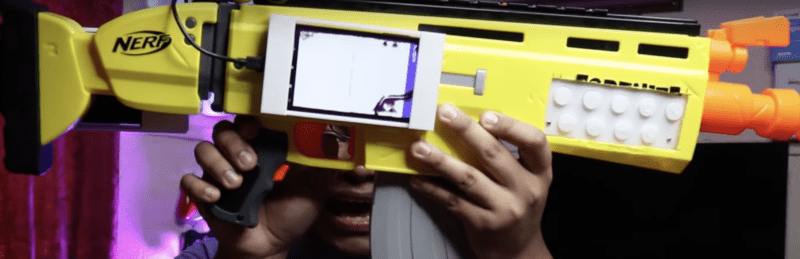
Play Call of Duty with a Raspberry Pi-powered Nerf gun
Reading Time: 2 minutesYouTuber Alfredo Sequeida turned a Nerf gun into a controller for playing Call of Duty: Warzone. This is a fun-looking modification project, but some serious coding went into the process. [youtube https://www.youtube.com/watch?v=ld0Pcy6F-3g?feature=oembed&w=500&h=281] Head to the 13-minute mark for an in-game demonstration Trigger happy Funnily enough, the Nerf gun that Alfredo chose was…
-

Go down a Raspberry Pi YouTube rabbit hole
Reading Time: 4 minutesWe here at Virtual Raspberry Pi Towers are looking forward to our weekends getting warmer, now that we are officially in British Summer Time. But we wanted to make the most of these last Saturdays and Sundays in which we have no choice but to cosy up against the typically British spring…
-

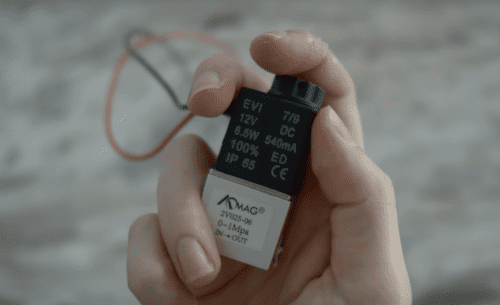
Raspberry Pi automatically refills your water bottle
Reading Time: 3 minutesYouTuber Chris Courses takes hydration seriously, but all those minutes spent filling up water bottles take a toll. 15 hours per year, to be exact. Chris regularly uses three differently sized water bottles and wanted to build something to fill them all to their exact measurements. [youtube https://www.youtube.com/watch?v=S3okv0jYZUc?feature=oembed&w=500&h=281] (Polite readers may like…
-

Raspberry Pi dog detector (and dopamine booster)
Reading Time: 2 minutesYou can always rely on Ryder’s YouTube channel to be full of weird and wonderful makes. This latest offering aims to boost dopamine levels with dog spotting. Looking at dogs makes you happier, right? But you can’t spend all day looking out of the window waiting for a dog to pass, right?…
-

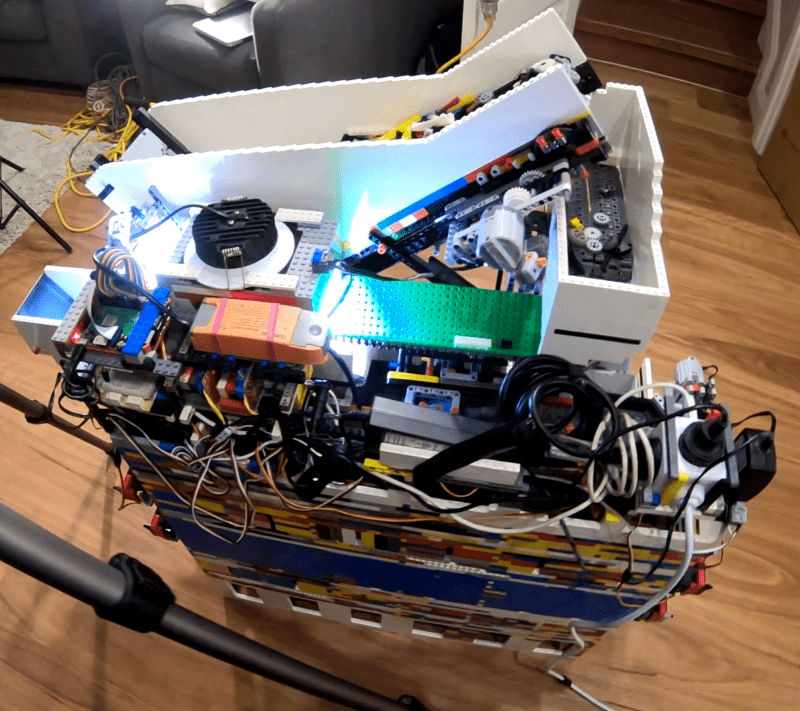
Raspberry Pi LEGO sorter
Reading Time: 3 minutesRaspberry Pi is at the heart of this AI–powered, automated sorting machine that is capable of recognising and sorting any LEGO brick. And its maker Daniel West believes it to be the first of its kind in the world! [youtube https://www.youtube.com/watch?v=04JkdHEX3Yk?feature=oembed&w=500&h=281] Best ever This mega-machine was two years in the making and…
-

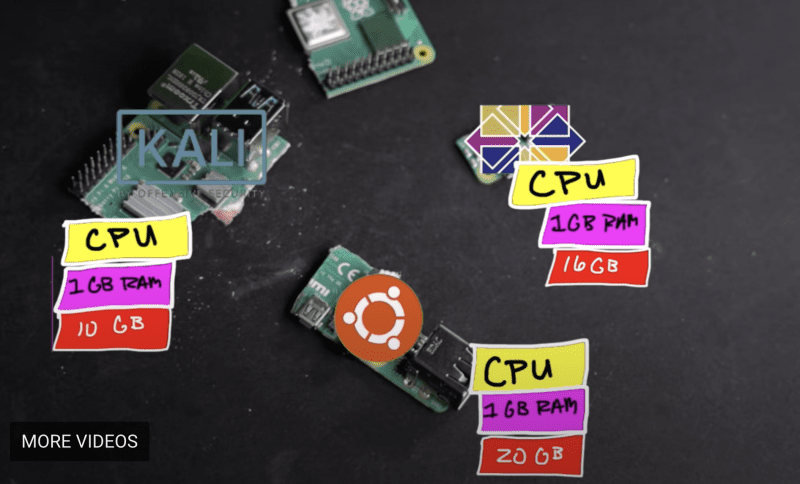
Get VMWare on Raspberry Pi
Reading Time: 3 minutesHacking apart a sweet, innocent Raspberry Pi – who would do such a thing? Network Chuck, that’s who. But he has a very cool reason for it so, we’ll let him off the hook. [youtube https://www.youtube.com/watch?v=6aLyZisehCU?feature=oembed&w=500&h=281] Subscribe to Network Chuck on YouTube He’s figured out how to install VMware ESXi on Raspberry…
-

Raspberry Pi ‘Swear Bear’ keeps your potty mouth in check
Reading Time: 2 minutesWhy use a regular swear jar to retrain your potty-mouthed brain when you can build a Swear Bear to help you instead? Swear Bear listens to you. All the time. And Swear Bear can tell when a swear word is used. Swear Bear tells you off and saves all the swear words…
-

Personal Raspberry Pi music streamer
Reading Time: 3 minutesMike Perez from Audio Arkitekts took to YouTube to show you how to build your own music streamer using a Raspberry Pi. Haters of Bluetooth and RCA plugs, he’s done this for you. [youtube https://www.youtube.com/watch?v=rVXJ9BT0uuI?feature=oembed&w=500&h=281] Mike reports a “substantial difference in sound quality” compared to his previous setup (the aforementioned and reviled…
-

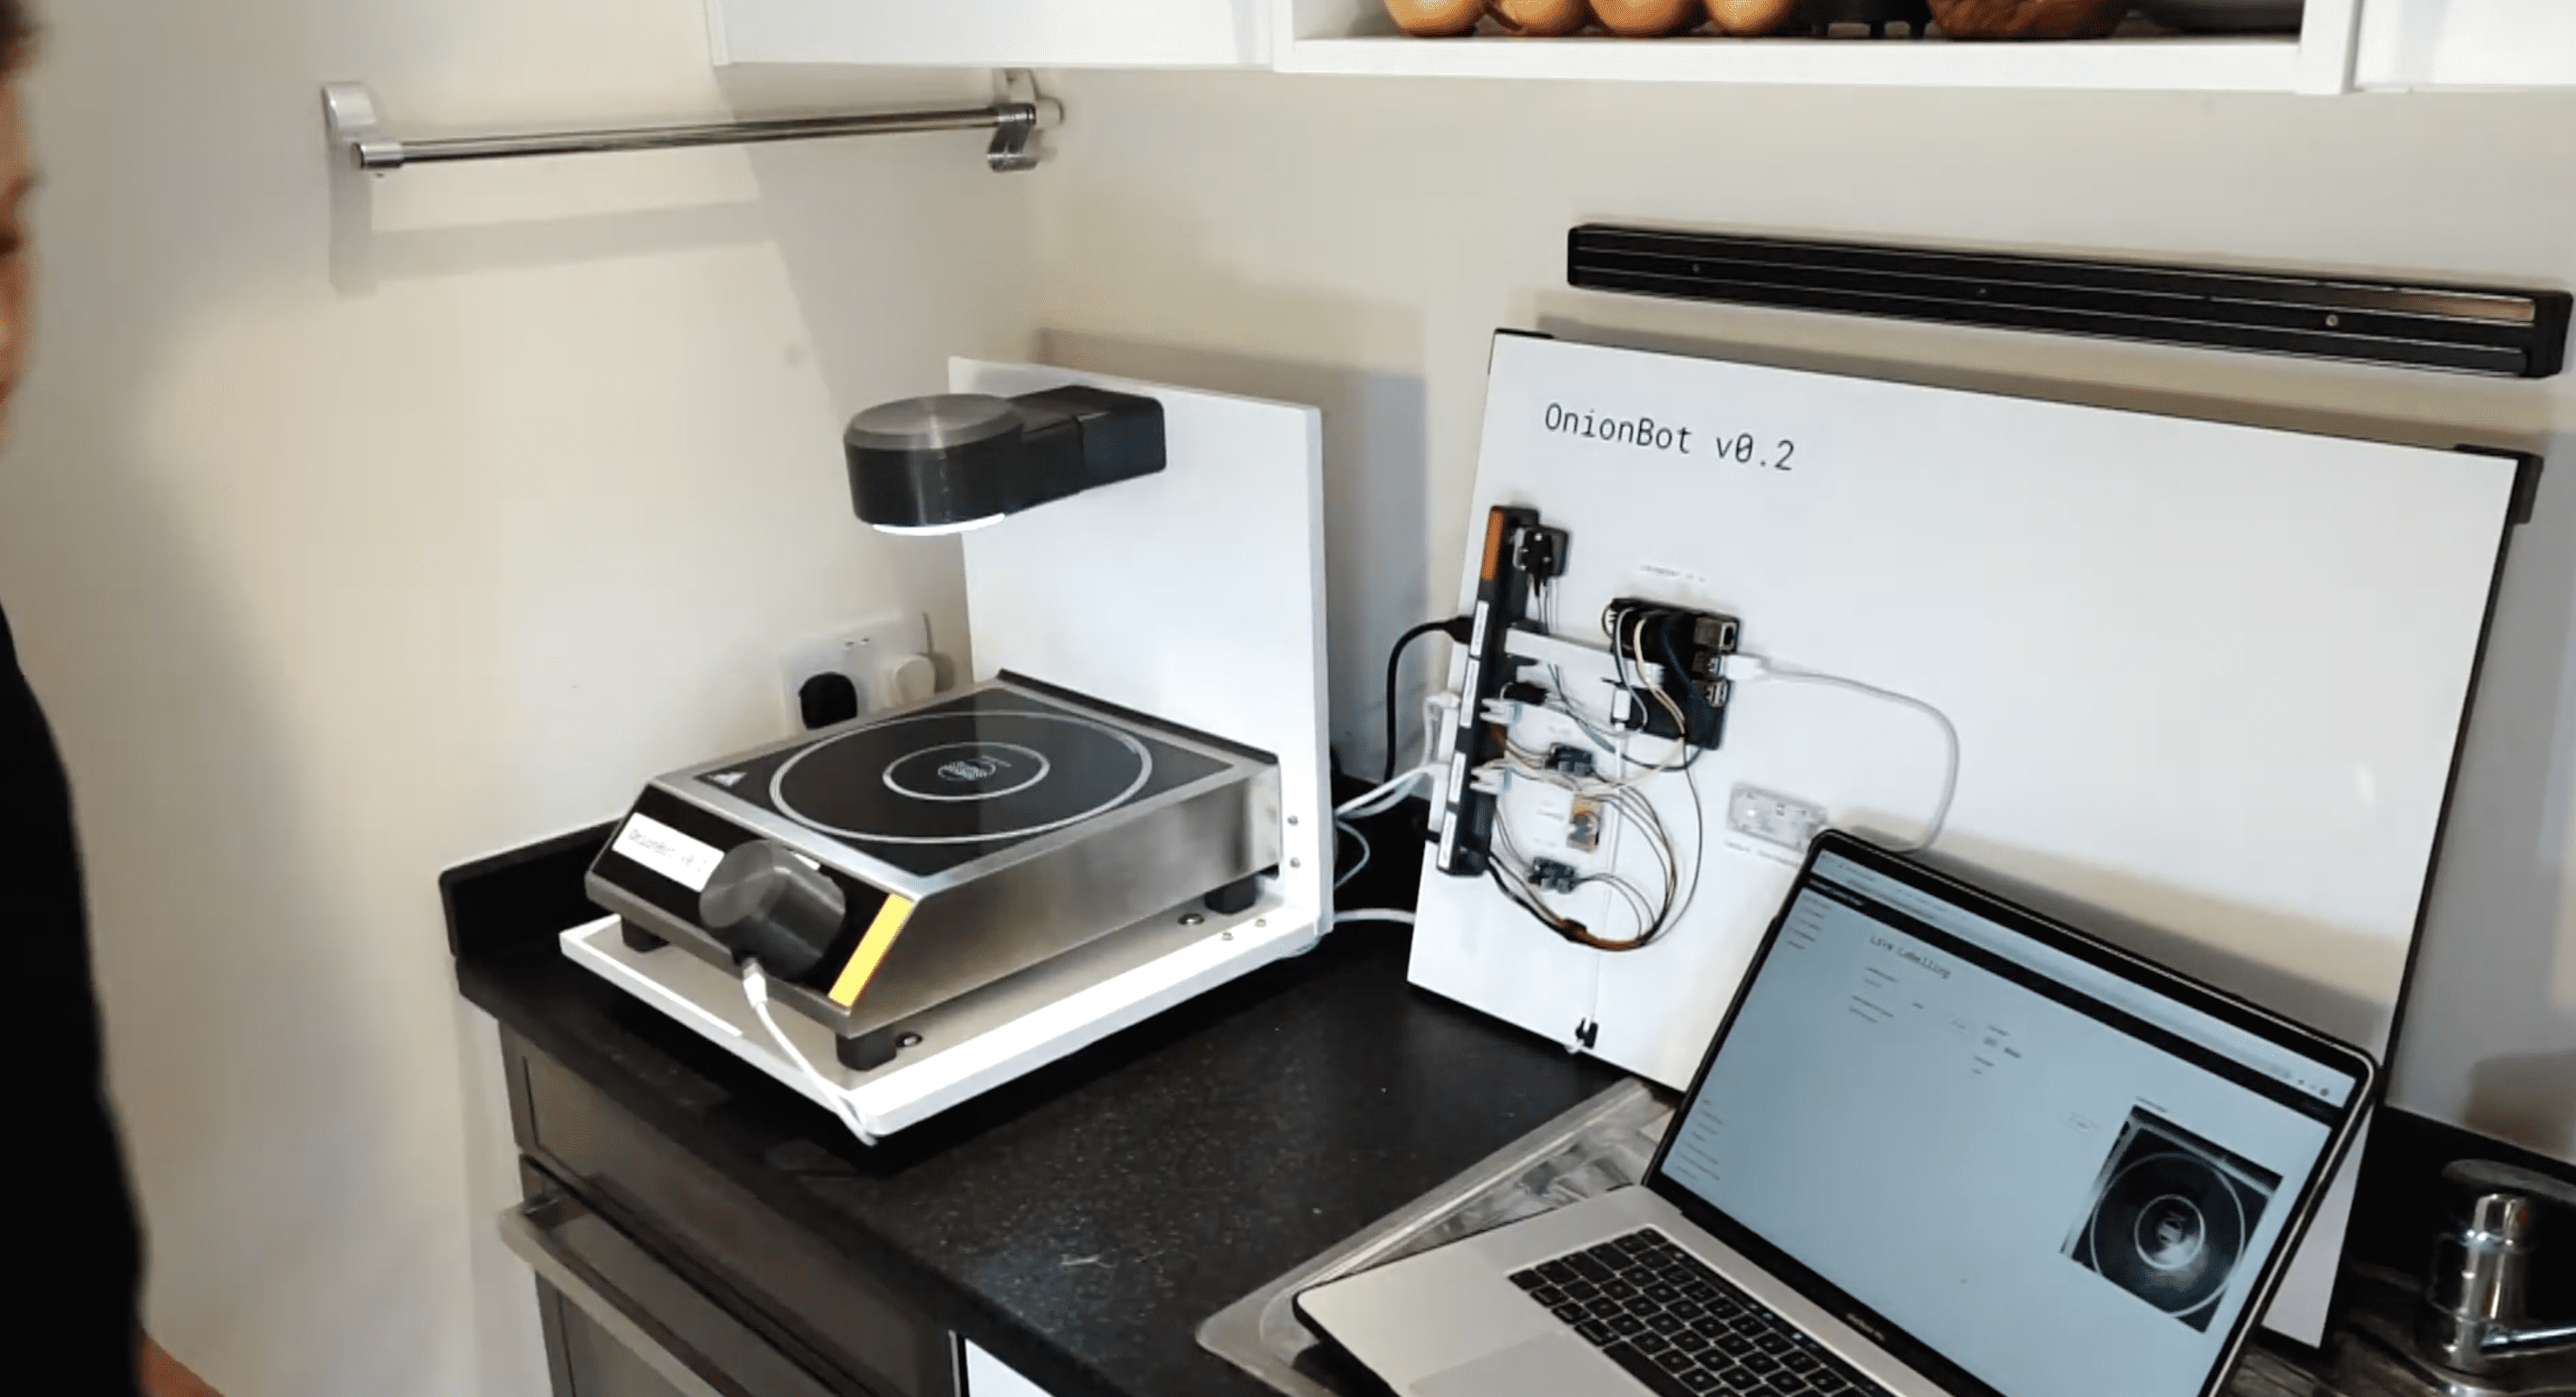
Hire Raspberry Pi as a robot sous-chef in your kitchen
Reading Time: 3 minutesDesign Engineering student Ben Cobley has created a Raspberry Pi–powered sous-chef that automates the easier pan-cooking tasks so the head chef can focus on culinary creativity. [youtube https://www.youtube.com/watch?v=W4utRCyo5C4?feature=oembed&w=500&h=281] Ben named his invention OnionBot, as the idea came to him when looking for an automated way to perfectly soften onions in a pan…
-

YouTuber Jeff Geerling reviews Raspberry Pi Compute Module 4
Reading Time: 2 minutesWe love seeing how quickly our community of makers responds when we drop a new product, and one of the fastest off the starting block when we released the new Raspberry Pi Compute Module 4 last week was YouTuber Jeff Geerling. Jeff Geerling We made him keep it a secret until launch…
-

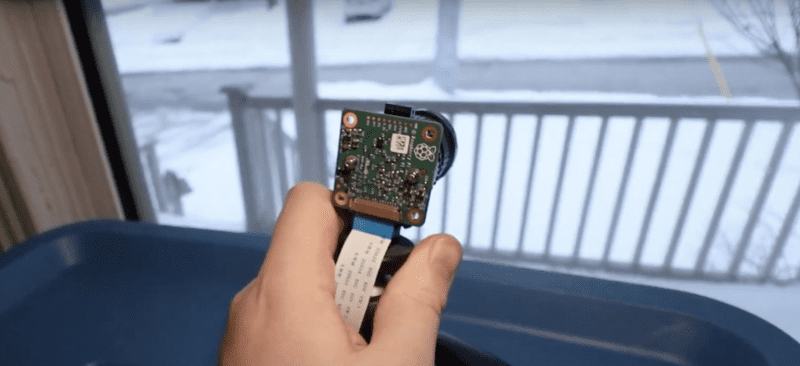
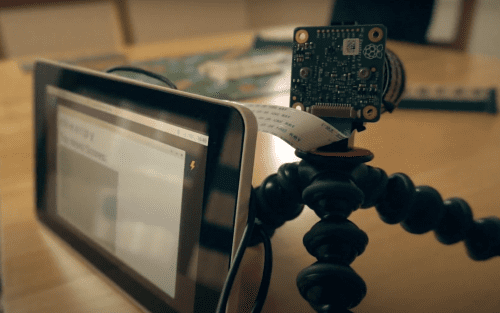
Be a better Scrabble player with a Raspberry Pi High Quality Camera
Reading Time: 2 minutesOne of our fave makers, Wayne from Devscover, got a bit sick of losing at Scrabble (and his girlfriend was likely raging at being stuck in lockdown with a lesser opponent). So he came up with a Raspberry Pi–powered solution! Using a Raspberry Pi High Quality Camera and a bit of Python,…
-

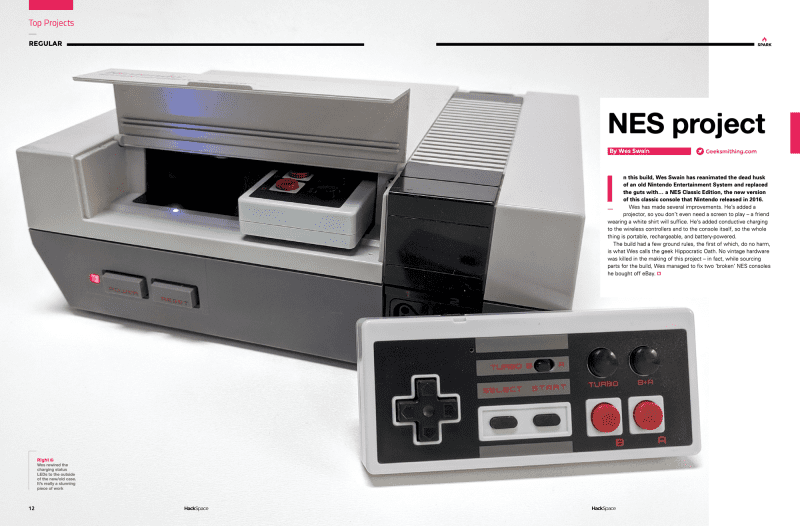
Wes’s wonderful Minecraft user notification display
Reading Time: 3 minutesThis Minecraft sign uses a Raspberry Pi to notify you when, and how many of, your friends are logged into your dedicated Minecraft server. [youtube https://www.youtube.com/watch?v=8t-YJFhpH_4?feature=oembed] Let’s start by pointing out how wonderfully nostalgic many of Wes ‘Geeksmithing’ Swain’s projects are. From his Raspberry Pi–housing cement Thwomp that plays his favourite Mario…