Schlagwort: windows

  • How to Patch your GTX for NvEnc Video Encoding

    How to Patch your GTX for NvEnc Video Encoding

    Reading Time: 2 minutes

    How to Patch your GTX for NvEnc Video Encoding, this is what most people nowadays thing , no RTX Cards. NO GTX Cards in Stock, Everything going wild on the GPU Market feeling like the wild wild west…

    But not here, we have a Solution a real one, not for the Gamers but the Video Editors!!

    The Guys from TroubleChute have an Tutorial Online everything explained.

    NVENC Patch Step-by-Step Guide

    1. Download and install latest Nvidia driver supported by this patch.
    2. Download latest Win_1337_Apply_Patch tool (IPFS mirror).
    3. Save patch(es) corresponding to your system, driver and product version from Version Table using direct link to the patch (Right Click -> „Save as…“)
      • Alternatively you may checkout repo using git or download it as ZIP archive and then locate corresponding .1337 patch file in win directory.
    4. Apply x64 library patch to corresponding file in %WINDIR%\system32\ with the Win_1337_Apply_Patch tool.
      • If patching fails, close all applications using nvencodeapi64.dll, such as OBS Studio, Plex or Discord.
    5. Apply x86 library patch to corresponding file in %WINDIR%\SysWOW64\ in the same way as previous one.
      • If patching fails, close all applications using nvencodeapi.dll, such as OBS Studio, Plex or Discord.

    Example: for 64bit Windows 10 running driver version 465.89, use win10_x64/465.89/nvencodeapi64.1337 against C:\WINDOWS\system32\nvencodeapi64.dll and win10_x64/465.89/nvencodeapi.1337 against C:\WINDOWS\SysWOW64\nvencodeapi.dll.


    If you experience issues with streaming software based on Nvidia streaming facilities (Nvidia Shield TV, Moonlight), you also have to import few registry values in order to workaround binary signature mismatch. See skip_sig_check (clickable) directory for instructions.


    Thanks also to our Friends from CerealKillerz for Testing this Solution, Makes it up to 200% Faster in Rendering!

    Official Source: https://www.tomshardware.com/news/patch-boosts-video-encoding-for-nvidias-consumer-gpus?utm_medium=social&utm_campaign=socialflow&utm_content=tomsguide&utm_source=facebook.com&fbclid=IwAR05qmxkC5CPrPjF_3DlIDM6BD5bdPKyIEkScwimotBFuQwKuAHZBHHRFsc

    https://github.com/keylase/nvidia-patch/tree/master/win

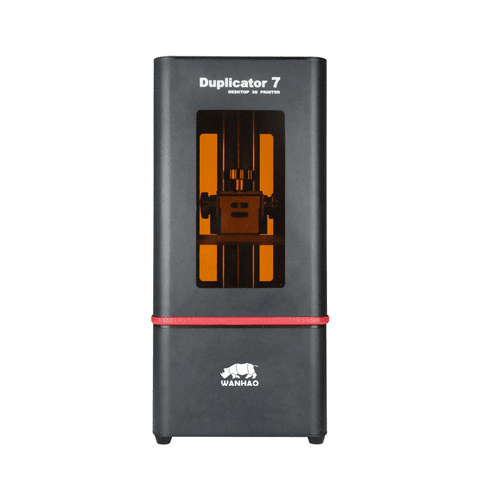
  • Wanhao D7 CW – Creation Workshop Free Version Download (Windows)

    Wanhao D7 CW – Creation Workshop Free Version Download (Windows)

    Reading Time: < 1 minute

    We found it better putting up the Manual and the Free old SW online because we see that everyone seems searching for it.

    Hope that helps everyone.

    Creation Workshop (Windows) Download: LINK 

    Manual Download: LINK

    Wanhao Store: https://wanhao.store/

  • Nachzügler: Asus Windows Mixed Reality Headset startklar

    Nachzügler: Asus Windows Mixed Reality Headset startklar

    Reading Time: 2 minutes

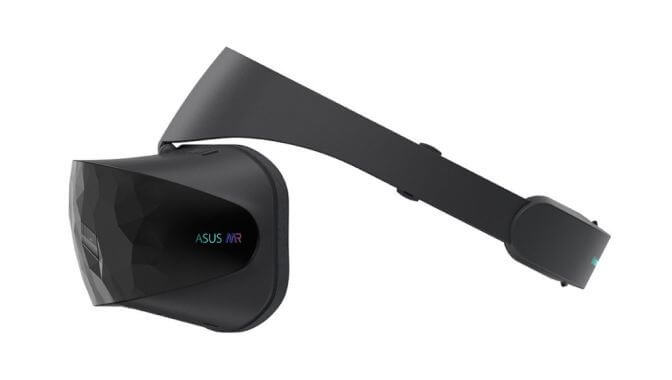
    Die Consumer-VR-Brille mit dem vielleicht eigenwilligsten Design ist nun in Amerika erhältlich. Während die meisten Windows Mixed Reality Headsets bereits im Oktober letzten Jahres ihren Markstart – mit Hindernissen – hatten, ließ sich Asus mit der HC102 Zeit.

    Asus bringt Windows Mixed Reality Headset an den Start

    Etwas gedauert hat es ja, bis Asus seine VR-Brille mit der Typenkennzeichnung HC102 auf den Markt bringt. Zumindest in Amerika hat der Hersteller laut Road to VR den Verkaufsstart angekündigt, 430 US-Dollar soll das gute Stück offiziell kosten. Der Preis bewegt sich zwar im Rahmen der unverbindlichen Preisempfehlung der Konkurrenzmodelle, diese sind auf dem Markt aber teilweise erheblich günstiger zu bekommen. Man muss also abwarten, wie sich der Preis entwickelt, wenn das Headset von Asus in den großen Verkaufskanälen verfügbar sein wird.

    Asus Windows Mixed Reality HeadsetBei den technischen Daten bietet die Virtual-Reality-Brille von Asus typische Windows-Mixed-Reality-Standardkost – lediglich das „facettenreiche“ Design sticht heraus und verleiht dem Headset einen eigenen Look. Die Brille beherrscht wie bei MR-Brillen üblich Inside-Out-Tracking, wodurch man keine Sensoren im Raum aufstellen muss. Das Visier des Headsets lässt sich bei Bedarf hochklappen, um schnell zwischen virtueller und echter Realität zu wechseln. Unterschiede zu anderen Windows-Brillen könnte es noch beim Tragekomfort geben, allerdings sind auf diesem Gebiet auch keine Revolutionen zu erwarten. Als einziges Windows Mixed Reality Headset sticht nach wie vor die Samsung Odyssey heraus. Sie bietet die gleiche hohe Auflösung, wie sie auch die HTC Vive Pro mitbringen wird. Das Headset von Samsung ist allerdings in Europa nicht verfügbar. Ob Asus seine VR-Brille hierzulande auf den Markt bringen wird, ist zwar noch nicht sicher, aber ziemlich wahrscheinlich. Die offizielle Webseite zum Headset HC102 von Asus findet ihr hier.

    (Quelle: Road to VR)

    Website: LINK

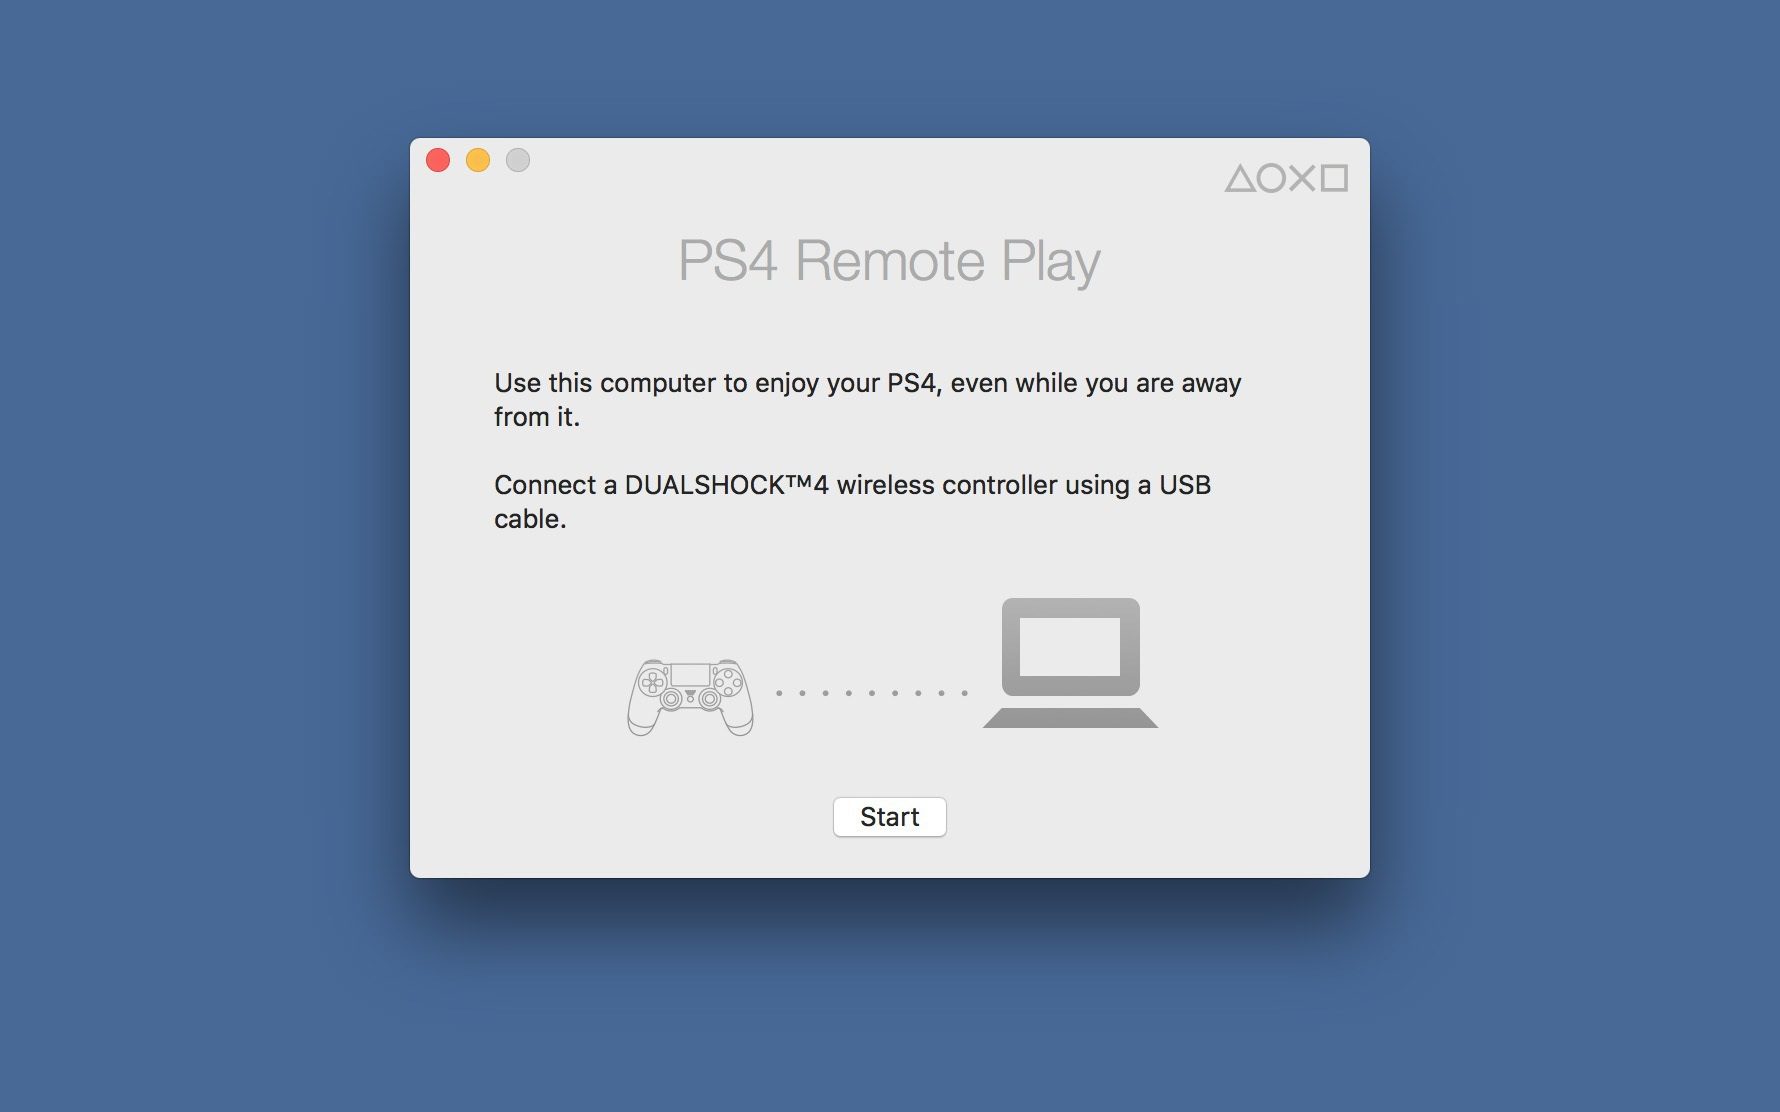
  • PS4 RemotePlay Tutorial Windows7/8/8.1/10 – Mac OSX ElCapitan

    PS4 RemotePlay Tutorial Windows7/8/8.1/10 – Mac OSX ElCapitan

    Reading Time: < 1 minute

    [mbYTPlayer url=“https://www.youtube.com/watch?v=xr-bpK7_Mbo“ opacity=“.5″ quality=“medium“ ratio=“auto“ isinline=“false“ showcontrols=“false“ realfullscreen=“true“ printurl=“true“ autoplay=“true“ mute=“true“ loop=“true“ addraster=“true“ stopmovieonblur=“false“ gaTrack=“false“]

    PS4 RemotePlay Tutorial Windows7/8/8.1/10 – Mac OSX ElCapitan

  • Windows 8.1 now available to download

    Windows 8.1 now available to download

    Reading Time: 3 minutes

    In case you didn’t know, Microsoft starts rolling out Windows 8.1 today.

    The OS update should start appearing in the Windows Store as a free download for all existing Win 8 users. Those using Windows 7 or previous versions, will have pay the same price Microsoft was already charging for Windows 8: $120 for the standard version, and $200 for Windows 8.1 Pro.

    desktop_2BD70C0D Split-Screen-Four-Apps_69F54820 Win8-1_3row_16x9_US_1D0A4584 share_startscreen_thumb_01D1EC83

    The new features? Here they are:

    Start the way you want. The Start screen in Windows 8.1 is more customizable than ever with new tile sizes, new background designs and colors – allowing you to make the Start screen on your device unique and personal to you (you should see some of the color combinations I’ve come up with for my Start screen!). You can also choose how you start your Windows experience – at the Start screen or the desktop. The Start button is back. And there is an improved Apps view that allows you to see all your apps the way you want.

    Multi-tasking is even better in Windows 8.1 – you can now have up to four apps side by side with flexible windows sizing for each app on the screen. At a minimum, I usually have 3 apps snapped side by side on my devices doing various things like email, listening to music and browsing the web. We have also improved multi-monitor support in Windows 8.1 allowing users to view their desktop or apps from the Windows Store on any or all their monitors.

    Bing Smart Search is the easiest way to find what you are looking for and to get things done. Built for touch, swipe or type from the Start screen and Smart Search will find what you need – whether it’s a document on your PC, a photo album in the cloud, your favorite app, or a website.

    Windows 8.1 comes with new and improved Microsoft apps and services– available right out of the box and right from your Start screen. Skype is there for instant messaging and catching up with friends and family. We’ve updated the Mail app (well, more like over-hauled) to make email easier – for both personal and email and work email. Two new Bing apps are introduced in Windows 8.1 called Food & Drink and Health & Fitness along with updates to the News, Weather, Finance, Travel and Sports apps. Xbox Music has received a big update for Windows 8.1, and you can watch TV and movies with Xbox Video. And Windows 8.1 comes with Internet Explorer 11which is optimized for touch and brings speed boosts and synchronized browsing history, favorites, and settings across all of your Windows 8.1 devices.

    SkyDrive

    Speaking of synchronizing – Windows 8.1 also comes with deep and improved cloud integration with SkyDrive. Your files are always accessible across all your devices. With SkyDrive smart files, you can create, edit, save and share files anywhere, anytime and your files are always with you, both on and offline.

    Windows Store

    And the Windows Store has been redesigned in Windows 8.1. With the “New & Rising” section it is now easier to stay on top of the hottest and newest apps to hit the Windows Store. Plus, the Windows Store has a live tile too! The Windows Store will also now provide you with personalized recommendations – powered by Bing. And apps are now updated from the Windows Store automatically by default so you will always have the best and newest versions of your apps. Look for new and updated apps including Adobe Photoshop Express, Box, Evernote, Facebook, Hulu Plus, Netflix, and NOOK, for Windows 8.1. And more to come!

    Official Source: http://www.theverge.com/2013/10/17/4847578/windows-8-1-now-available-to-download

    http://blogs.windows.com/windows/b/bloggingwindows/archive/2013/10/17/windows-8-1-now-available.aspx

  • How to Remove Shut Down Button from Windows Vista and 7 Login Screens?

    How to Remove Shut Down Button from Windows Vista and 7 Login Screens?

    Reading Time: 2 minutes

    Here we start the tutorial:

    1. We’ll need to edit „%windir%\System32\authui.dll“ file. First copy authui.dll file from „System32“ folder to some other location for example Desktop.

    Note: here %windir% represents „Windows“ directory which can be found in the system drive where Windows is installed. In most of the cases its C:\Windows.

    2. Now open the new file in Resource Hacker.

    3. Now press „Ctrl+F“ keys or select „Find Text“ option from „View“ menu.

    4. Type Shutdown in Find what text box. Click on „Find Next“ button and it’ll go to following lines:

    <element id=“atom(ShutDownFrame)“ layout=“flowlayout()“>
    <button id=“atom(ShutDown)“ accname=“resstr(12128)“ tooltip=“true“/>
    <button id=“atom(ShutDownOptions)“ accname=“resstr(12131)“ accdesc=“resstr(12131)“ tooltip=“true“ shortcut=“115″/>

    5. Replace the last 2 lines of code with following:

    <element id=“atom(ShutDownFrame)“ layout=“flowlayout()“>
    <button id=“atom(ShutDown)“ accname=“resstr(12128)“ tooltip=“true“ layoutpos=“none“/>
    <button id=“atom(ShutDownOptions)“ accname=“resstr(12131)“ accdesc=“resstr(12131)“ tooltip=“true“ shortcut=“115″ layoutpos=“none“/>

    Guess what? We are only adding an extra string layoutpos=“none“ at the end of each line.

    6. That’s it, click on „Compile Script“ button and save the file.

    7. Now we’ll need to replace original authui.dll file present in „C:\Windows\System32\“ folder with our new authui.dll file which we saved at Desktop or some other location.

    7 a. First take ownership of „C:\Windows\System32\authui.dll“ file using following tutorial:

    Add Take Ownership Option in File / Folder Context Menu in Windows Vista and 7

    7 b. Now rename it to „authui_backup.dll“ or any other name.

    7 c. Now copy your new modified „authui.dll“ file from Desktop to „System32“ folder.

    PS: If you are using 64-bit Windows edition, you’ll also need to replace authui.dll file present in „C:\Windows\sysWOW64\“ folder.

    8. Restart your system and after restart Windows will start using your new modified file and you’ll not see the „Shutdown“ button on login screen.

    PS: Windows Vista „authui.dll“ file contains only a single instance of (ShutDown) string, so you’ll need to replace it only once using Step 3 and 4 but Windows 7 contains 3 instances of this string, so you’ll need to change all the 3 instances in the file.


    Official Source: http://www.askvg.com/how-to-remove-shutdown-button-from-windows-vista-and-7-login-screens/