Schlagwort: Weather Display
-

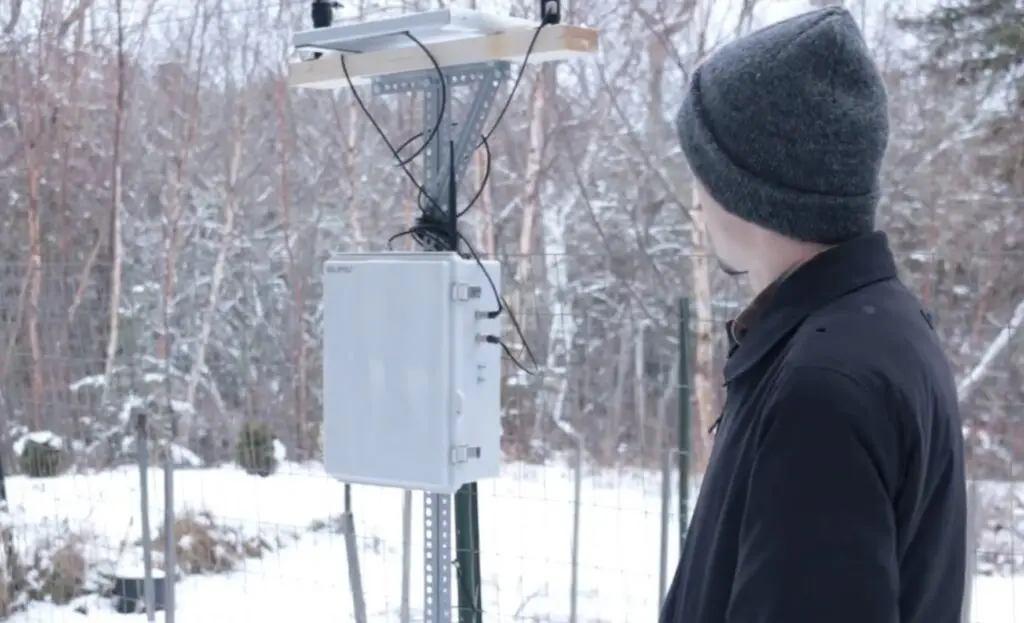
A DIY weather display with dedicated outdoor sensor station
Reading Time: 2 minutesWeather stations are popular projects in the maker community because they’re useful and usually quite affordable to construct. But most that we see are really weather information displays that gather data through the internet from stations in the region. That data is fairly accurate, but there can be minor differences due to microclimate zones.…
-

Check the weather from indoors with this MKR WiFi 1010-controlled contraption
Reading Time: 2 minutesArduino Team — February 25th, 2022 Going outside to see the weather is time consuming and merely looking at a phone gets boring, which is what inspired YouTuber Mikey Makes to build a fun weather-telling device that displays the current conditions in a new format. Owing to his love of the old BBC weather symbols, which…
-

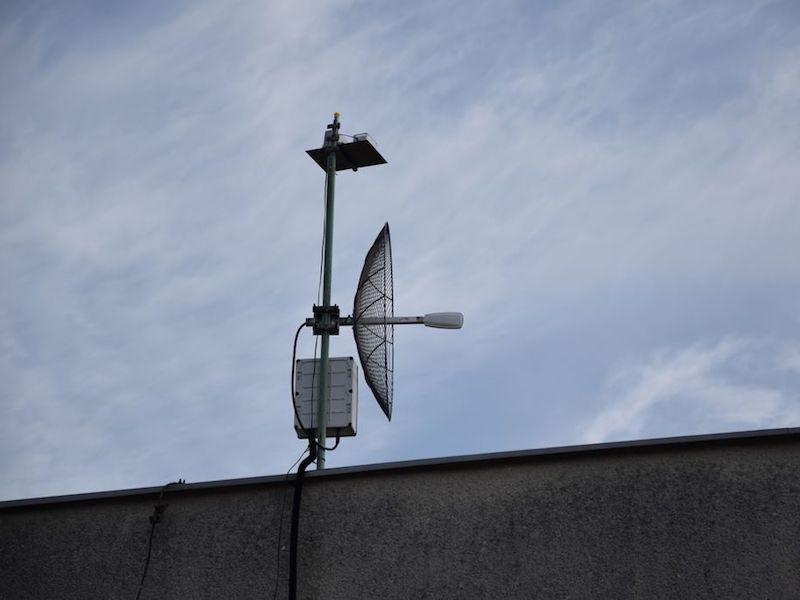
Stream weather conditions to the cloud!
Reading Time: < 1 minuteStream weather conditions to the cloud! Arduino Team — November 26th, 2018 Weather reports on the news, your computer, or smartphone are very good—something that people 100 years ago could only dream of—but what if you want to know the exact weather in a fixed location from anywhere in the world?…
-

Check the weather on this Arduino-controlled split-flap display
Reading Time: < 1 minuteCheck the weather on this Arduino-controlled split-flap display Arduino Team — August 9th, 2018 Split-flap displays show information using characters changed by an electric motor. While they’ve largely been replaced by more modern means, hobbyists like “gabbapeople” have been keeping this this technique alive, in this case as a four-character IoT…